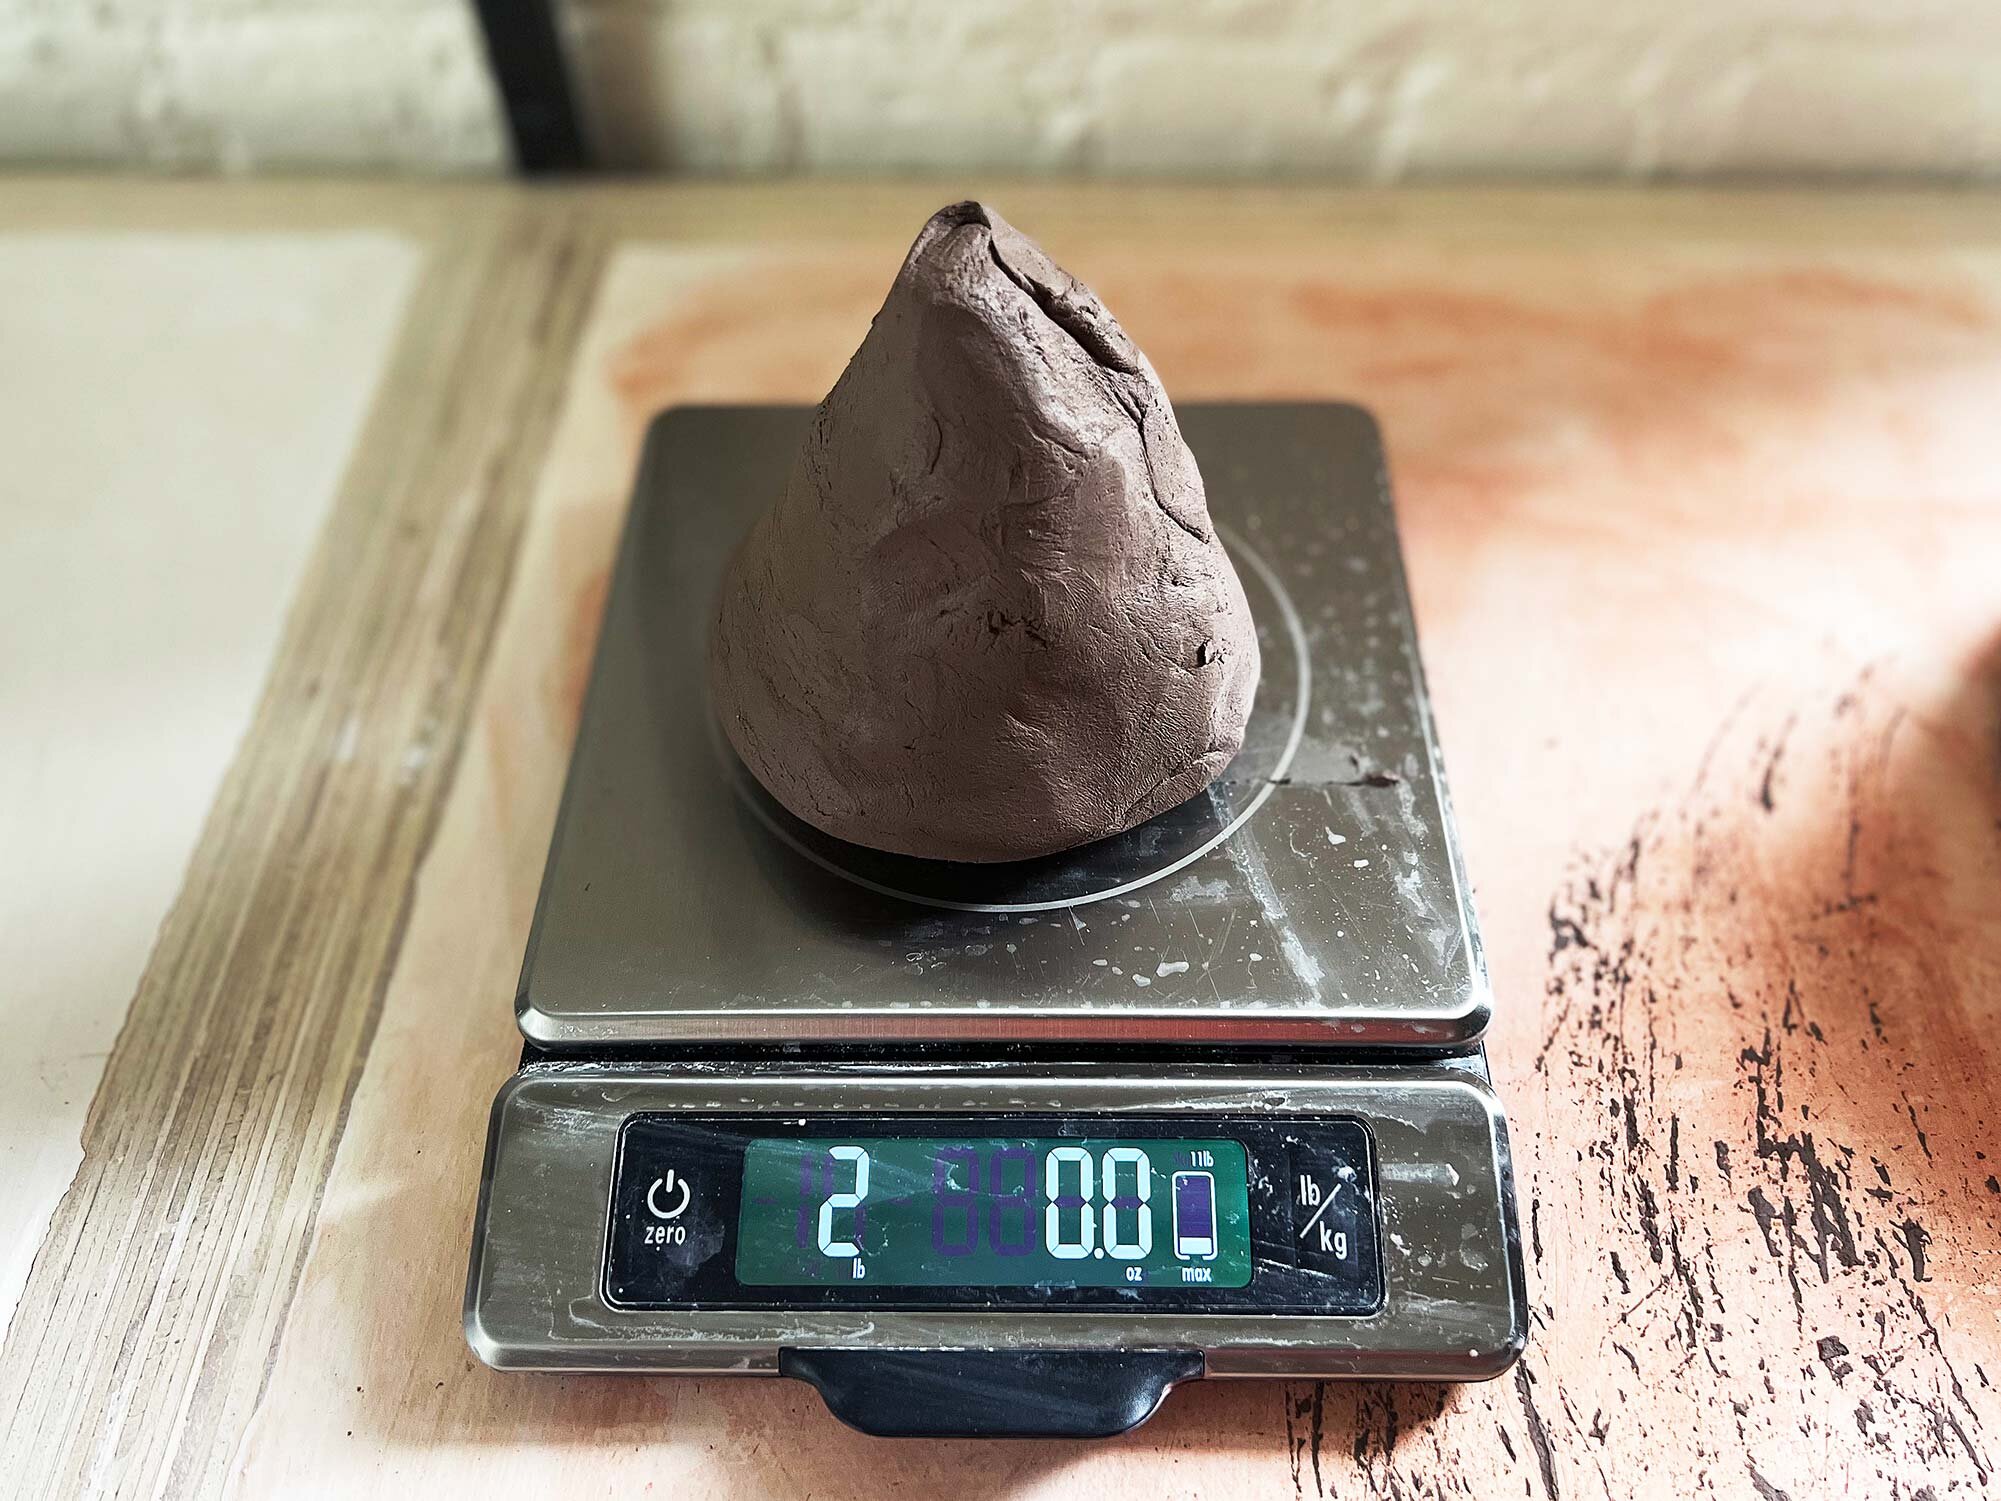
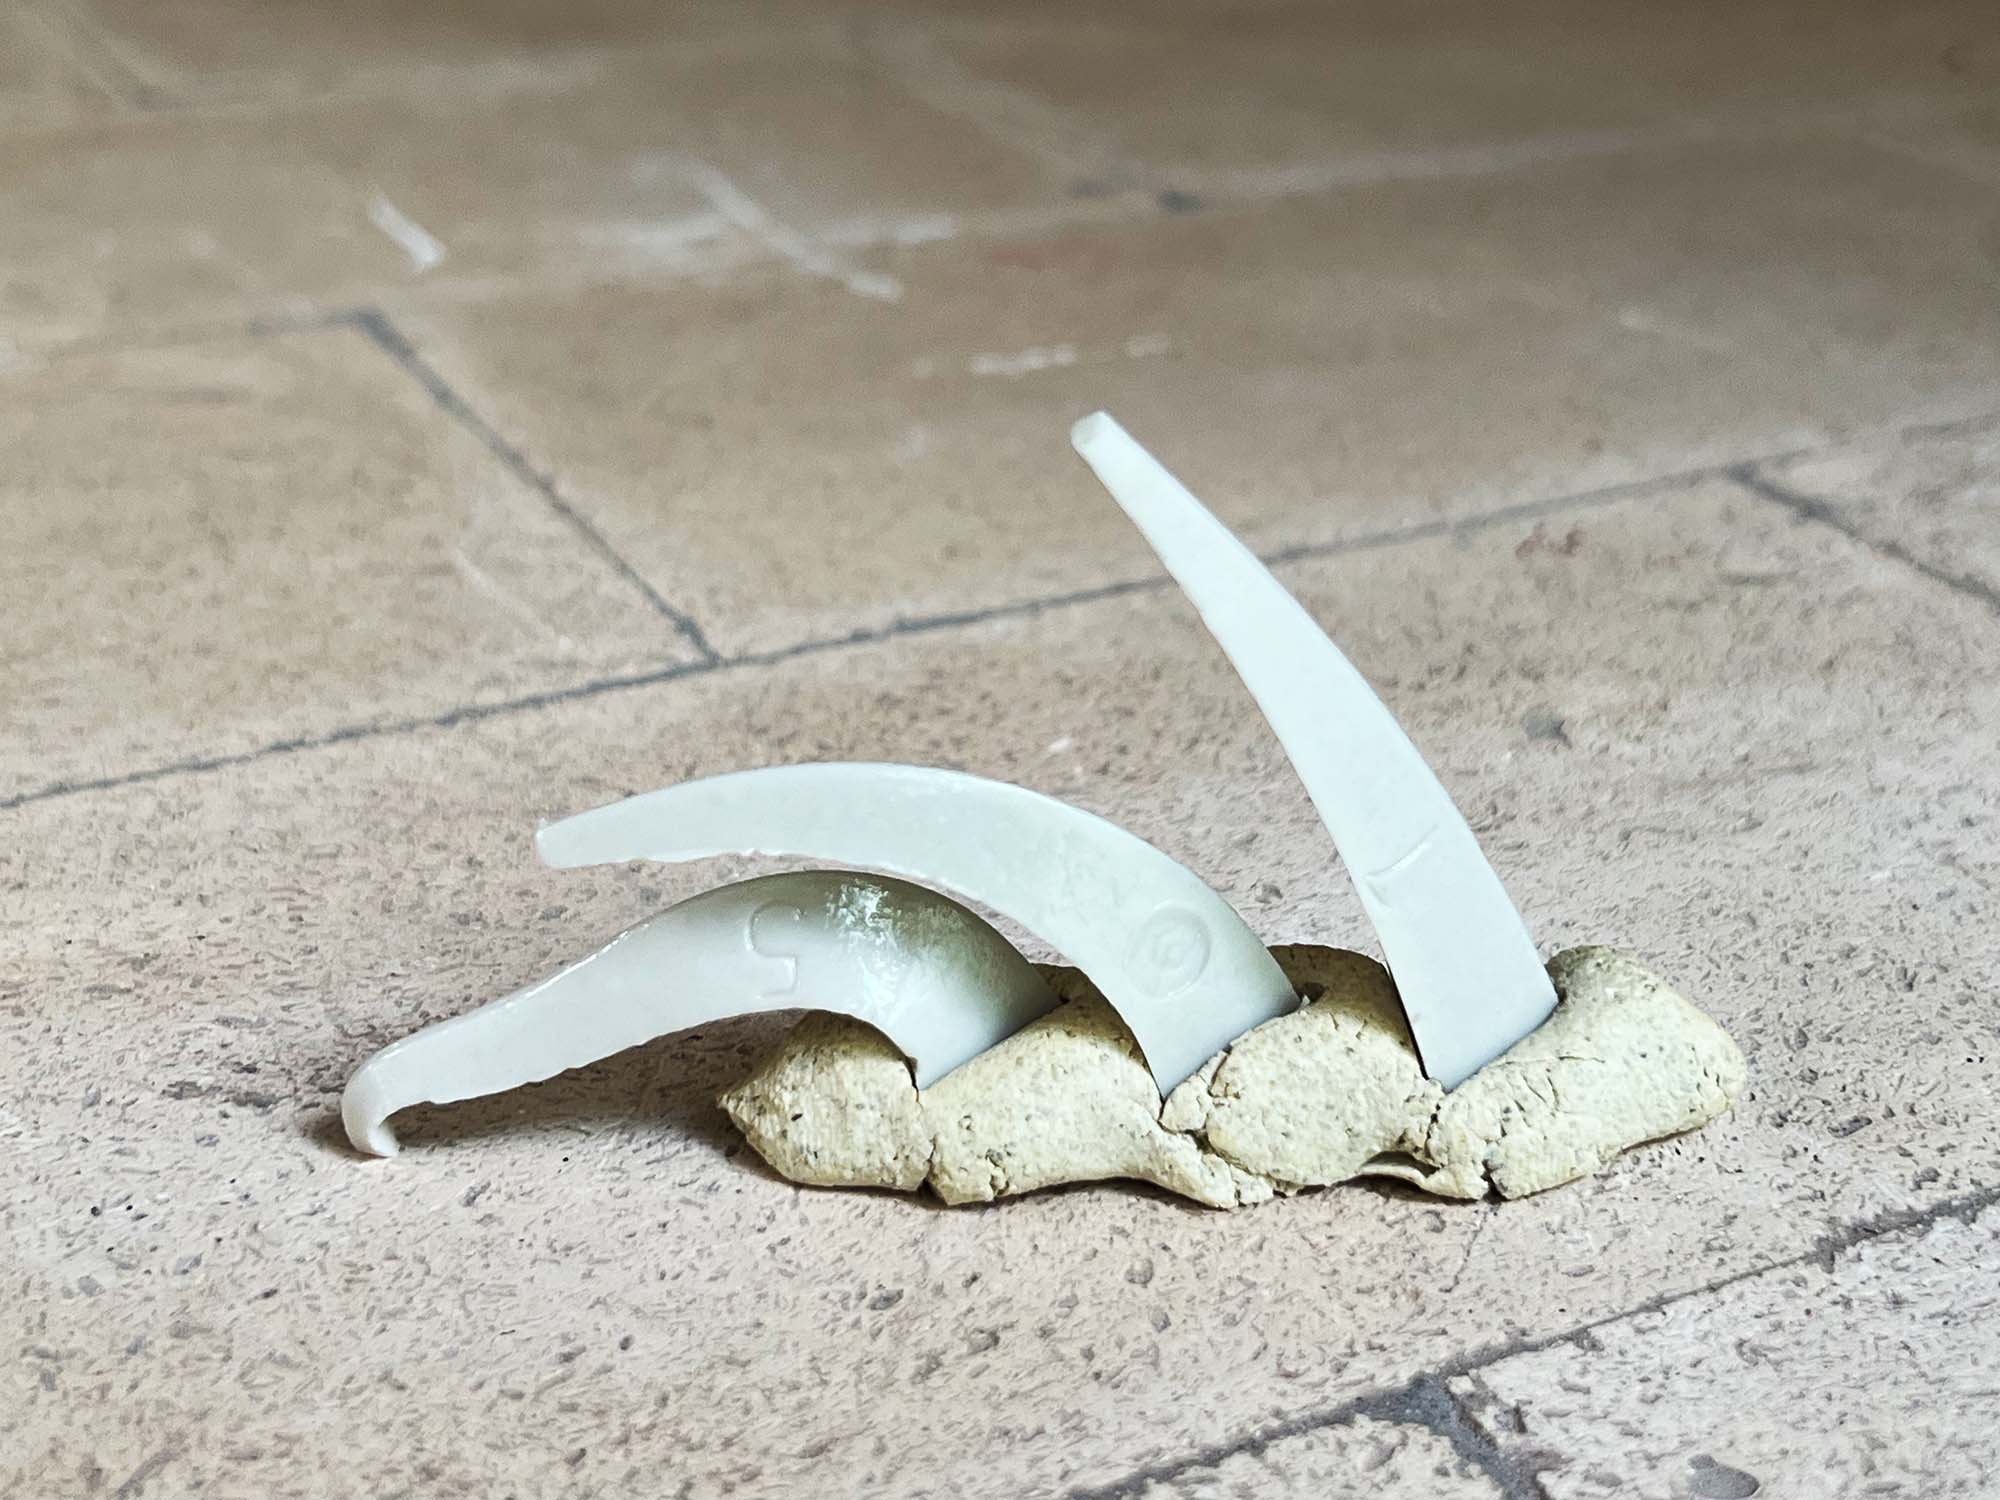
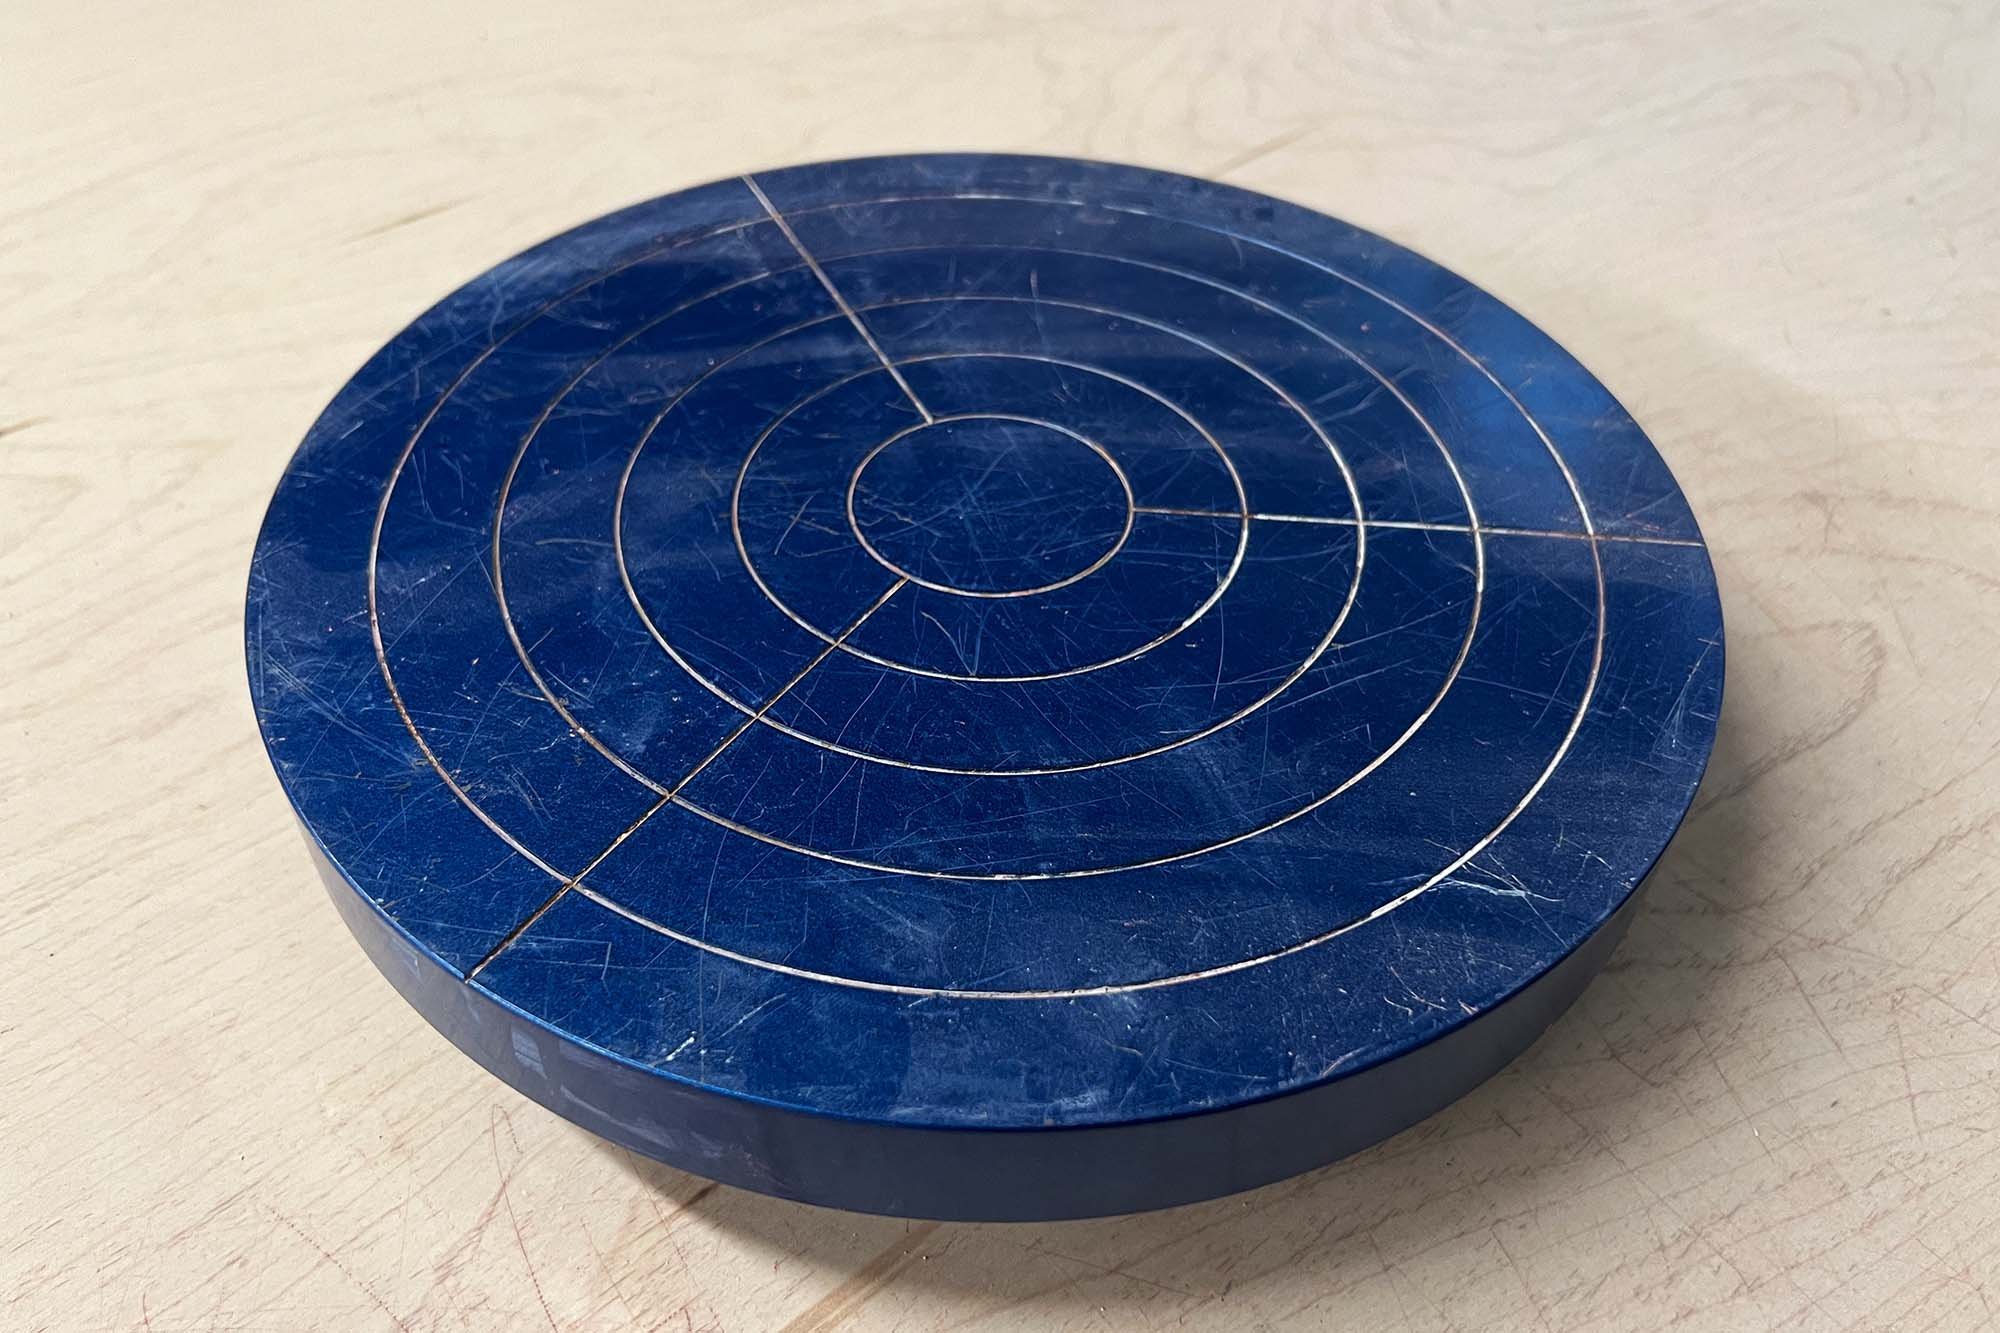
A useful, functional, and durable kiln wash is really important for your ceramic studio. Kiln wash preserves kiln shelves, saves time on cleanup, and hopefully doesn’t shed crumbs all over your kiln room. I have tried all sorts of commercial kiln washes that come dry and pre-mixed. They’re horrible! They always crack off and don’t really work that well. The solution: mix your own with just a bit of feldspar to help the wash stick to the shelves.
For years, I have used and loved John Britt’s Super Awesome No Crack Kiln Wash Recipe. But my current ceramic supplier doesn’t carry two of the four ingredients, Glomax and G-200 Feldspar. So I made some modifications and found a better recipe that works great for me for low fire and mid-range firings.
For the G-200, a potash/sodium feldspar that is no longer mined, I used NC4 Feldspar as a replacement. This 1% feldspar is the whole key to the recipe. It melts just enough so that kiln wash sticks, but not enough that it can’t be removed easily.
Second, I tried to make calcined kaolin by bisque firing a bowl of EPK, but that didn’t seem to work or blend well. In frustration, I replaced the calcined EPK with regular EPK and found that it’s even better than the regular recipe! Especially at cone 6. I don’t experience any cracking or peeling with this kiln wash. If you are firing to Cone 10, definitely try to maintain the original recipe. (I used to fire to cone 10 all the time but now, it’s just mid-range…)
Here’s a simple, BEST recipe. Maybe it can be called Modified Best Super Awesome No Crack Kiln Wash? In any case, this simple 3-part kiln wash is what I use.
Cone 6 Kiln Wash Recipe
| Ingredient | Percentage | 3000g batch |
|---|---|---|
| EPK or Kaolin | 50 | 1500g |
| Alumina Hydrate | 50 | 1500g |
| NC4 Feldspar | 1 | 30g |
| 101 | 3030g |
I love this kiln wash. It comes out such a bright white that it almost could work as an underglaze — something to test in the future. To use, mix approximately 2,000-3,000 g to a buttermilk consistency in a gallon bucket. If it settles and cakes at the bottom, you may have watered it down too much. Try adding a very small amount of epson salts and remixing if this kiln wash settles.
To apply, grind your shelf as needed and clean lightly with a damp sponge to remove any grit and dust. Then paint on a thin layer or two of kiln wash either in spots or over the entire shelf.
The original version of this recipe, along with other kiln wash recipes and TONS of useful information on glazes and materials can be found in John Britt’s Complete Guid to Mid Range Glazes. It’s the main glaze book that we consult regularly and is recommended for every studio firing to Mid Range temperatures. You can also find this book at bookshop.org.
What kiln wash do you use? Please share in the comments.
#Glazes That Work
This recipe is part of our series of posts of glazes that just work. There’s a million glaze recipes out there, but we’re posting a series of our tried-and-true favorites. Click here to see the other recipes we’ve posted.
For more info:
Read our guide on mixing glazes from scratch.
See our reviews of the best scales, cordless drills, or corded drills for mixing glazes.
Check out our recommended glazing accessories.

