A spray gun is a great tool for applying ceramic glazes, allowing you to quickly and efficiently cover large or complex surfaces, easily layer glazes, or create gradients and ombre effects.
Spray guns for applying glazes range from simple pots that you blow into, to all-in-one HVLP sprayers, to complete set ups that include air compressors and spray booths. This guide will cover all these options.
This post starts with our top pick, the HVLP sprayers from Wagner. The post also includes a guide to set ups with an air compressor. This post concludes with some tips and tricks for spraying, along with some thoughts on upgraded “pro level” sprayers.
Safety note: Anytime you are spraying glazes, it’s also extremely important to consider safety precautions including high quality respirators, spray booths with filters, and well-ventilated rooms (or outdoors.) Don’t take any chances with the health of your lungs!
Top Pick: Wagner Control Spray QX2 Sprayer
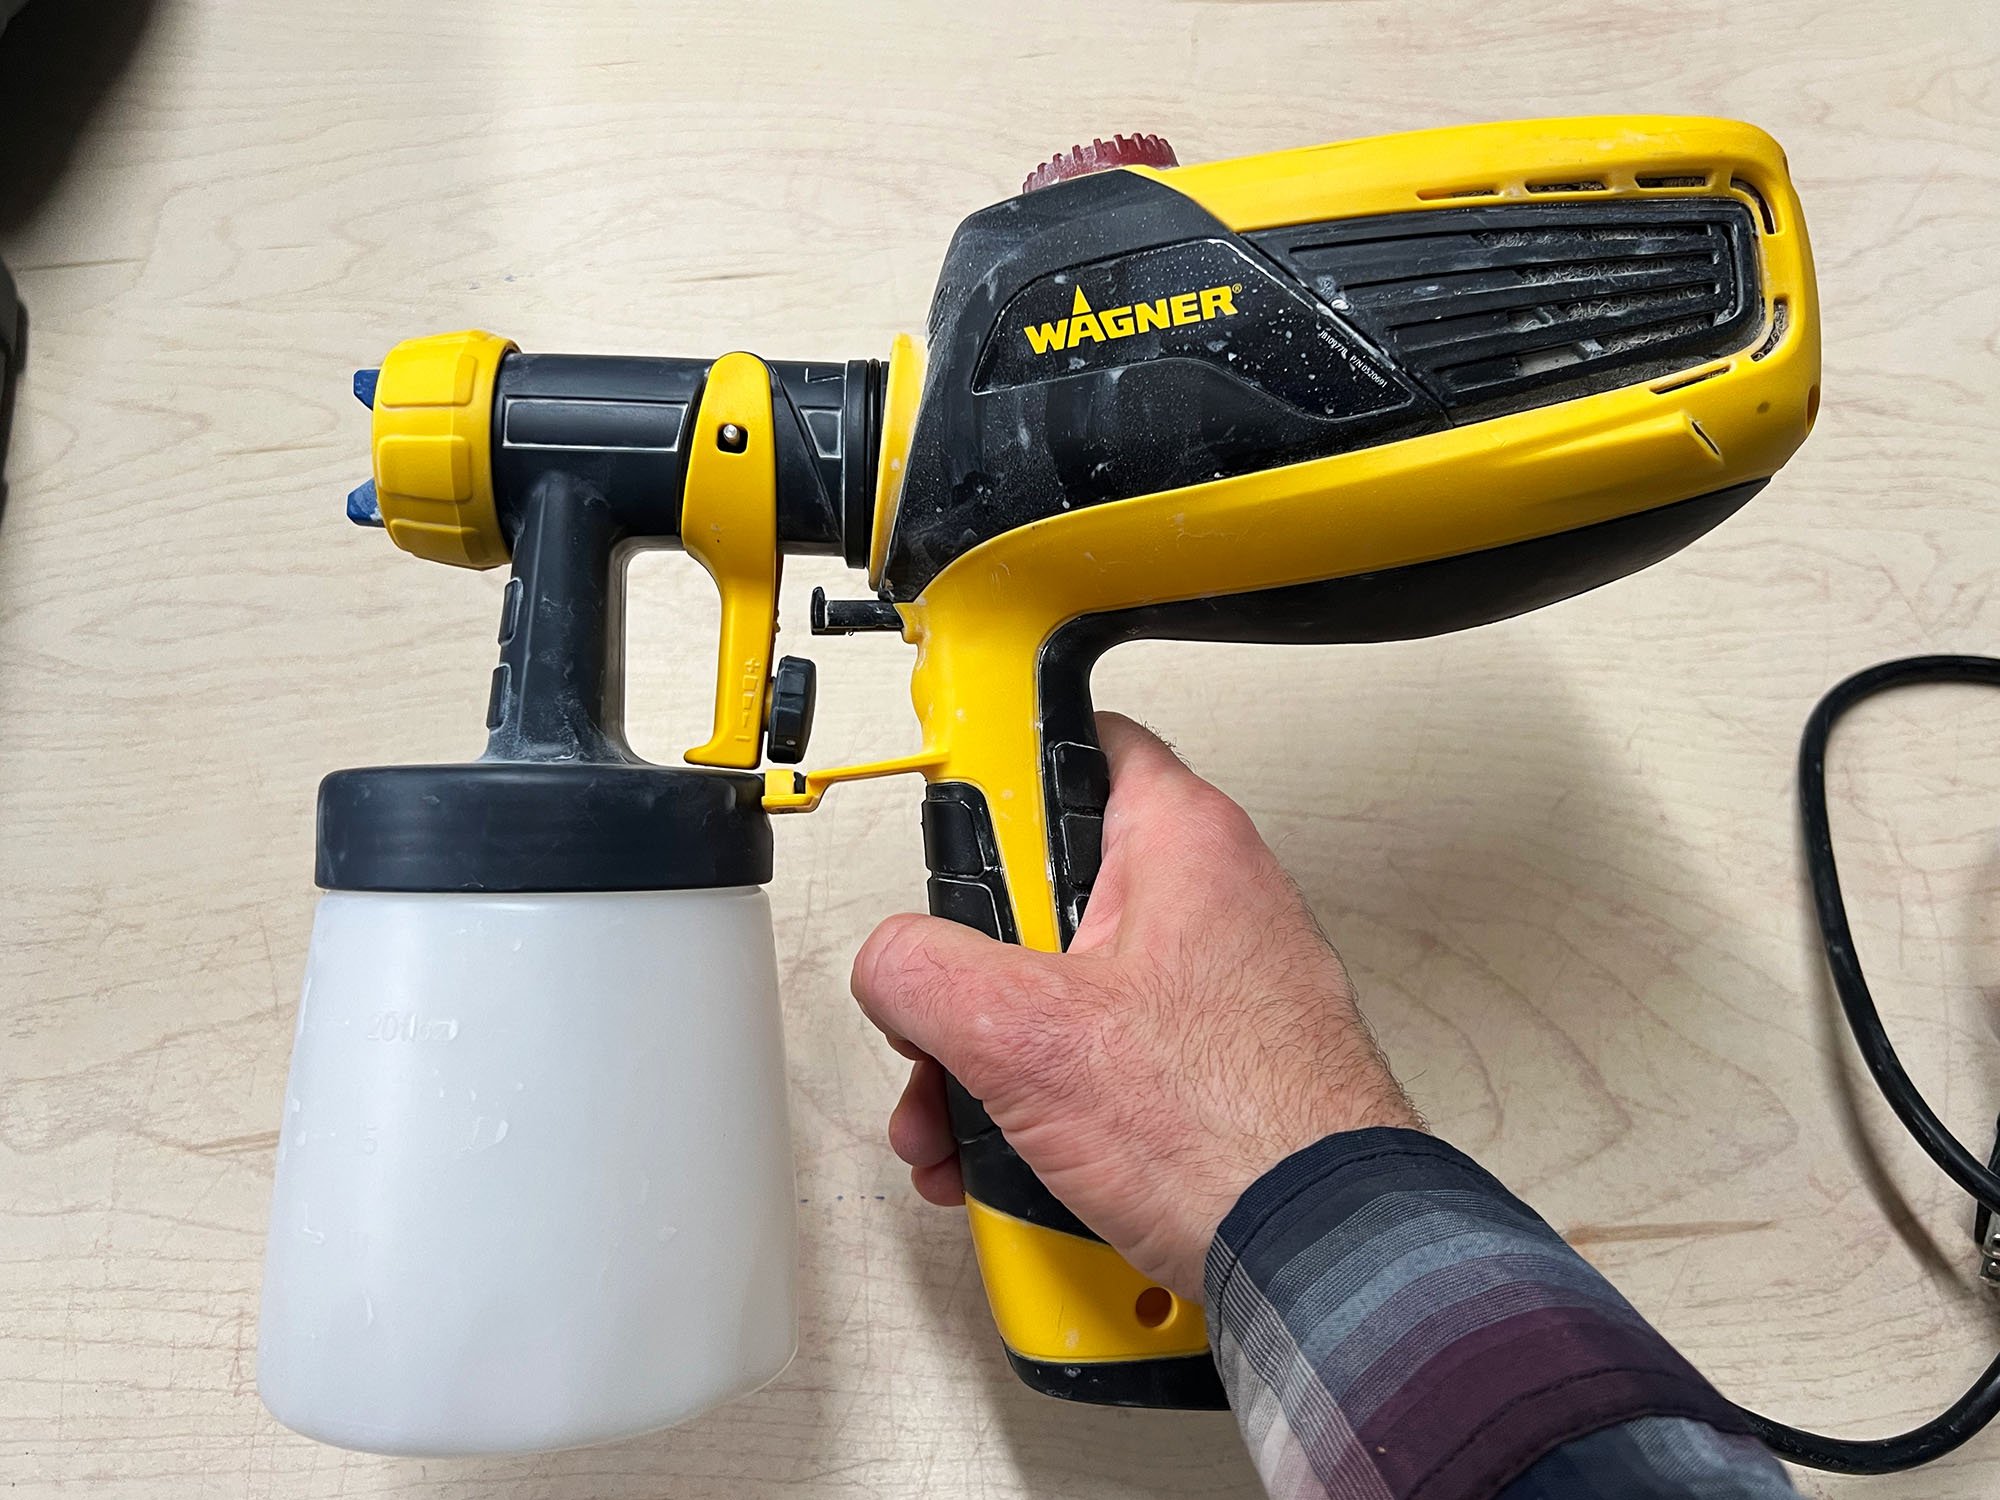
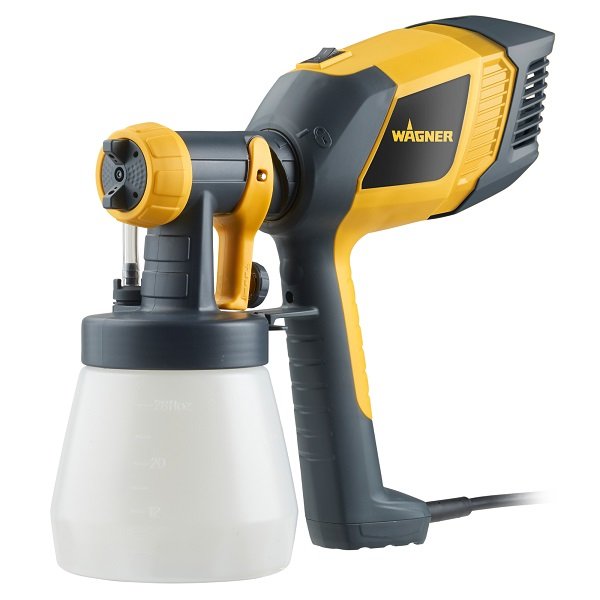
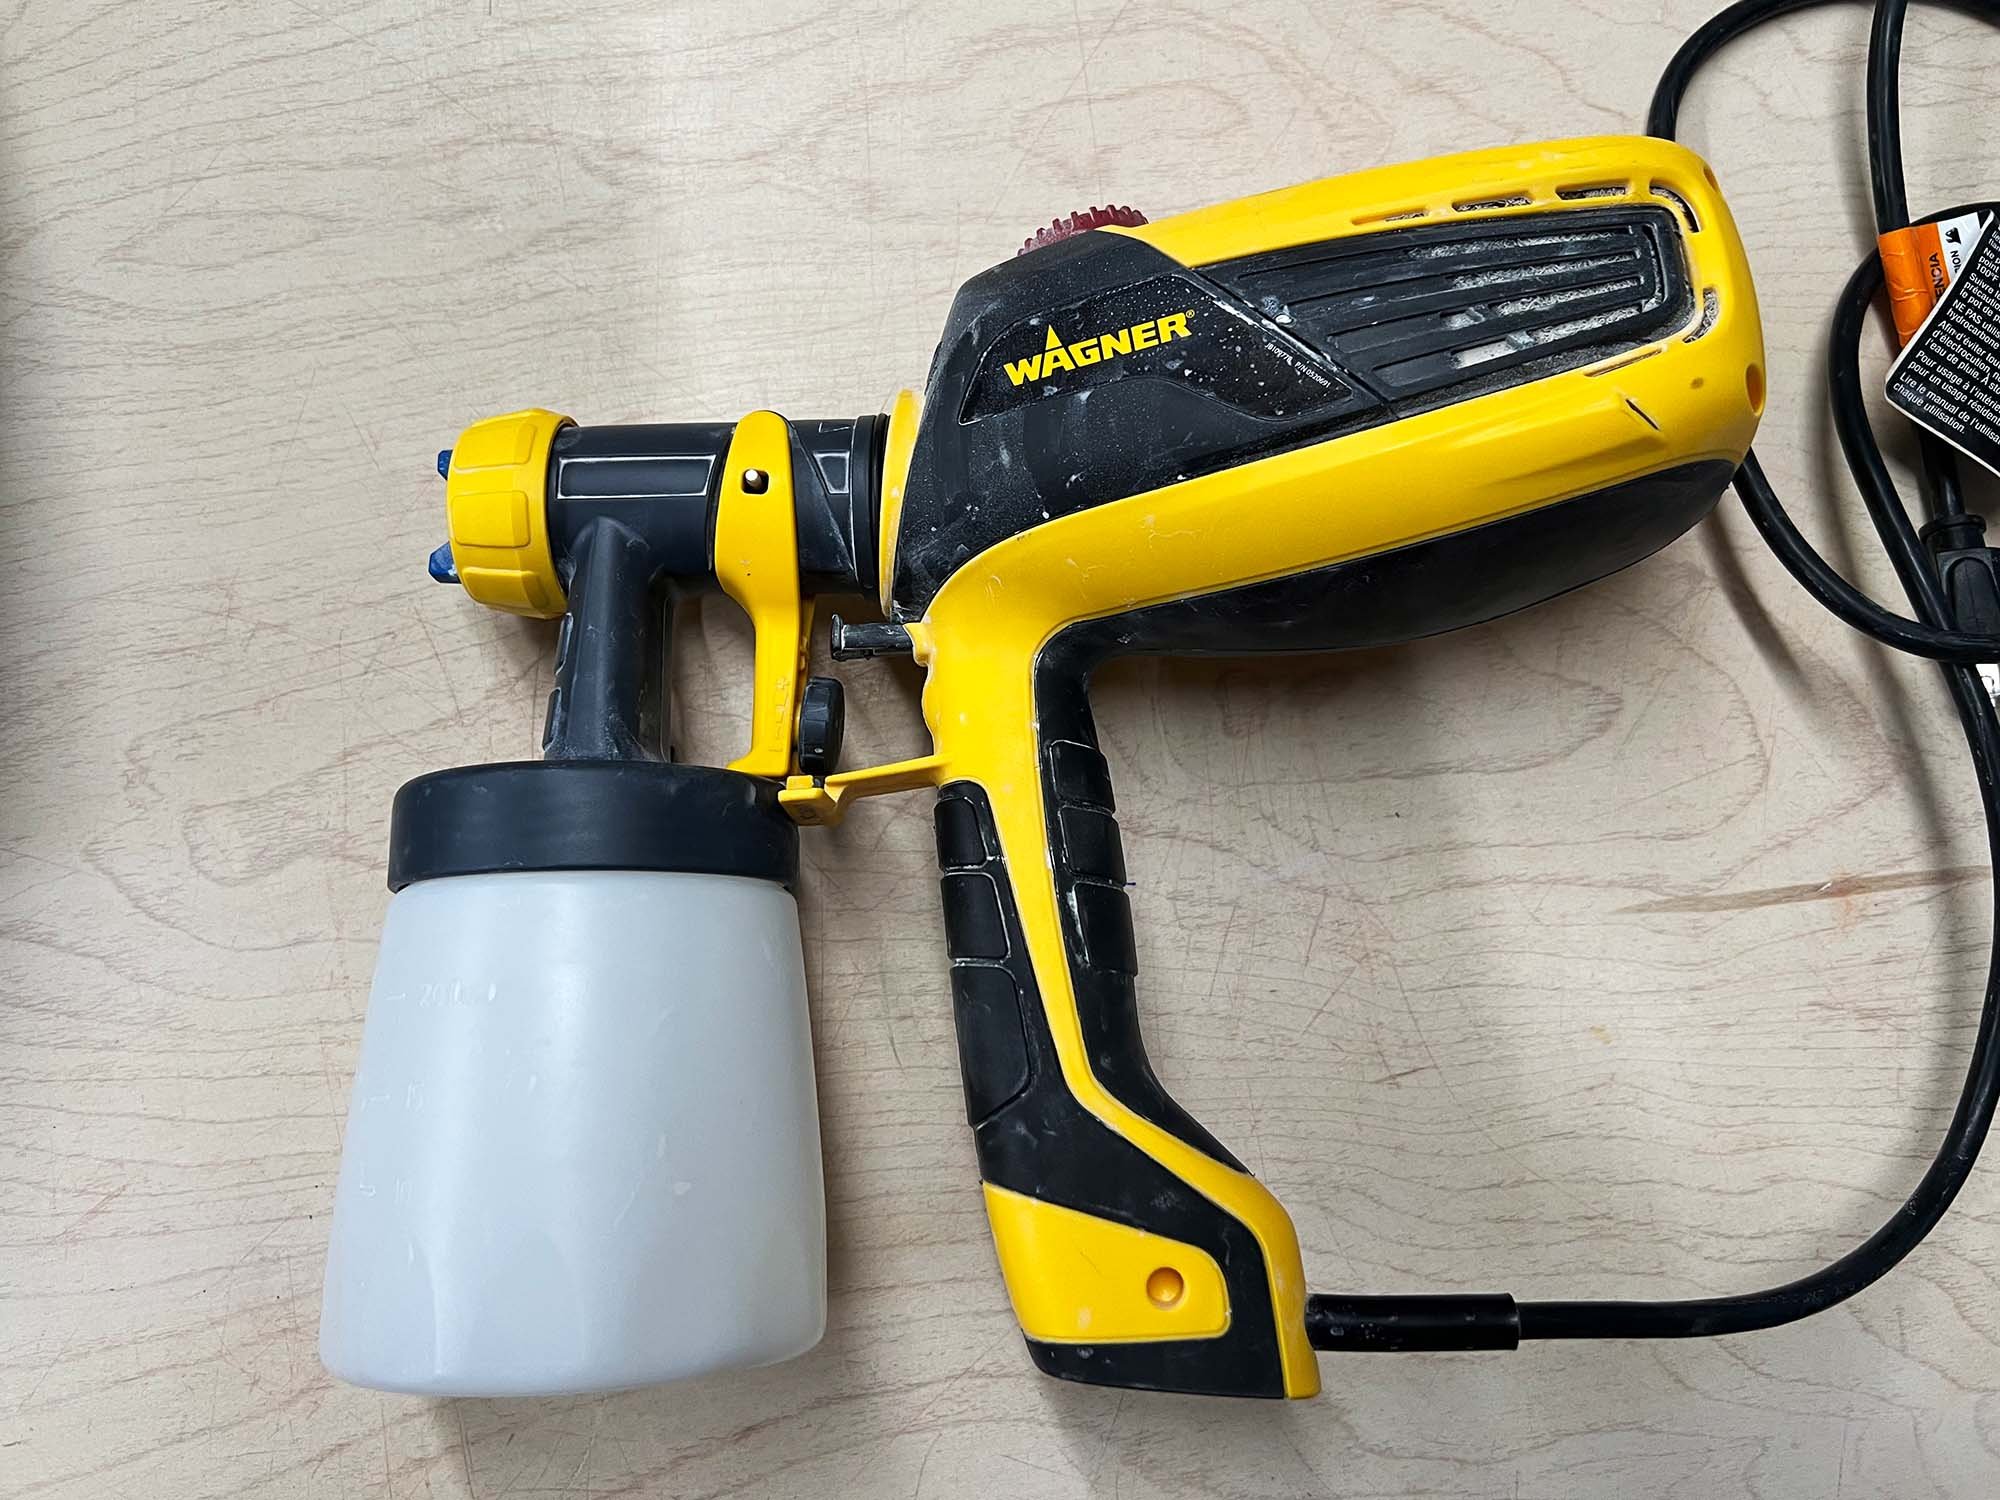
The Wagner Control Sprayers are great option for an all-in-one spraying option for individuals and small studios.
This is the simplest way to get into spraying glazes, and is our top pick for individuals or small studios. You may not have used or seen one of these in a ceramic studio, but they work, are affordable, and they are space efficient. An HVLP or “High Velocity Low Pressure” sprayer works in basically the same way as a spray unit with an air compressor, but instead these hand-held units have a fan that creates a siphon from the cup up into the spray nozzle. They are heavier than holding just a spray gun, but they are not too heavy and are well balanced.
The HVLP sprayers have a “softer” spray but in my experience, it is just as effective. It’s what I use in my own personal studio. The only trade off is a bit of a “spit” at the start of spraying but I haven’t noticed that this creates any issues with the glazes I apply. (This initial “spit” might be less ideal for applying thicker underglazes or slips, or for detail effects.)
There are lots of HVLP sprayers on the market but what I use and recommend is one of three smaller Wagner sprayers designed for applying stains. These are usually called the “control” sprayers in the Wagner product line. The sprayers have adjustable nozzles to control the spray pattern in a vertical, horizontal, or round pattern, and the cup holds about a pint and a half of liquid. These sprayers all have an on / off switch for the fan. Larger models have an adjustable fan speed dial.
The Wagner Control Spray QX2 model is slightly larger with a bigger fan, 27 ounce cup, and costs $89.99.
The Wagner Control Spray QX1 is slightly smaller, has a 20 ounce cup, and costs $79.99.
The smallest option is the Wagner Control Stainer 150 model with a 20 ounce cup for $69.99.
Note: these guns are available under a few different product numbers but I went with the most current names from the Wagner website.
More info on the Wagner HVLP sprayers
About a year and a half ago, I bought the Wagner Flexio 590 kit, which includes two sprayers, the larger “iSpray” and the “Detail Finish” nozzle. The “iSpray” was waaaay too big for my purposes, but I find the “Detail Finish” nozzle to be perfect for glazes, which is why I’m recommending any of the smaller Wagner spray guns, such as the QX2 Control Sprayer. One nice feature of the larger gun that comes with the Flexio kit is that it has an adjustable fan, whereas the smaller Wagner models just have an on / off switch. (I think you’ll be fine either way.) More info in the image captions:
The Flexio 590 kit from Wagner comes with two nozzles and a briefcase style storage unit. The larger nozzle is overkill for ceramic glazes, so I’d recommend just getting one smaller “Control” or “Detail” sprayer.
The assembled unit with the “Detail Finish” nozzle and cup attached.
The nozzle and cup can be broken down into 6 pieces, which can all be submerged in water and cleaned. The motor / fan unit on the right can be lightly cleaned with a damp sponge.
I use the unit at the 3.5 setting, but not every Wagner sprayer has an adjustable fan.
Table of Contents
Top Pick: Wagner Control Sprayer
Pro-grade set up: Spray Gun with Air Compressor
Stainless Steel Atomizers for small projects
Spray Booths
Tips and Equipment for Spraying Glaze
Professional-Grade Spray Guns
Summary
Professional Spray Gun Set Up
If you will be doing a lot of glaze spraying or want the most control, you’ll want to get a good quality spray gun that attaches to an air compressor. This combination of equipment is fairly quiet and the compressor should fit underneath your spray booth, so it won’t take up a huge amount of space (more on spray booths below.) In addition to a spray booth, this set up involves an air compressor, spray gun, and a hose and coupling to connect the compressor and spray gun. Using the recommended links below, the spraying set up will cost around $245 and up, depending on the spray gun you select. The spray booths start around $900 but will easily get to $1500-$2000 when you add in needed features such as an exhaust fan and shipping.
Air Compressor
California Air Tools 1 gallon / 0.6 HP compressor is a great option for a small air compressor.
Aside from the spray booth, the biggest part of this set up is the air compressor, and the California Air Tools 1 gallon / 0.6 HP compressor is plenty strong for spraying glaze and at $165, not terribly expensive. It weighs 29 lbs and is rated at just 56 decibels. At Home Depot this compressor comes with a 25 foot hose, or get it at Amazon without a hose.
Spray Guns
The K-Grip siphon spray gun is a basic model that is durable and long lasting.
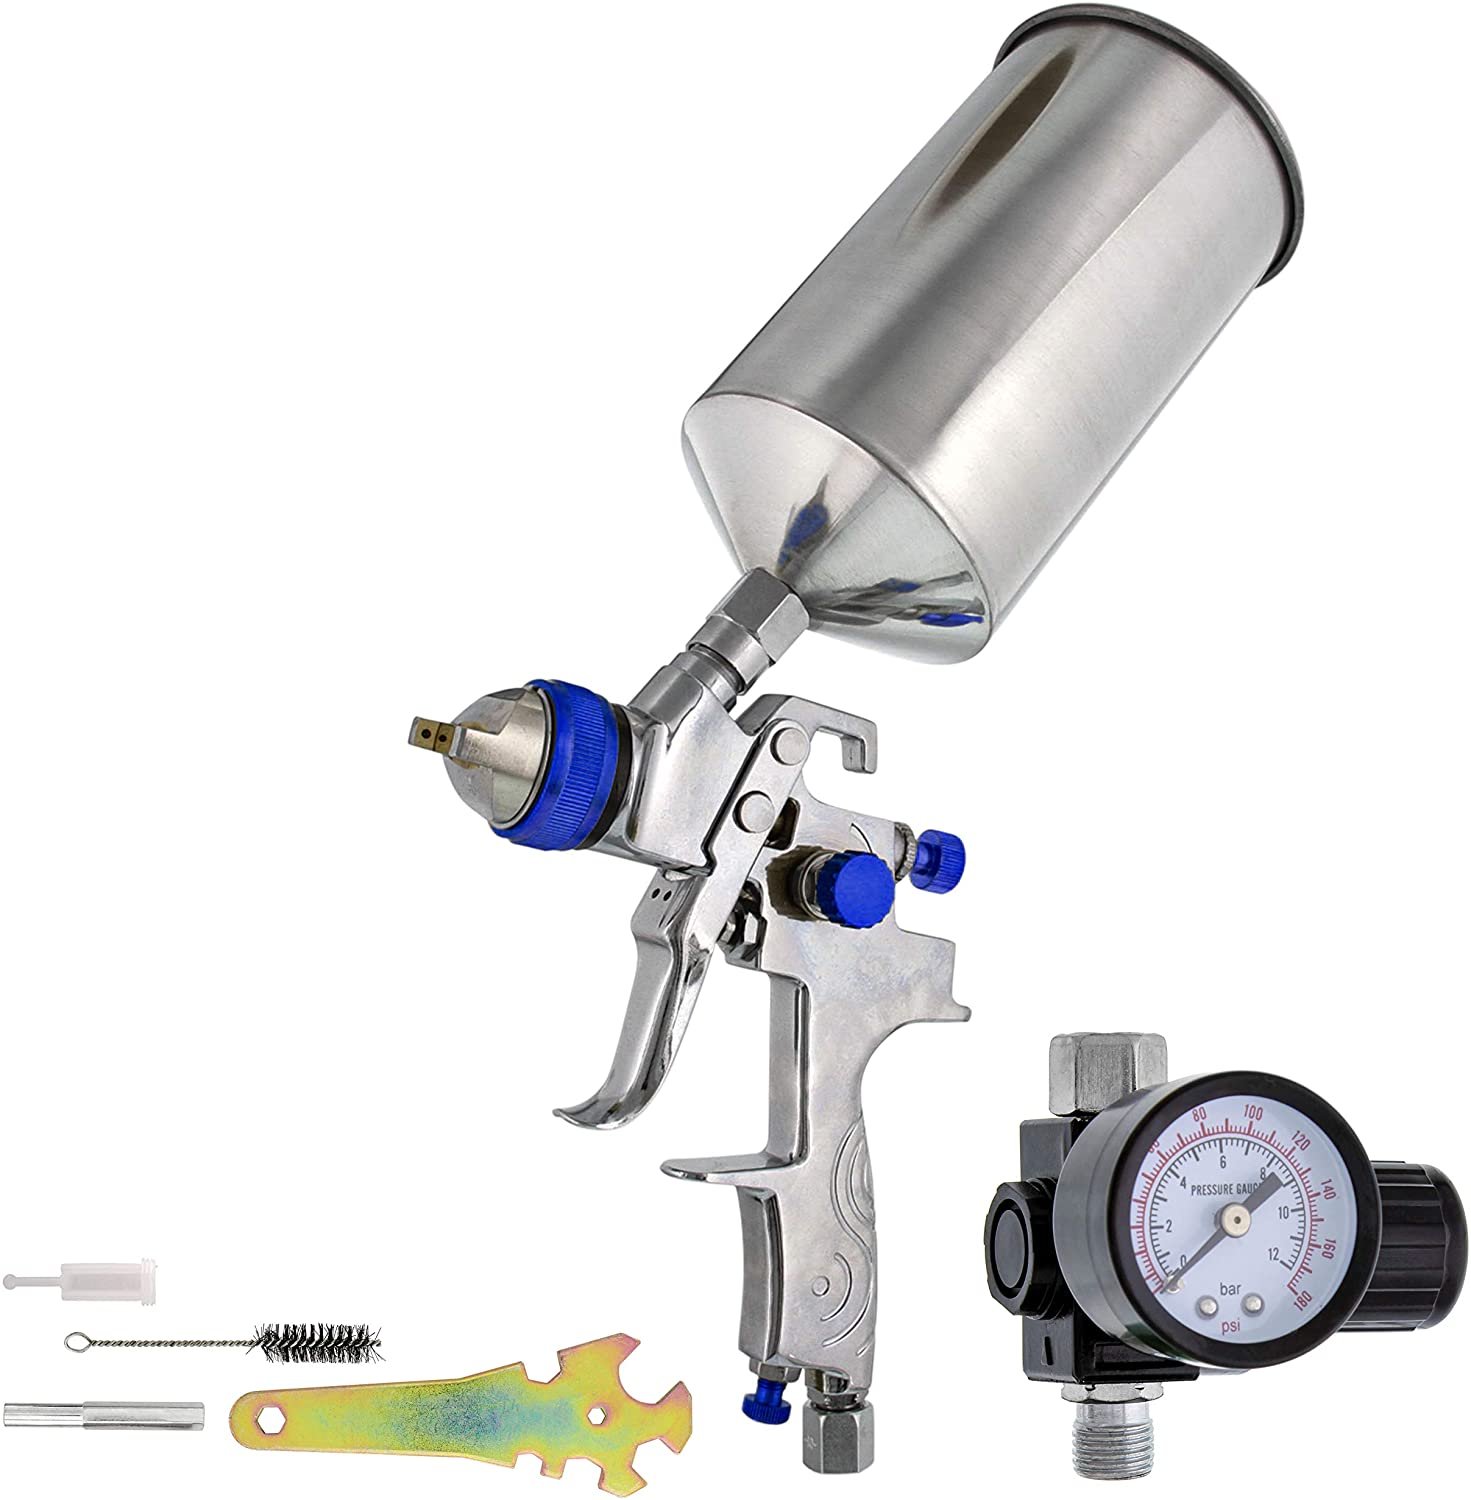
There are a lot of spray gun options, and they can be roughly classified into siphon style where the cup is on the bottom, and gravity feed, where the cup is on top. Both are fine for ceramic glazes. A lot of ceramic artists like the cheapo Harbor Freight spray guns for around $20 but I tried those and they failed with a few hours of use, so in this guide, I’m only recommending spray guns of better quality and durability.
For a siphon-style spray gun, a good place to start is with a simple K-Grip Siphon Spray Gun for $45-$50. Sometimes this is sold under the name “Critter.” This gun has almost no moving parts, so nothing to break, but it is not adjustable and can only spray in a cone pattern. This spray gun will connect to mason jars or plastic underglaze jars, allowing you to easily switch between glazes.
The TCP G6600 spray gun is the entry-level model in the TCP line and is available with a variety of tips, starting around $70.
For a gravity-feed spray gun, a decent option is the G6600 Model from TCP Global. These guns start at around $70 and have a variety fluid tip sizes. A good model is the sprayer with a 1.5 mm fluid tip for $70, or you can get a 3 pack of guns for $140 that comes with a variety of fluid tip sizes. The main advantage of these guns is they come with adjustable nozzles that can be set to spray in a cone, vertical, or horizontal pattern.
These guns also come with replaceable nozzles and needles, so if parts wear out they can be replaced. Or you can switch between different tips for different uses. In general, smaller tips are for detail applications, and wider tips are best for general use. Click here to view TCP replacement parts, and make sure to pick the nozzles / needles that match the gun you are using.
These are just a few of the many options for spray guns out there, but I think a good place to start is something in the the $50-$100 range. With a lot of use, your spray gun may wear out so you might want to keep things simple for your first spray gun. Also keep in mind that professional-grade spray guns from Binks or Devilbiss will cost $200 or more. There is more info on “pro-grade” spray guns near the end of this post.
Hoses etc.
Air hose
After picking out your air compressor and spray gun, you’ll need a few attachments including a hose and possibly a brass coupler set. The air compressor comes with a female air outlet, so the hose should connect to that easily, but you might need an additional quick release to connect to your gun. If you haven’t used these couplings before, they are simple quick-release style all metal couplings. If they get sticky, lubricate the bearings.
Below are links to a hose, and brass coupler set. If these don’t work for you, you might need to plan a trip to a hardware store to get all the right parts that fits to your system.
Brass coupler
Here are the same links as above:
Small Projects Option: Stainless Steel Atomizers
A stainless steel atomizer is a an affordable option that is great for occasional or small spray jobs.
For small projects or very occasional use, a stainless steel atomizer is an option for spraying. These are basically mouth spray guns. They are probably too much work for applying a normal layer of glaze, but if you were looking for a simple way to apply underglaze or oxides, this is worth a try. They are available in 100ml to 300ml sizes. For most, I’d start with the 200ml atomizer or consider the smallest 100ml size. The largest size gets a bit hard to use effectively.
Spray Booths
The Laguna Pro-X Spray Booth on a mobile base.
If you are spraying indoors, you need a spray booth with a filter and a good fan that will suck all the exhaust into the filter. (You should still wear a respirator) The best and main option is the Laguna Spray Booth, which is available in the Pro-X model and the wider Pro-V model. These start at $845 and $1,640 respectively, and expect to spend quite a bit more as it’s a good idea to add the fan and all the options that will make this work properly. The Laguna spray booths are easy to clean, effective, and well sized for pottery and small to medium sized sculptures.
The Paasche Spray Booth is an option for a smaller, table top spray booth.
For smaller options, you might look into the various Paasche Airbrush spray booths, which start around $300. These will need 4 inch ducting to run the air out of your room, and they are not very tall.
Another option is to do all your spraying outdoors. Wherever you spray, indoors or out, wear a high quality respirator or dust mask.
Tips and Tricks for Spraying Glaze
This section will cover a few ideas for spraying glazes, along with a few products that will make your experience easier.
Glaze Viscosity / Thickness: Always make sure that your glaze or underglaze is well mixed and ready to apply. It can be thick or thin—as long as it works with your spray gun, it should be fine. If it is too thick, try thinning your glaze with water until you reach a stage where it will spray. But generally most glazes that are ready to dip or paint are also suitable for spraying.
Clean up: Plan to clean your spray gun immediately after spraying. You do not want glaze material to dry inside the gun, especially if you are using anything with gums that will be very hard to clean when dry. Most spray guns can be take apart and the whole apparatus can be submerged in water for easy cleaning. A cleaning kit might be overkill for most users, but having a small brush or two can really help you clean tubes and hard-to-reach parts of your sprayer.
Spray Gun Oil: You may need a bit of a light oil for your spray gun. Definitely consult your owners manual, but for an easy-to-apply and light oil, I like the Wahl hair trimmer blade oil as it comes in a convenient 4 oz size with a long applicator tip.
The following two items will make spraying glaze much easier for you:
Sieves
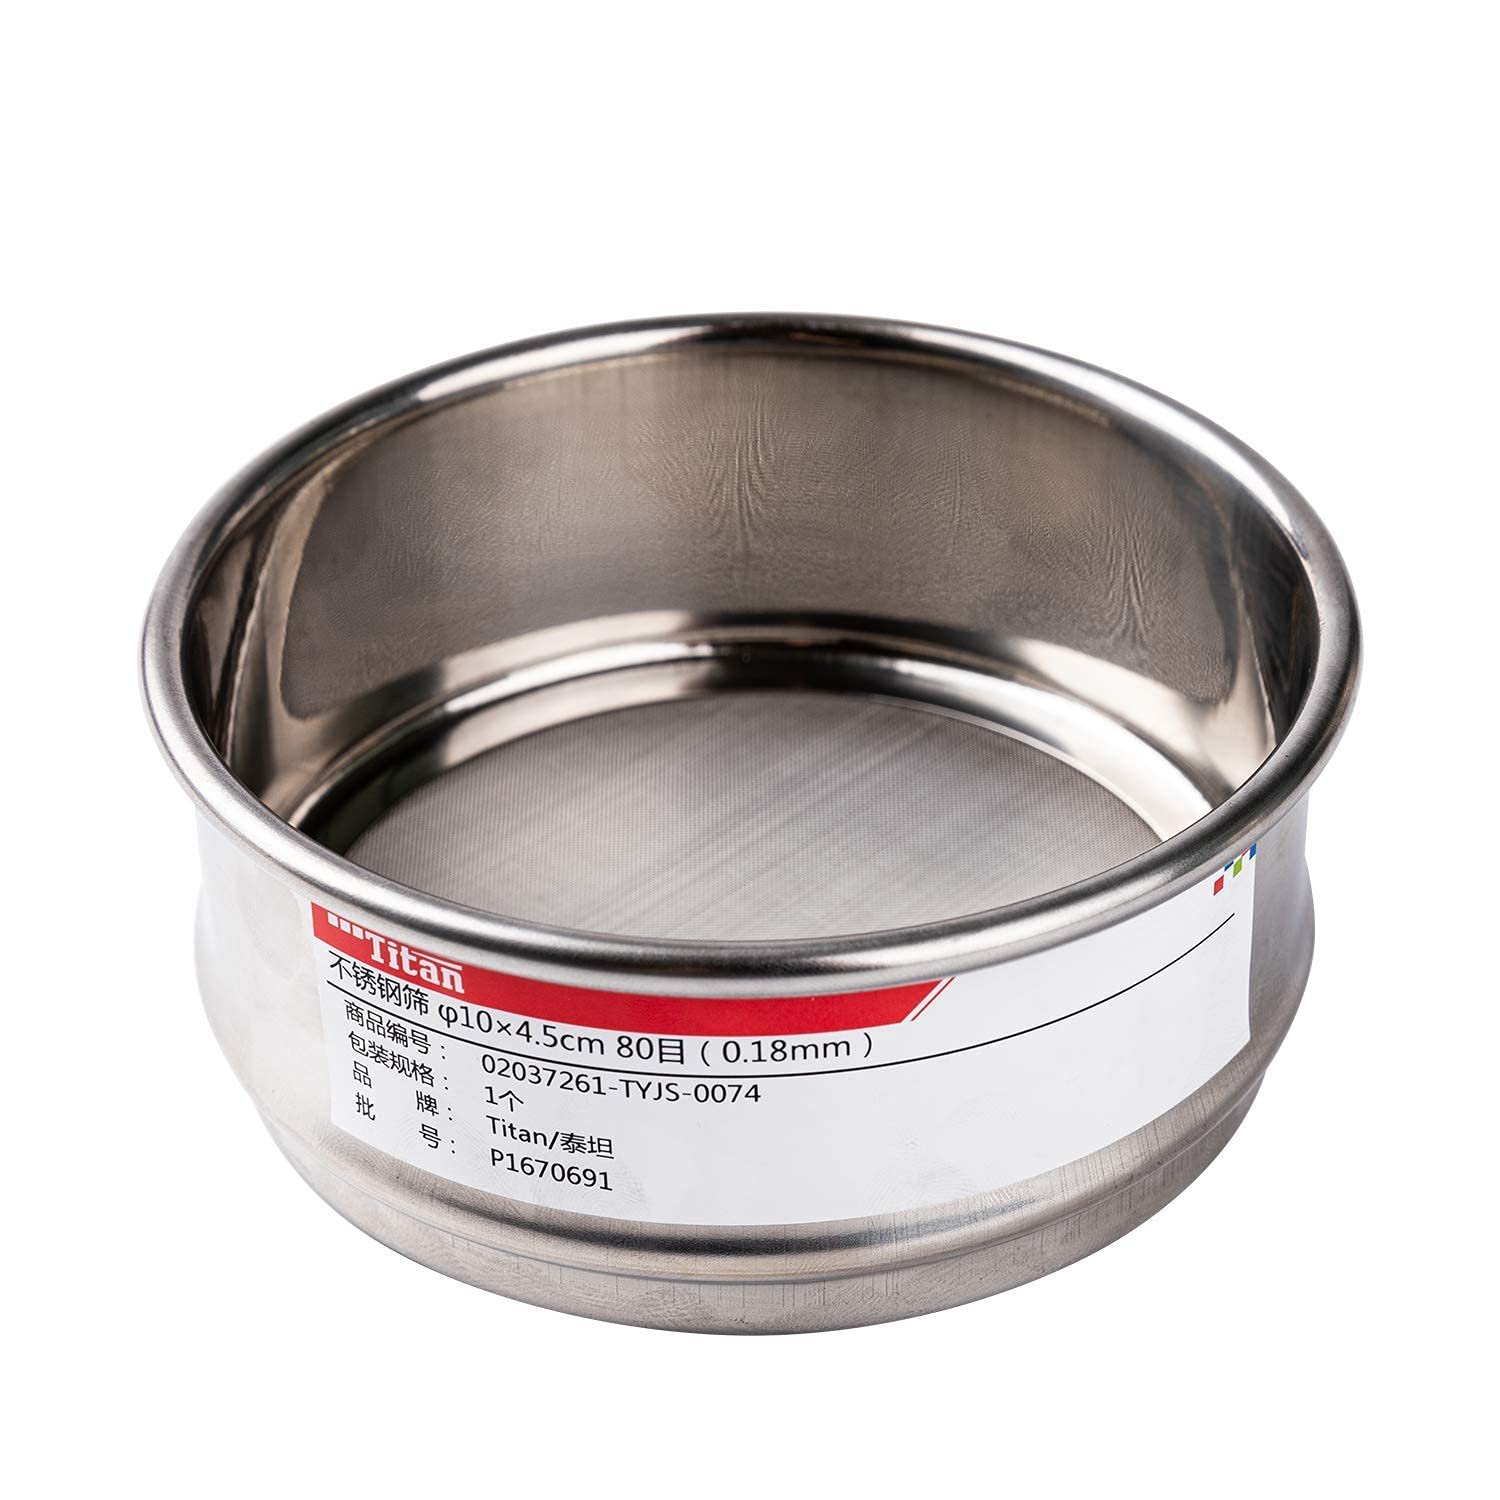
The Adamas-Beta test sieve is a small sieve that can be used for screening glaze directly into your spray gun cup.
Make sure to sieve all your glazes before screening (Yes, every time you fill a cup). You don’t want any small chunks of glaze material or bisqueware clogging your spray gun. It’s best to run glaze through an 80 mesh screen, such as a Talisman test sieve or the Adamas-Beta stainless steel sieve.
Banding Wheel
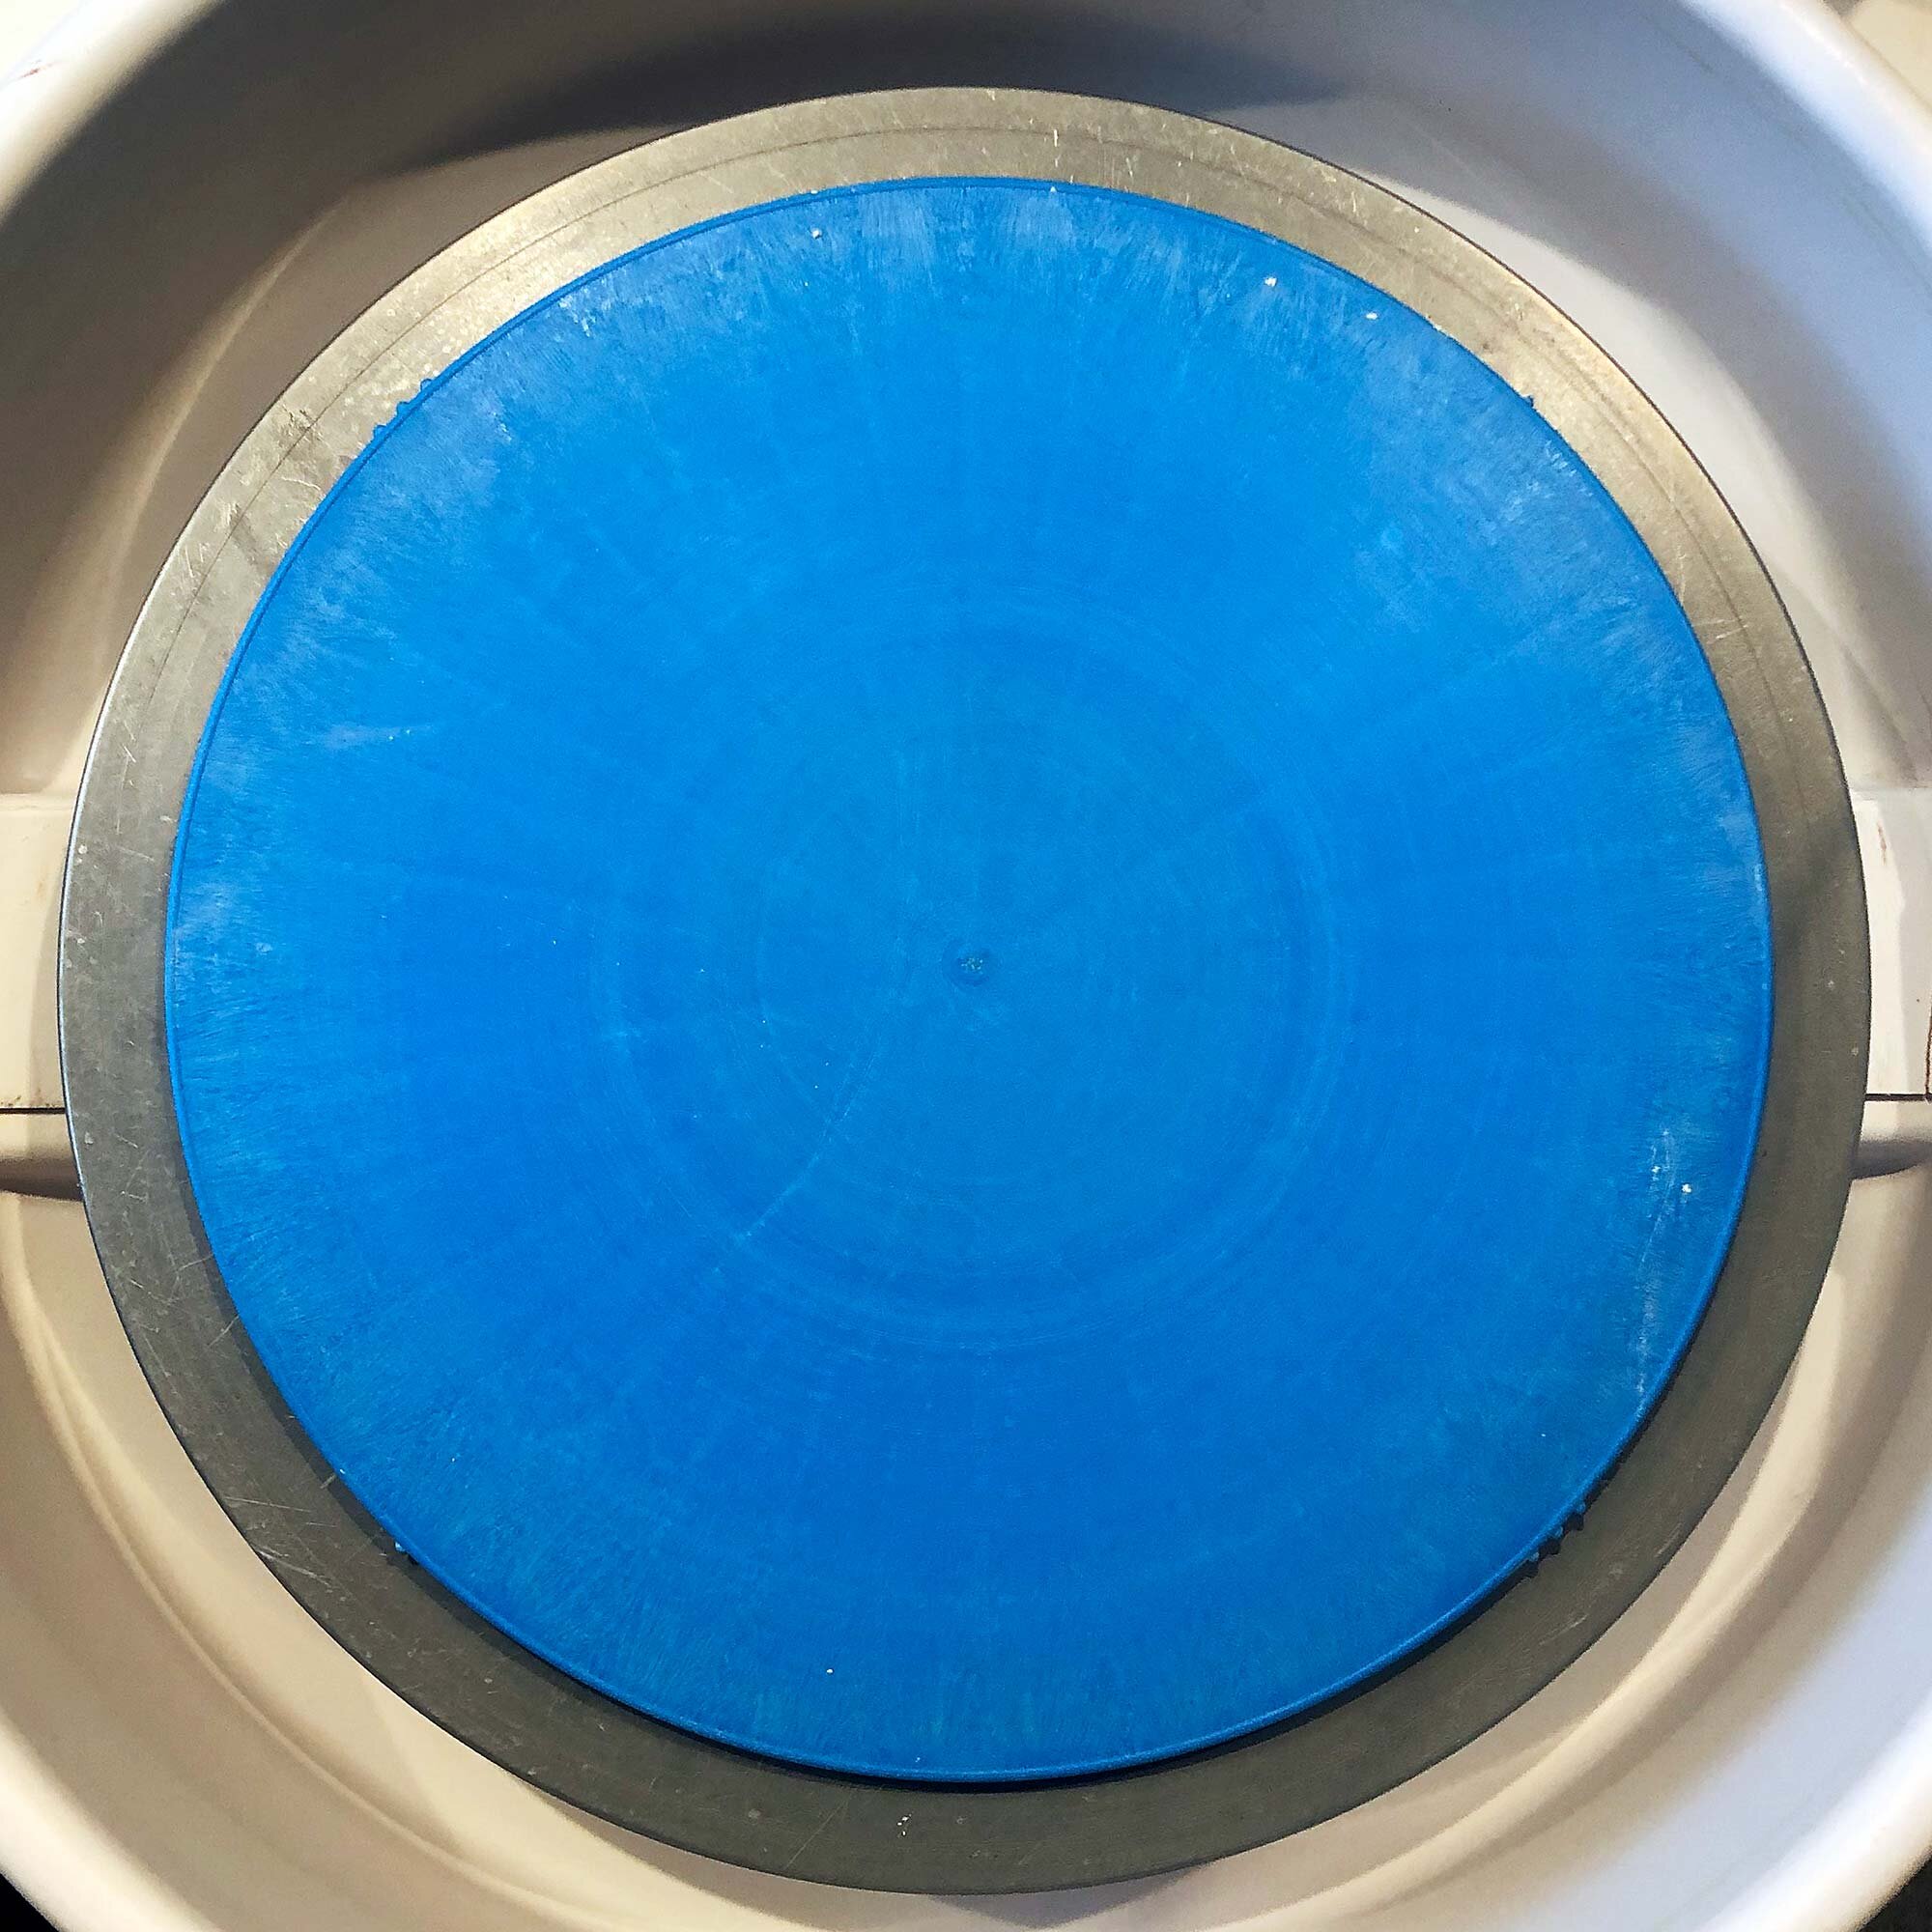
A Shimpo banding wheel will spin easily and can be cleaned after use.
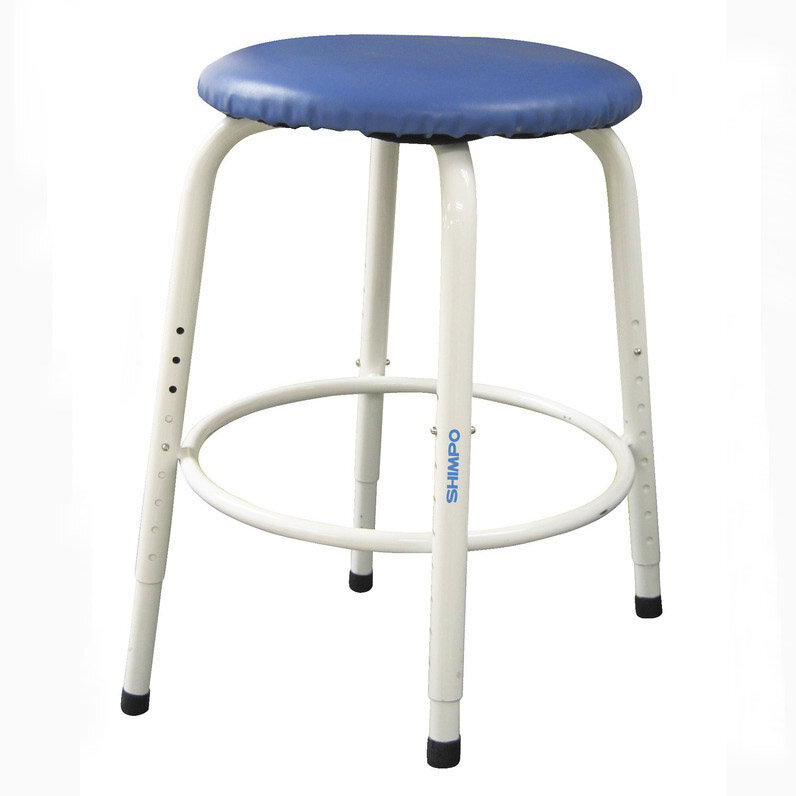
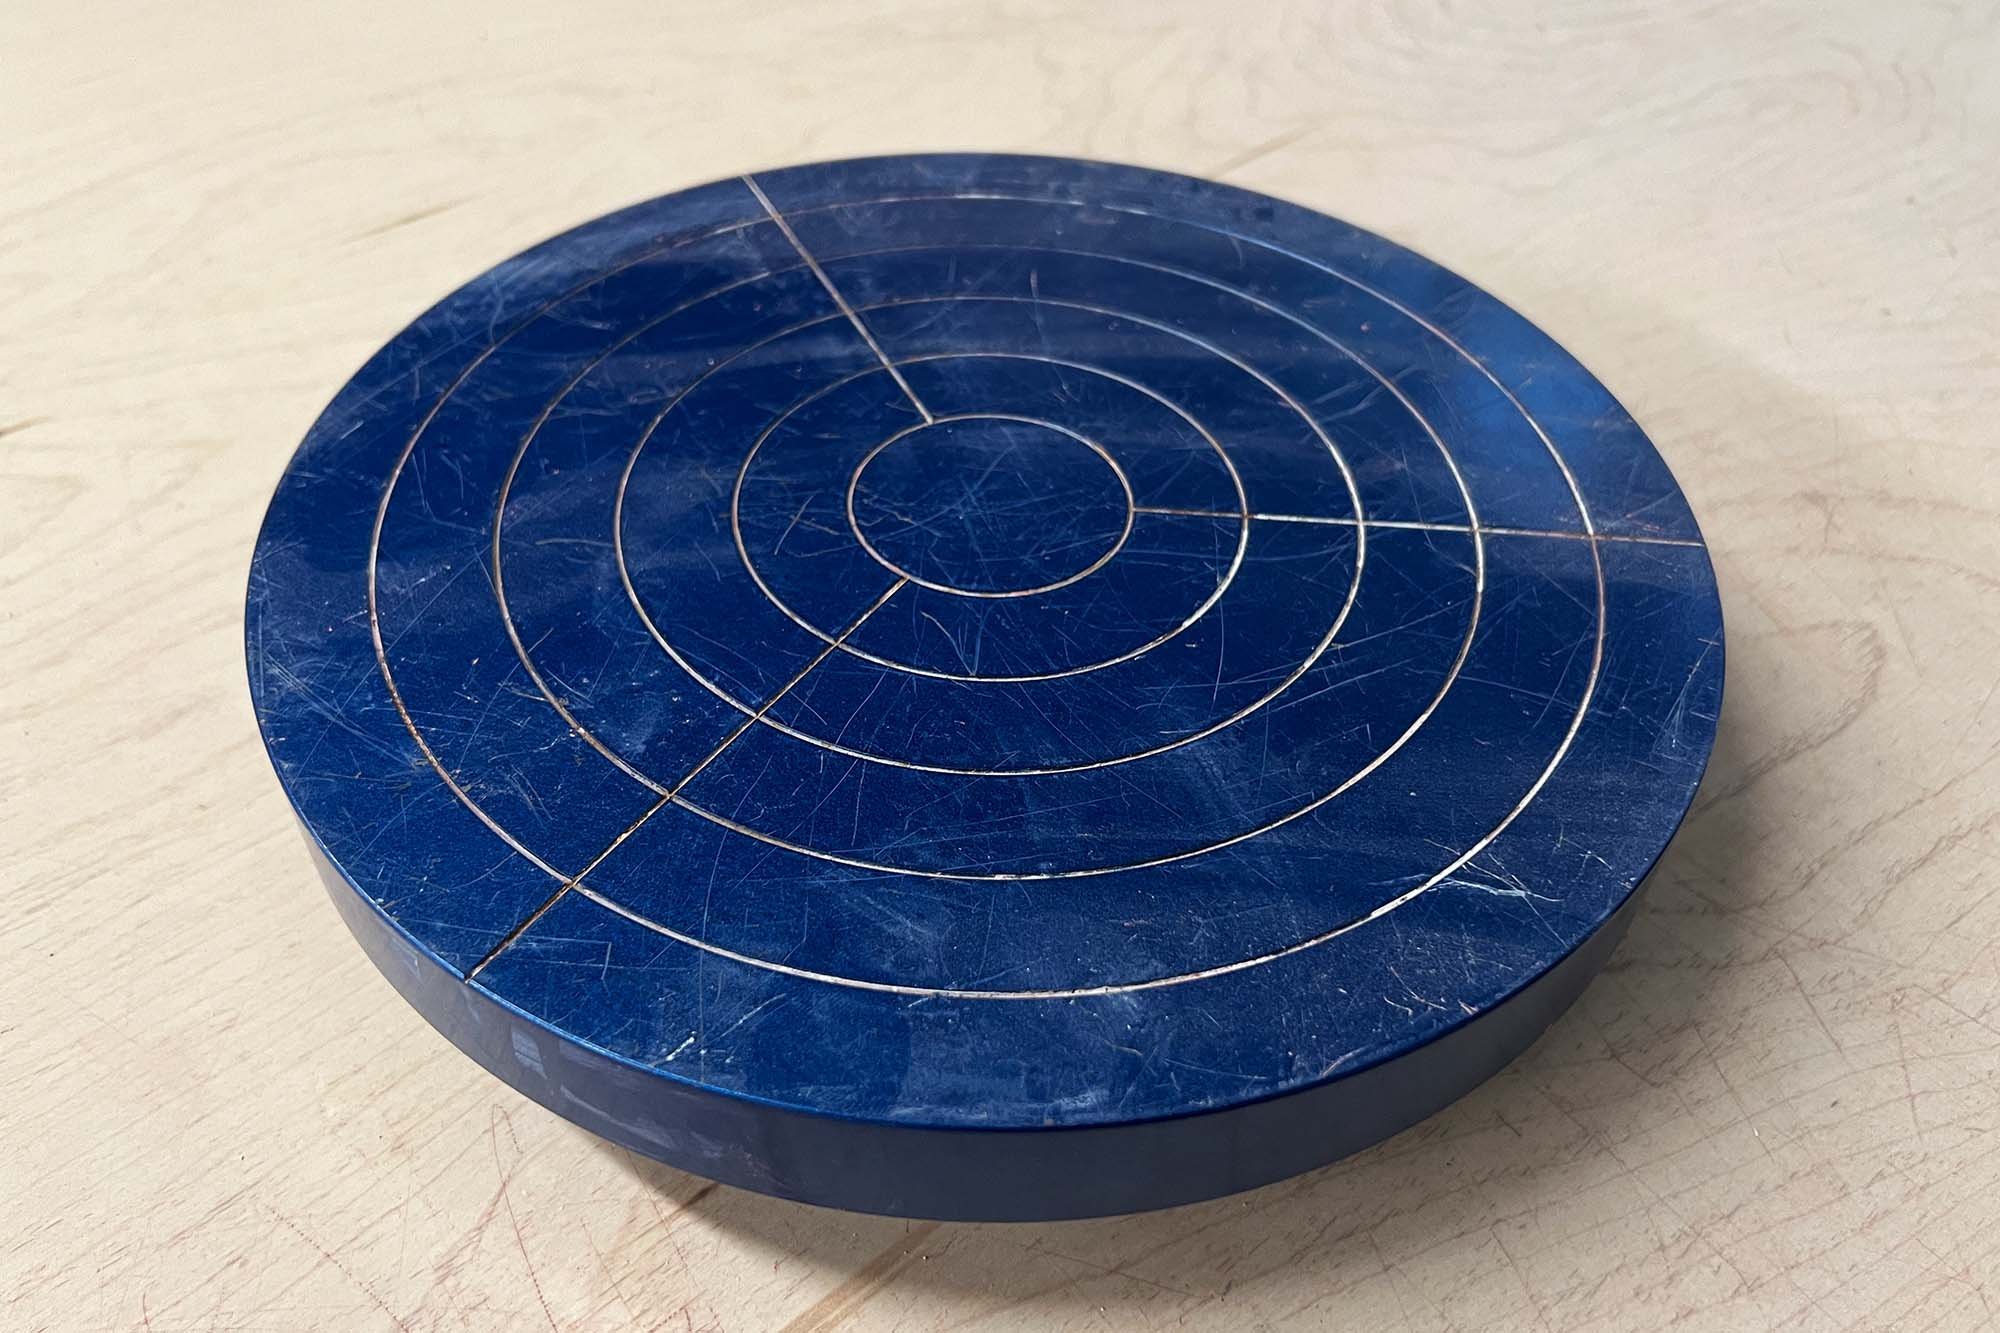
A banding wheel inside your spray booth makes it easy to turn and get all sides of your piece with one spin. Choose a high-quality banding wheel such as Shimpo or Falling In Art, which are all metal and easy to clean.
Professional Grade Spray Guns
If you do a lot of spraying, it can be a good idea to invest in a high-quality spray gun. Starting at around $100, these guns can range up to around $300 or more. What you are getting with these guns are higher-quality parts along with the ability to buy replacement needles and nozzles. This means you might be making an investment in a gun that will last you decades, with proper maintenance.
Here are a few options for professional grade spray guns.
Binks
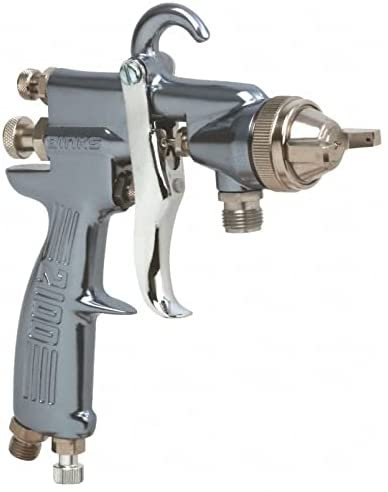
The Binks 2100 model is a traditional (not HVLP) spray gun.
Binks makes amazing spray guns. They are not cheap, but will last a lifetime. I’d recommend these if you really want ‘the best’ or if you had a ceramic factory where you need a gun that can handle non-stop spraying. I would also say that they are a good option for an academic institution, because they can take the abuse students will throw their way.
The 2100 model is a great option, and costs $385. You will also need to buy a cup and pair it with a good air compressor. The main advantage of Binks is that you can buy needles and nozzle tips that are designed for use with the relatively rough materials found in ceramic glazes (as opposed to paint). This information and specific product numbers are usually buried in Binks product manuals, but do know that Binks has needles designed for ceramic glaze materials.
Devilbiss
Devilbiss is another company that makes professional spray guns. Usually a bit more affordable than Binks, they are high quality and will last forever.
The FLG is the entry-level spray gun in the Devilbiss product line. It costs $206 and comes with a cup via Amazon.
TCP Global
In addition to the entry-level G6600 model covered above, TCP GLobal has four more models of spray guns. Three of the models are gravity feed and one is siphon style.
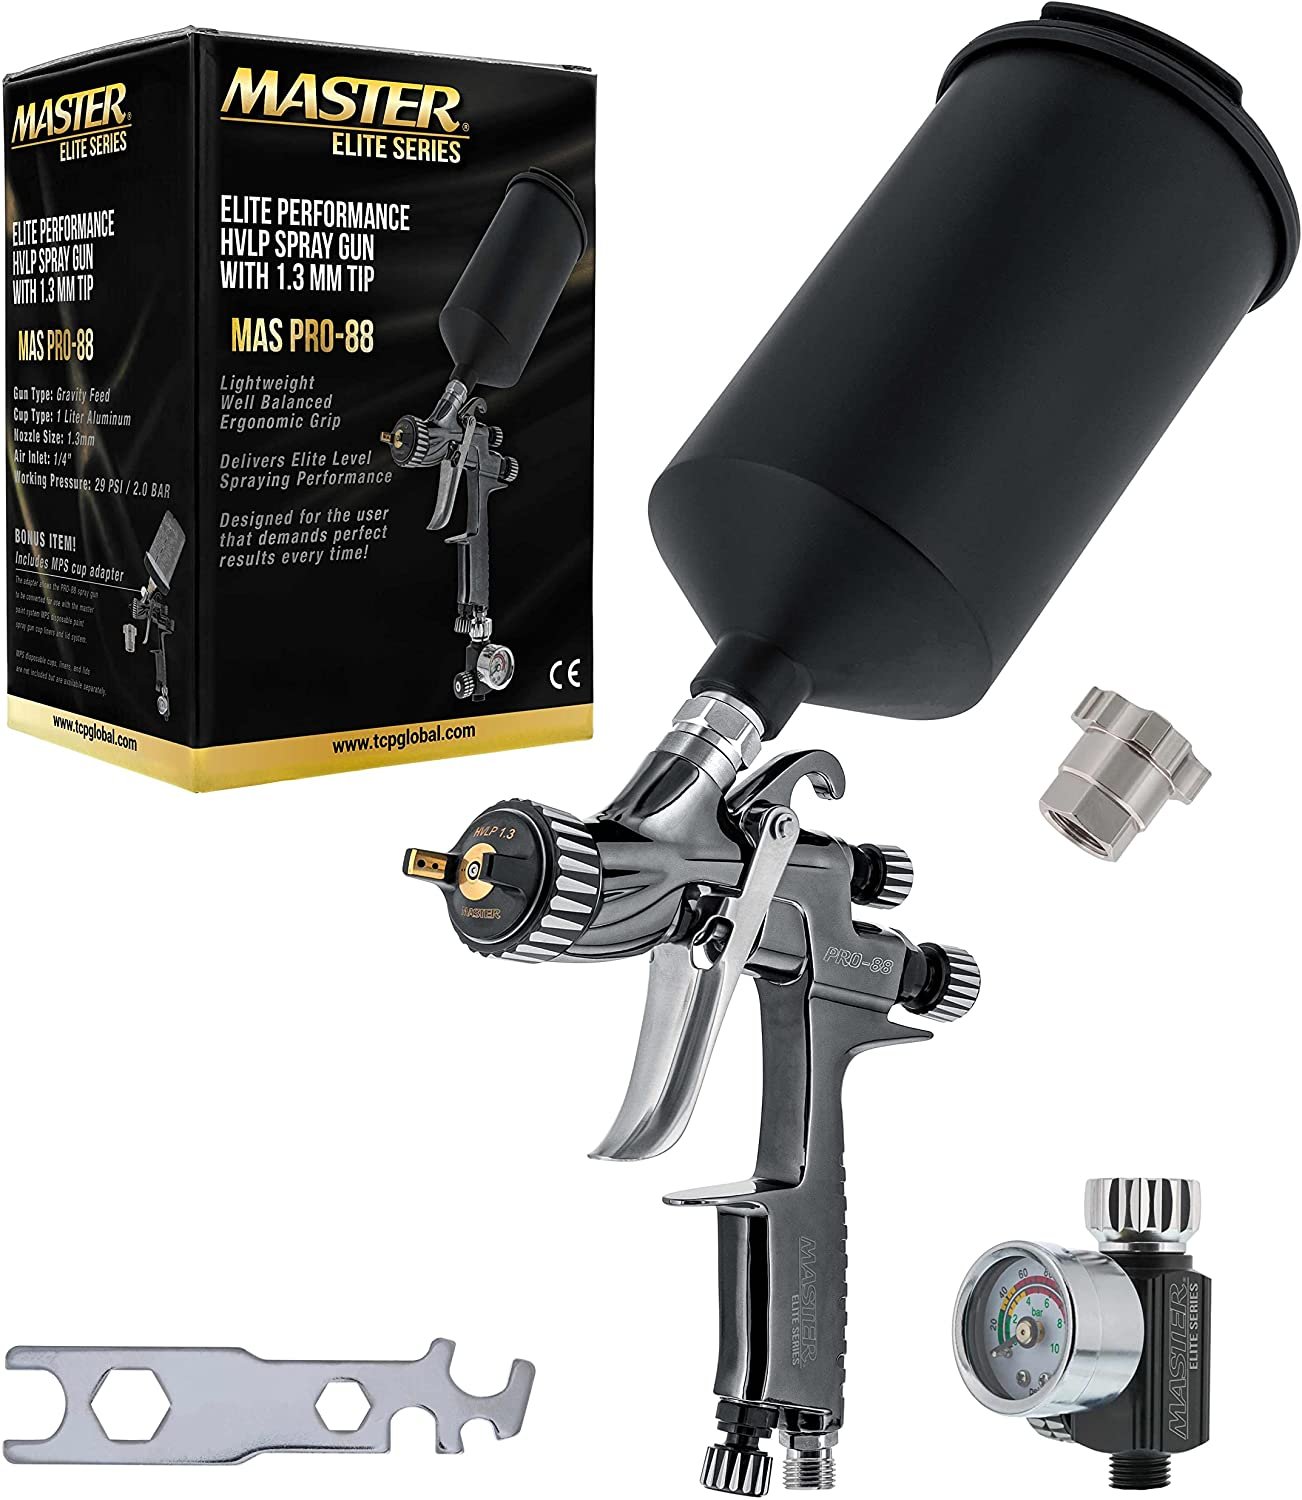
The TCP-Global Pro-88 gravity feed gun.
Pro-33, $109 at Amazon
Pro-44, $150 at Amazon
Pro-55, $150 at Amazon (siphon style, cup purchased separately)
Pro-88, $180 at Amazon
To be honest, I couldn’t quite figure out the difference between these models except that the Pro-88 claims a nozzle with better mixing capabilities.
Summary
This guide has covered a wide variety of options for spraying glaze in a ceramic studio.
Our top pick is a control spray model from Wagner, as this all-in-one system is affordable, compact, and effective. But if you have the space or desire, you can upgrade to a complete system with an air compressor and gun. The more expensive guns do have replacement parts available, and give you more control, so they can definitely be worth it.
Regardless of what you are using to spray, it’s very important to wear a respirator and either spray outside or buy a quality spray booth to suction the air through a filter and out of your workspace.
Spraying glaze is a great option that can give you great results. What are you using in your studio? Let us know in the comments.
