There are many tutorials on work arounds to make a DIY booklet with two staplers, but a long reach or long arm stapler makes it really easy. With this stapler and some office paper (and maybe some cardstock) you’re ready to start your own little booklet factory.
There are a few long reach staplers out there but my favorite is the Swingline Long Reach Stapler paired with Swingline Premium Staples. The Swingline can reach up to 12 inches, so you could potentially fold a 24 inch piece of paper in half to make a booklet. This tutorial will cover making a simple booklet with printer paper and cardstock to make a booklet, but with your own stapler, you can make whatever you want.
Tutorial
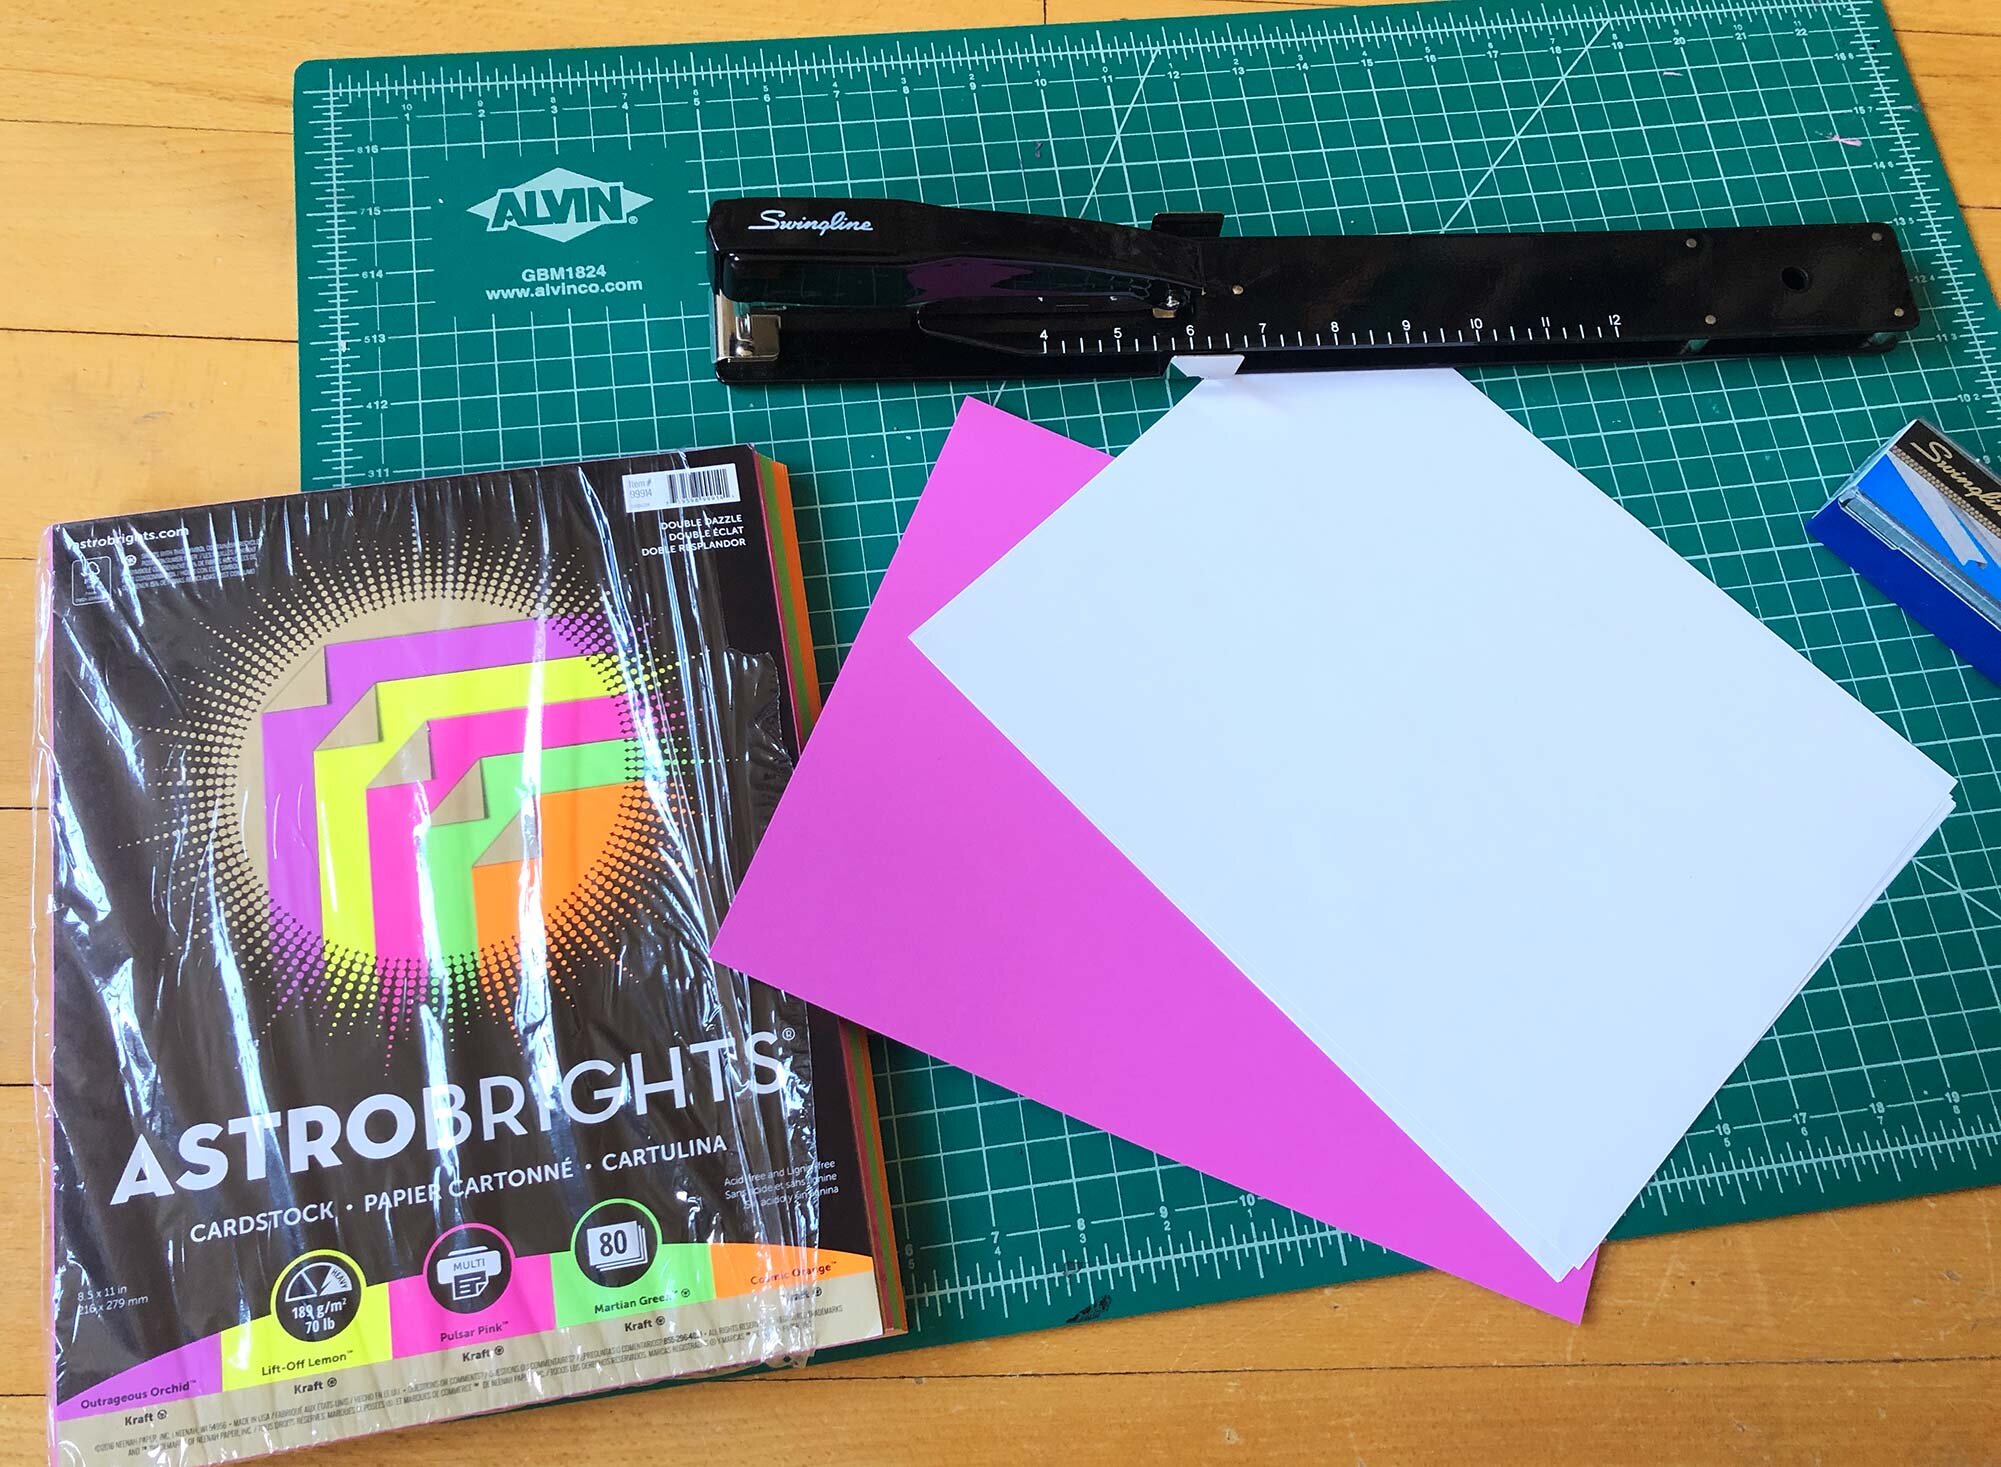
Step 1: Gather Your Tools and Materials
As pictured above:
> Swingline Long Reach Staper (Shop at Amazon | Shop at Staples)
> Swingline Premium Staples (Shop at Amazon)
> Office paper (Shop at Amazon)
> Astrobrites Cardstock paper for the cover (Shop at Amazon | Shop at Staples)
Making this on an 18x24” Alvin Cutting Mat is also helpful. (Shop Cutting Mat at Amazon)

Step 2: Staple
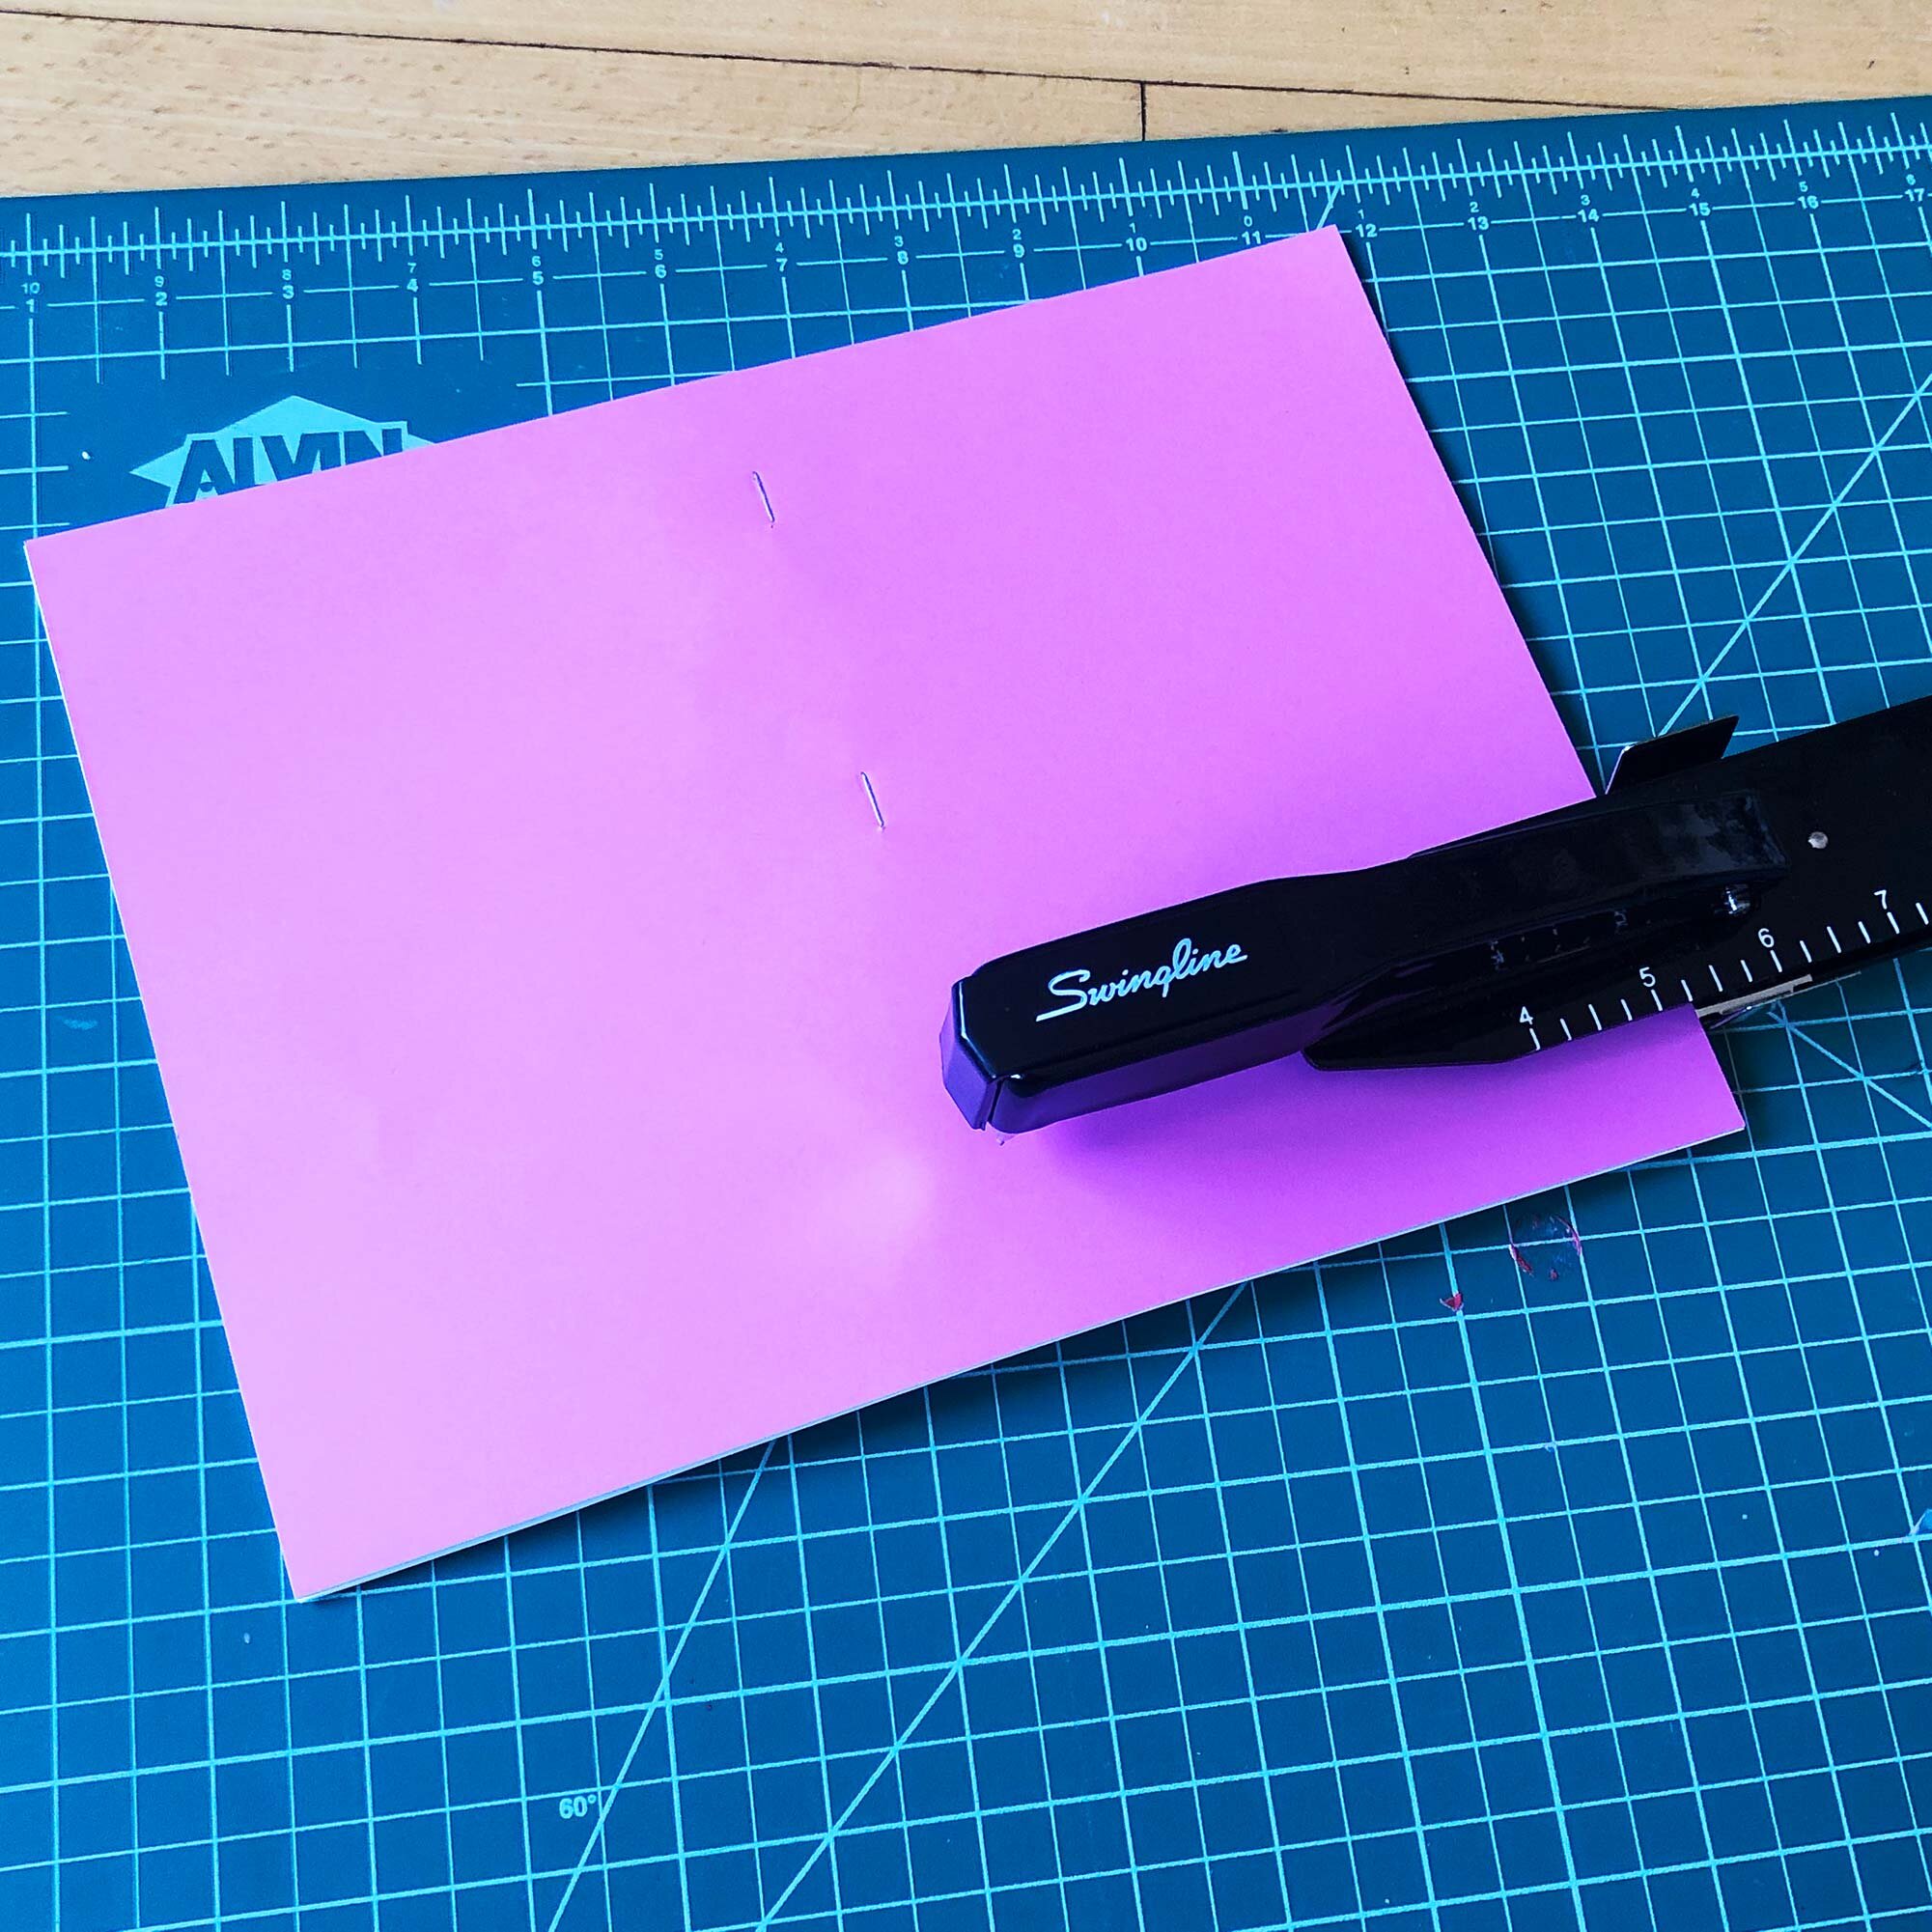
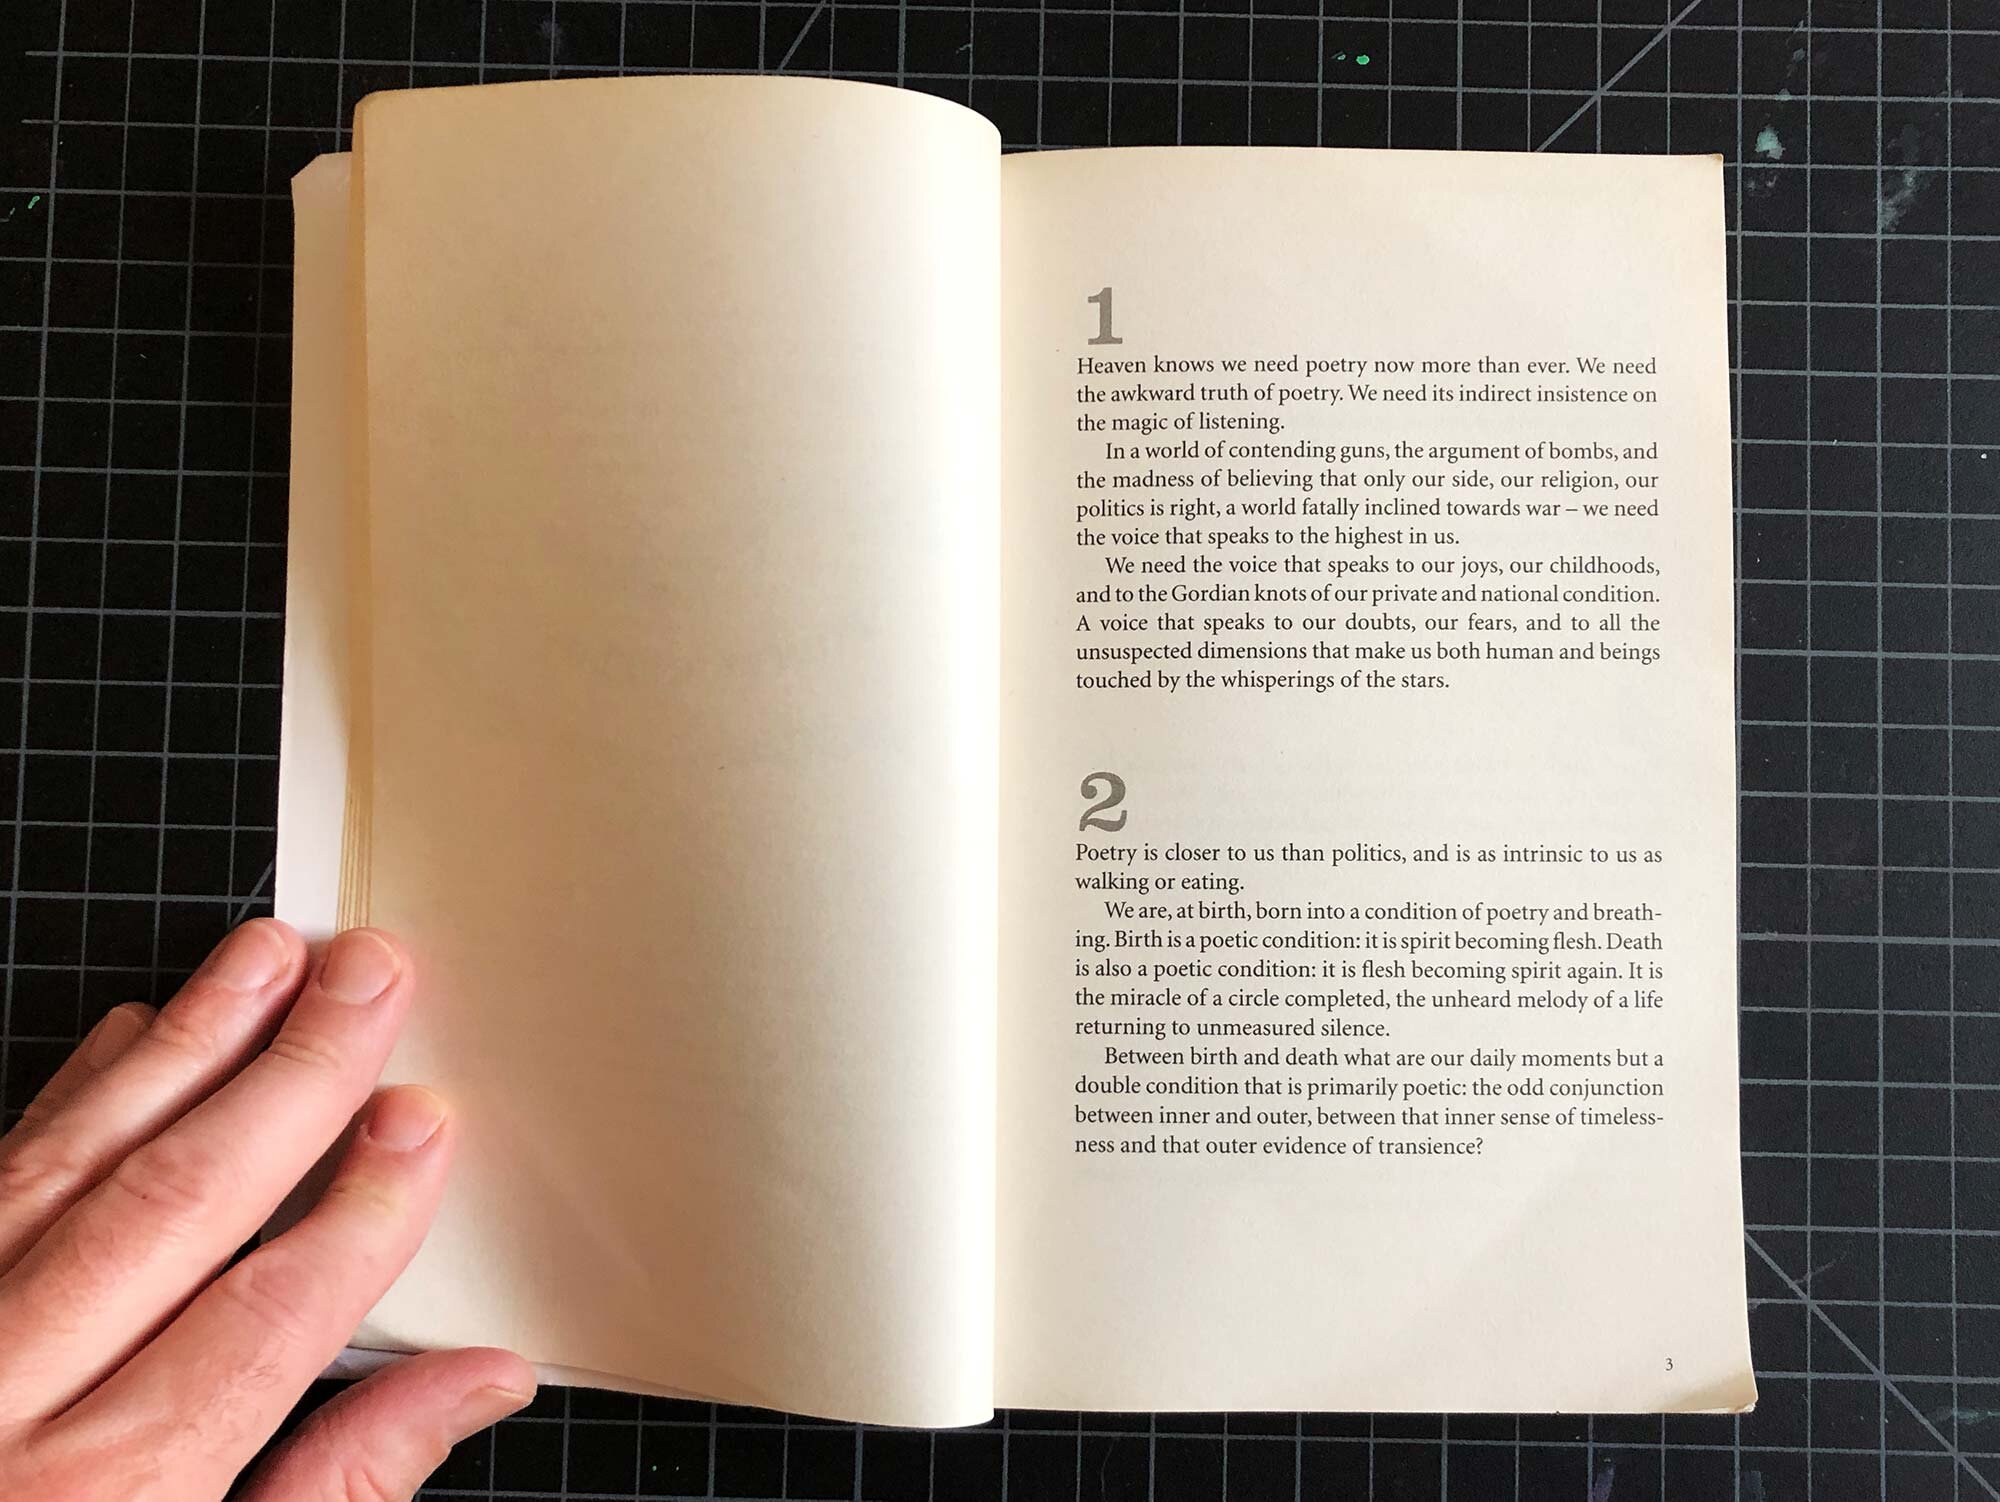
Set your Long Reach Stapler for half the length of the paper you are stapling. In this instance, it’s 6.5”. The example booklet has 5 pages and the cover cardstock.
The Swingline Long Reach can staple up to 20 sheets of standard office paper, and the guiderail can accommodate a 12” reach. For thicker papers, expect this stapler to staple fewer than 20 sheets.
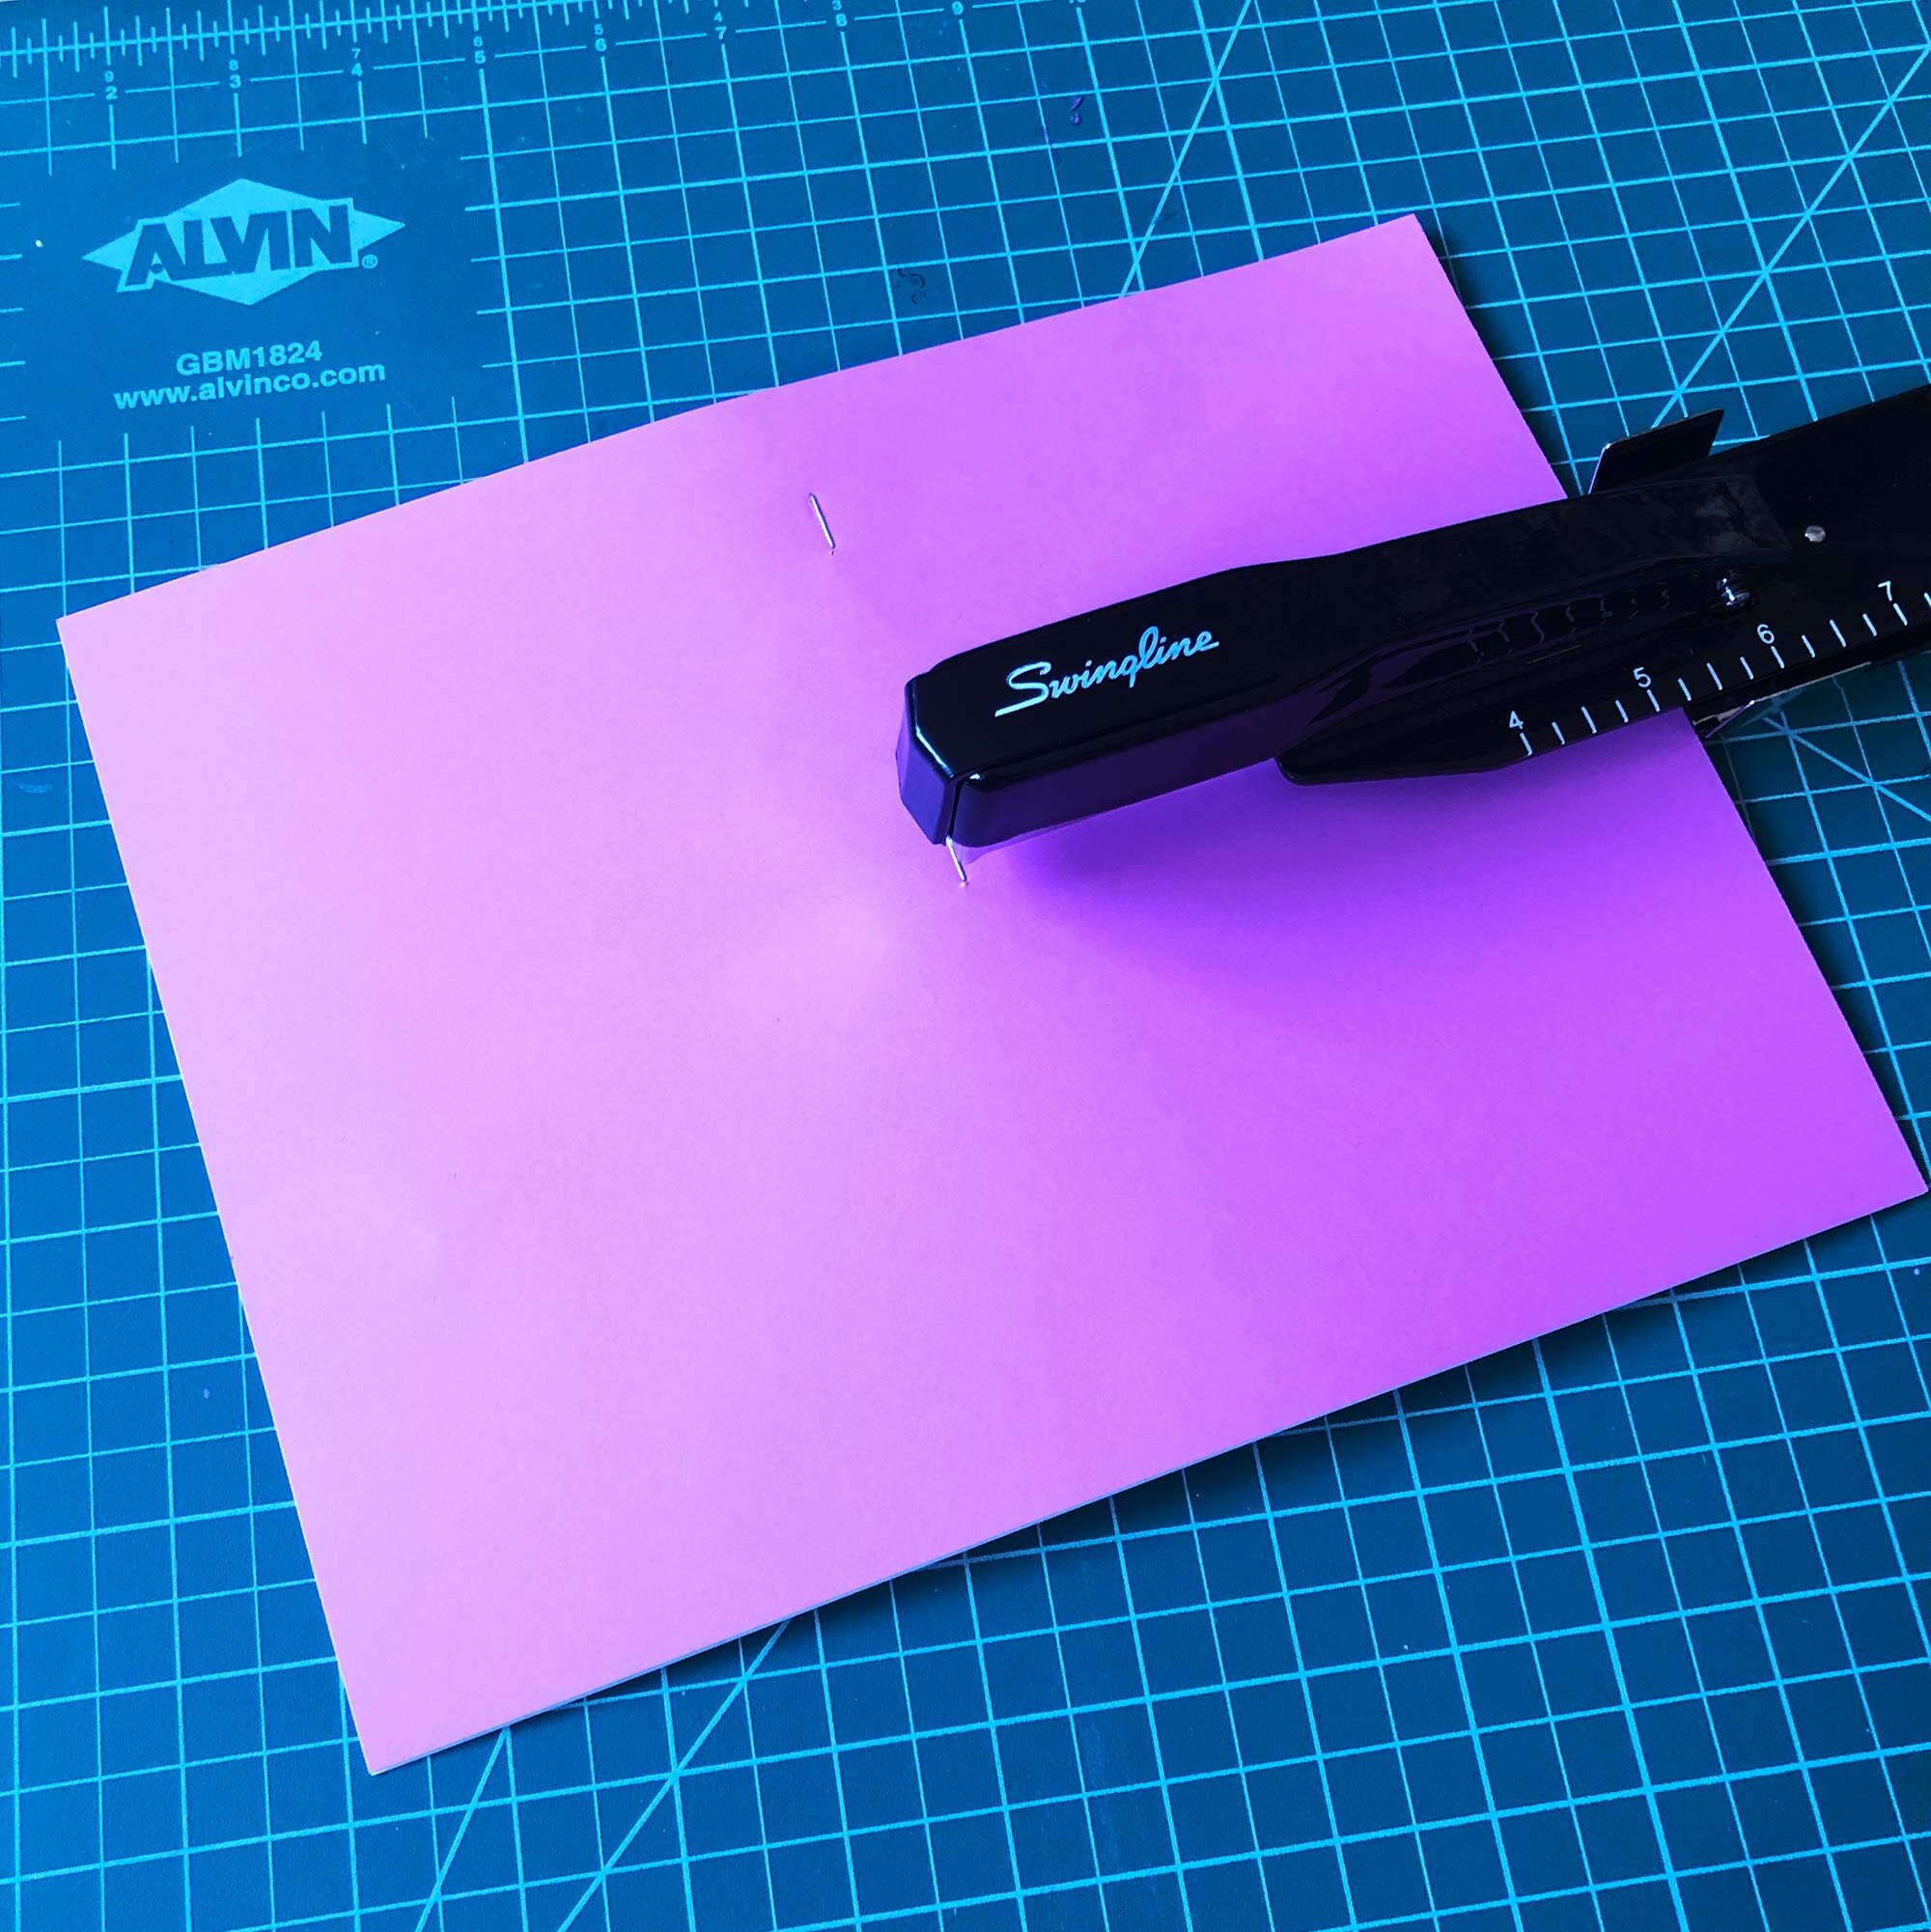
Staple through your cover so the exposed ends of the staples are inside your booklet.
For standard 8 1/2 by 11 inch paper, 3 staples should be enough.
Step 3: Fold
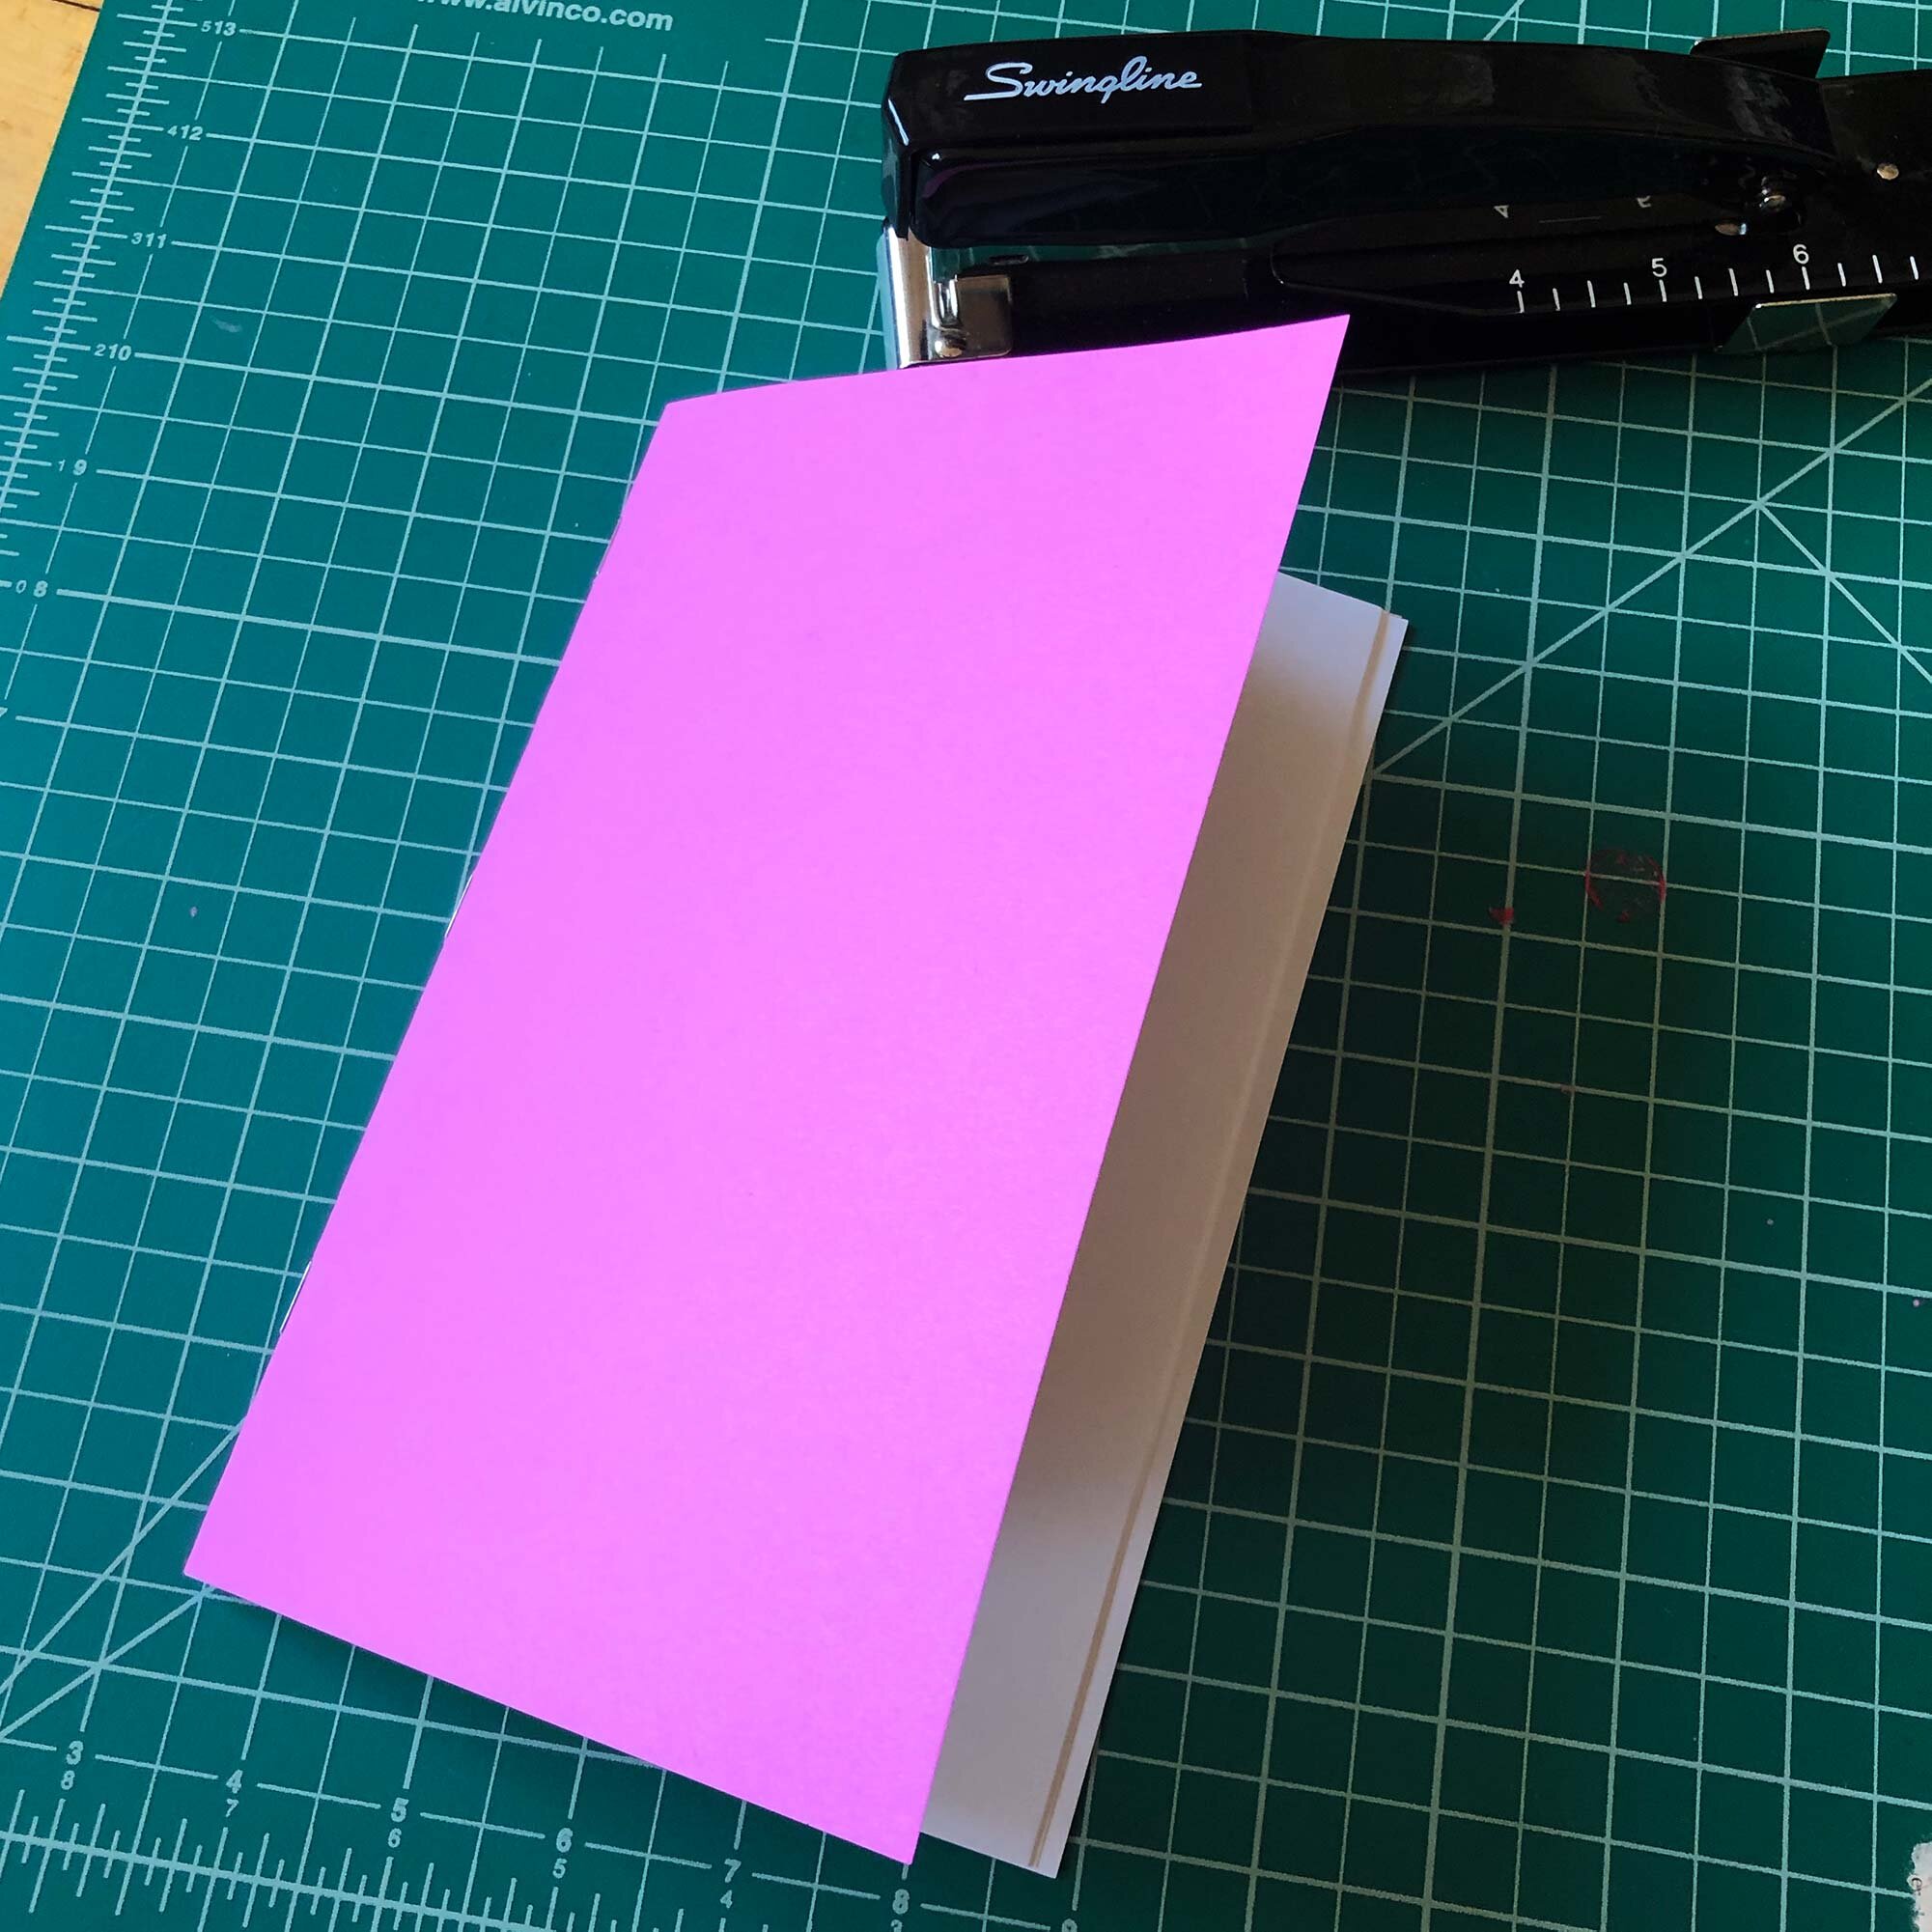

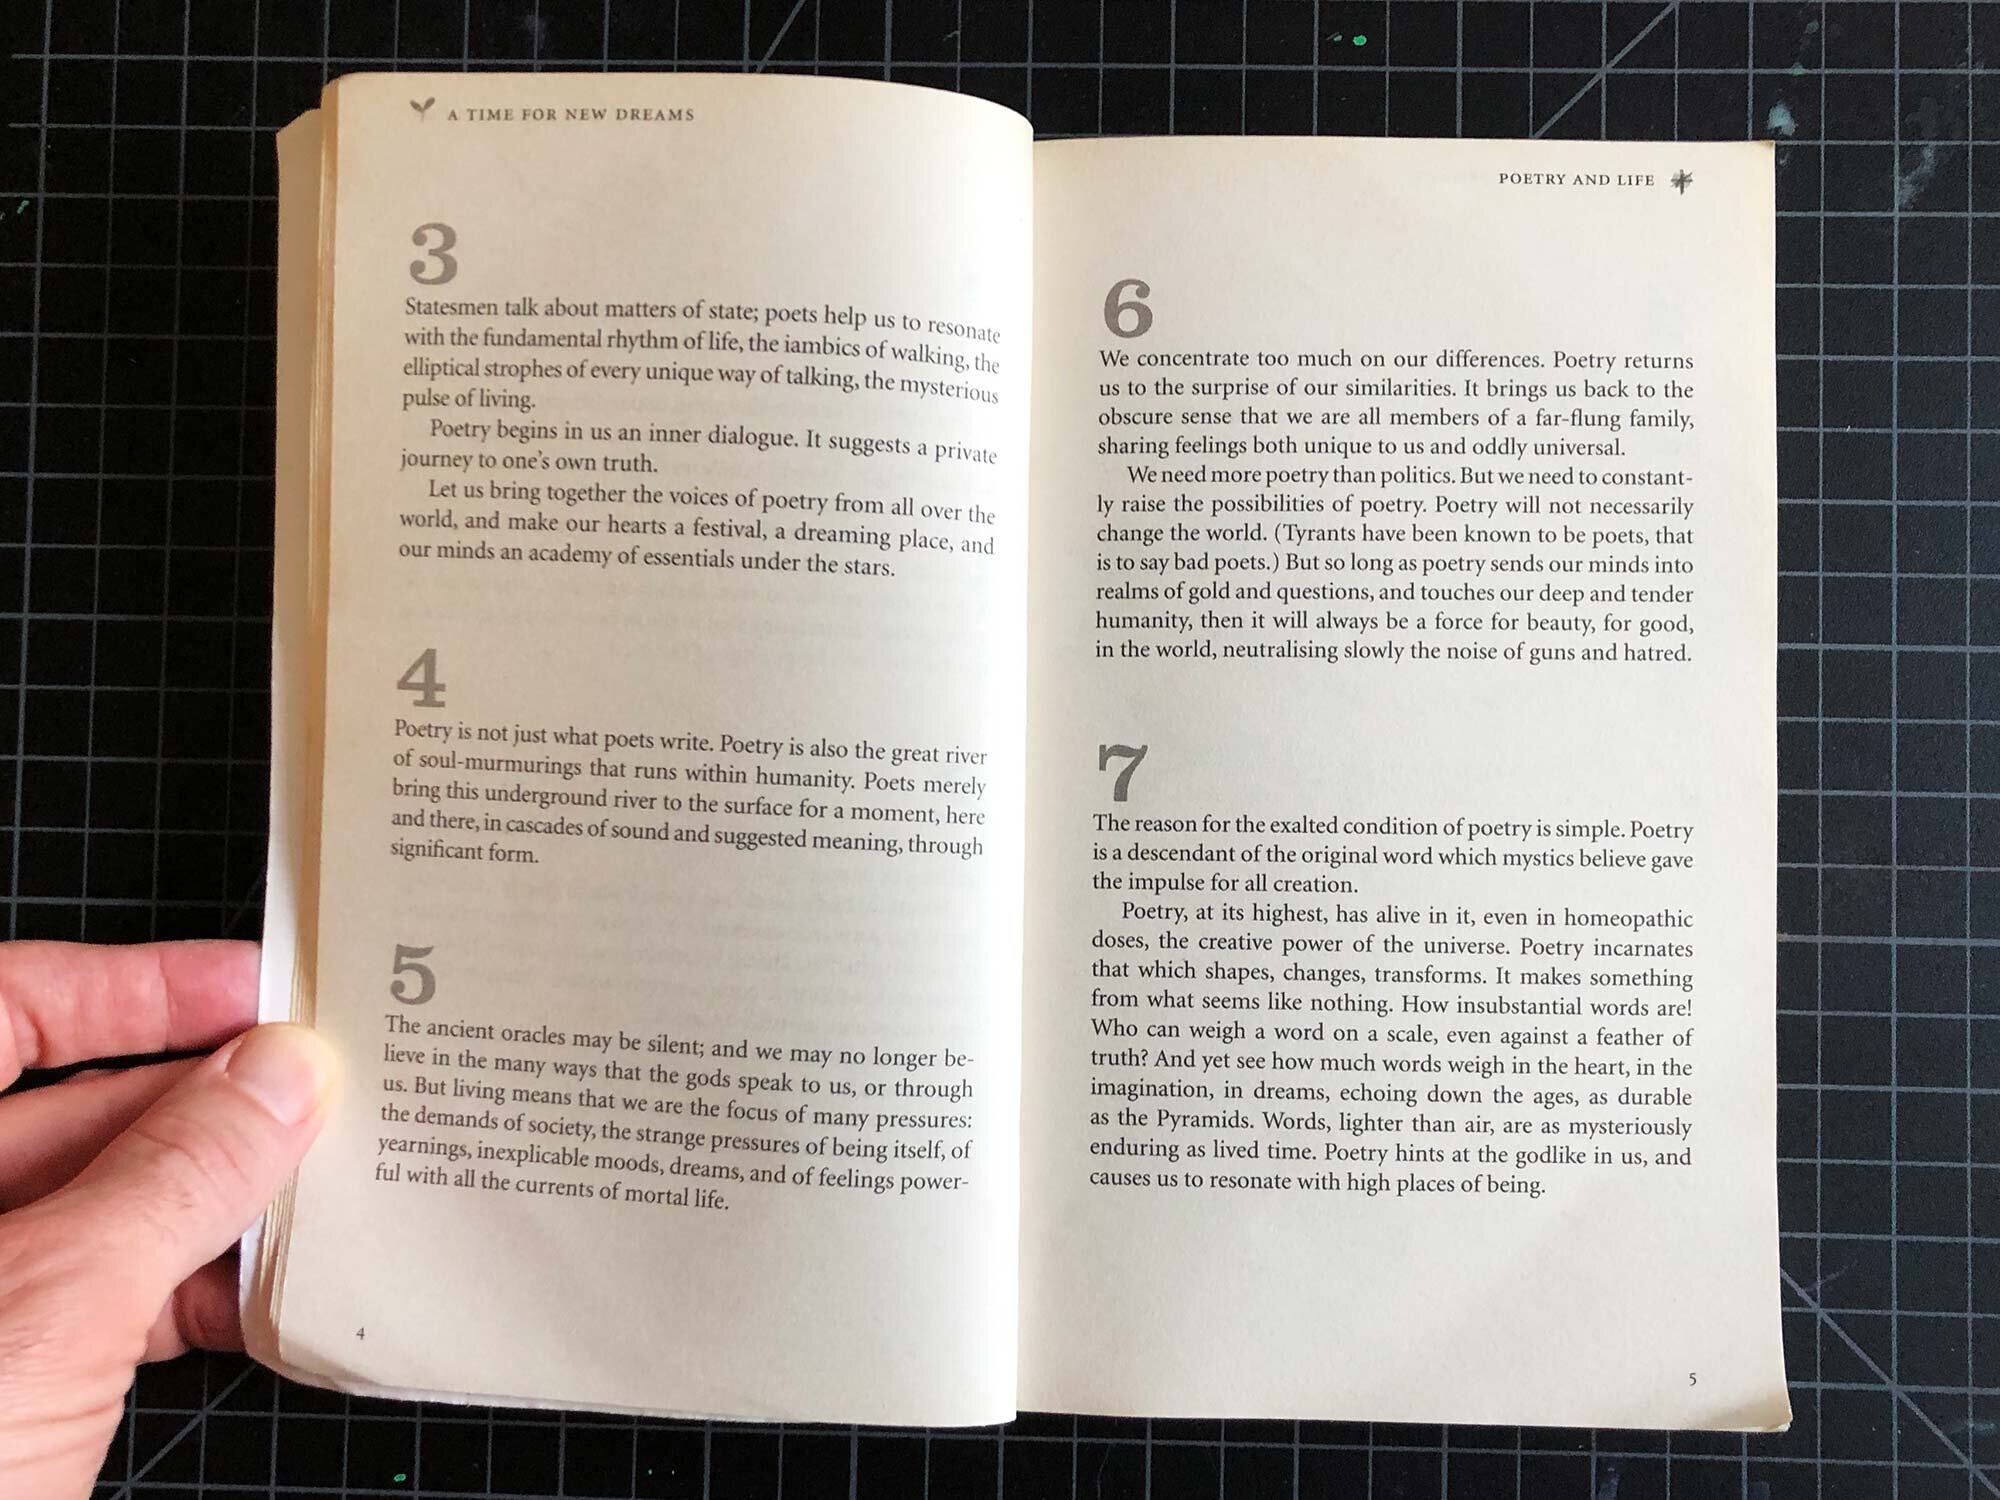
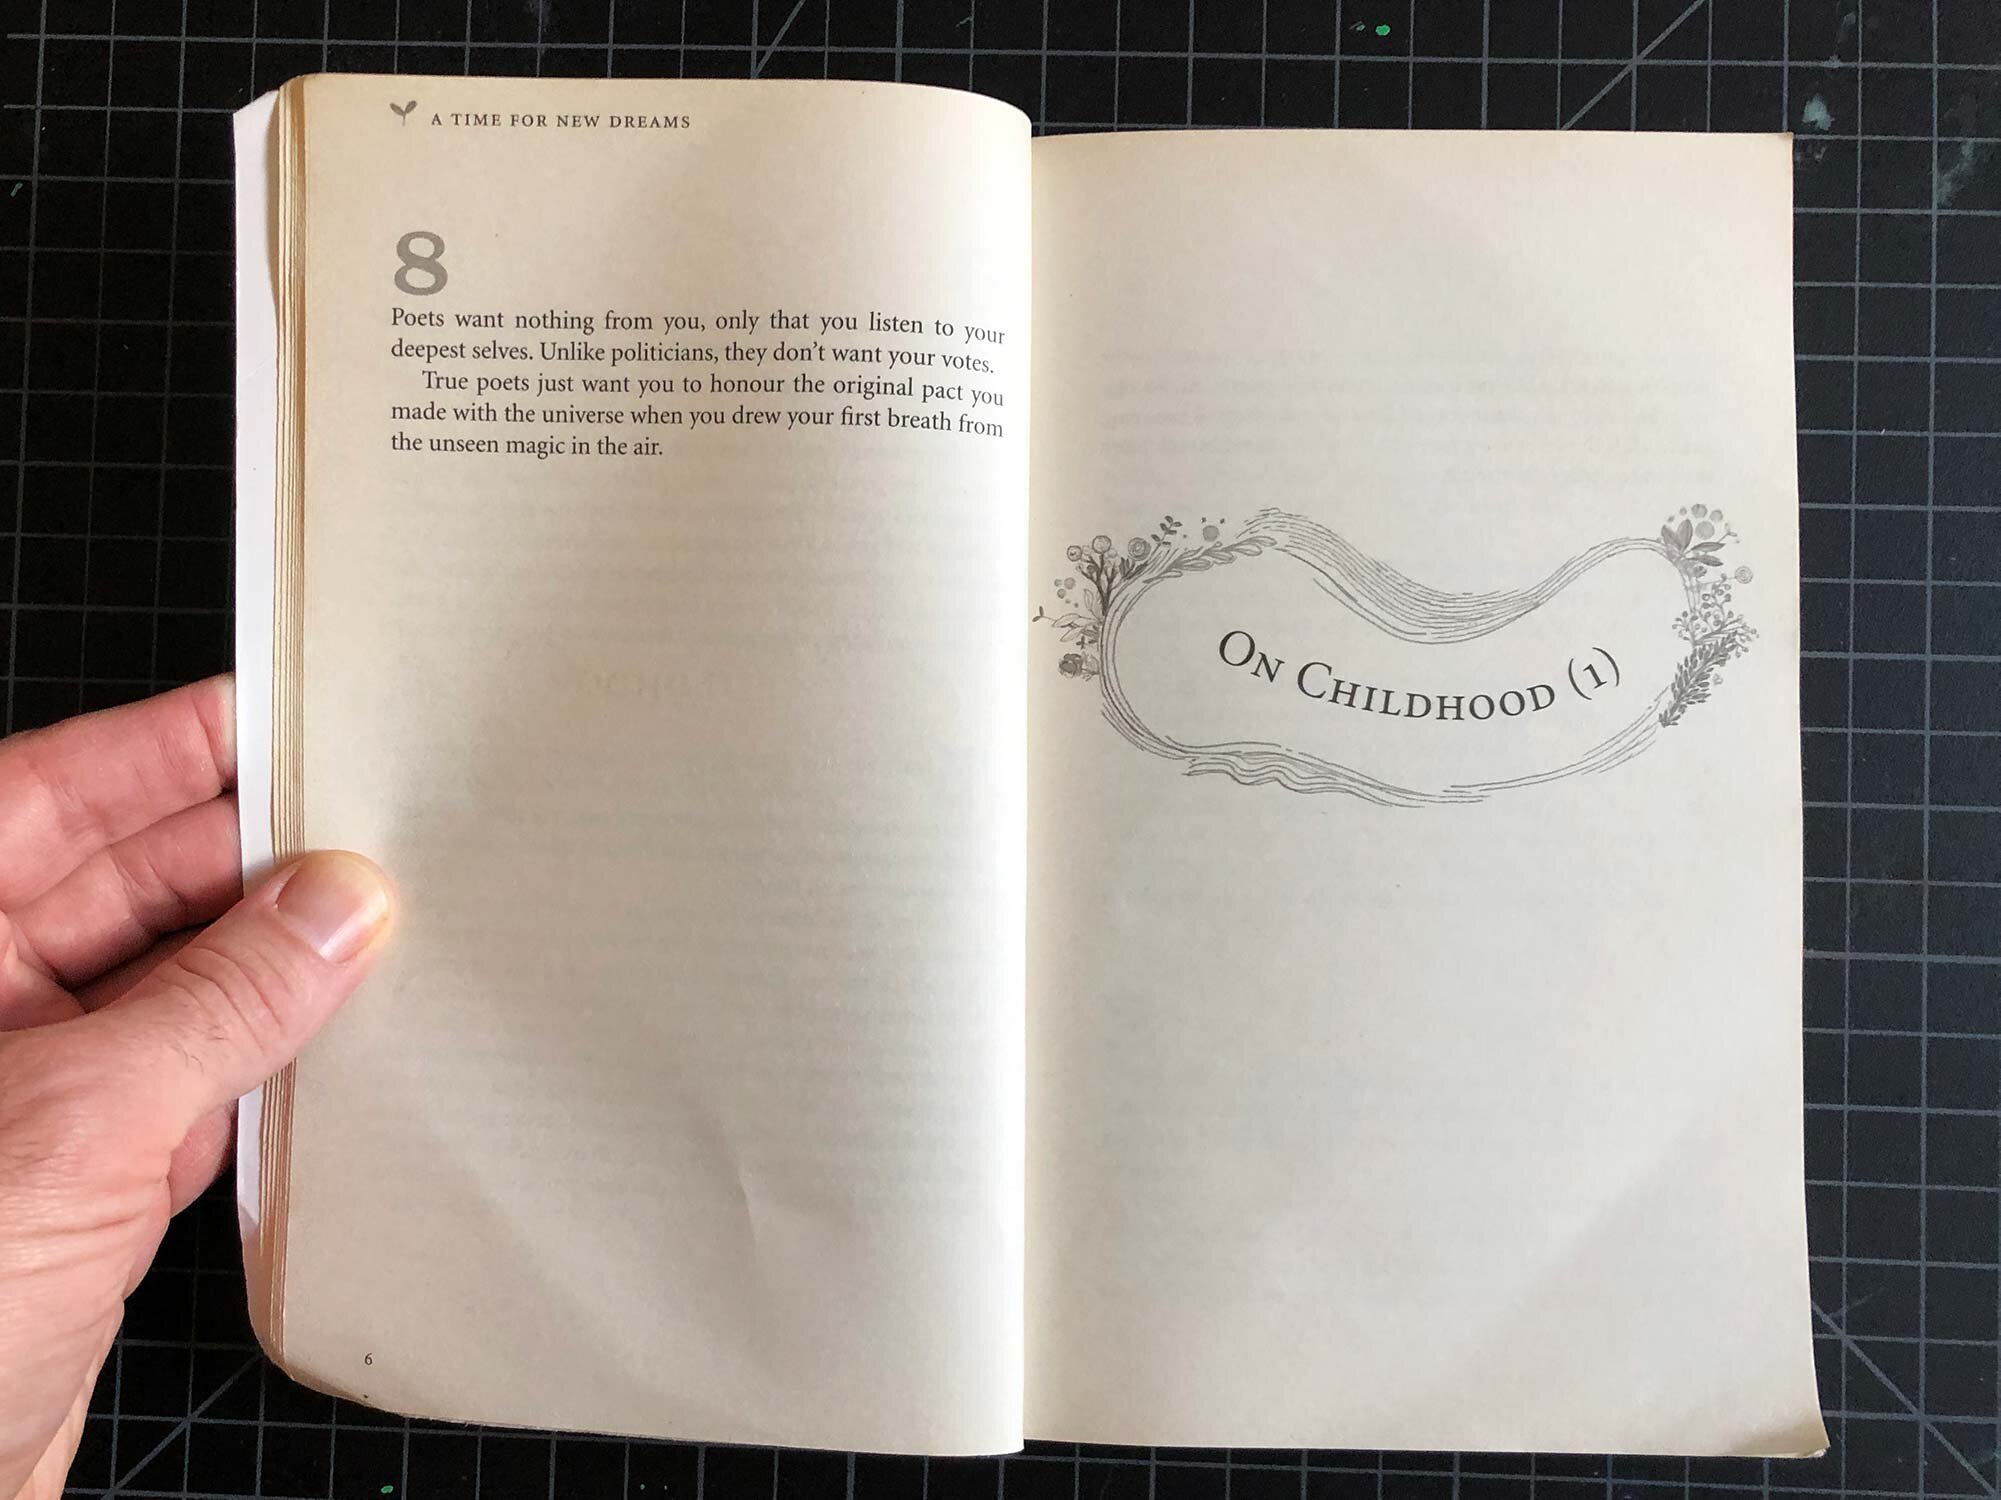
Fold your booklet along the stapled spine, and you’re set!
Other Ideas for Booklets
This tutorial used blank office paper, which is great if you want to make a quick sketchbook or notebook. But there’s much more you can do:
> Order bulk drawing paper to make student-grade sketchbooks.
> Turn scratch / recyled paper into a quick booklet for notes or to-do lists.
> Make an old-school zine by taping, drawing, photocopying, and then stapling.
> Print a simple photobook (depends on your home print quality)
> Work with kids to design, print, and staple their own books or coloring books.
> Layout, print, and copy a simple booklet.
Shop drawing paper sheets at Blick
Shop bulk drawing paper at Amazon
To go a bit deeper on bookmaking including perfect binding and trimming, check out Stephanie Syjuco’s google doc on how to set up a bare bones printing facility for under $1,000.
To print your own booklet, it is really helpful to have a duplex or 2 sided printer to do double sided printing. One of the best options and most affordable options is the Brother 2710 all in one monochrome laser printer. (Shop at Amazon)
Do you have a favorite bookmaking or booklet project? Please share in the comments.
Shop tools from this post: