“How much clay do I need?” is a common question from potters. Truthfully, the amount will vary based on how you throw and if you trim a foot or have flat bottom. But these measurements are a starting point and if you keep notes, over time you will develop your own approach.
Below is a chart of suggested starting weights of clay in pounds and grams for throwing various pottery forms—adjust accordingly depending on how you throw. These weights are listed with the goal of about a 1/4 to 3/8 inch wall thickness. If you are having trouble achieving a particular size or shape, add clay and plan to trim more. Good luck and have fun.

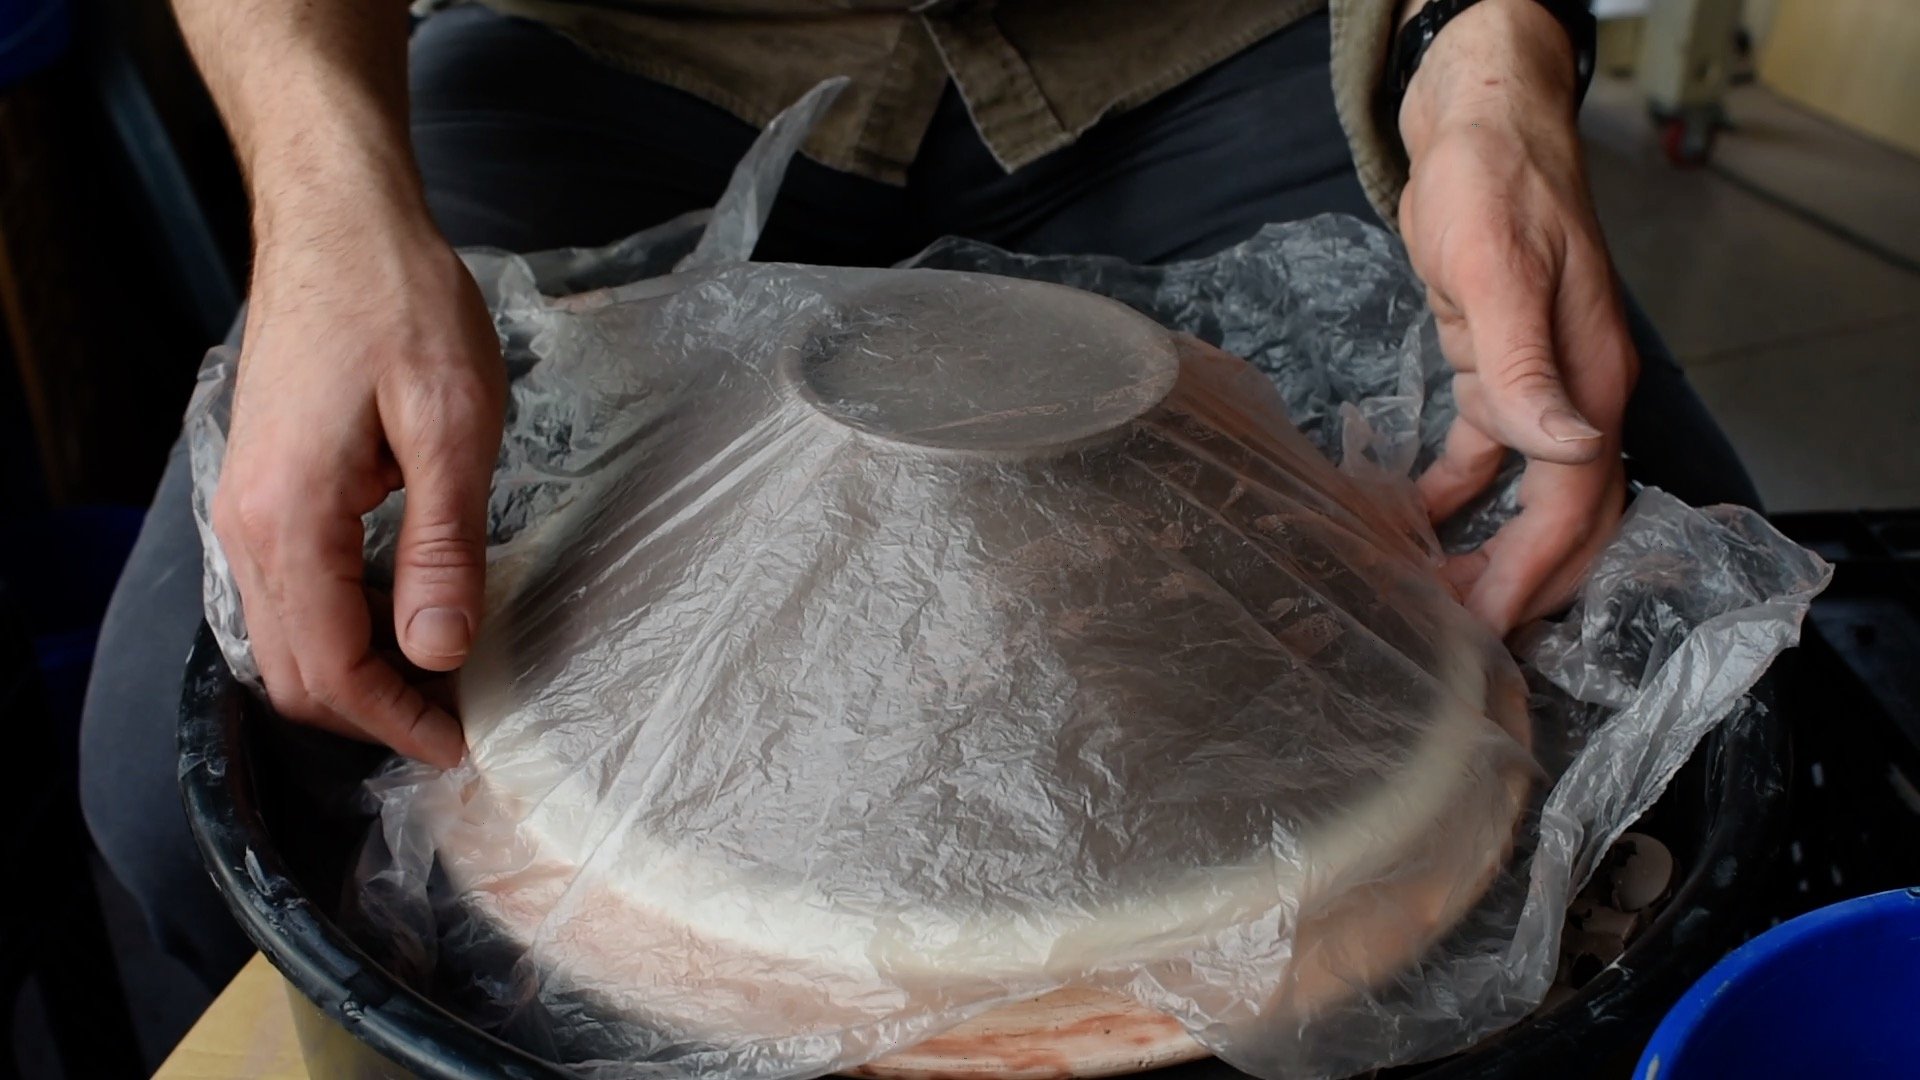
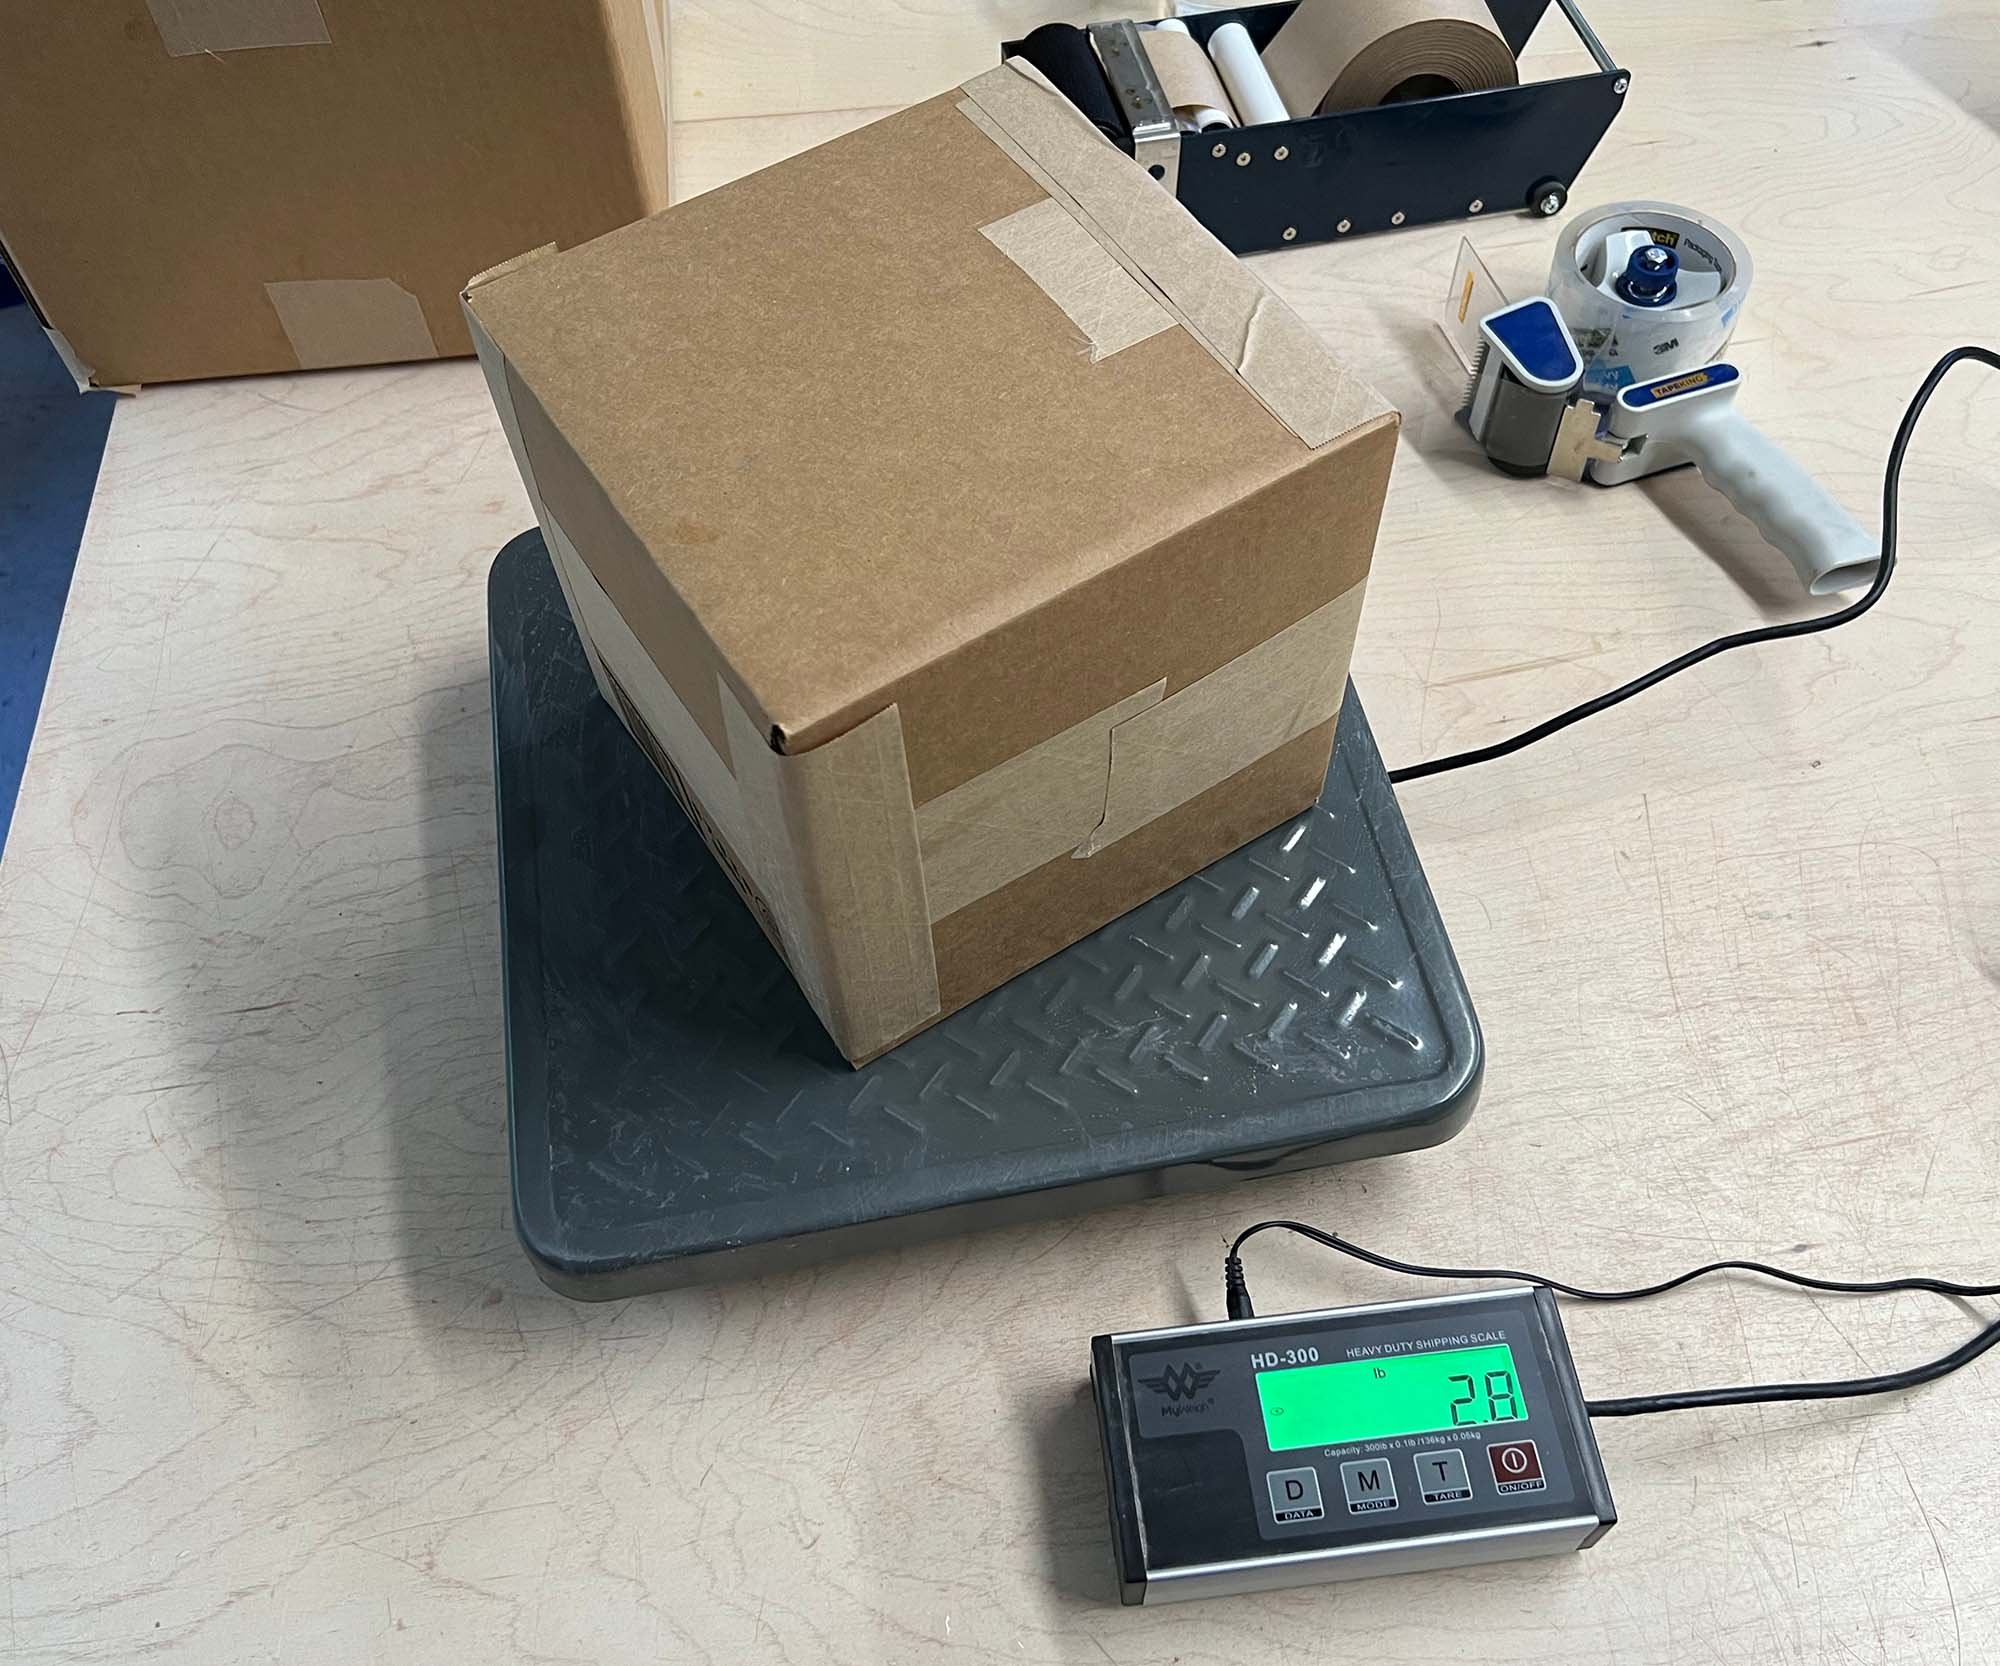
The Accuteck Postal Scale is a great option for weighing clay and costs around $20. To keep it clean, try placing it inside a clear plastic bag.
Scales for weighing clay:
Our budget pick is the $20 Accuteck shipping scale.
Accurate to about 2 grams. (shop at Amazon.)
Our upgrade pick is the $55 Oxo 11 pound kitchen scale.
Accurate to about 1 gram. (shop at Amazon)
Our manual scale pick is the Lem 44 lb scale
Accurate to about 2 ounce increments. $50 (shop at Amazon)
If you need a more accurate scale, check out our complete guide to scales for pottery studios.
Weight of Clay for Pottery Forms
| Form | Weight (lbs) | Weight (grams) | Drinking Vessels |
|---|---|---|
| Mug (8 oz) | 12 oz | 340 g |
| Large Mug (12 oz) | 16 oz | 450 g |
| Small cup | 14 oz | 400 g |
| Tumbler | 16 oz | 450 g |
| Pint Glass | 1 lb 4 oz | 565 g |
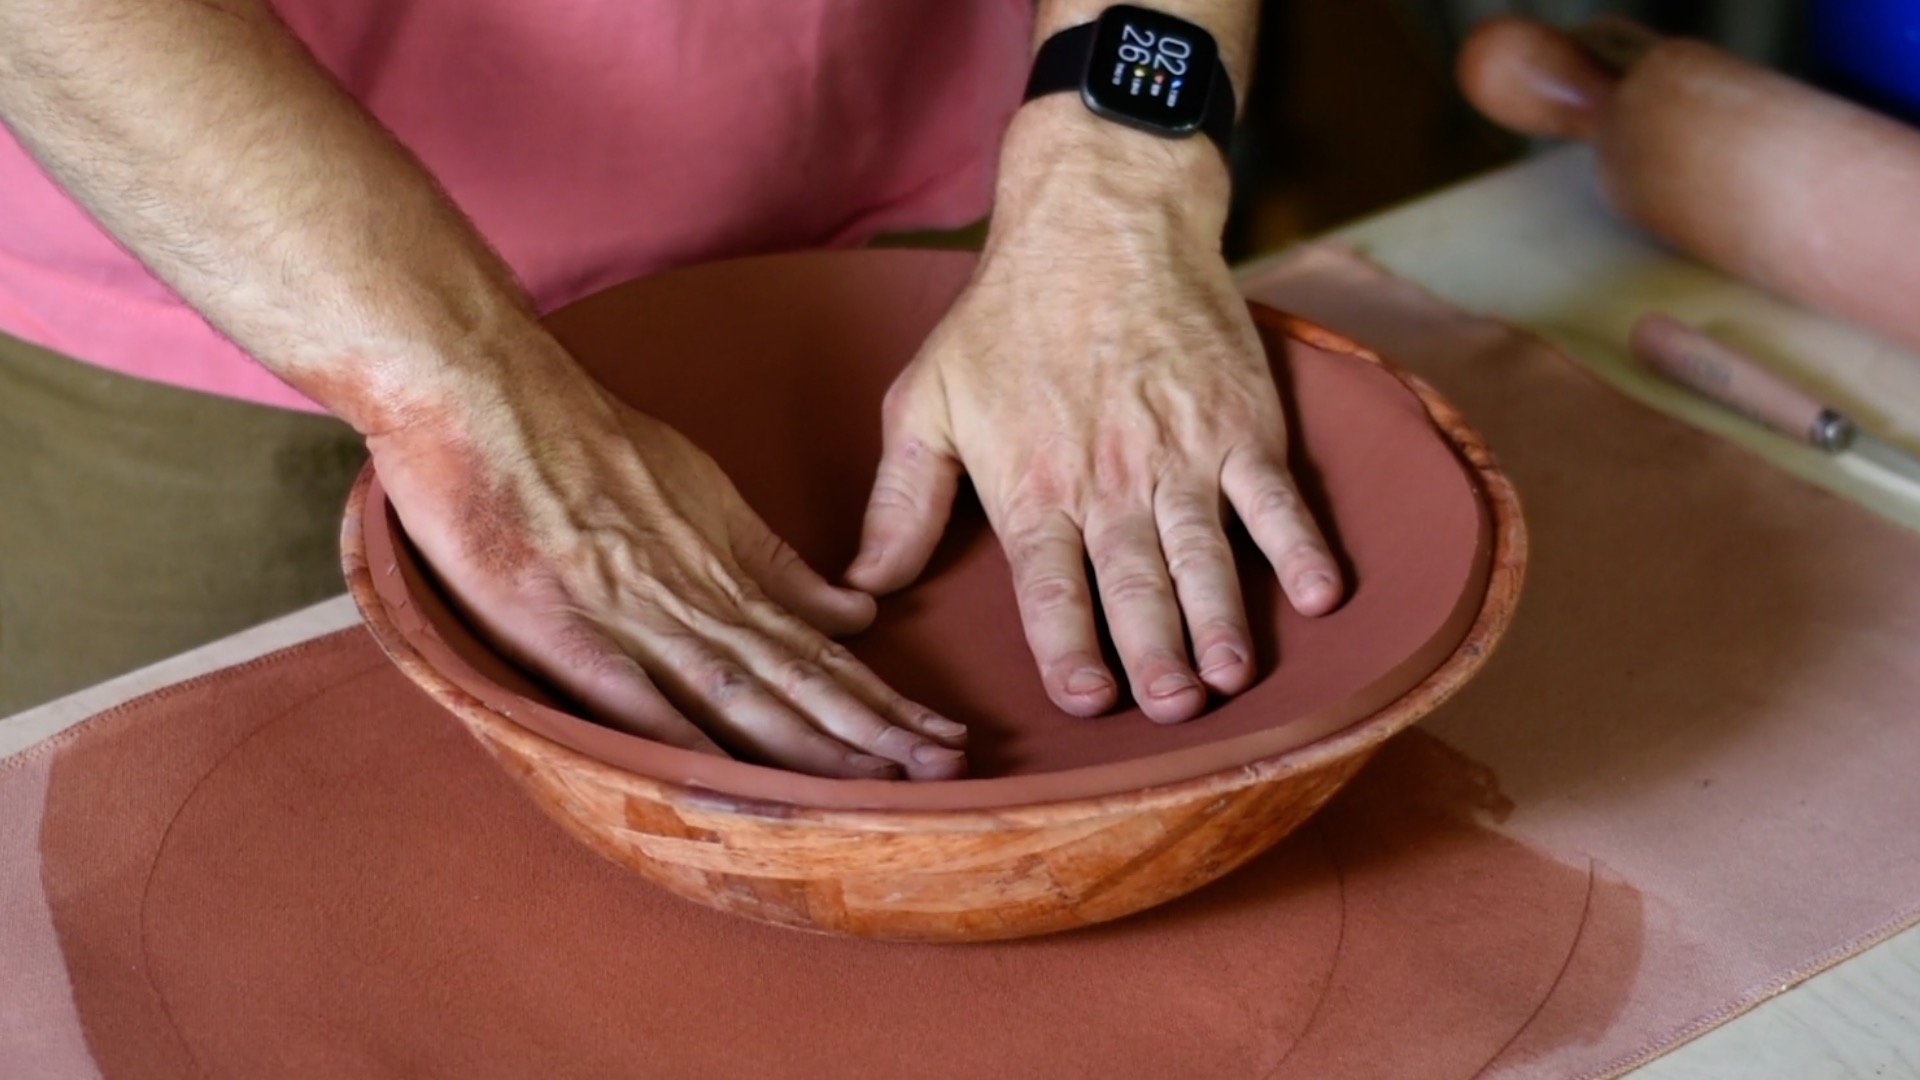
| Bowls | ||
| Small Bowl (no foot) | 1 lb | 450 g |
| Small Footed Bowl | 1 lb 4 oz | 565 g |
| Soup Bowl | 2 lb | 900 g |
| Footed Serving Bowl | 4 lb | 1800 g |
| Large Footed Bowl | 5 lb 8 oz | 2500 g |
| Small Mixing Bowl (no foot) | 1 lb 8 oz | 680 g |
| Medium Mixing Bowl | 3 lb | 1360 g |
| Large Mixing Bowl | 4 lb 8oz | 2040 g |
| Plates | ||
| Saucer | 1 lb | 450 g |
| Side Plate | 2 lbs | 900 g |
| Medium Plate | 4 lbs | 1800 g |
| Large Plate | 5 lbs | 2270 g |
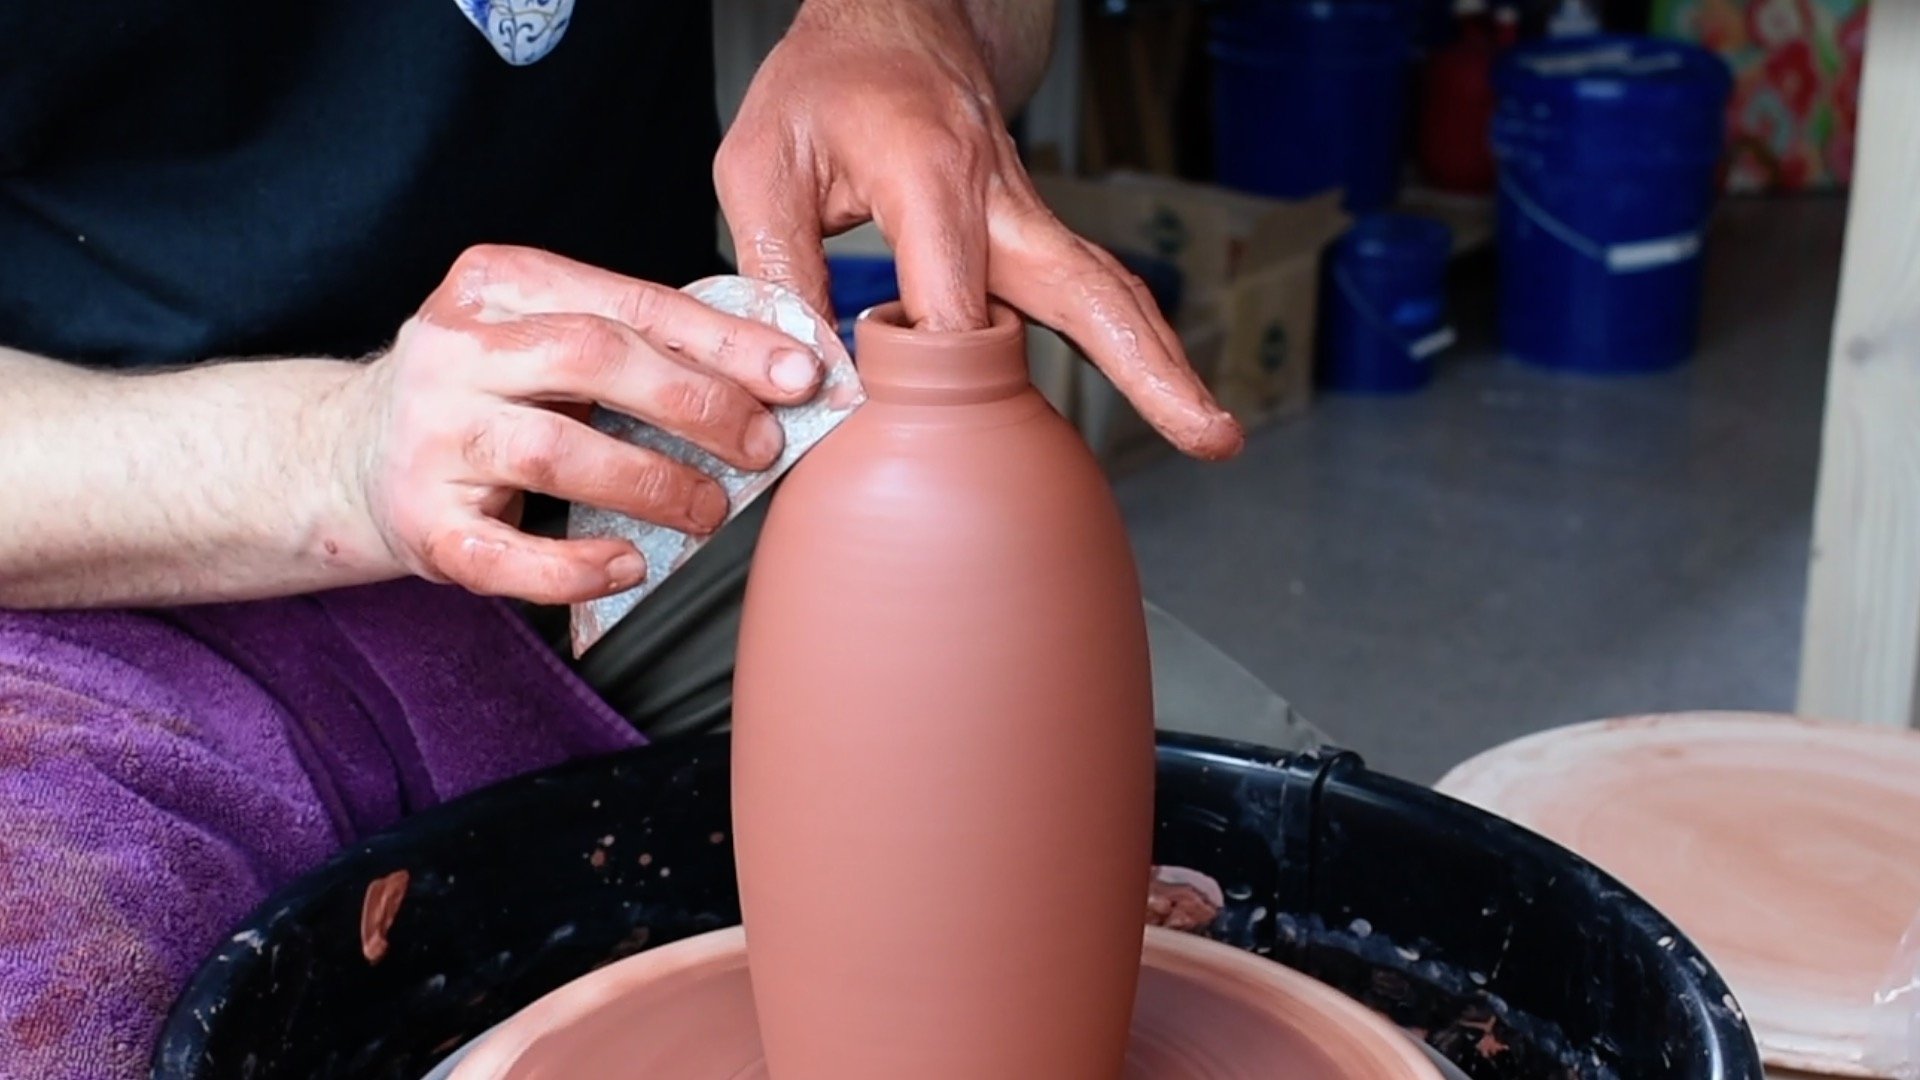
| Pitchers and Bottles | ||
| Sake Jar / Small Creamer | 12 oz | 340 g |
| Small Carafe | 2 lbs 8 oz | 1130 g |
| Large Carafe | 4 lbs | 1800 g |
| Small Bottle | 1 lb 8 oz | 680 g |
| Large Bottle | 3 lbs | 1360 g |
| Jars | ||
| Small Jar | 2 lbs | 900 g |
| Medium Jar | 4 lbs | 1800 g |
| Large Jar | 6 lbs | 2700 g |
Need a scale to weigh your clay?
Check out our review of scales for pottery and ceramic studios.
You might also enjoy:
Best sponges for wheelthrowing
Gift guide for potters and ceramic artists
Handheld Extruder Buyer’s Guide
Best Pottery and Ceramic t shirts
What weights do you use for throwing pottery forms? Let us know in the comments.