Recycling and reclaiming clay is a constant job in any ceramic studio. If you work in a large or shared studio, it’s probably best to get a pugmill or mixer. But if you are working alone or in a small studio, you can easily stay on top of your reclaim following this method. It’s especially important if you create a lot of trimmings from wheelthrowing.
Here’s how to do it.
Step 1
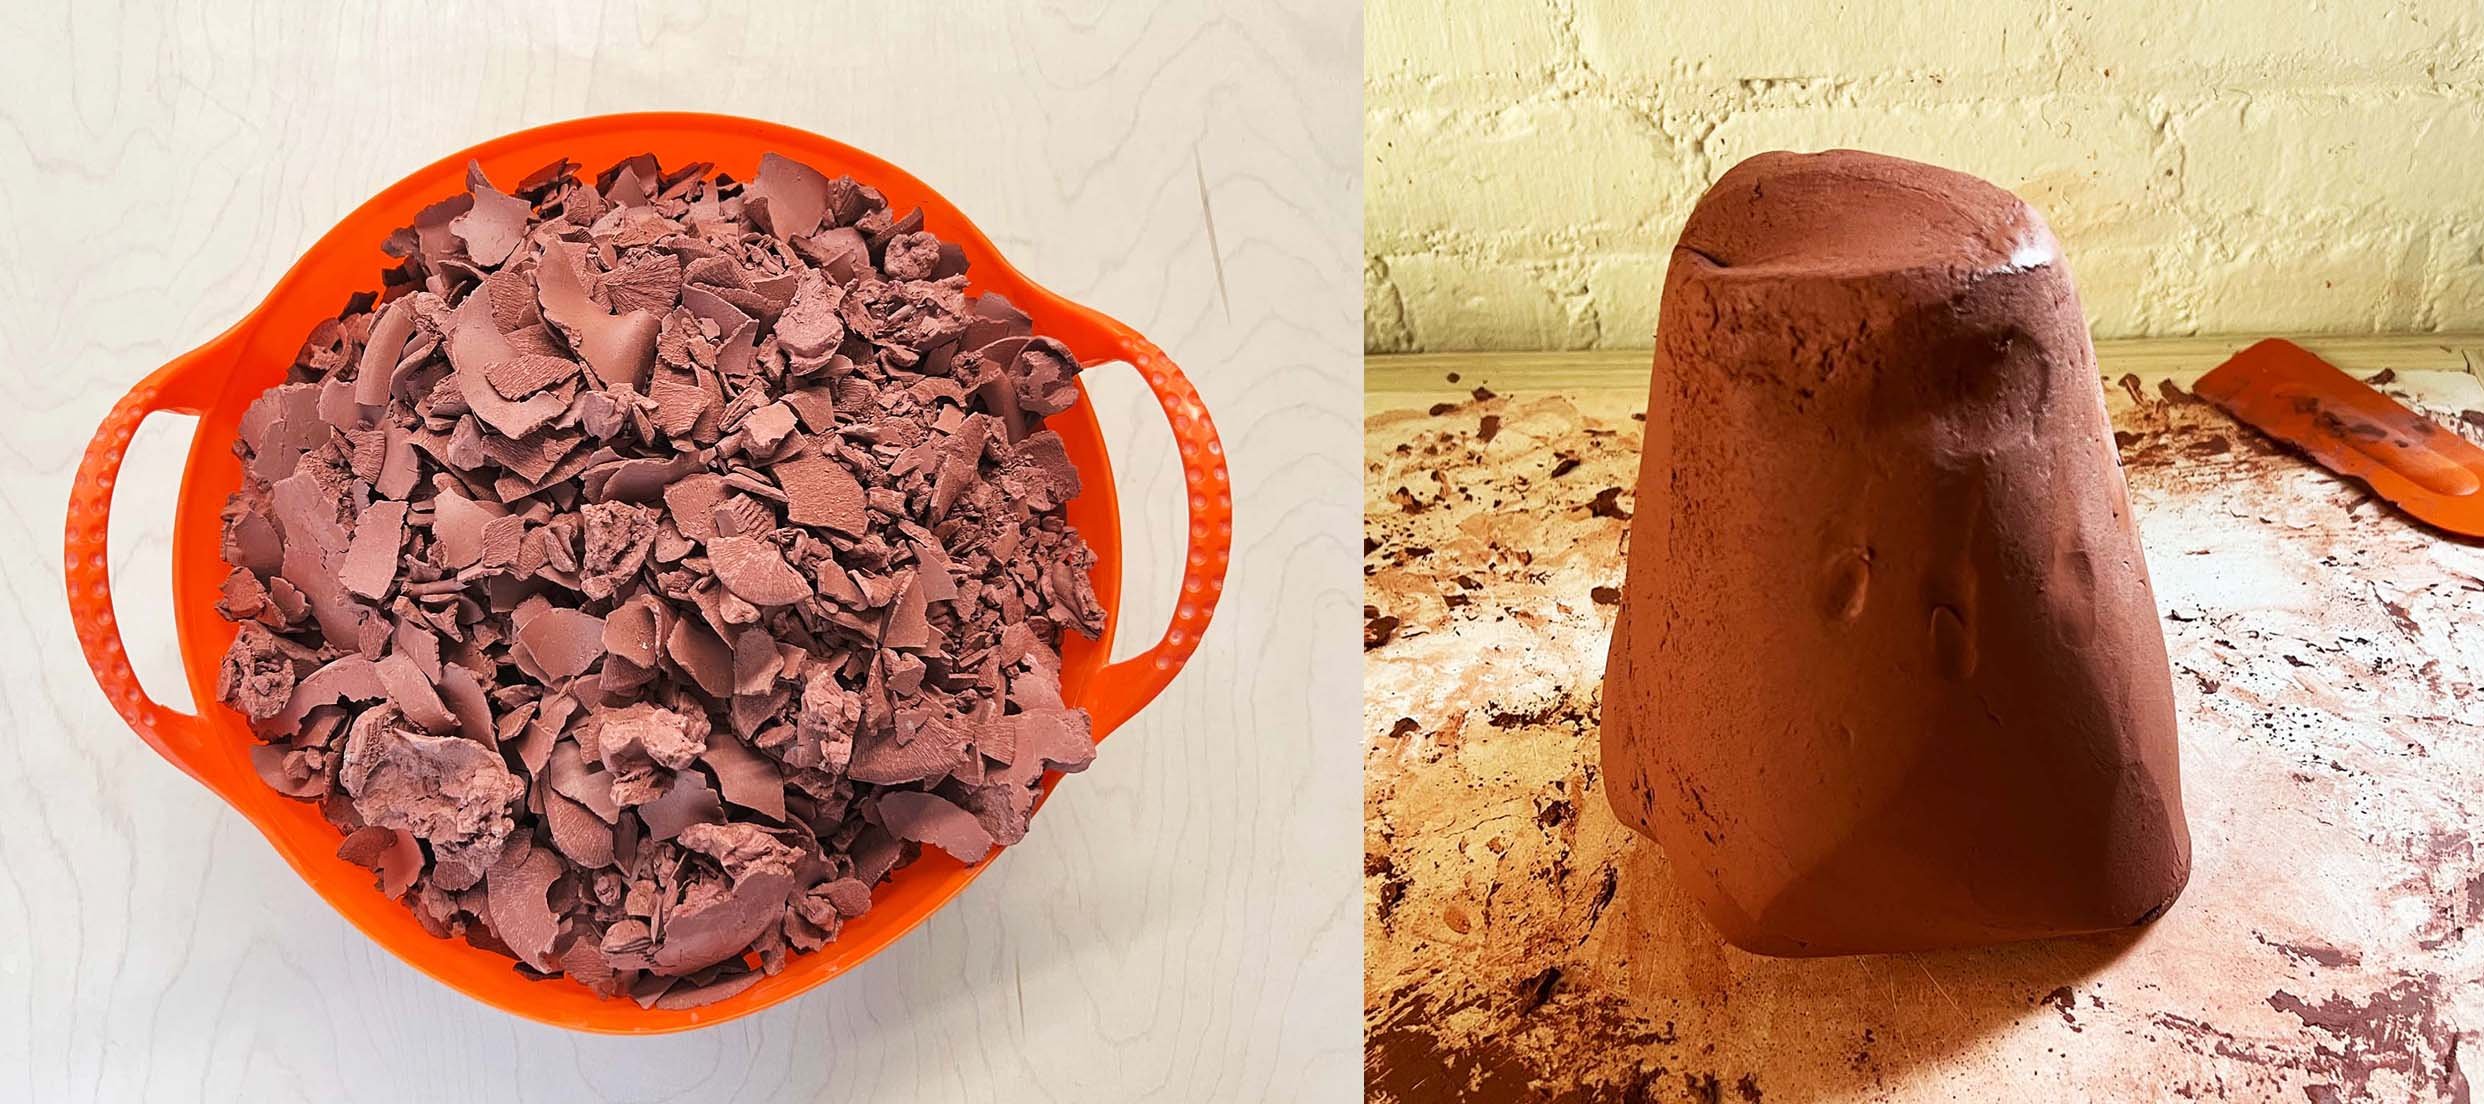
Dried clay scraps ready to be reclaimed. This clay is in our favorite Red Gorilla Tub.
Gather all your dried scrap in a bucket. For this method, all the clay must be completely dry. This is is easy if it is thin trimmings, but you may need to break up larger chunks and give them time to dry. When working with dry clay, take care to avoid breathing clay dust—a respirator is best.
In the picture here, it’s about 6 lbs of dried scrap, which will turn in to about 10 lbs of workable clay.
Step 2
Adding water to dry clay scraps.
Add water. Add enough water to reach about 80 percent of the height of your scrap. Don’t worry if you add too little or too much.
Step 3
The dried-out clay scraps will quickly slake down in the water.
Let the clay slake down in the water. If you have just thin trimming scraps, this could be a matter of minutes up to about a half hour. If you have bigger chunks, it could take a few hours for everything to completely hydrate.
During this stage, you can add more water if needed.
Slaked-down clay. It will feel like a very thick slip.
After the clay has completely hydrated, it’s ready for the next step. It should look like this, or it may have fully submerged under the water.
If you stick your hand into the clay, you shouldn’t feel any hard lumps or chunks.
Step 4
Clay spread out to dry.
Spread the clay on an absorbent surface such as a plaster wedging table or plaster bat. Keep the clay about an inch or two thick. You can add finger holes to increase the surface area touched by air, but the main source of drying will be the absorbent plaster.
Step 5
The clay has dried on one side and can be peeled up and flipped.
After drying for a few hours, the clay will still be quite wet. But if you can peel it up and find a drier “skin” on the bottom, it’s ready to be flipped. This will help equalize the drying time.
Step 6
Depending on the conditions in your studio and the ambient humidity, they clay may dry quickly. If you are out of time for the day, just cover it with plastic to slow the drying.
For this demo, the clay was covered after being flipped once, but you could choose to cover the clay at any point and walk away. Or your studio might be dry enough that it can all be done during your workday.
The clay after sitting under plastic overnight. It is ready to be wedged.
Step 7
Clay that can be peel off the plaster surface is ready to wedge.
The final step is wedging the clay. If you can peel up the clay and it is somewhat dry, it’s ready to wedge.
The clay is easiest to wedge when it is soft, but not so soft that it’s sticky.
Step 8
The wedged clay, ready to be made into something new.
The clay can be used right away. Or even better, bag and store the clay for a few days and then wedge again. This way you can be sure that all the clay is completely mixed.
What reclaim technique works for you? Let us know in the comments.
