This is a style of handmade mug I learned many years ago from Phil Cornelius at Pasadena City College in Pasadena, California. Phil was a great potter and artist, and his demos often involved small moves that really highlight the handmade quality of pottery made on the wheel. (One of his popular demos was making a teapot in 5 minutes.)
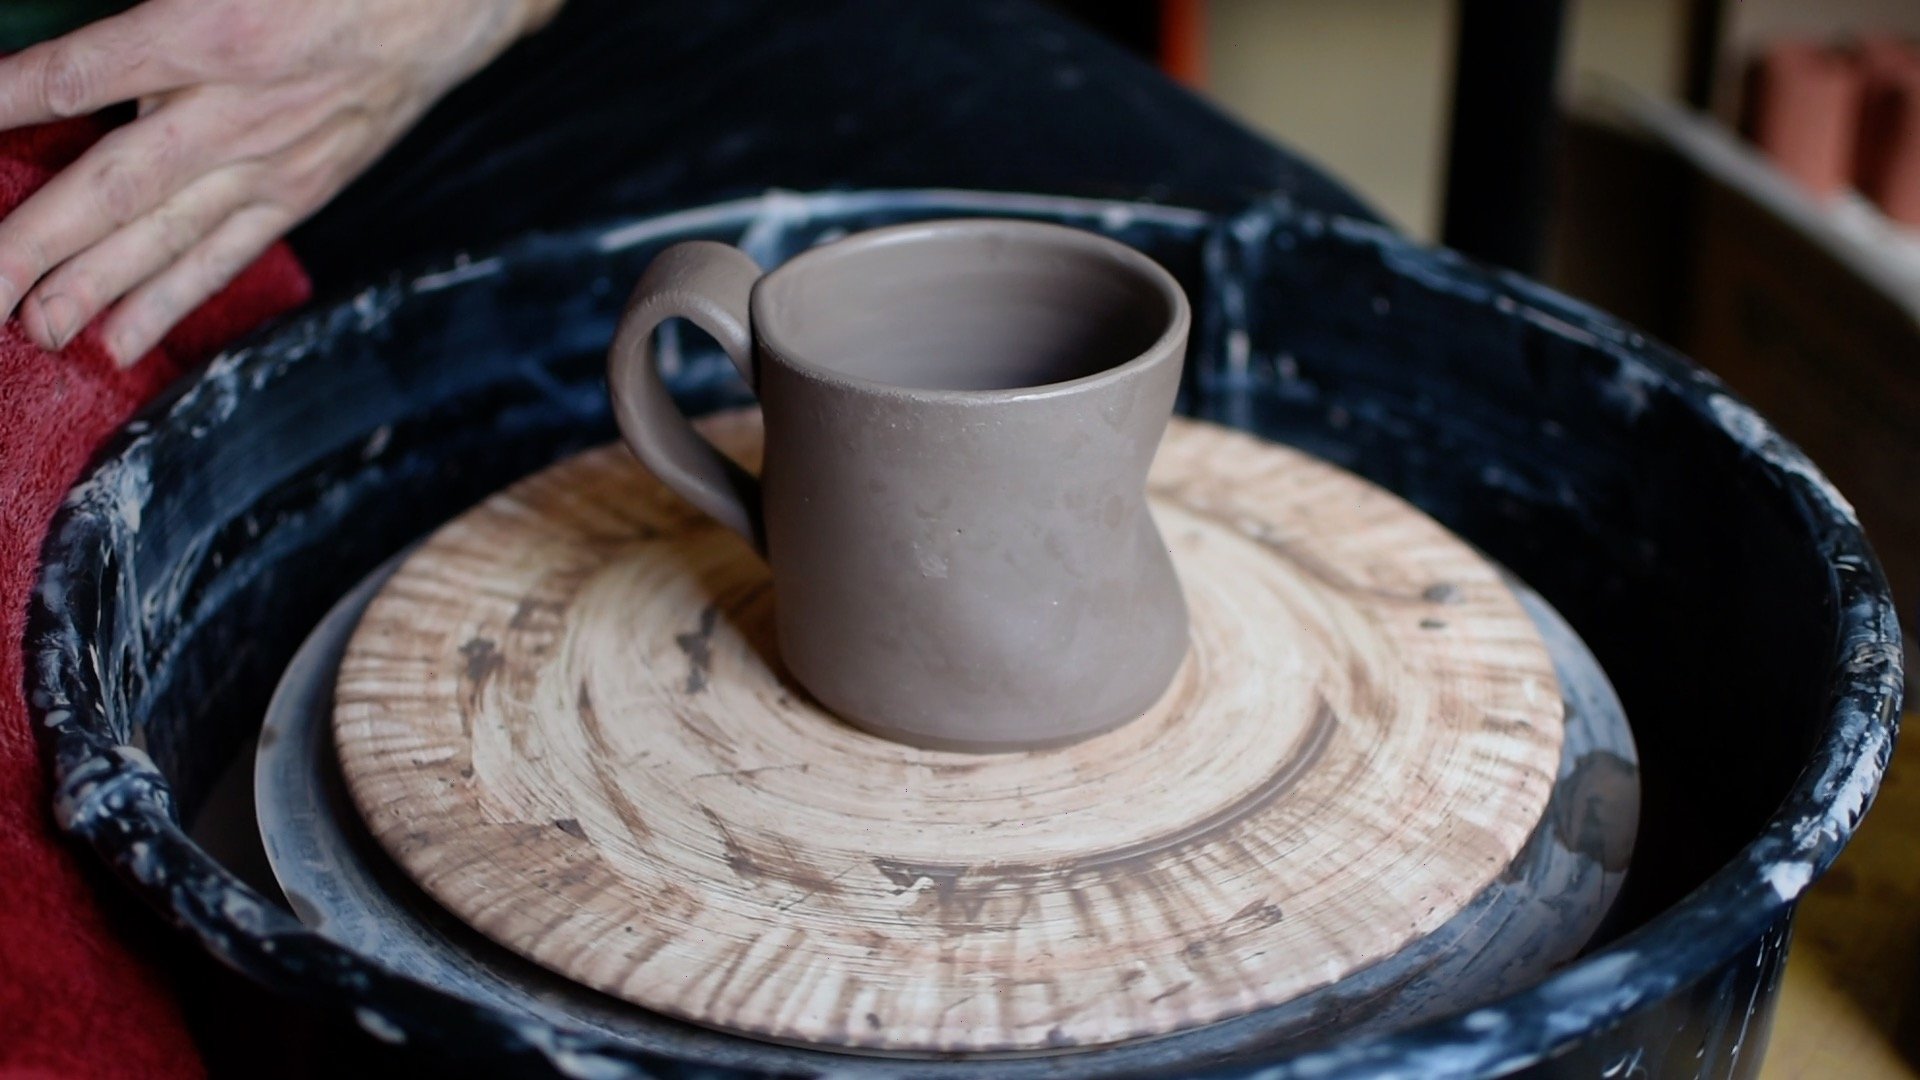
For this style of mug, which I’m calling the Phil Mug, you throw a cylinder with about one pound of clay and after cleaning it up, give it a slight pull to take it off center. Then cut it off the wheel head, attach a handle, and it is ready for decorating and firing.
The complete steps are below, and here is a video of the entire process:
Making a “Phil” Mug Pottery Tutorial
Step 1: Wedge and Center
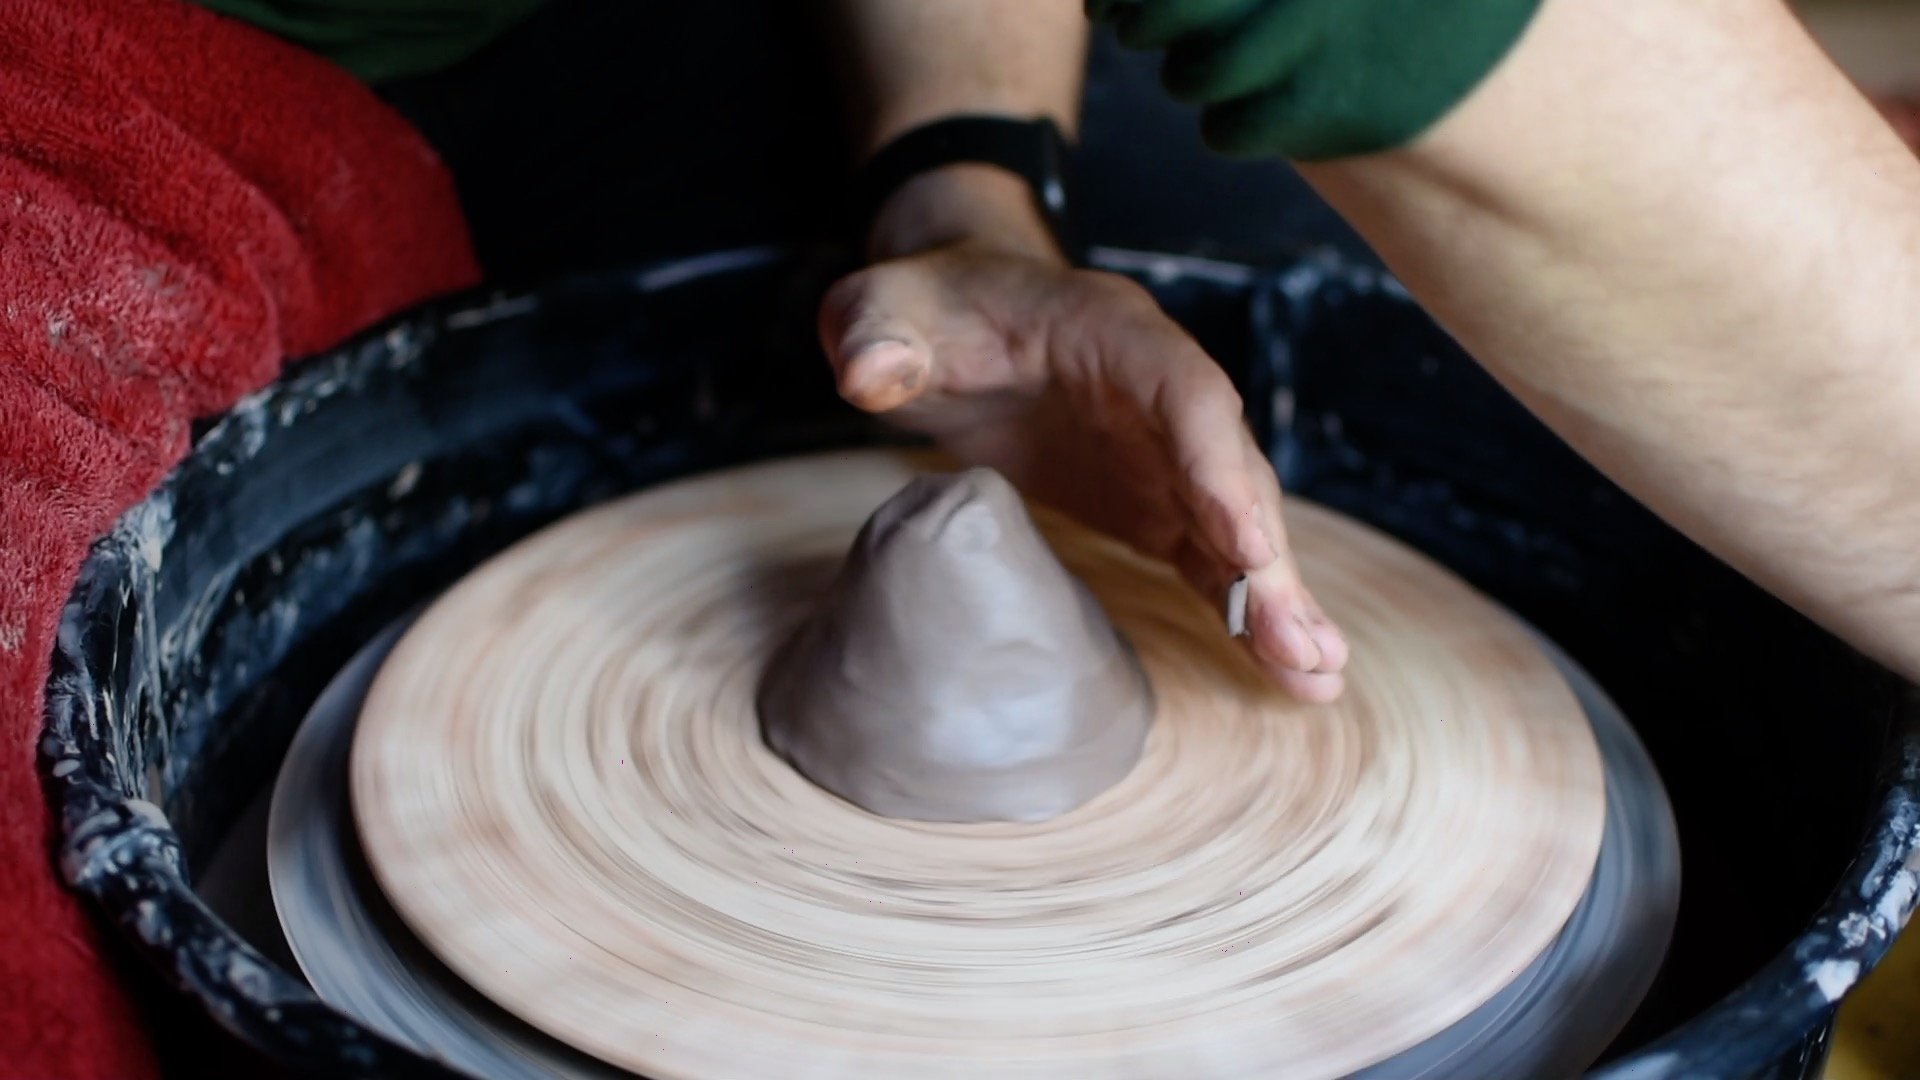
Start with one pound of clay. Attach it to the bat or wheelhead, and center.
Step 2: Open and Throw a Cylinder
Pull the walls.
After getting your clay centered and organized, open the clay and create a flat bottom. It can help to compress the bottom with a wooden rib.
As this mug will be slightly off center, generally the plan is no trimming later. So you want to take care to make your bottom even and about the thickness that you want it.
After getting your bottom set, pull the walls up.
Step 3: Clean Up
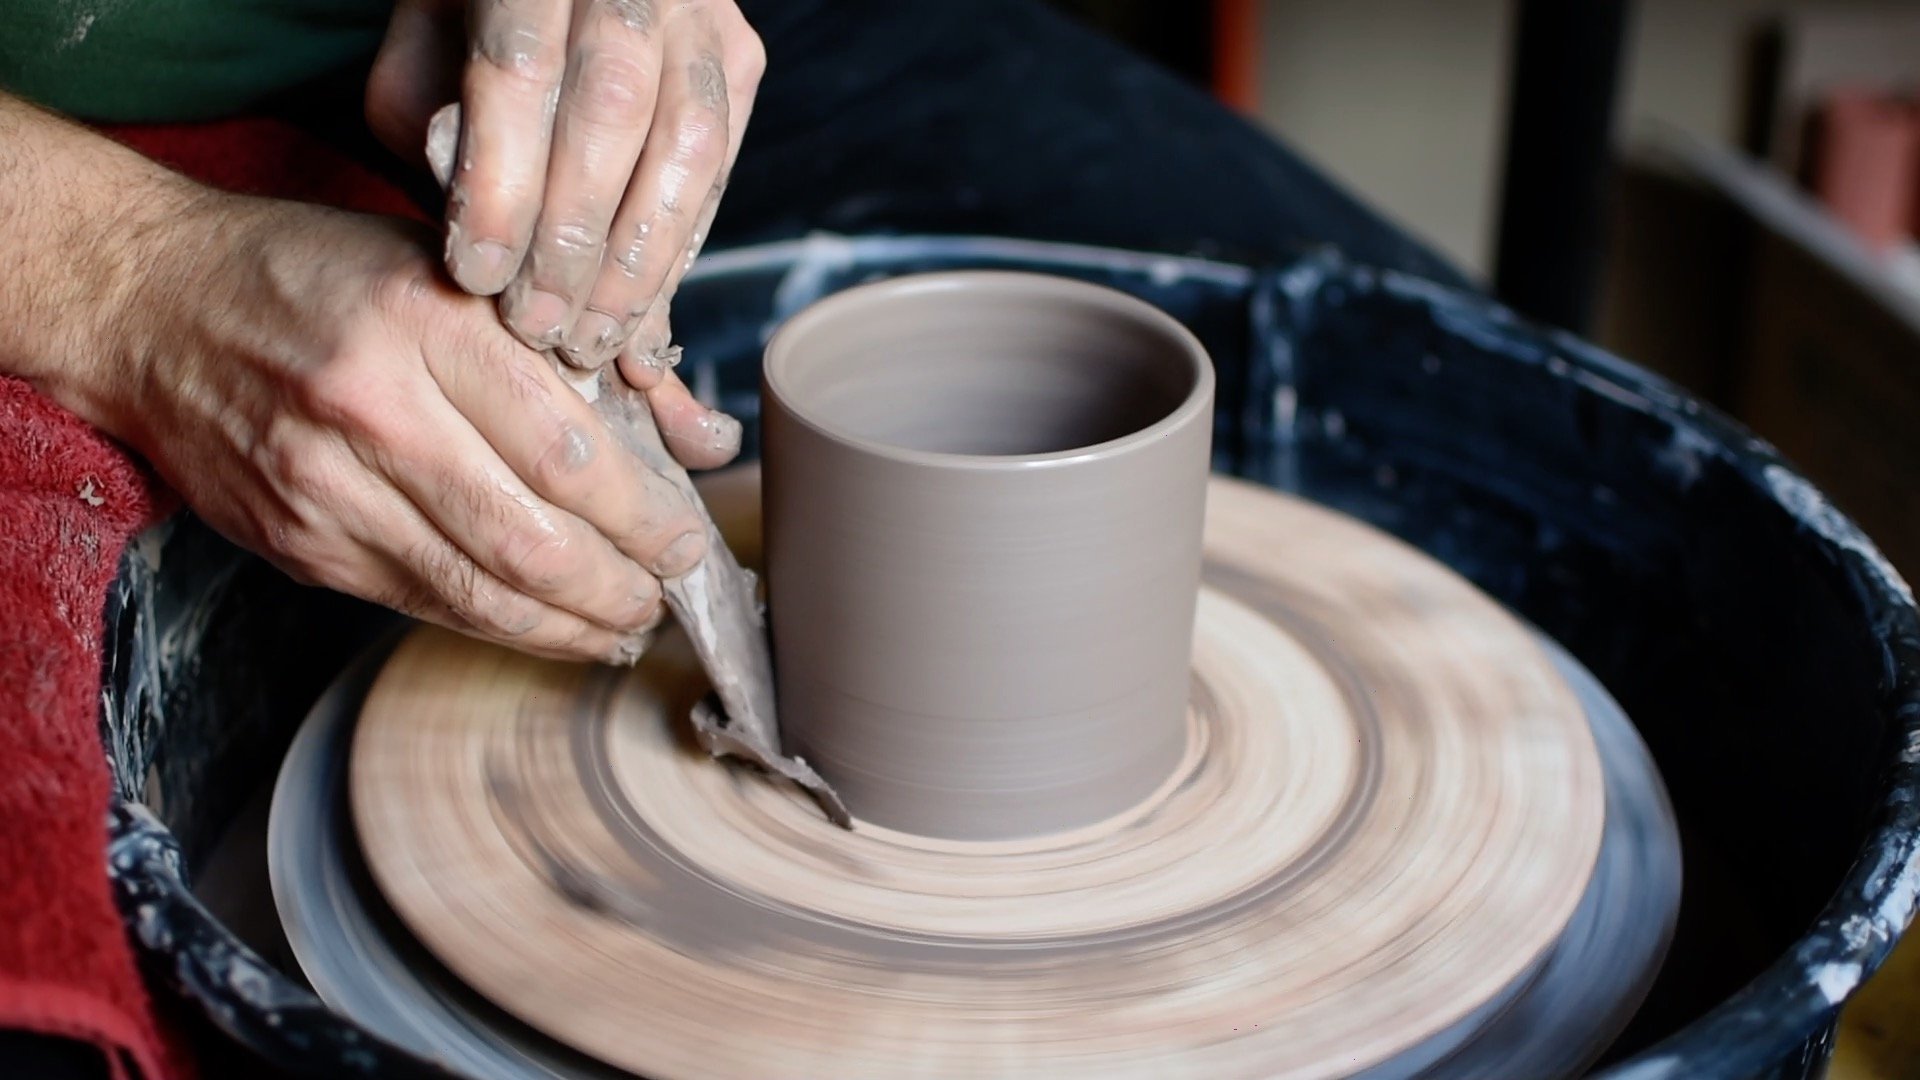
Shape and clean the walls with a metal rib.
With this style of mug, it’s important to remove all the slip. After you finish your pulls, use a metal rib to shape and clean up the cylinder.
After finishing the walls, use a wooden knife to remove excess clay at the bottom of the cylinder. You can also give the bottom a small bevel.
Remove excess clay from the bottom of the cylinder with a wooden knife.
Step 4: Give the Cylinder a Small Pull
Giving the cup a small pull
After throwing and cleaning up your cylinder, leave it attached to the wheelhead. Then, with clean dry hands, give the cylinder a little pull to take it slightly off center.
This is your chance to personalize and really make this process work for the style you want. And if the rim is a bit off center, that’s ok. You can easily work it back into a circle as it is drying.
Step 5: Cut Off
Cut off the cup with one pass of the wire.
After shaping your cup, cut it off the wheel head. Then, you can either leave it on the bat or move it to a board. Because it is a small vessel, I usually just move it to a board.
Step 6: Make and Attach Handle
Flattening the coil.
Next, it’s time to make and attach a handle. I usually do this right away after making the cup. You can do any style—pulled, extruded, etc—but for this style of mug I usually make a quick coil handle.
Cut into a handle shape.
To make this handle roll out a coil about 1/2 inch thick. Then, slowly tap it downwards on a clean work surface. This is similar to a whip motion, but I think of it as guiding the coil down to flatten it out. Alternate the sides of the coil as you flatten it. Within 3 or 4 taps, you will probably have a nice flattened coil. If these instructions are confusing, be sure to watch the video to see it happen live.
Attach the handle.
After making the handle, cut it into the shape that works for you, score the coil and mug, and join with a bit of slip or water. Join the top first, then the bottom.
If your mug goes a bit off center in this process, that’s fine. The fun part with this style of mug is just being loose and letting the clay find the way it wants to be.
Step 7: Clean Up and Done
The finished Phil Mug.
After attaching the handle, the rim may need a bit of an adjustment or clean up. You can also make adjustments as the mug becomes leather hard.
That’s it! The Phil Mug, inspired by Phil Cornelius, who was a long-time professor of ceramics at Pasadena City College in Pasadena, California. Enjoy trying out this style.
Here’s the ASMR version of this process with just ambient studio sounds:
