The finished wide rim bowls from this tutorial.
A wide rim bowl is a great project for the pottery wheel, and it’s so fun to use for soup or pasta at home. This tutorial includes images, texts, and videos, so that you can learn how to make them.
What you’ll need:
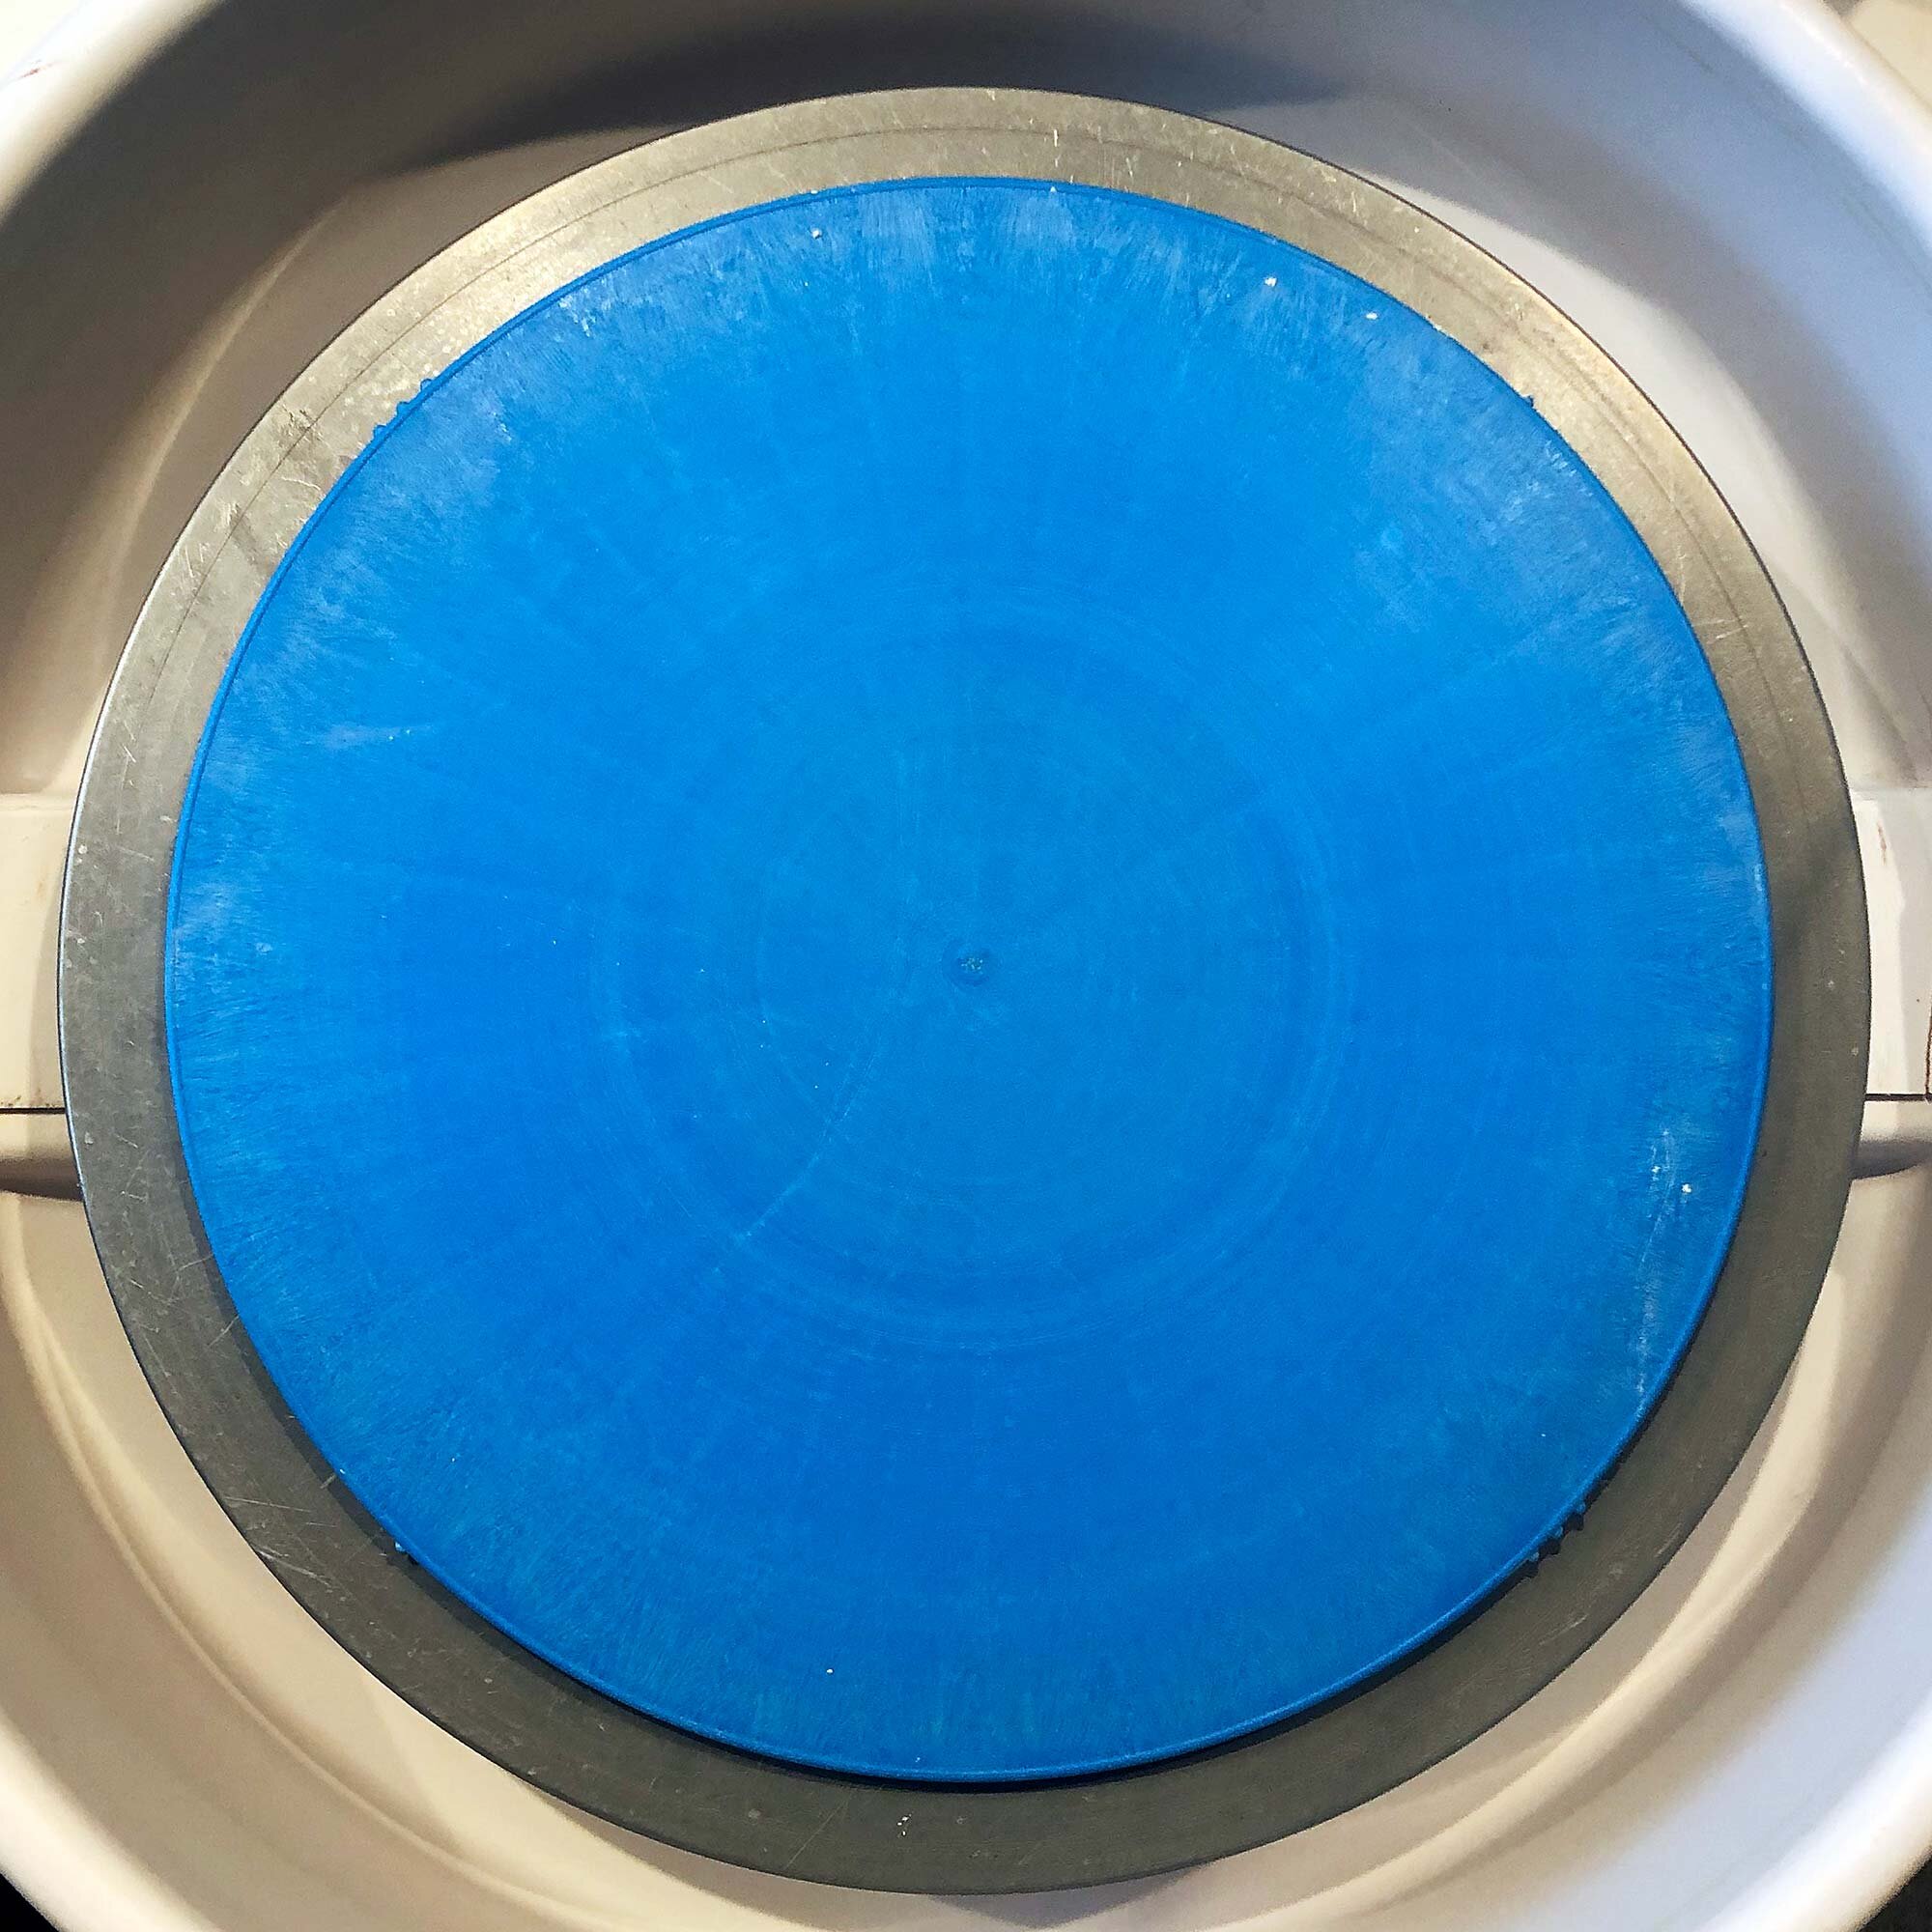
A pottery wheel and absorbent bats such as Hydrobats
Basic pottery tools including a sponge, rounded ribs, wooden knife, and cut-off wire
Complete tutorial below, but here’s a video of this entire process including making and glazing:
Making a Wide Rim Bowl pottery tutorial
Step 1: Wedge and Center
Centering the clay on the wheel.
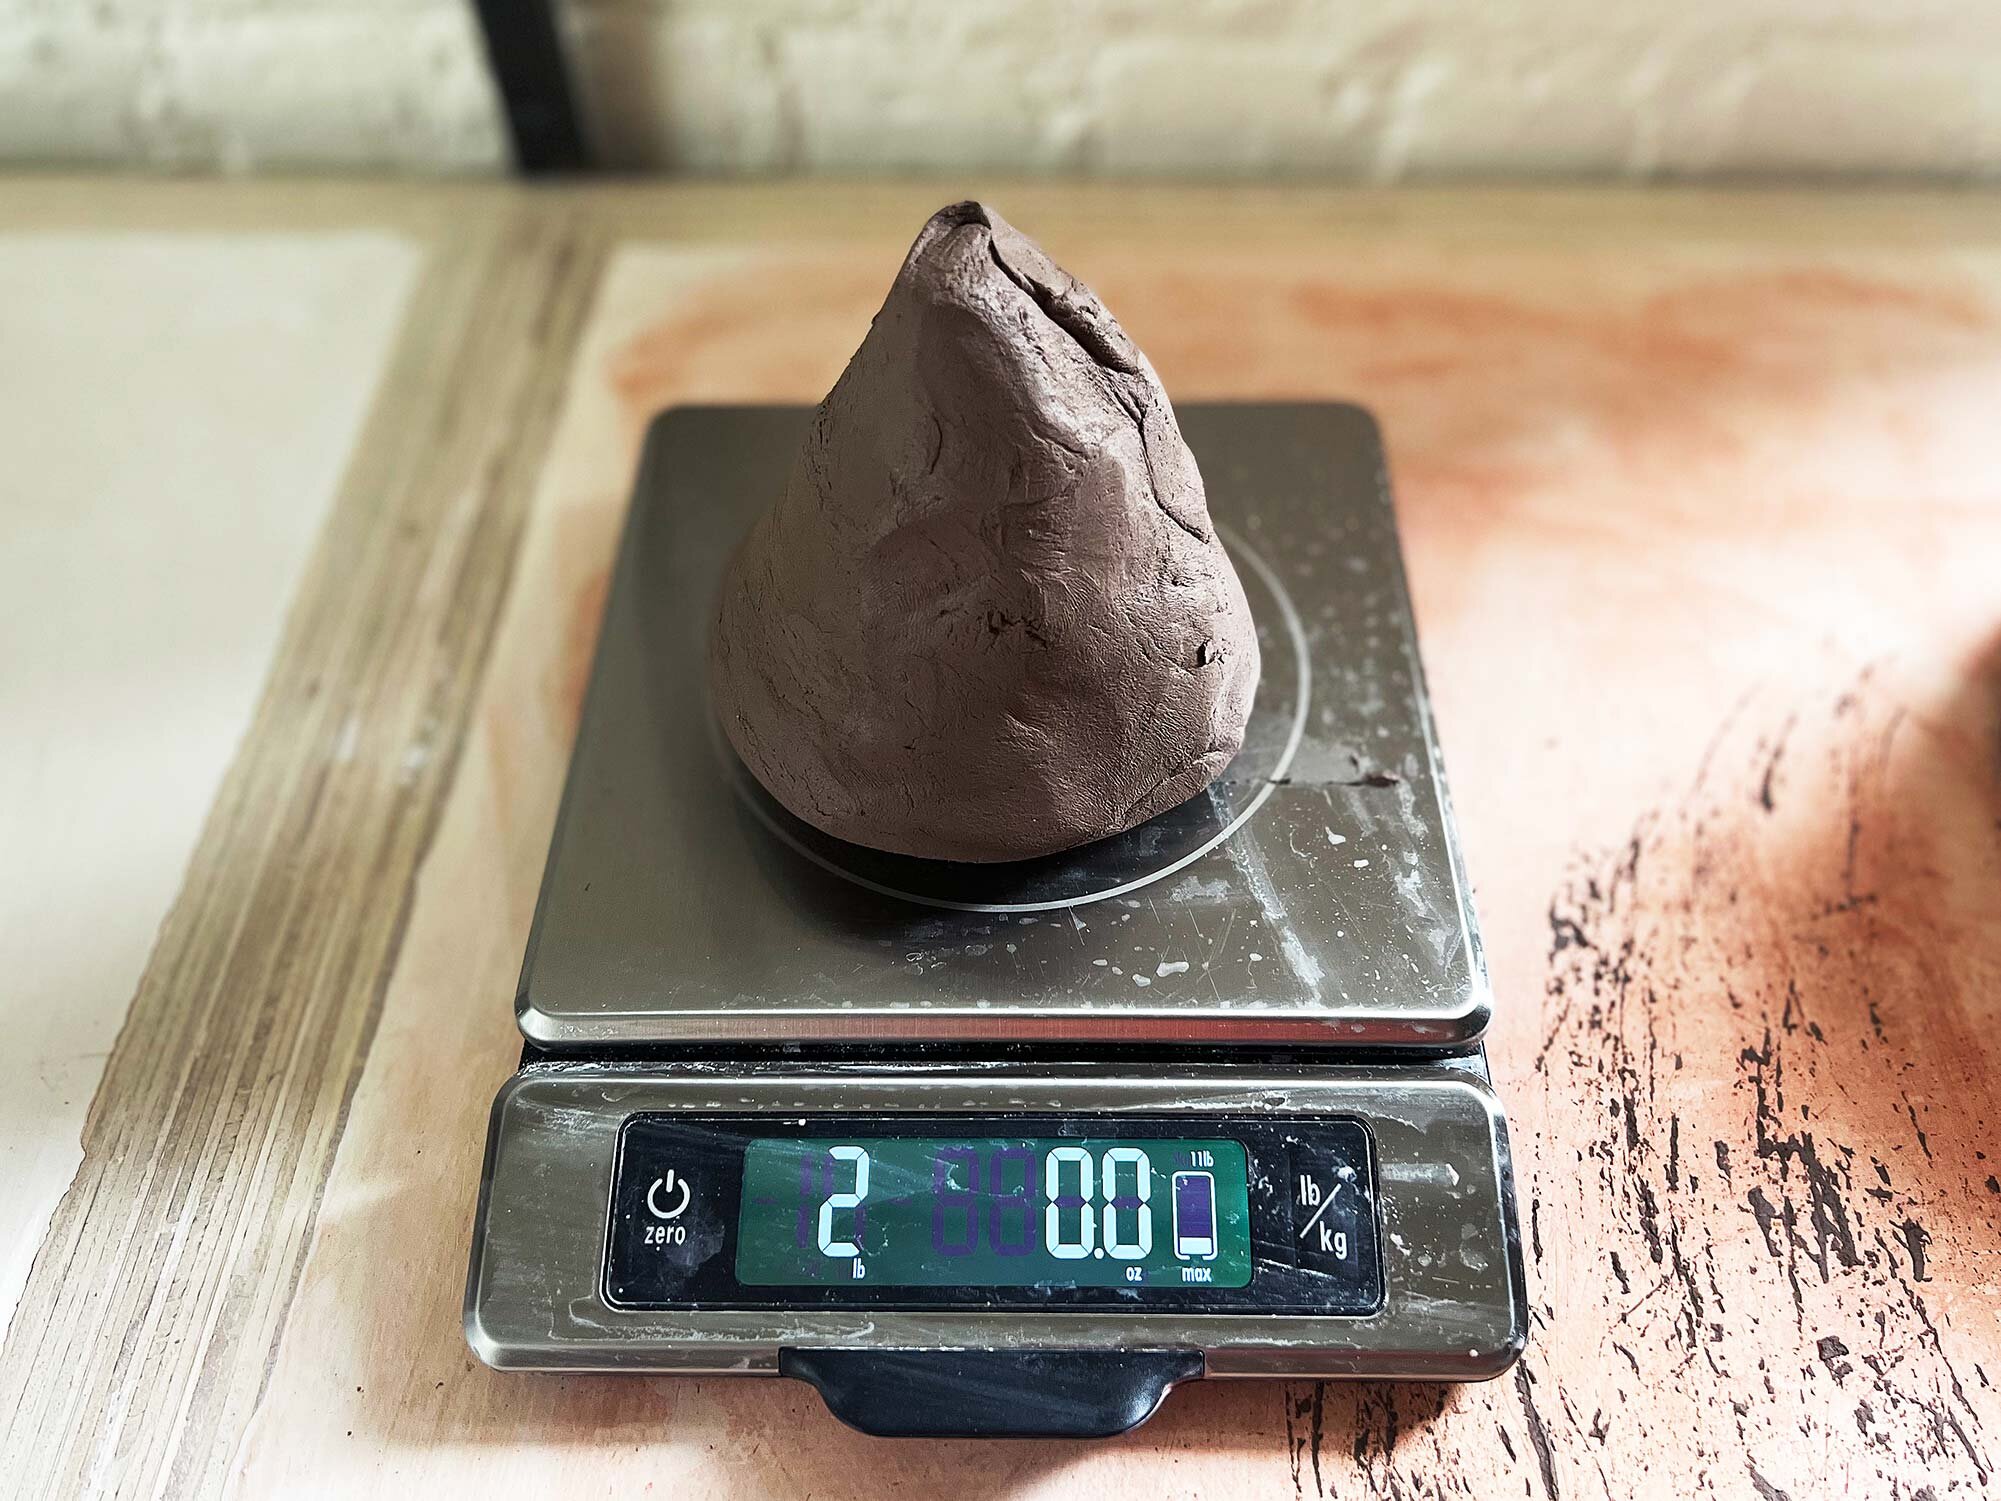
Start with soft clay and weigh 3 lbs, 12 oz. Then wedge until the clay is homogenized. I usually count to 75 while wedging. Then attach to the wheel head and center.
If your clay is not very soft, try adding a small amount of water to the bag a day or two before you use it.
After centering, open your clay. Be sure to leave enough clay on the bottom so that you can trim a foot.
Step 2: Finish Opening and Begin Shaping
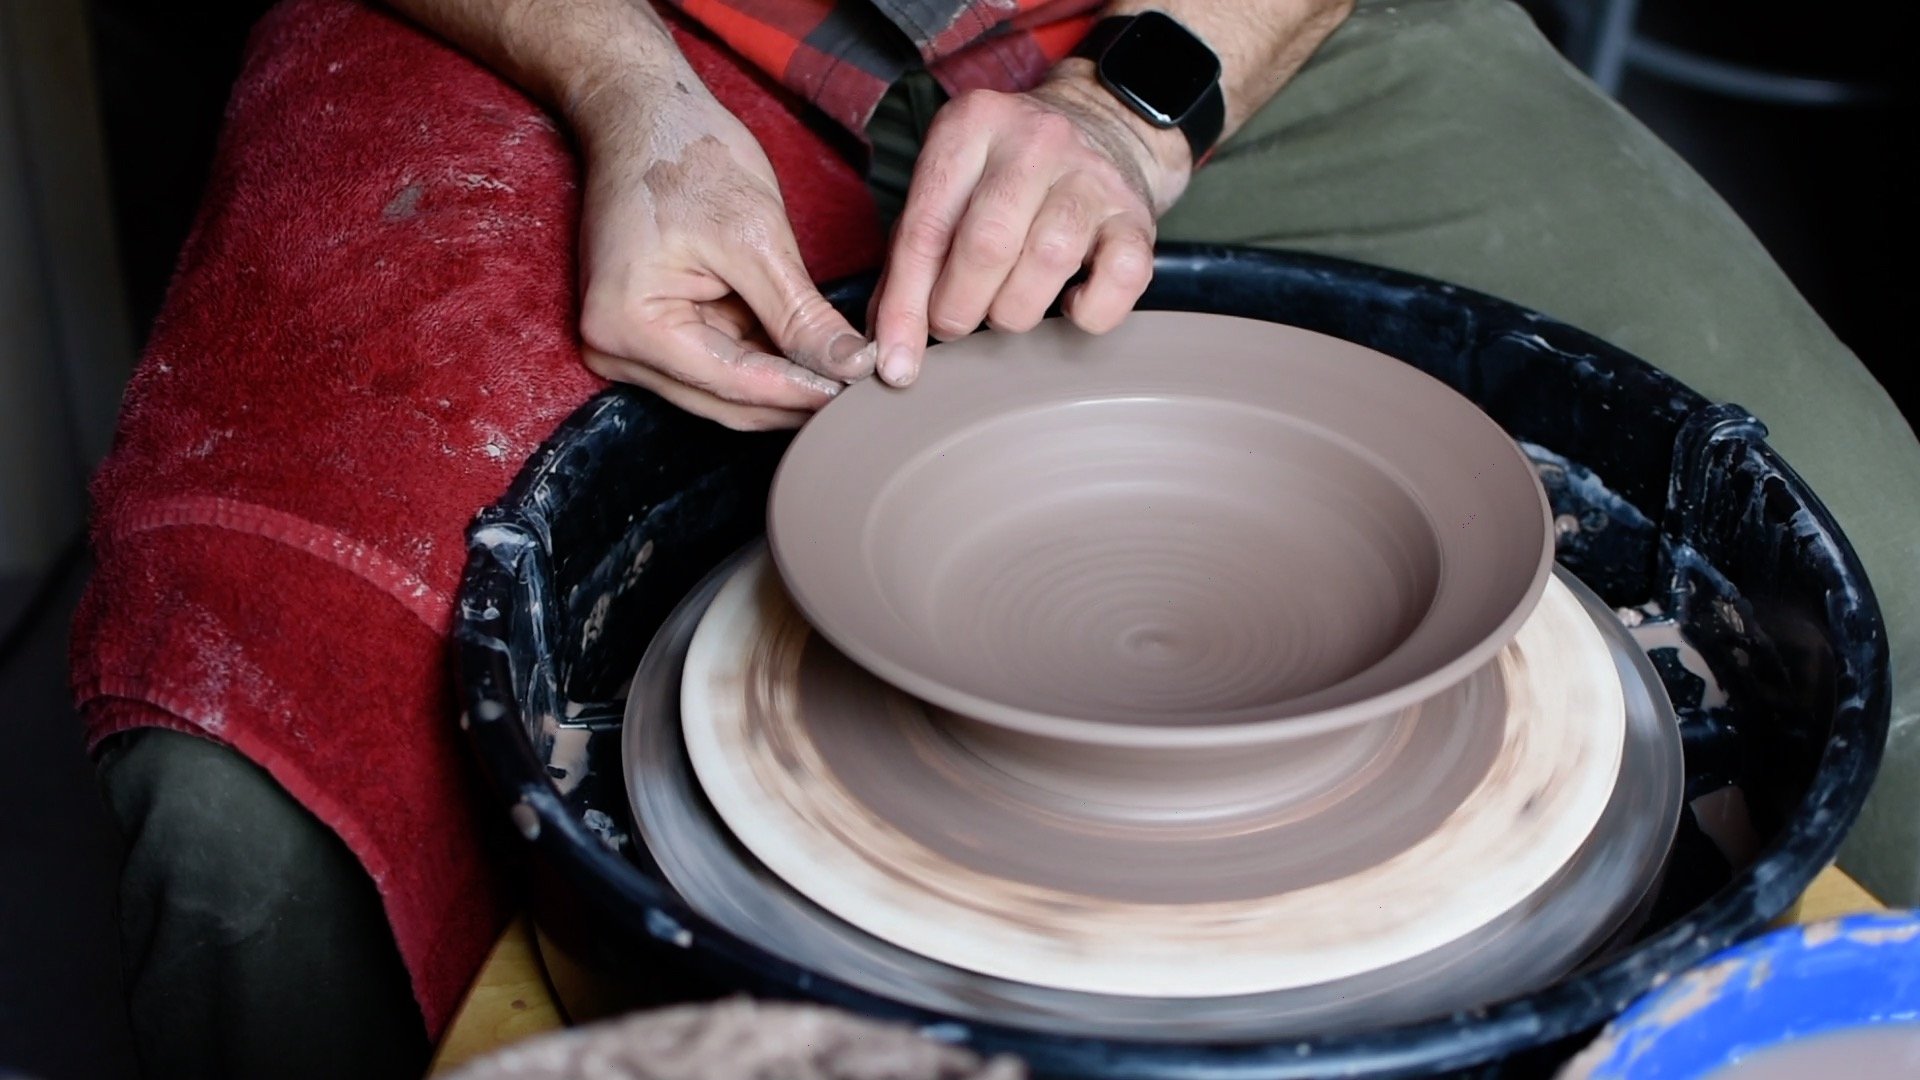
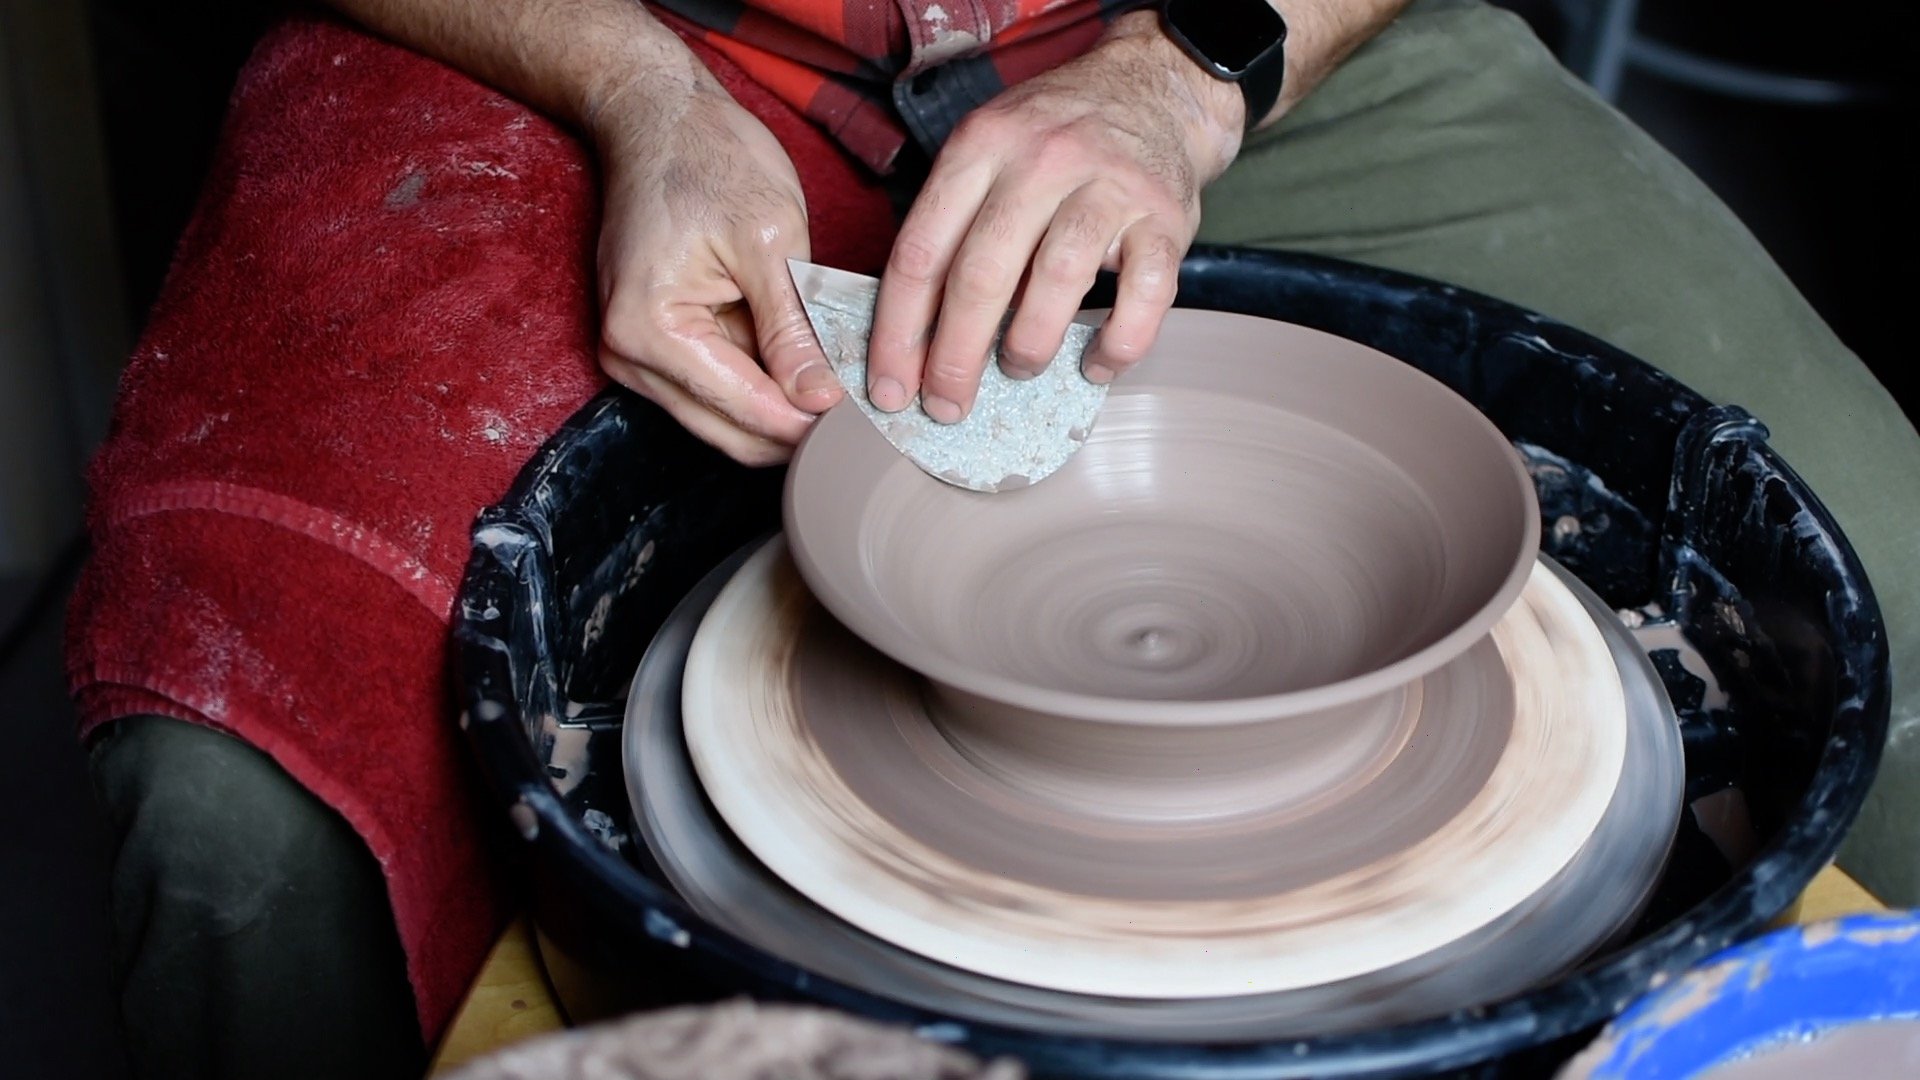
Starting to shape the rim with a rib.
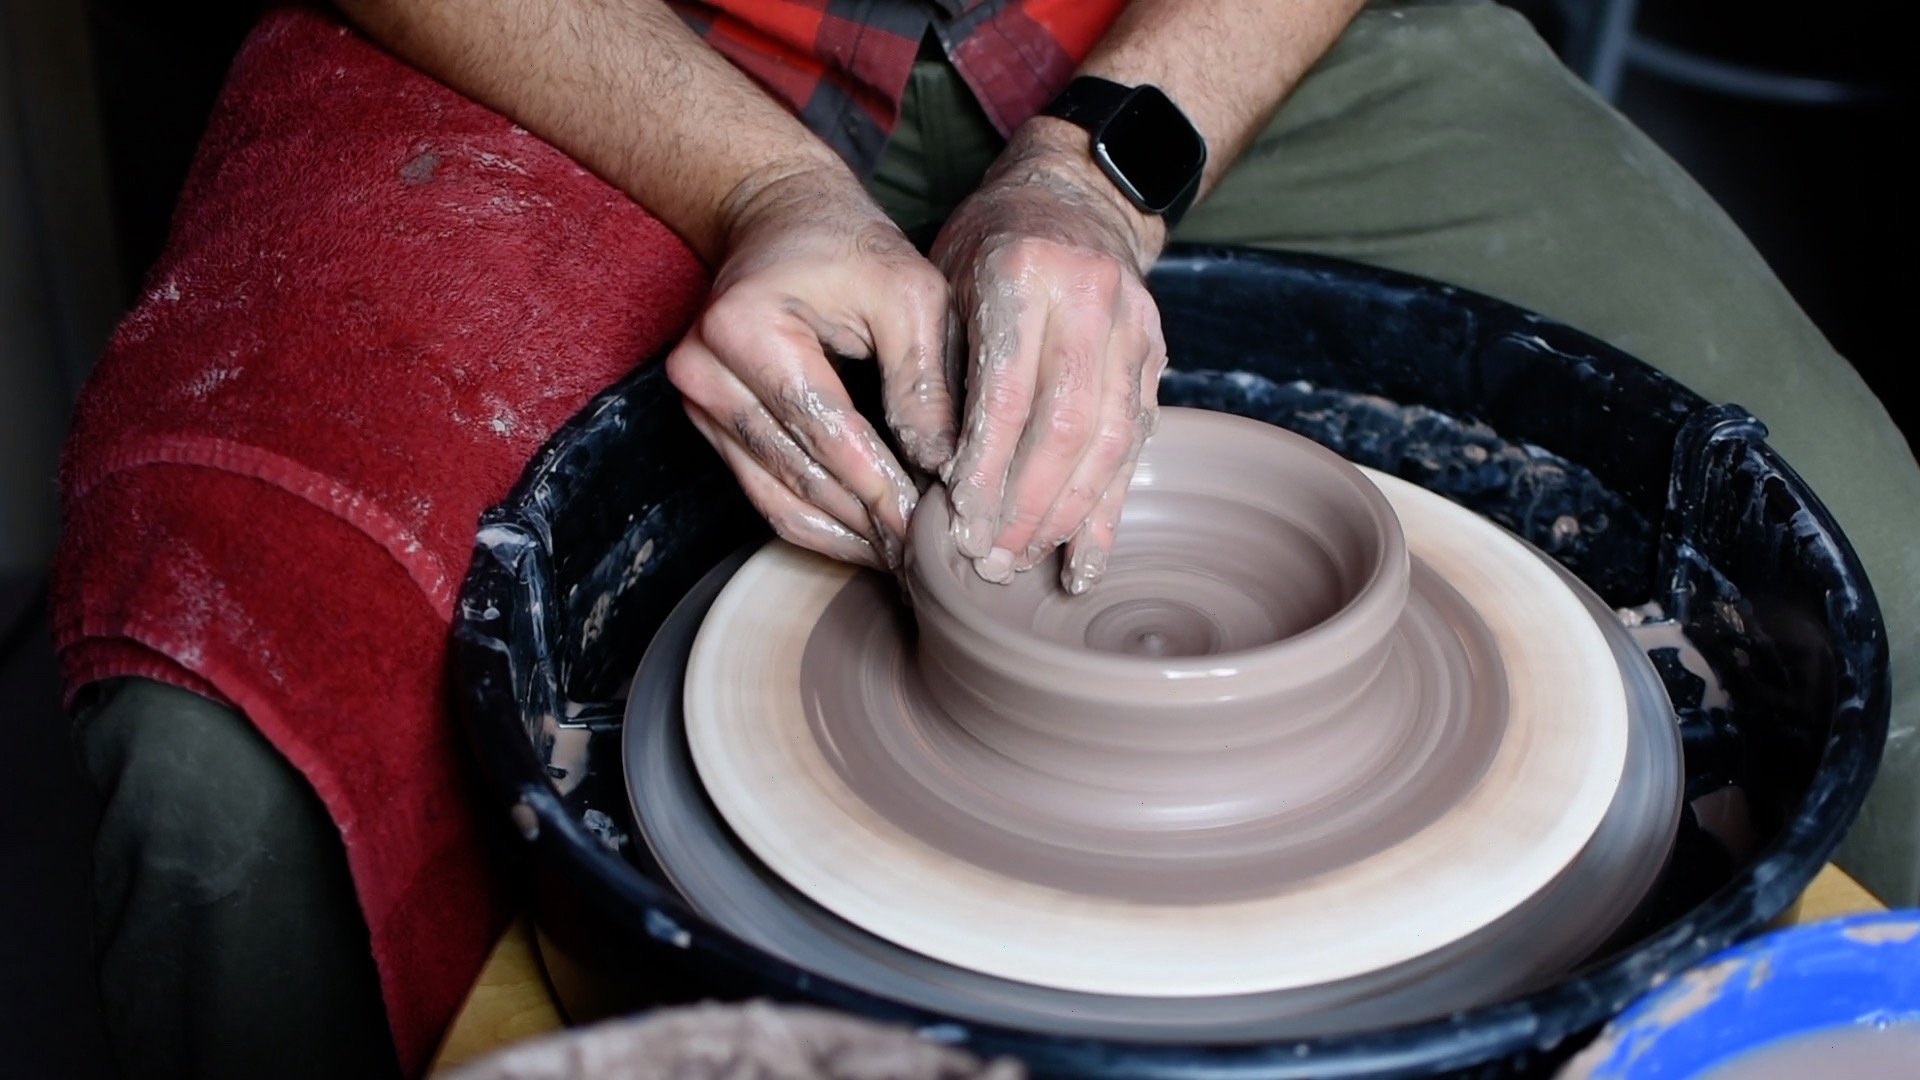
After opening the clay and pulling the walls up, it’s time to switch to shaping the bowl.
For this process, I always clean my hands. You have much more control with dry hands and dry tools.
Further shaping of the rim.
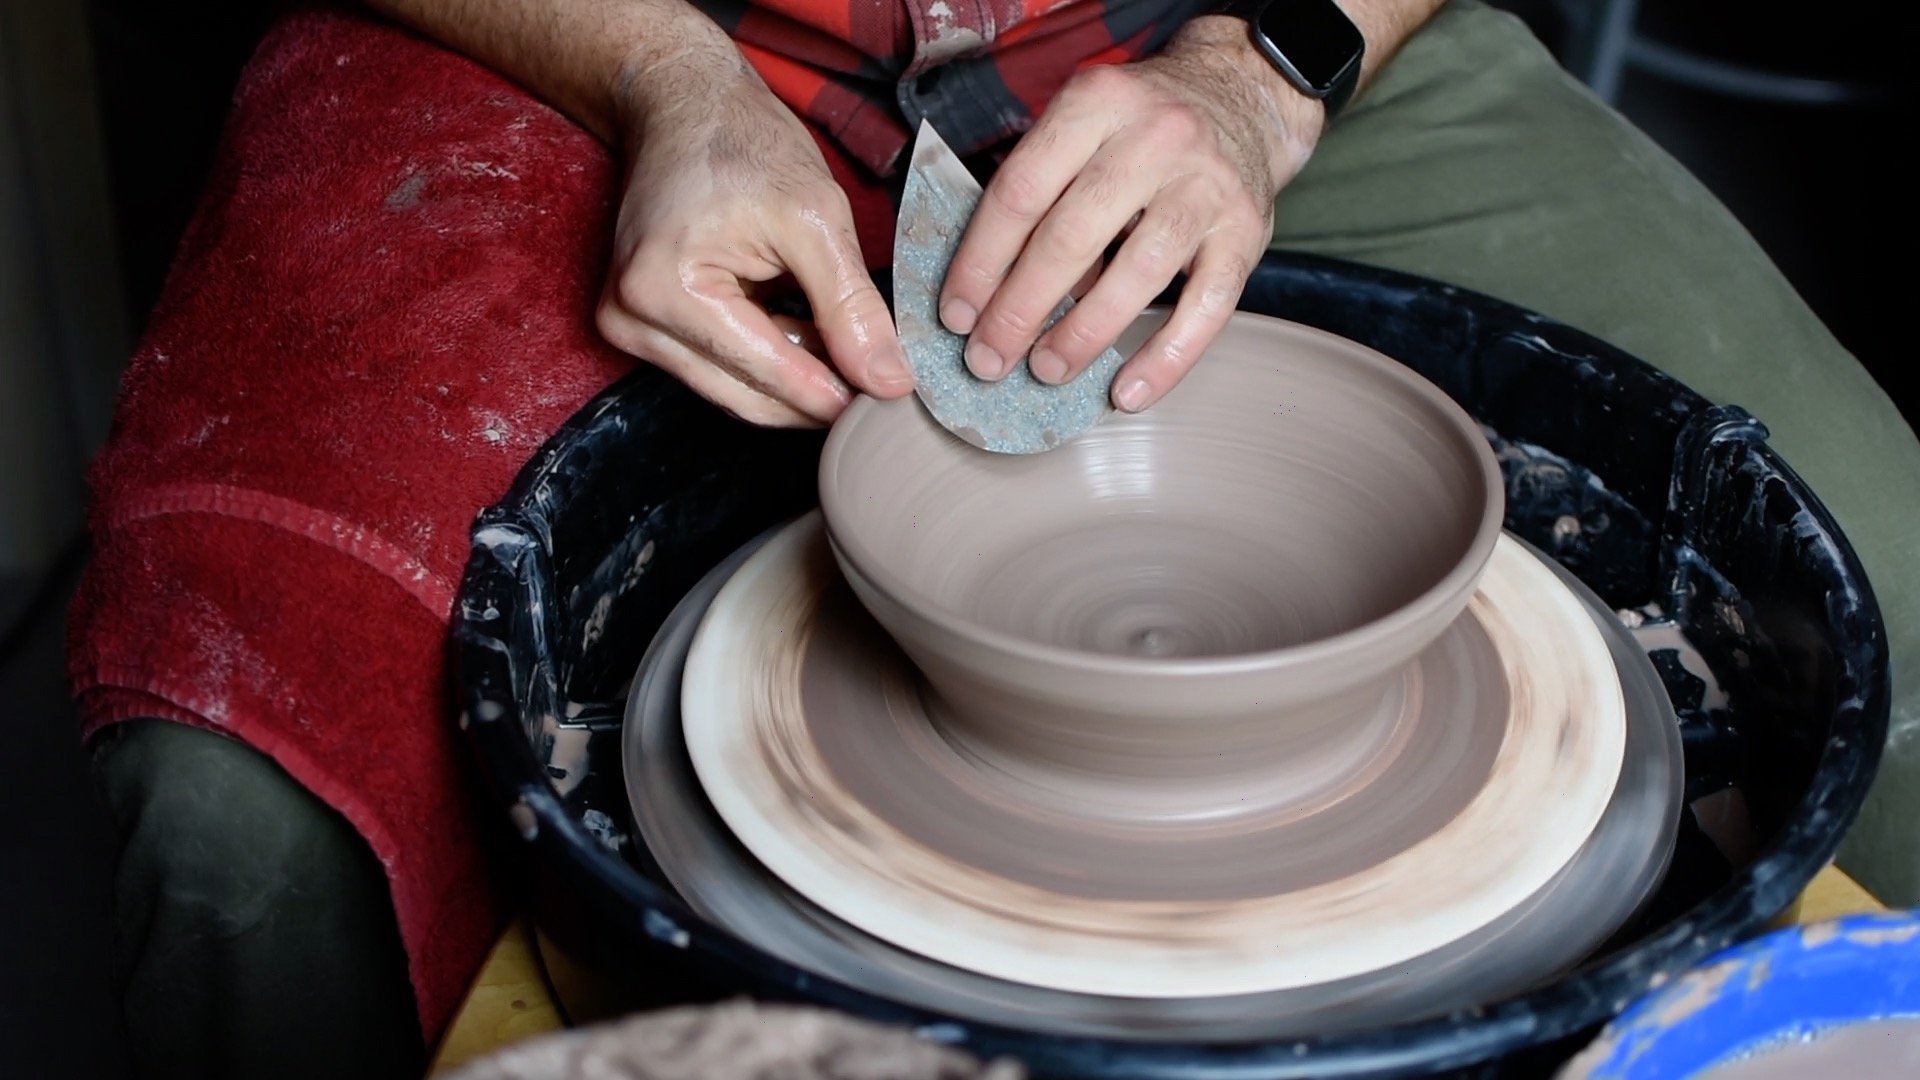
To start, I first apply the rib to the rim and start shaping that. Then I return to the middle of the pot and refine the inside bowl shape. Finally, I’ll pay special attention to the transition point between the bowl and rim, and make sure the rim is well compressed.
Shaping the inside of the bowl from the center to the rim.
Step 3: Finish Shaping and Clean Up
Check to make sure the rim is compressed.
After getting the shape of the rim and inside of your pot just right, you’ll want to clean up the bottom of your bat with a wooden knife or rib. Then, I double check that the rim is compressed, and I’ll remove the whole bat from the wheel.
If I have time, I’ll let the pot dry for an hour or two, then cover with plastic. Because I use absorbent bats, within a day or two, the bowl will just pop off the bat and be leather hard. Now it’s time to trim.
Step 4: Trimming
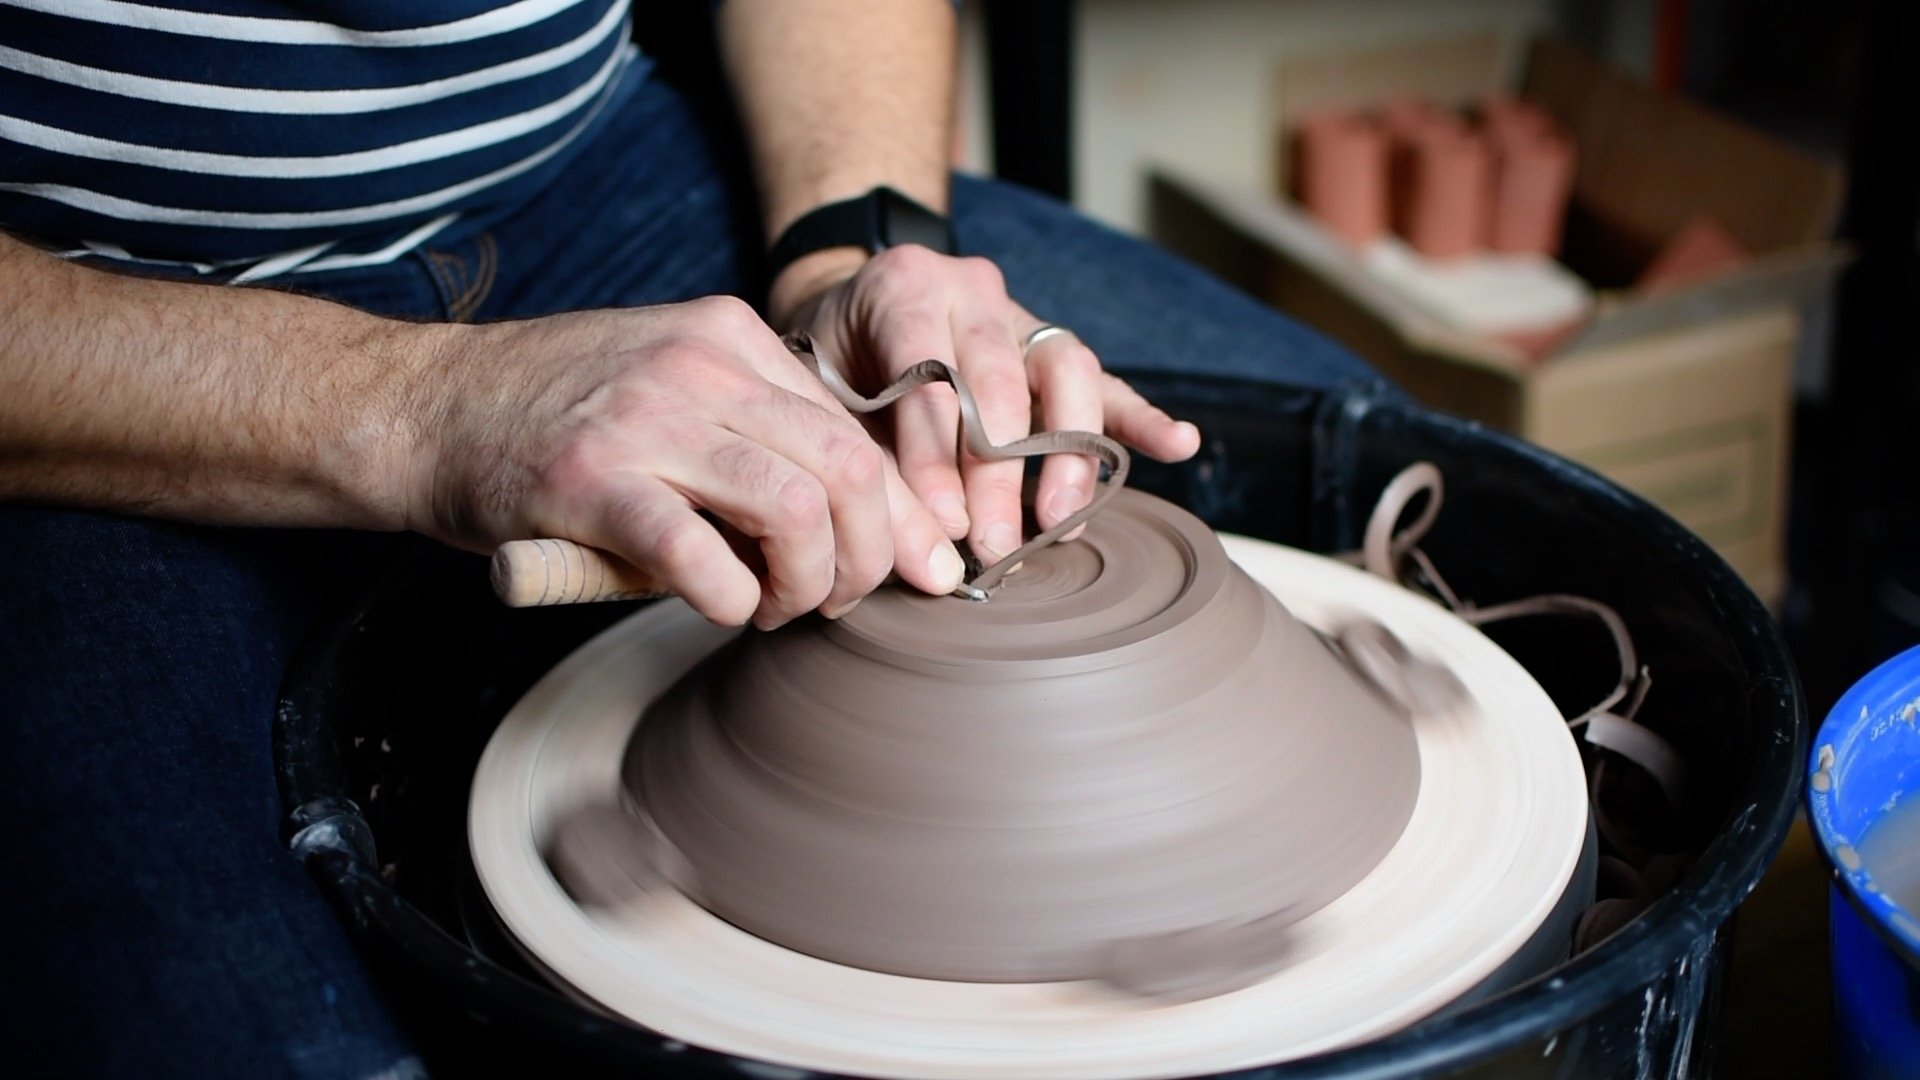
Begin by setting the outside of the foot.
When your bowl is leather hard, it’s ready to trim. I like to trim on the dry side of leather hard as you will get more crisp lines, and it’s easier to remove small amounts of clay and let the high speed of the wheel and many rotations do the work for you.
Trimming the bottom of the bowl.
I start by trimming to the line that will be the outside of my foot.
Press gently throughout the trimming process to gauge the thickness of your wall. If there is any “flex,” you have trimmed enough in that area.
Then, I created a line that will be the inside of the foot. After that is set, I will start in the bottom center of the pot and do a number of passes from the center to the inside edge of the foot, removing a small amount of clay each time.
As I’m throwing, I will stop and press gently on the clay. If the wall has any “flex” or “give,” it is about 3/8 of an inch thick and where it needs to be. Doing this kind of testing can really get you locked in on trimming your pot to an even thickness.
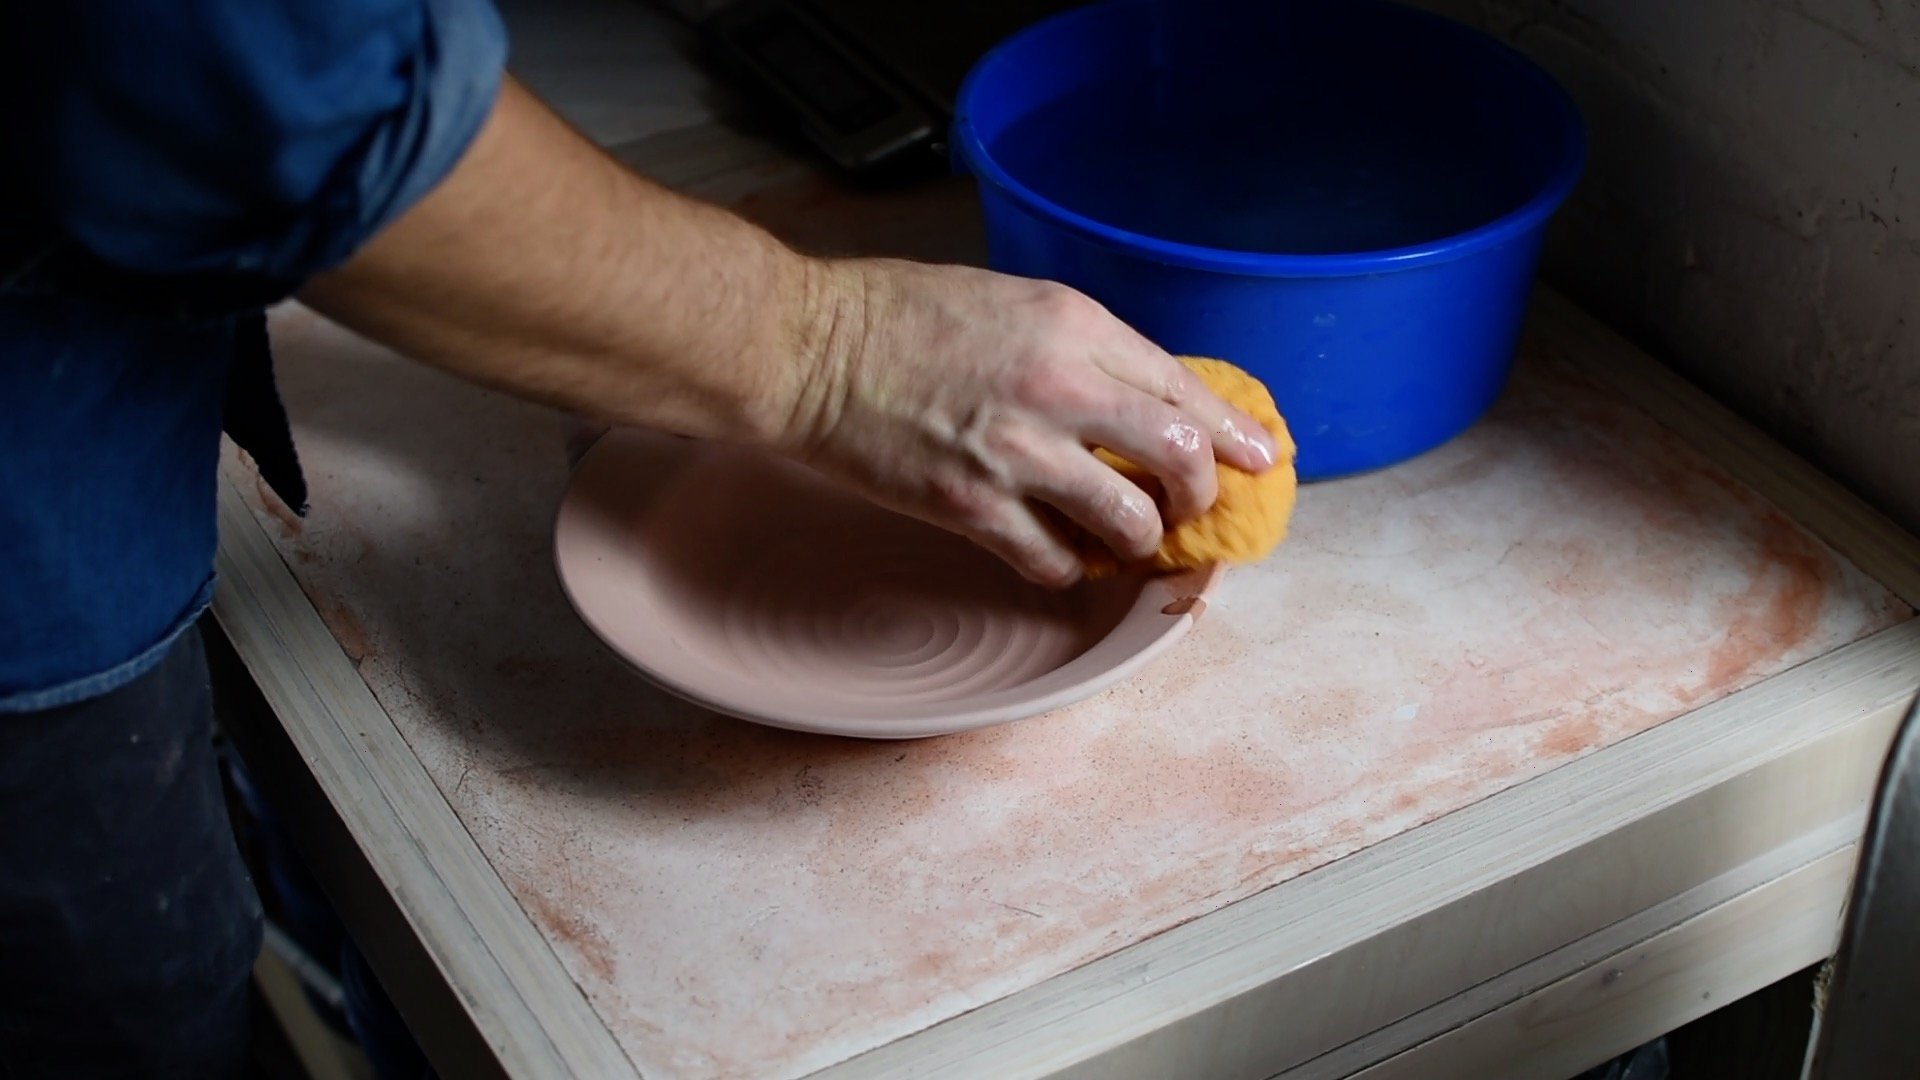
Cleaning up throwing marks with a sponge.
After trimming, I’ll run a damp sponge over the pot to remove any trimming marks and clean things up. You can also use a soft, flexible rib for this process.
At this stage, you could also choose to carve or decorate your bowl with slip. On this design, the rim is a great area for that, but you could decorate any part of this form.
After trimming, I put my pots on a board upside down and loosely cover with plastic until they are bone dry. Then, the pots are ready to be bisque fired.
Step 5: Glazing
Cleaning the bisque ware with a damp sponge.
After bisque firing, it’s time to glaze your pot.
Start by cleaning the bisque with a damp sponge to remove any dust, but don’t saturate the ware with water! If needed, you can also clean up any bumps or flaws by sanding. Just be sure to remove any sanding dust before glazing.
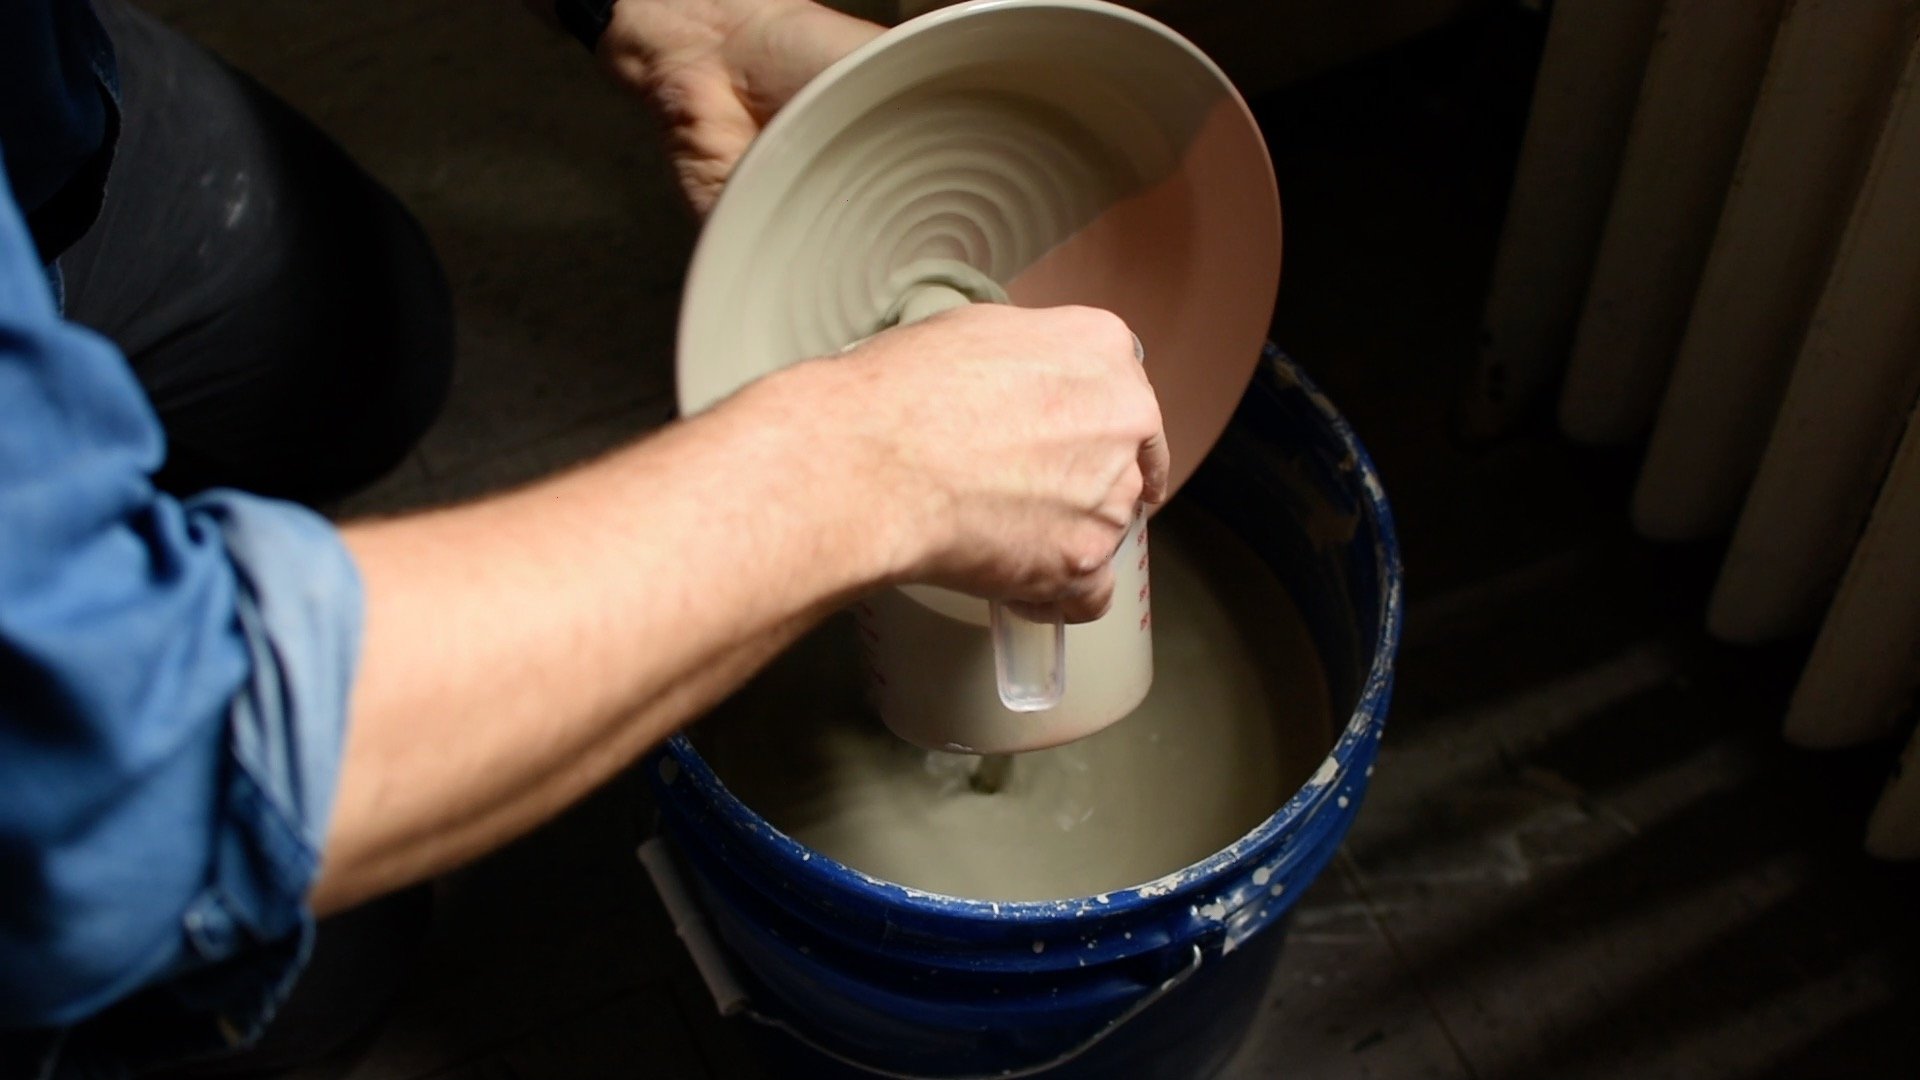
Pouring on glaze.
Then, you can dip, pour, spray, or brush glaze onto your pot. If I had a large enough bucket for glaze, such as a 10 gallon bucket, I would dip these. But as I have a smaller volume of glaze in my studio, I pour glaze on my pots. While grabbing on to the foot, I rotate the pot and pour glaze evenly over the surface.
After glazing the piece, clean up any drips or flaws and let it air dry. Then it is ready to be glaze fired. In this example, I’m firing to Cone 6 in oxidation in a top-loading electric kiln.
All Done
Unloading the glaze firing.
After the glazing firing, you’re pot is all done! It may need just a quick sanding on the foot ring to make sure it won’t scratch anything.
I love making this shape because the rim offers possibilities for carving and decoration, and the final result stacks nicely and is a great way to showcase food.
Have fun!
Here’s an ASMR video version of this tutorial with ambient studio sounds:
