Using a woven wood salad bowl as a pottery slump mold is a great way to easily make plates, bowls, or pasta plates. This tutorial will cover how to use this technique, including rolling out the slab, cutting, and shaping the pasta plate
For this process, you will need a wooden salad bowl. A plaster form will also work, but do not use plastic or metal bowls as clay will stick to them. This tutorial uses a 14-inch wide wooden bowl which costs around $15, but you can do this technique with any size or shape wooden bowl.
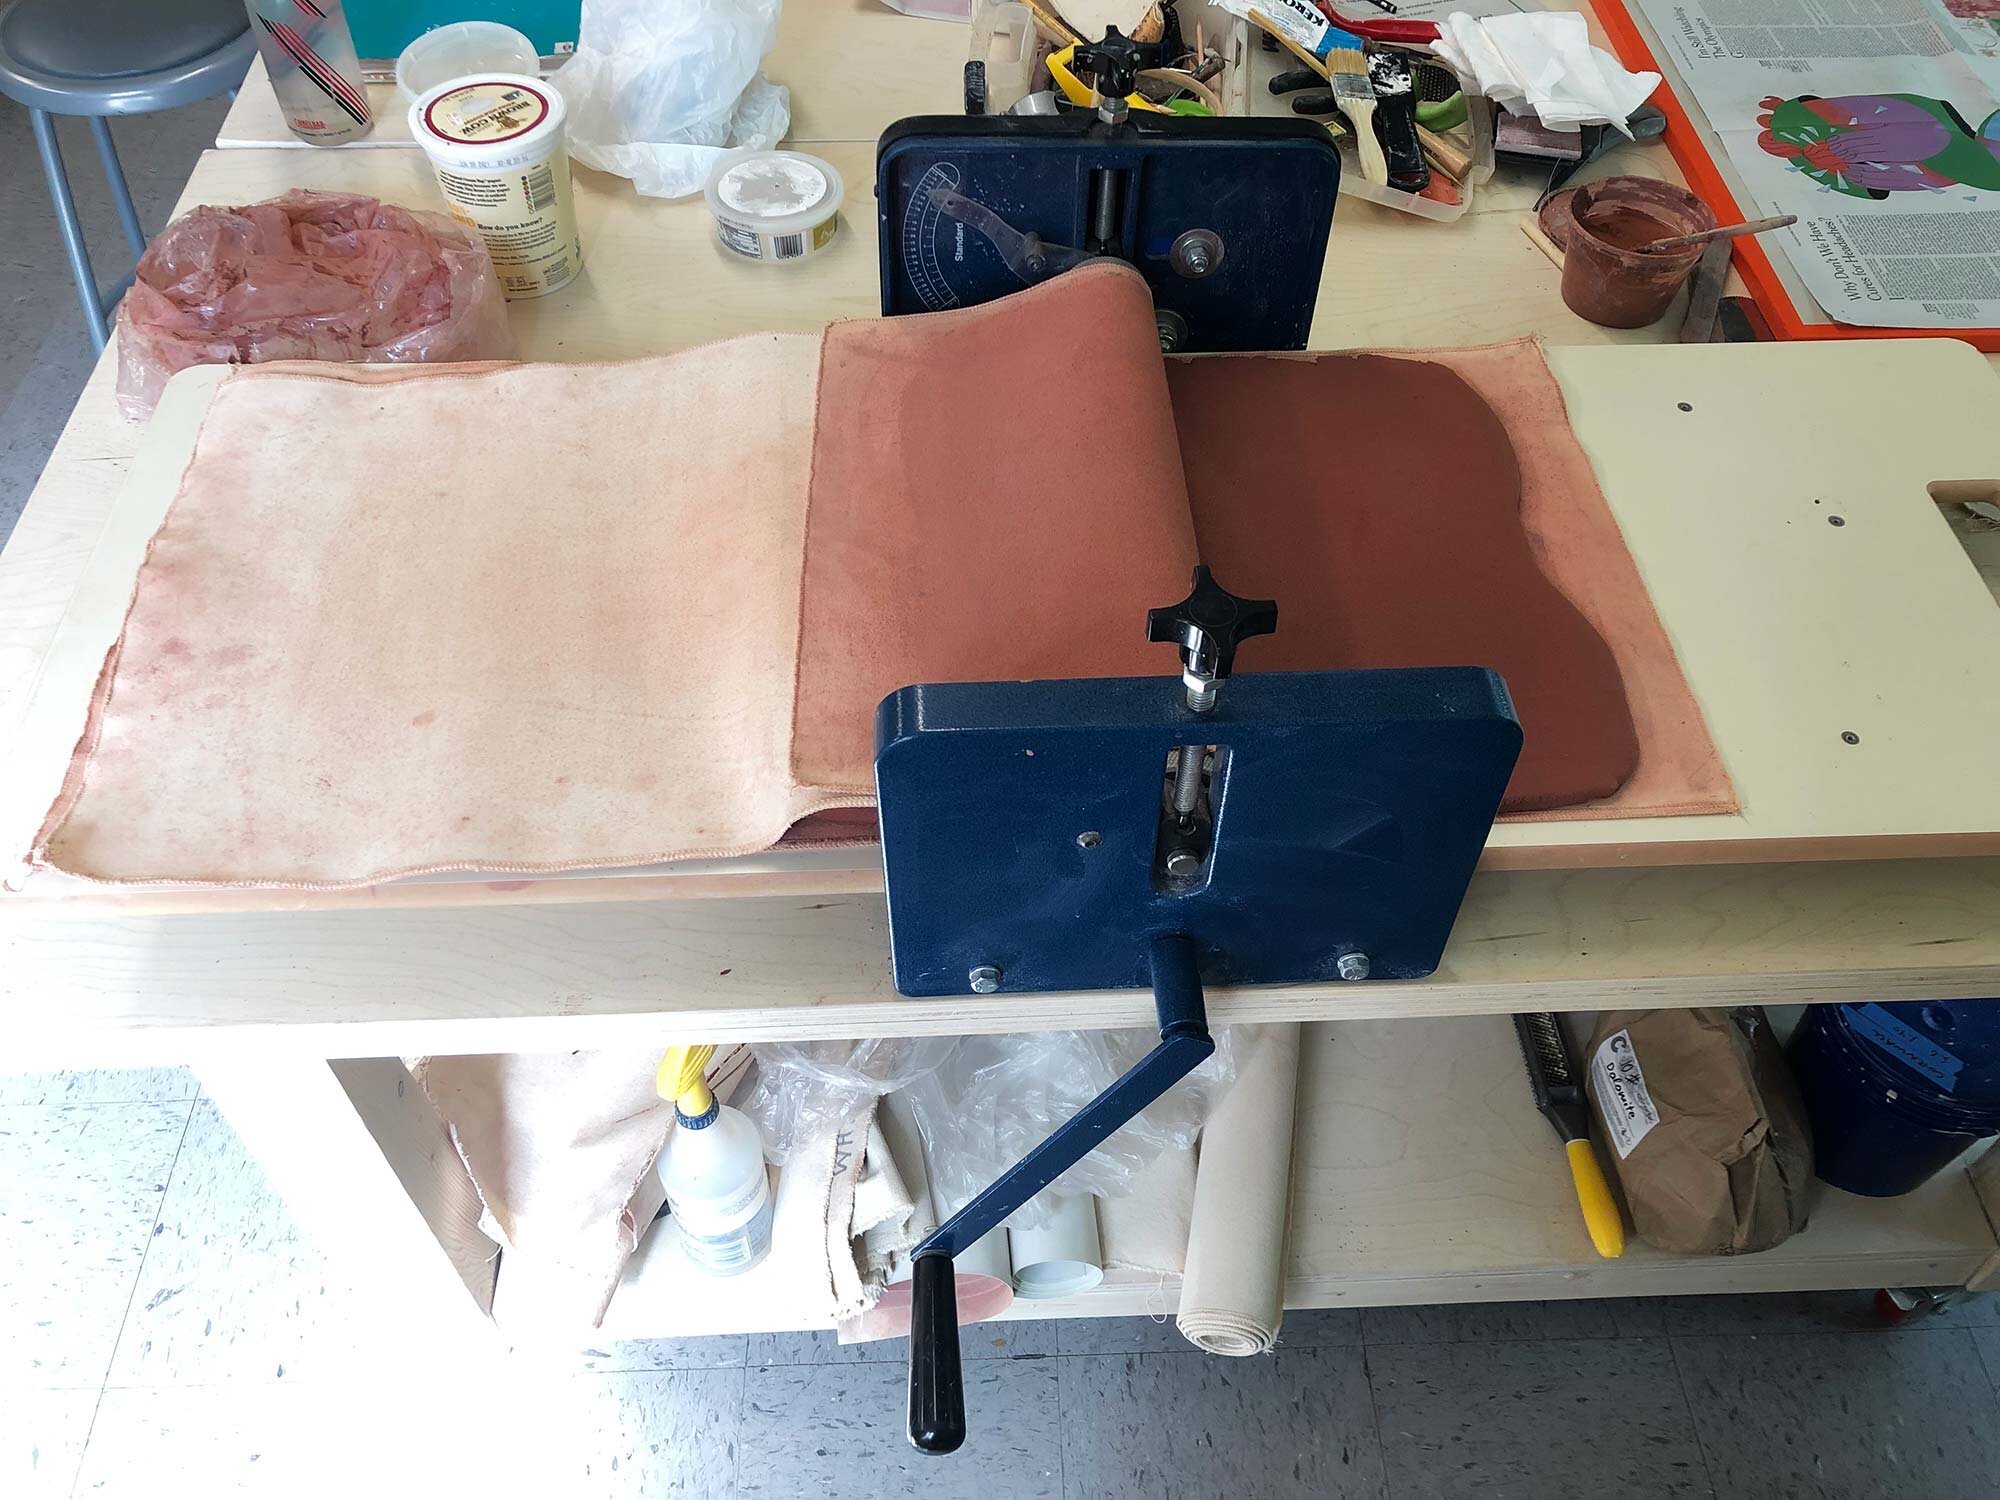
You will also need a canvas or slab mat, and a large rolling pin (or a slab roller).
Here’s a video of the process and a full tutorial with pictures is below.
Step 1: Make a Slab
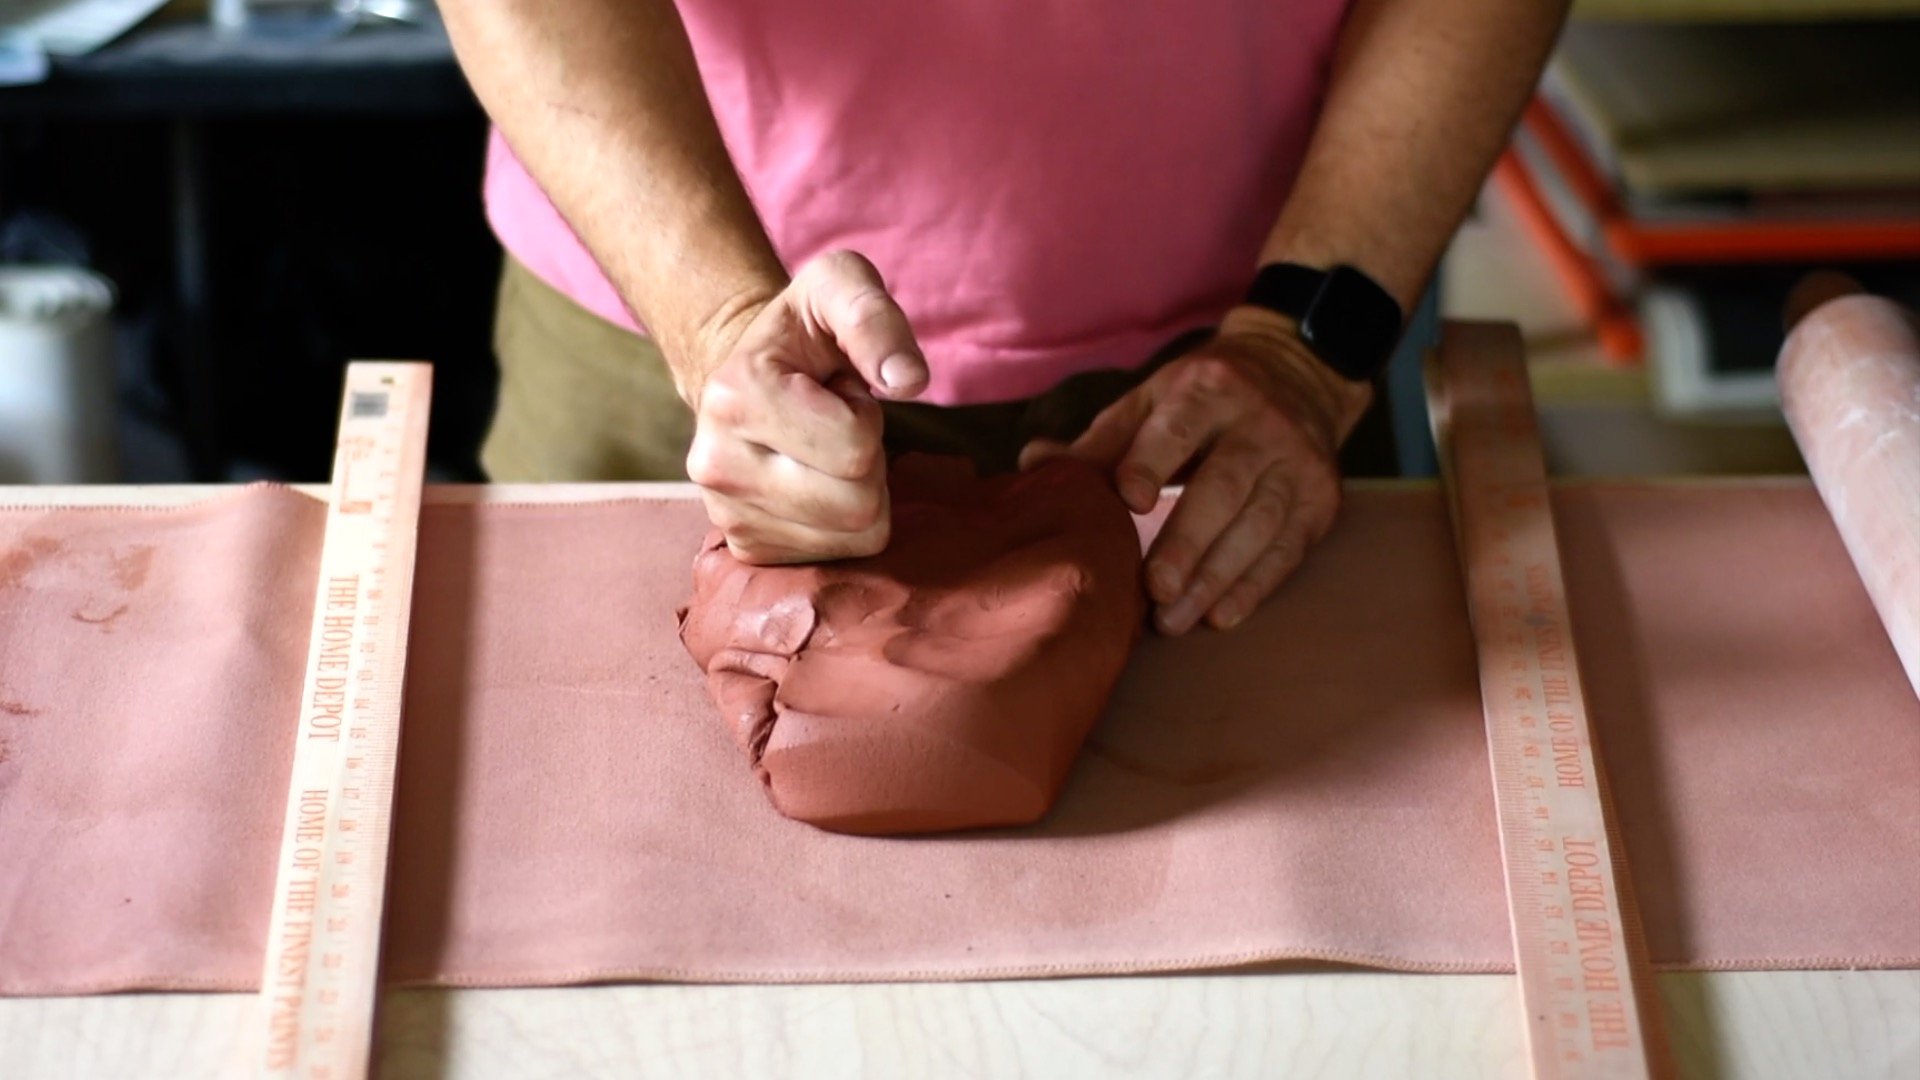
Pounding the wedged clay to begin making a slab.
To make a slab, either use a slab roller and roll out a slab about 3/8 of an inch thick, or roll it by hand as shown here.
To roll a slab by hand, I first start by pounding or punching the wedged clay down on a canvas mat. A double layer of yardsticks is already set up to be ready to roll.
Pounding the clay roughly into a circle.
As I continue pounding it down using the bottom of a fist, I try to work the clay into a roughly circular shape.
Next, I throw the clay from the side at an angle, to stretch and thin the slab even more.
Throwing the slab at an angle to thin and stretch it.
When the clay is about an inch thick, then I will start rolling. I will first roll it evenly with the double layer of yardsticks. Then, to get the slab thinner, I will take away one yardstick on each side and roll the slab again until it is even.
Rolling the slab with a large rolling pin.
Step 2: Cut Slab Using Bowl as Template
Using the woven wood salad bowl as a template to cut a circle of clay.
After preparing your slab, invert the bowl and use it as a template to cut a circular slab. I cut right along the edge of the bowl, but you could cut it bigger if you want to make a taller bowl.
Step 3: Flip Slab and Shape Into the Mold
Preparing to flip the slab and bowl using the canvas.
After cutting your circular slab and removing excess clay, fold up the canvas on top of the bowl and use the canvas to help flip the slab and bowl right side up.
If done correctly, the slab should sit on top of the bowl or begin to drop in to the bowl. It may be a little bit uneven, but this is ok because you are going to cut off extra clay later.
Using the canvas to flip the slab into the bowl.
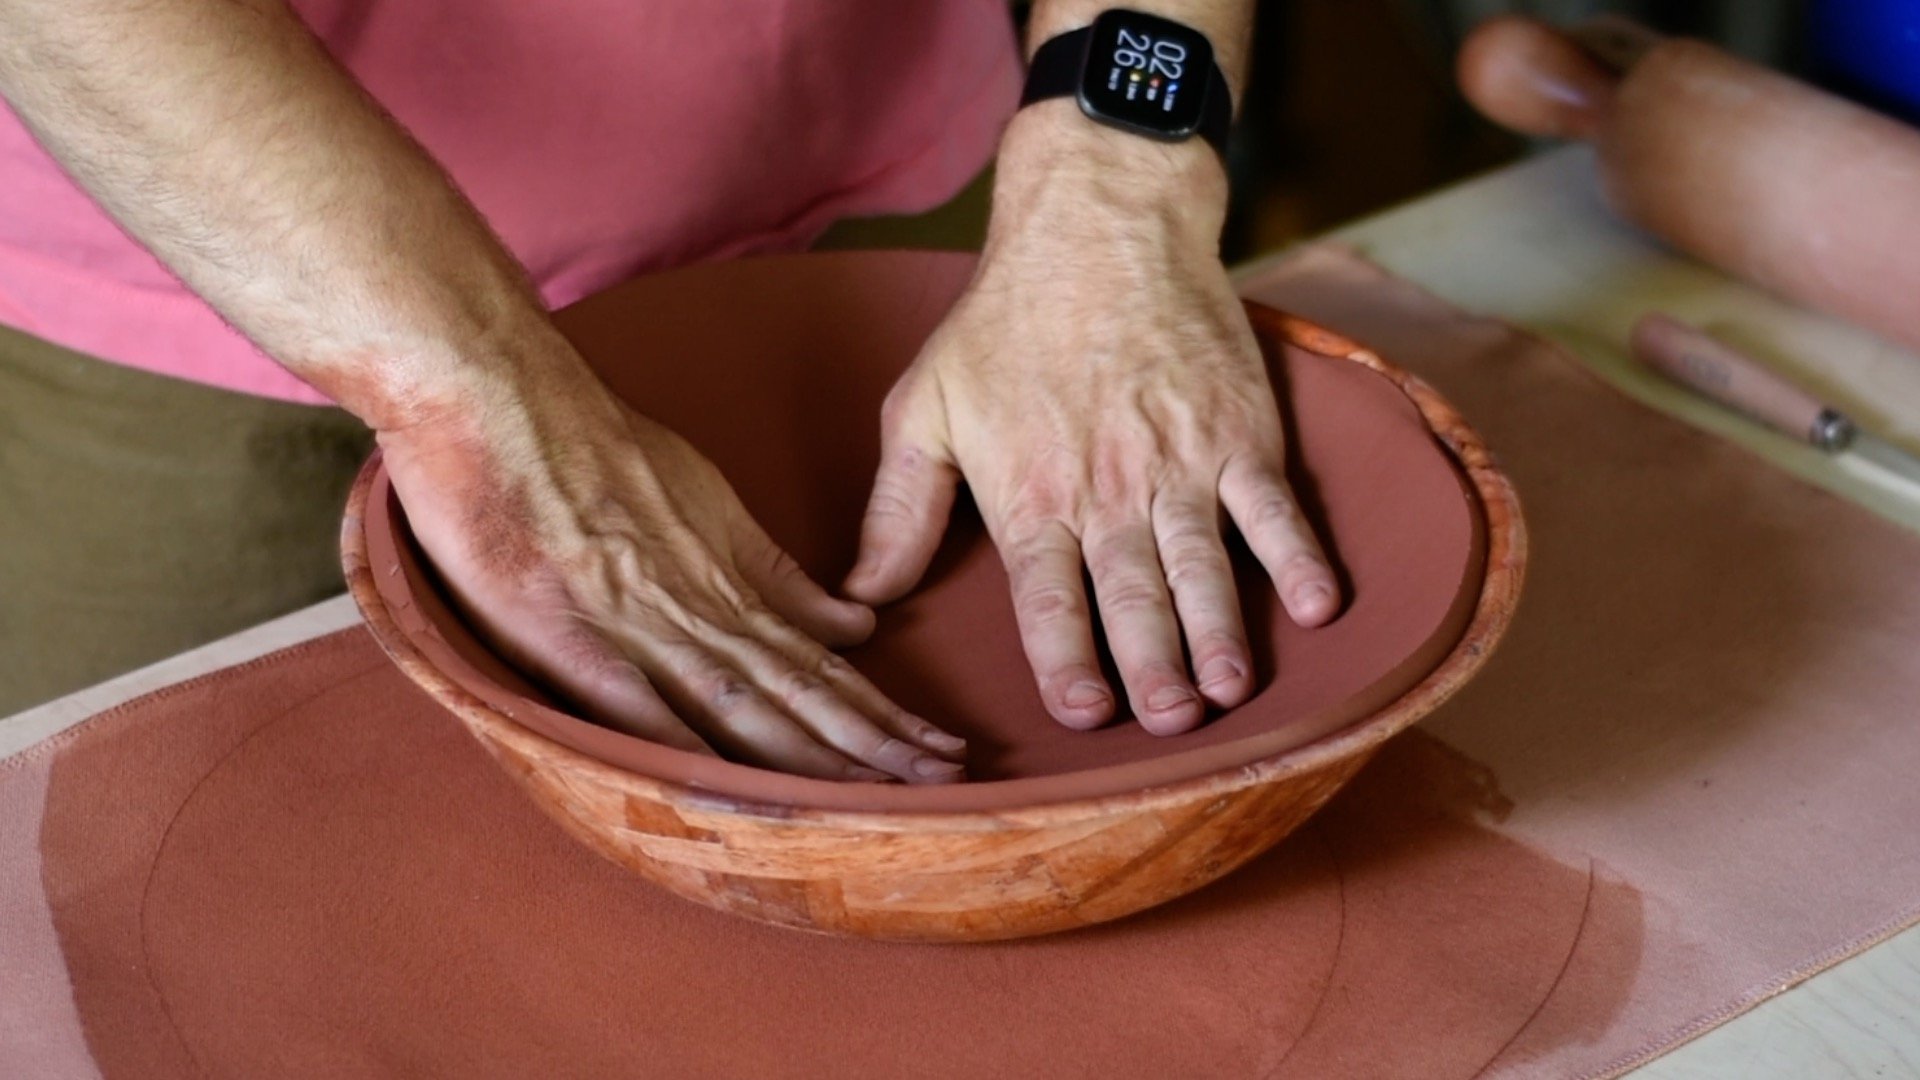
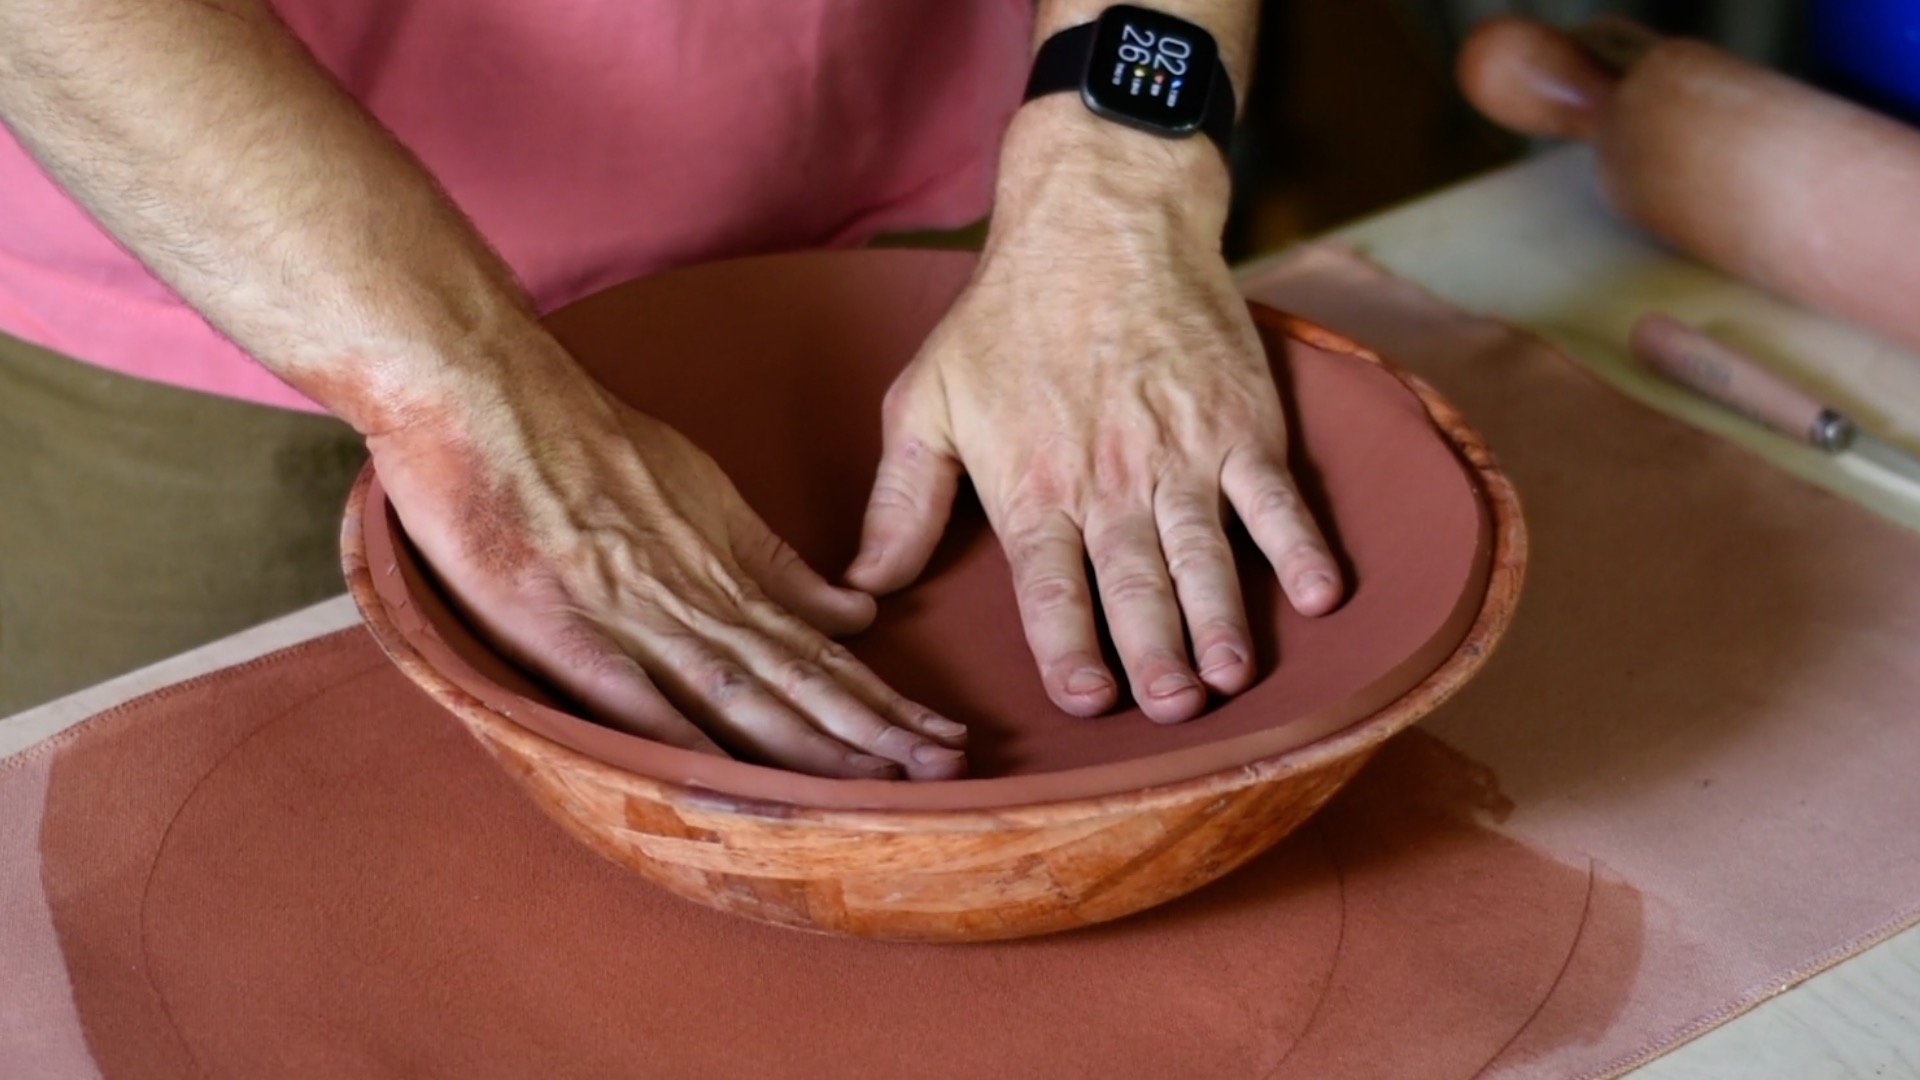
After flipping the slab, press it gently into the bowl form. You can use a sponge to aid in this process, or even tap the bowl against the table so that the slab drops in against the sides.
Gently forming the slab into the bowl shape. Don’t press too hard or you will make a bunch of fingerprint marks.
To tap the slab into place, hold both sides of the bowl and tap it against the table a few times. The slab will drop in and take on the shape of the wooden bowl.
Step 4: Refine and Smooth
After your slab is in, you can use a sponge or a rib to smooth the inside, make sure everything is even, and make any adjustments to the slab.
Smoothing the inside of the bowl with a sponge.
Step 5: Cut Off Excess Clay and Smooth Rim
Cut off excess clay with a clay knife.
After smoothing and organizing the inside of the bowl, you can cut off excess clay and clean the rim. For a plate, cut close to the base. For a pasta plate, leave about an inch for the wall. For a shallow bowl, leave about 2 inches for the wall. But it’s totally up to you! Make a shape that looks good to you.
Cleaning the rim.
After cutting off the extra clay, clean and smooth the rim with a sponge.
Step 6: Dry Overnight, then Flip Bowl Out of Mold
Flipping the pasta plate out of the wooden bowl.
After drying a few hours or overnight (you can leave it uncovered) you should be able to flip the pasta plate out of the woven wood bowl. Take care! Leather hard and bone dry ware can be fragile.
Using a clay shredder to clean up the outside rim.
Smoothing the rim and removing tool marks.
Then, you can further refine the rim by using a clay shredder tool, a loop tool, or a rib.
After shaping the rim, it’s a good idea to smooth the rim with a damp sponge. But don’t work it so much that you “sand” away the finest particles. Just try to smooth it out.
All done!
The pasta plate immediately after being removed from the kiln.
After cleaning the bowl, you can let it dry fully, bisque fire, and then glaze.
This pasta plate was glazed in a satin white glaze.
Tutorial Recap
If you need a wooden bowl for this process, here are links to a single bowl ($15) or a 4 pack of the 14” bowls. These bowls are actually about 13.5 inches wide, but work great for making a plate that is around 11 to 11.5 inches wide.
You may also need a canvas, slab mat, and large rolling pin. I prefer a solid maple rolling pin.
