This tutorial will show you how to turn a slab into a flat-bottomed plate using the pottery wheel. You can also use this method on a banding wheel or turntable. This is a great technique for any skill level, but if you have never made a plate before, this is a fun way to start.
What you will need:
Pottery wheel or banding wheel, and a bucket of water
Ribs, needle tool, wooden knife, and a sponge
Clay
Slab Roller or rolling pin
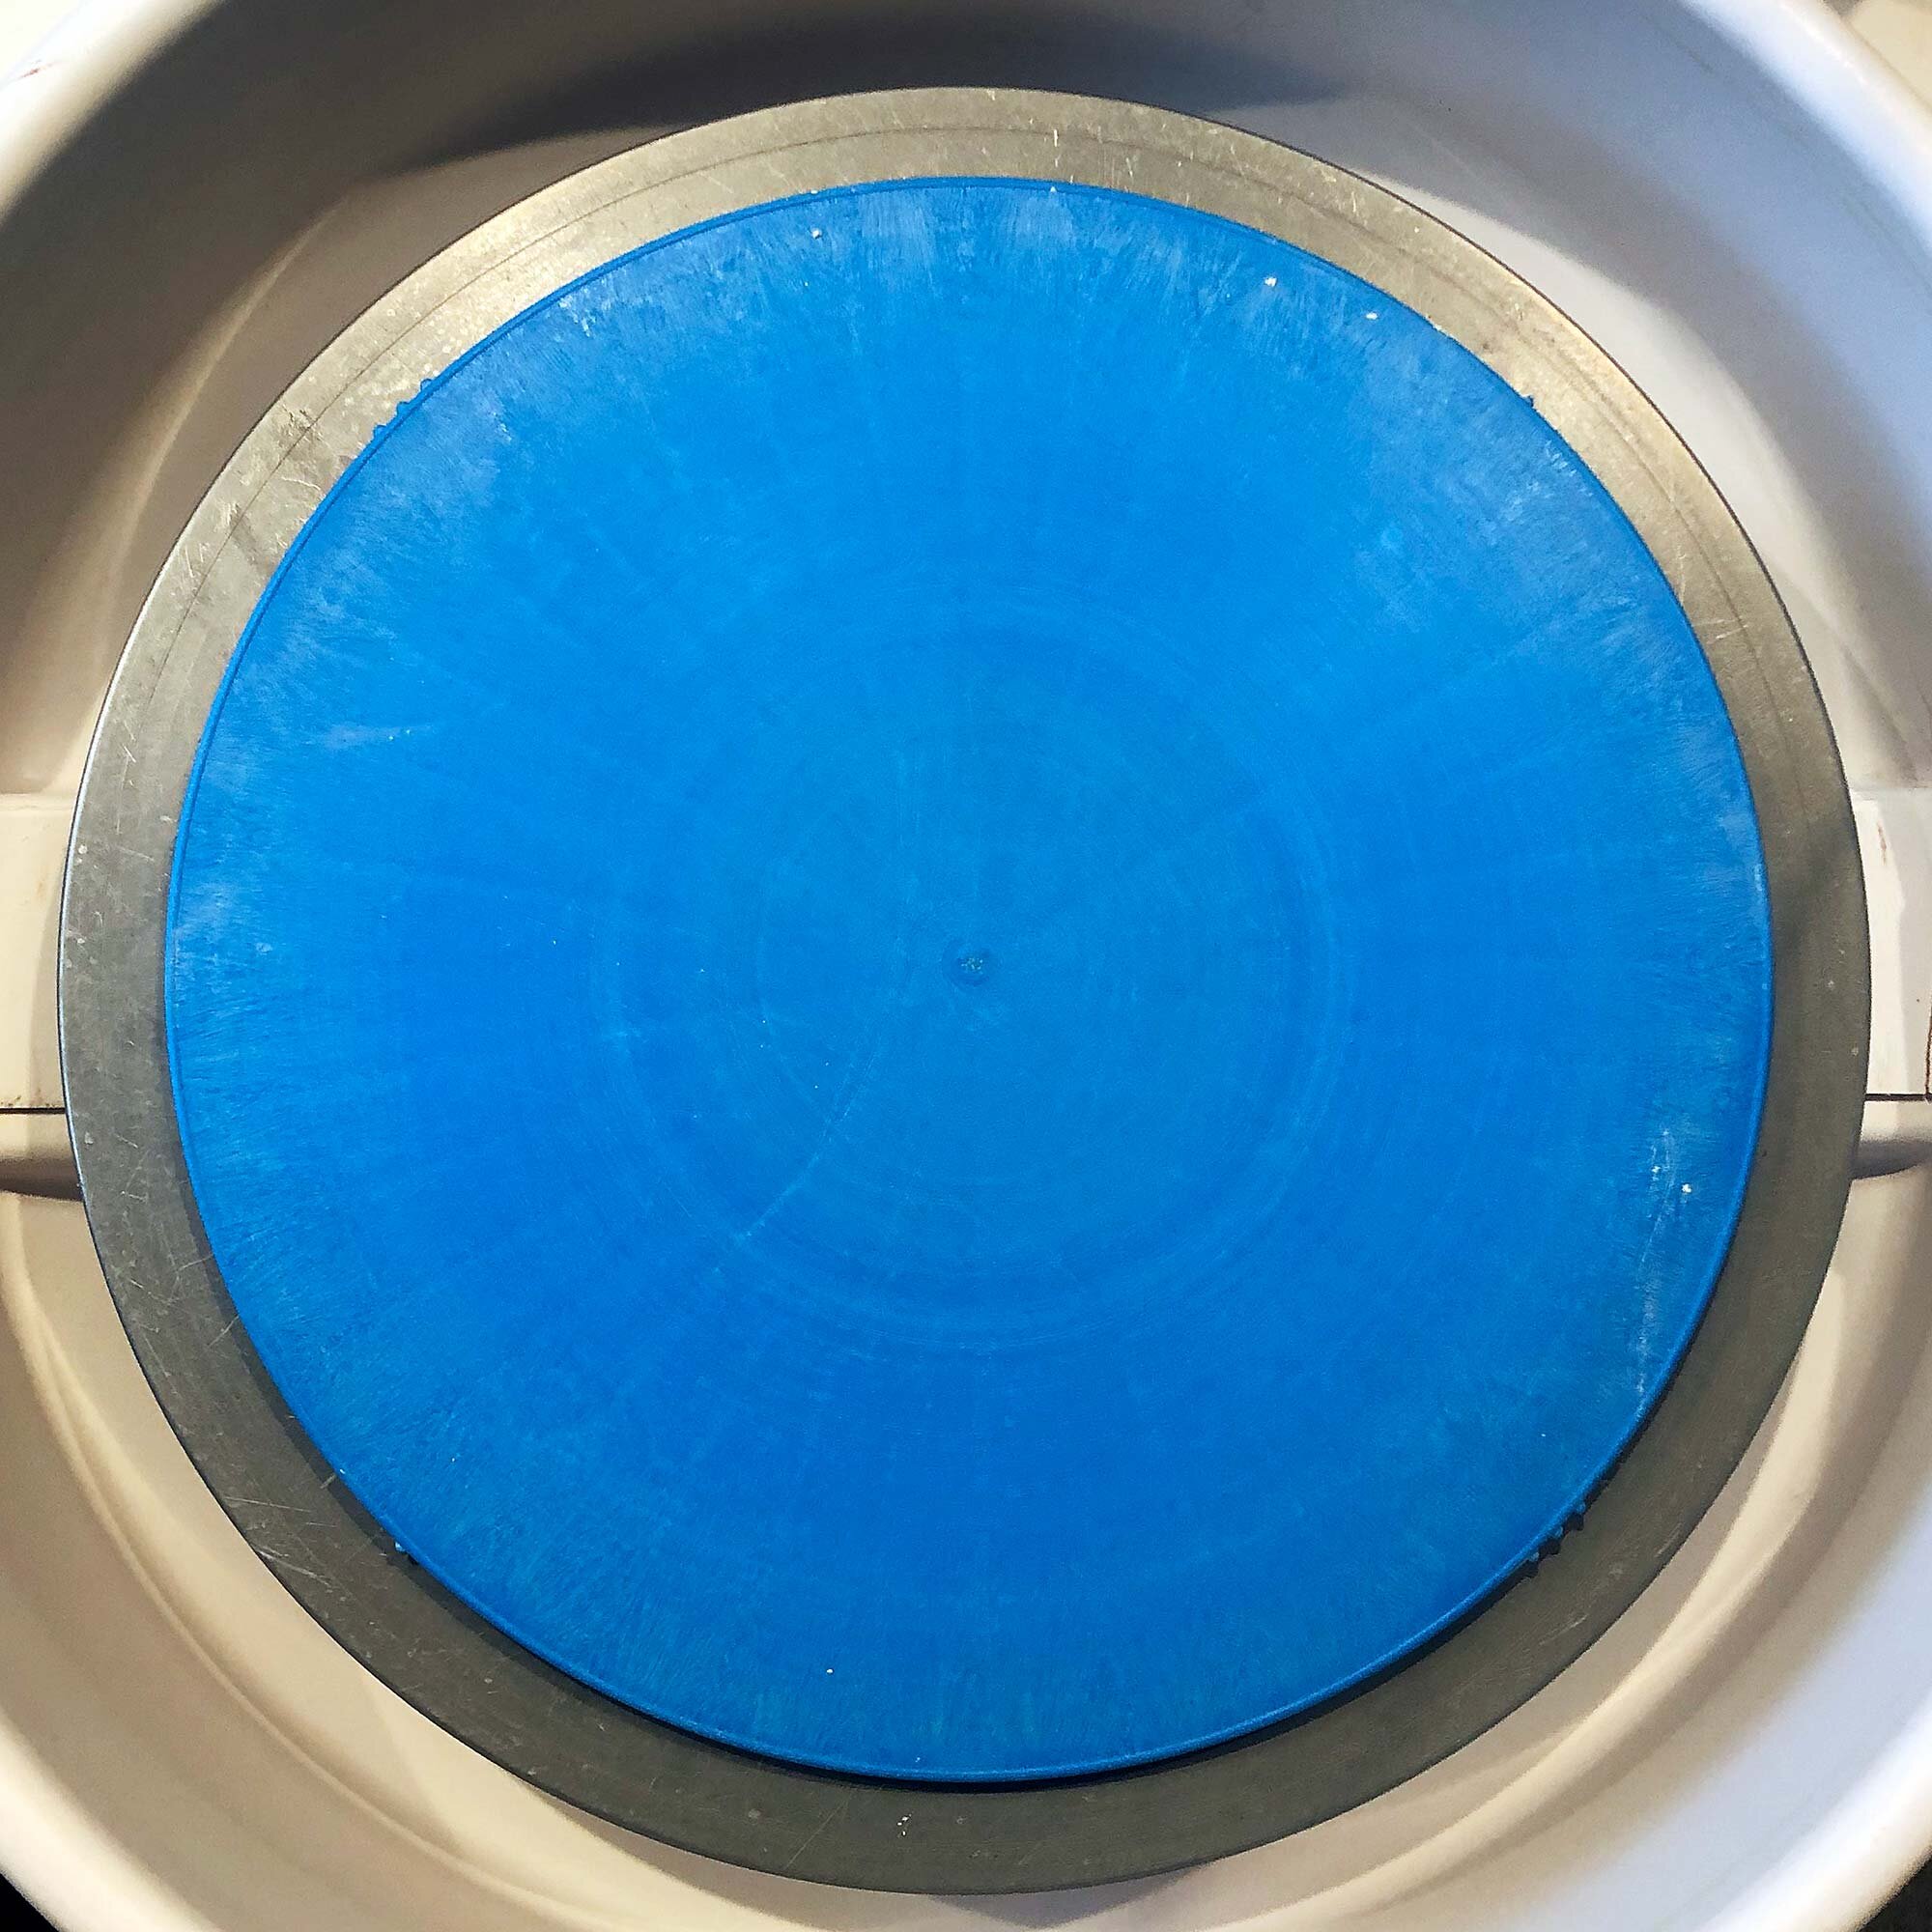
Absorbent bats, such as a bat made out of plaster or wood. You could try this technique with a plastic bat, but it will be easier with another material. For a guide to bats, click here.
Here’s a narrated video of this process, or keep scrolling for step-by-step images and description.
Slab Plate Tutorial
Step 1: Roll Out a Slab
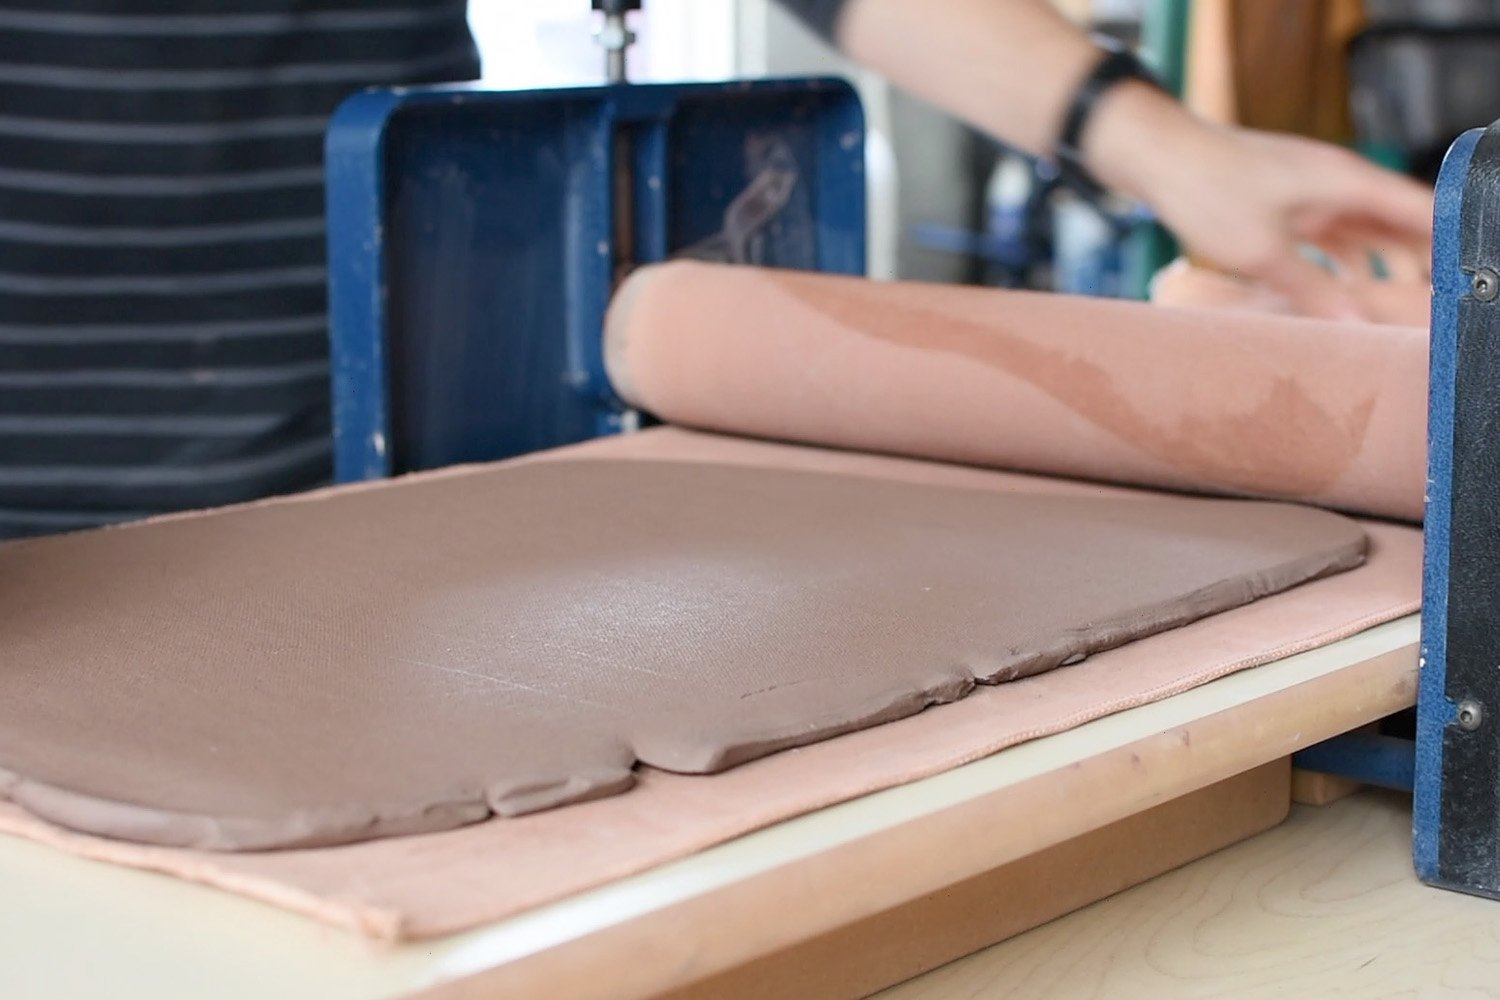
Rolling out a slab.
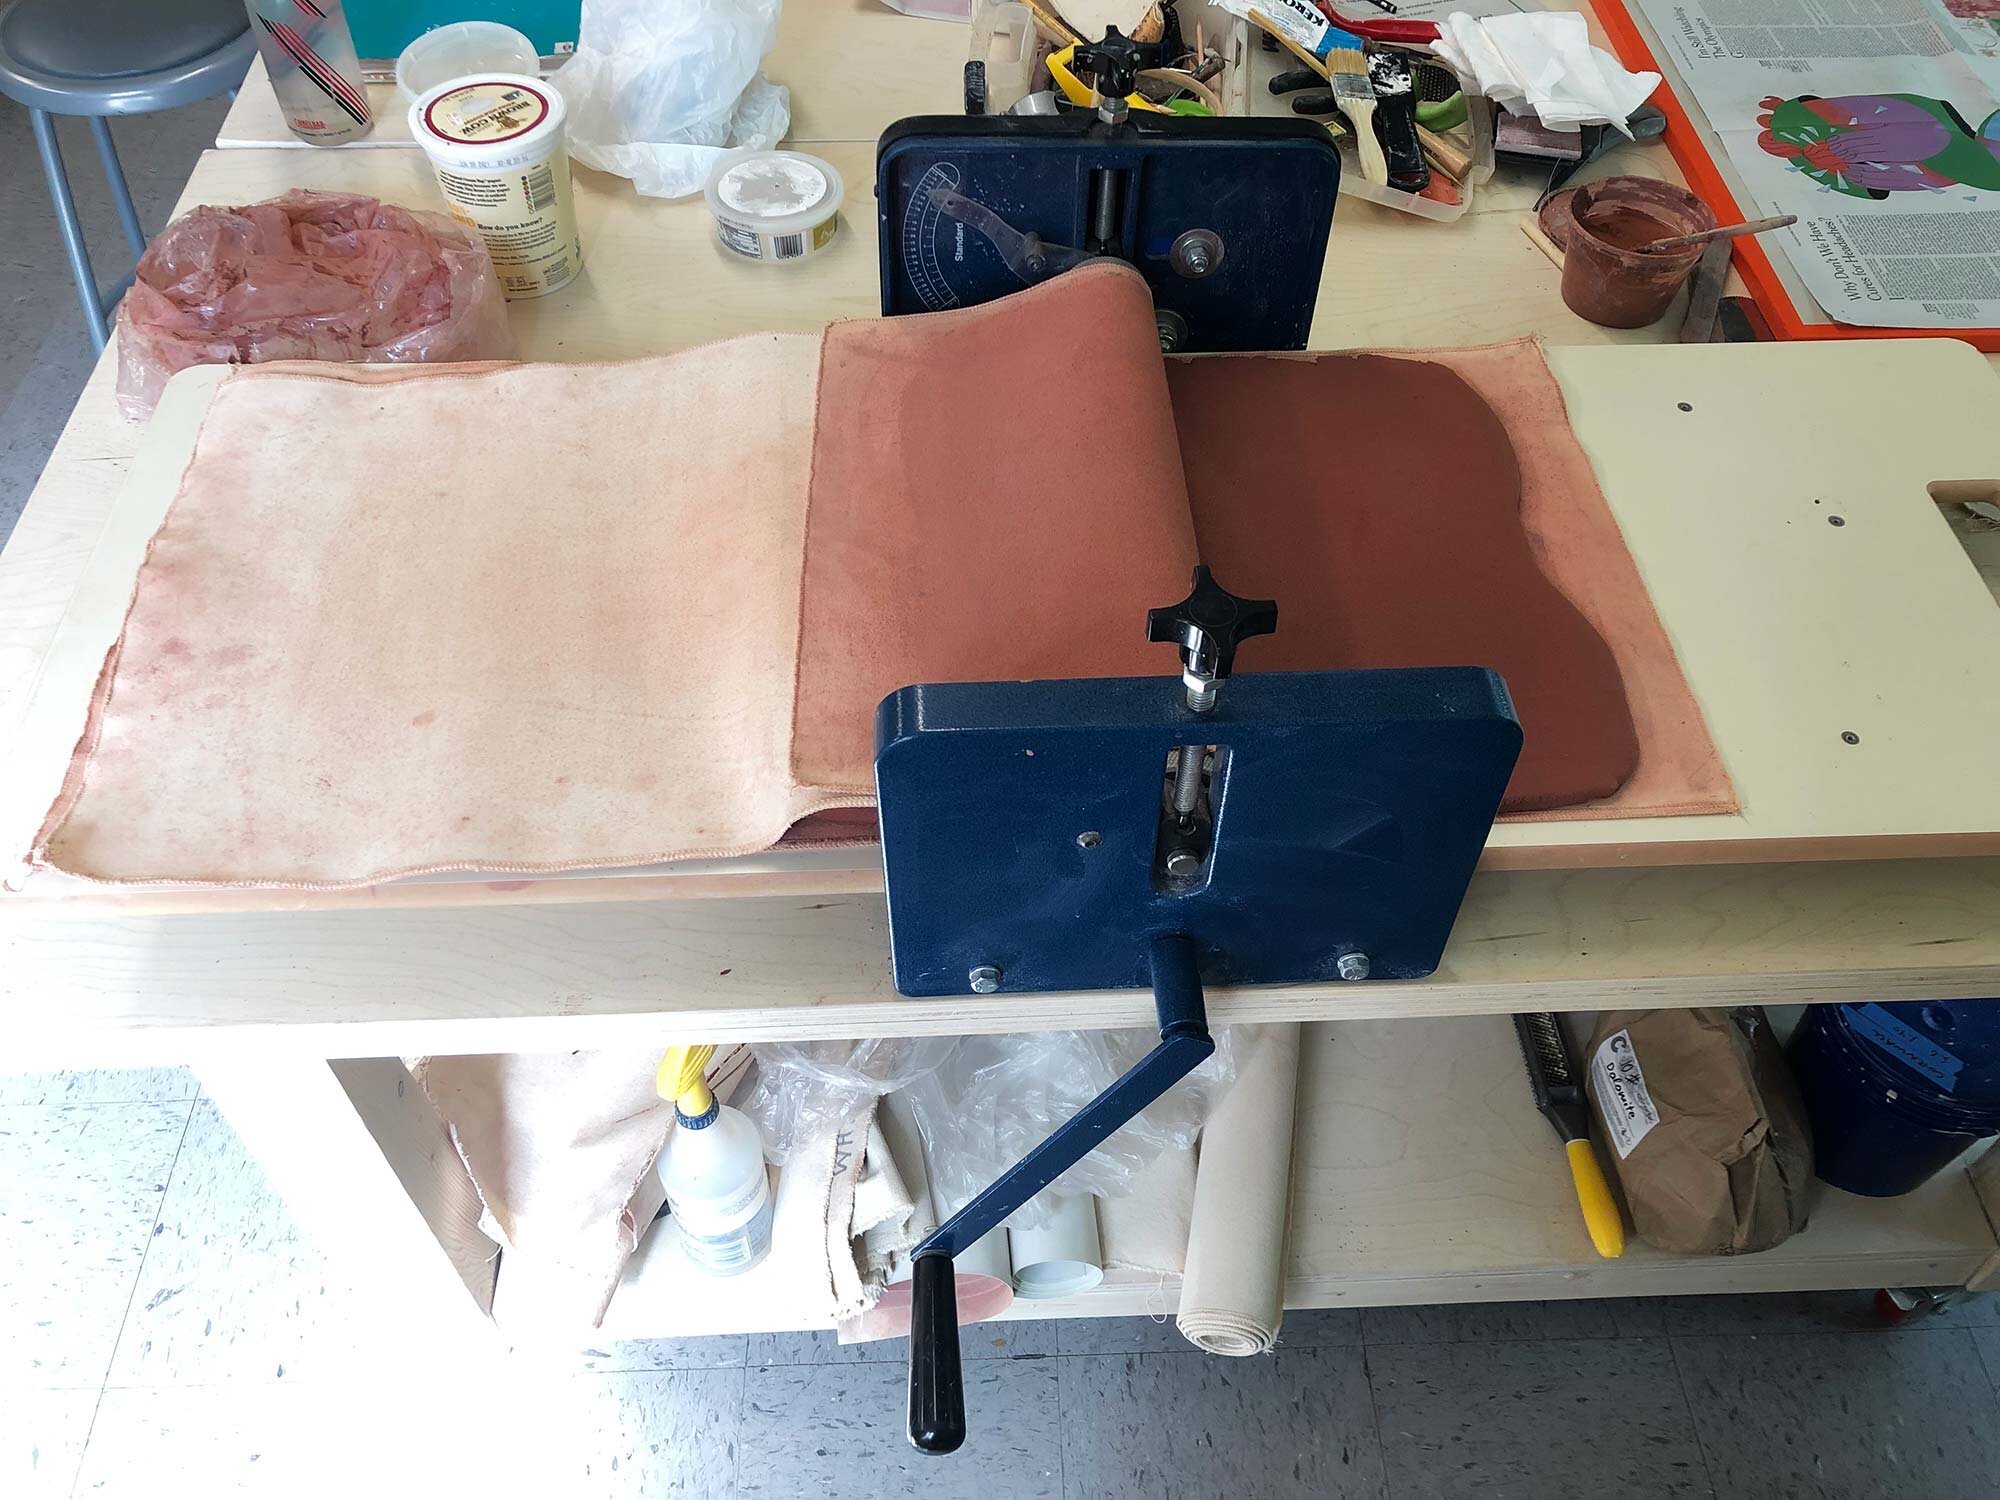
Use a slab roller or rolling pin, and roll out a slab of clay that is about 3/8 of an inch (or about 10 mm) thick.
If you are using a rolling pin, it’s helpful to put down two rulers or spacers so that you make an even slab.
Step 2: Smooth and Cut Slab
Removing canvas texture from the slab with a rib.
After rolling a slab, remove any texture with a rib. This smoothed side will be flipped and become the bottom of your plate.
Cut out the size needed for your bat.
Then, cut a circle of clay that will fit on your bat. In this image, I’m using a 14” plastic bat as a template.
Step 3: Transfer to Wheel and Compress
Transfer slab to wheel. Hold the slab at one end to move.
Pick your slab up at one end and carefully transfer to the bat on your wheel, placing the already smoothed side down.
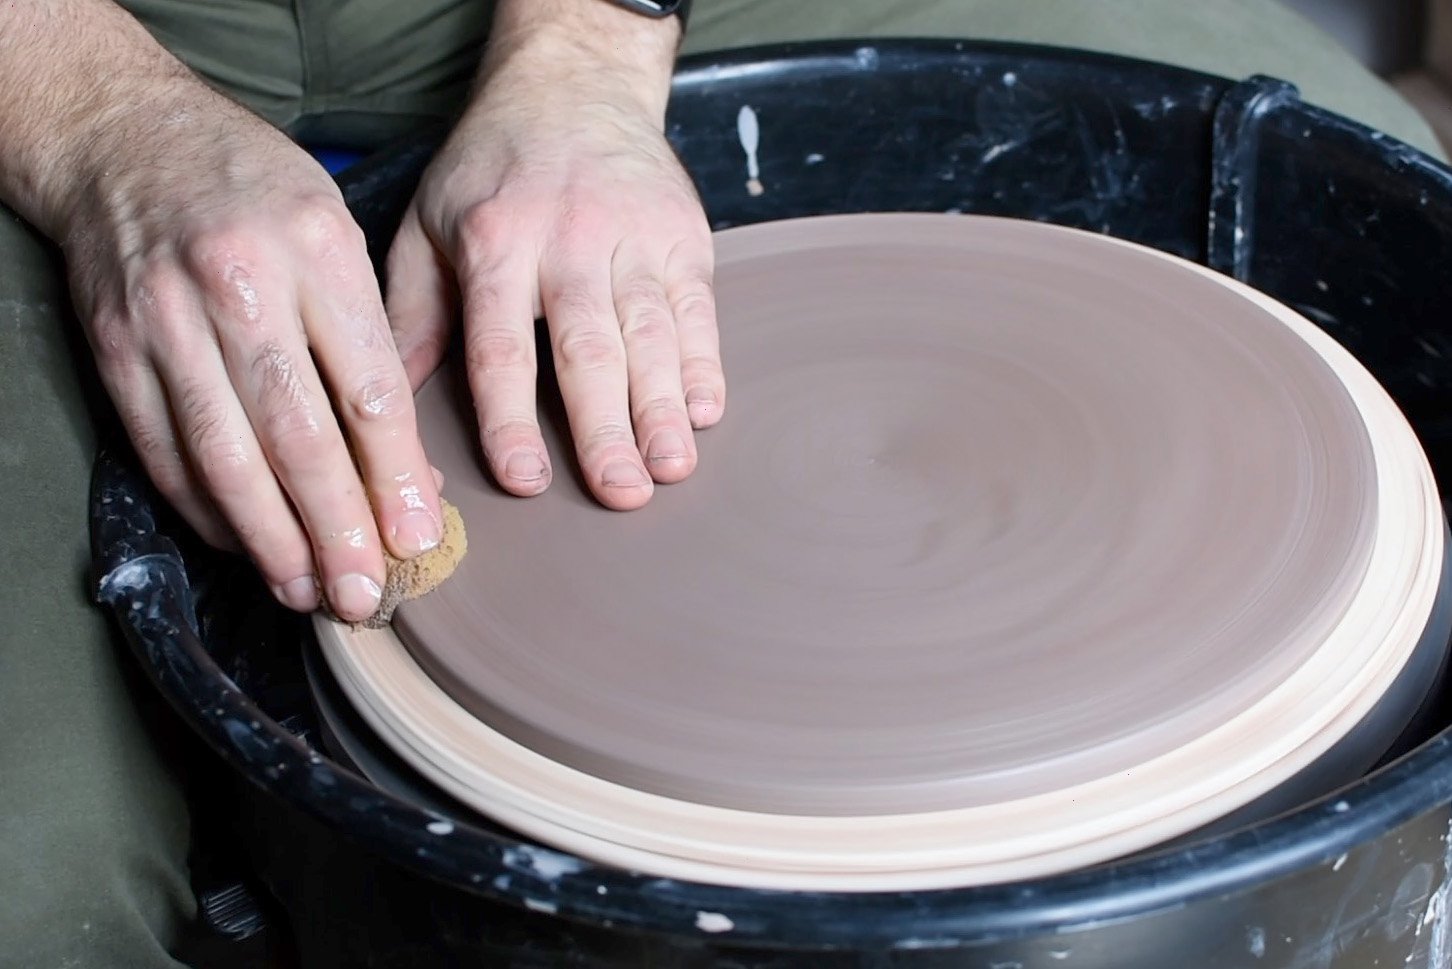
Clean up and compress the slab lightly.
Then, using a combination of wet sponges and ribs, clean and compress the slab lightly.
Step 4: Cut and Clean Edge
Measure and cut your slab.
The next step is to cut the slab to the desired diameter. In this example, the slab is cut to 12 inches wide. After firing, it will shrink to around 11 inches wide.
Clean up the cut edge with a wet sponge.
After cutting the slab, clean the edge with a wet sponge.
Step 5: Raise the Rim
Using a wooden knife to raise the rim.
The next step is to raise the rim. My preferred tool for this is a wooden knife, and to get the correct angle I have split open the splash pan. (You could probably do this technique without a splash pan as well). While raising the rim, don’t force any crumbs or bits of clay underneath the slab as this will cause problems for your flat bottom.
Compress and organize the rim.
After raising your rim with a wooden knife, go back and raise it more with a wet sponge. The angle of the rim is your choice. At a slight angle, the plates can stack. But you can make any angle from completely flat to a vertical rim.
After raising the rim to your desired angle, compress and finish the rim.
Step 6: Finish Top Side
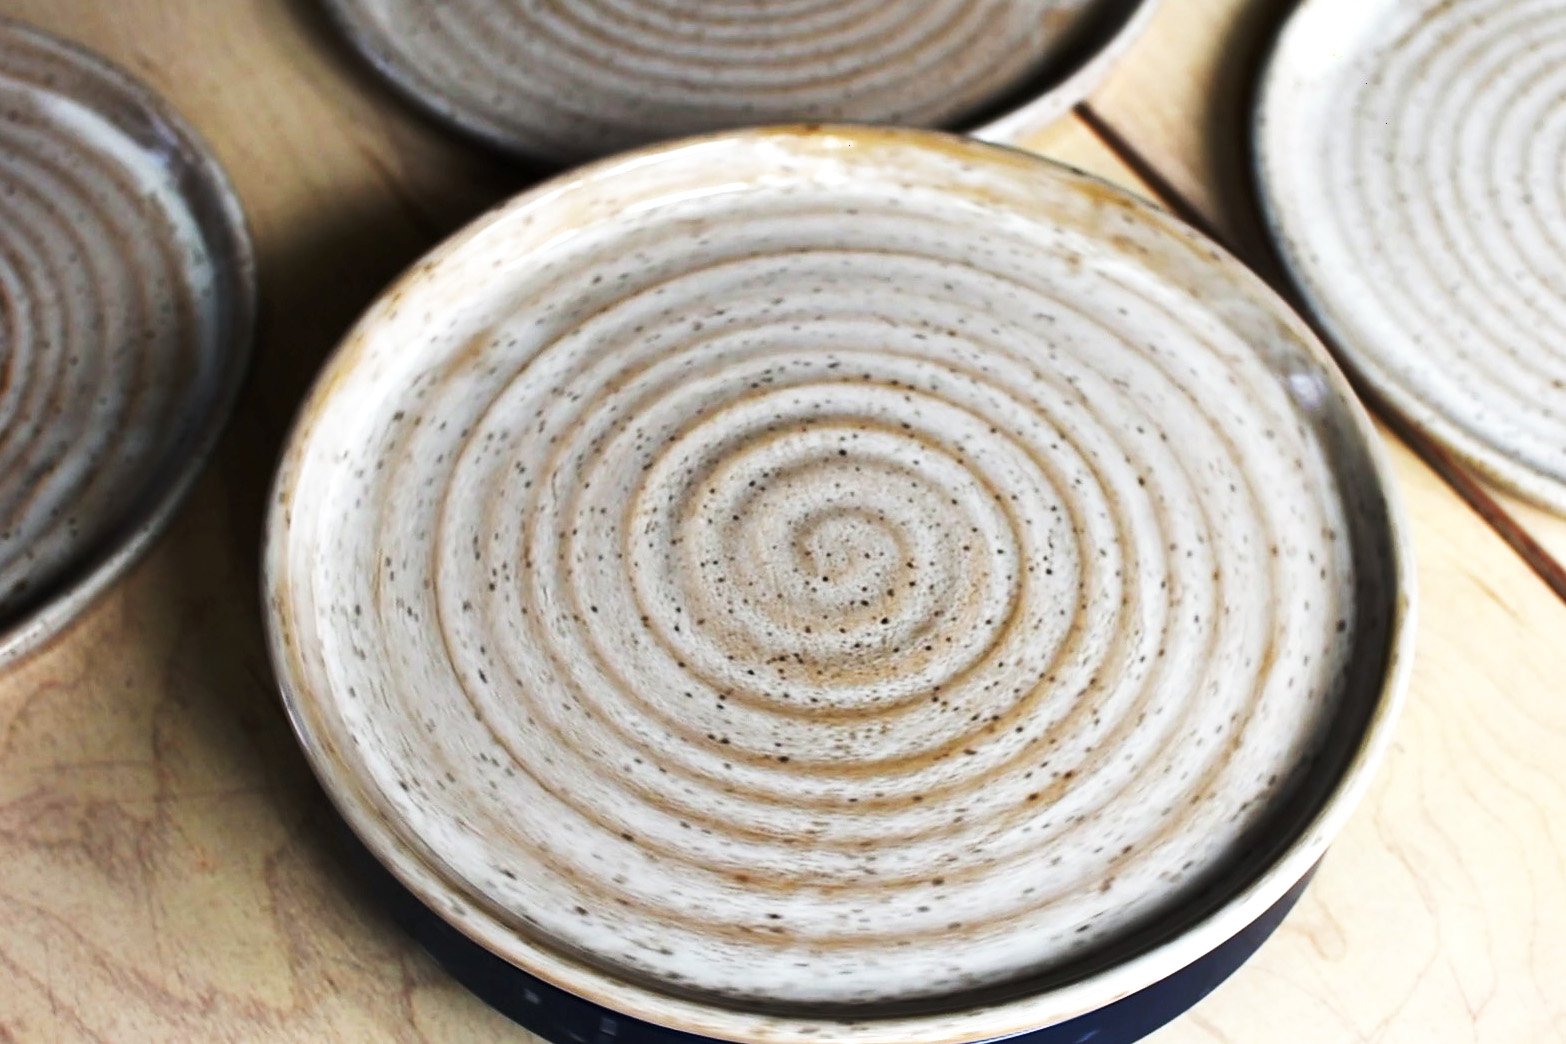
Finish the plate with a smooth top or spiral design.
After getting your rim set, go back over your plate with a wet sponge to smooth and compress the plate once more, to remove any marks from the making process.
If desired, you can add a spiral design as pictured here. To do that, take a steady finger and slowly move your finger across the pot from the middle to the outer rim. If you think of the plate as a clock, I generally do this move straight across at “3 o’clock.”
Step 7: Trim the Plate
Trim the plate.
After making the plate, remove the entire bat from the wheel head, cover with plastic, and let it dry until leather hard. Usually this is a day or two for me. This is where the absorbent bat is vital, as it will remove water from the bottom of your plate.
When the piece can support itself, flip it upside down on the wheel and trim lightly. You won’t need to trim much, usually just a bit of clay underneath the rim.
After trimming, run a smooth rib over the bottom to close any pores and remove marks from the trimming process.
Then, your plate is ready to sit right side up and dry completely. As flat slabs are prone to warping, I dry these under plastic for a week or two until they are completely bone dry. Then, you can bisque, and glaze fire and you have a beautiful plate.
This is a quick and fun way to make plates that doesn’t involve any centering or compressing. Have you ever made a slab plate? Let us know your method in the comments.
Here’s another video of this process with ambient ASMR-style studio sounds.
