Pinch pots are a classic beginning project in ceramics, but this tutorial shows how to take them a step further by combining two pots into a vase with a simple lid. For this project you will need clay, simple ceramic tools, glaze, and underglaze.
The complete tutorial is below or check out this video of the same process.
Step 1: Make 2 Pinch Pots
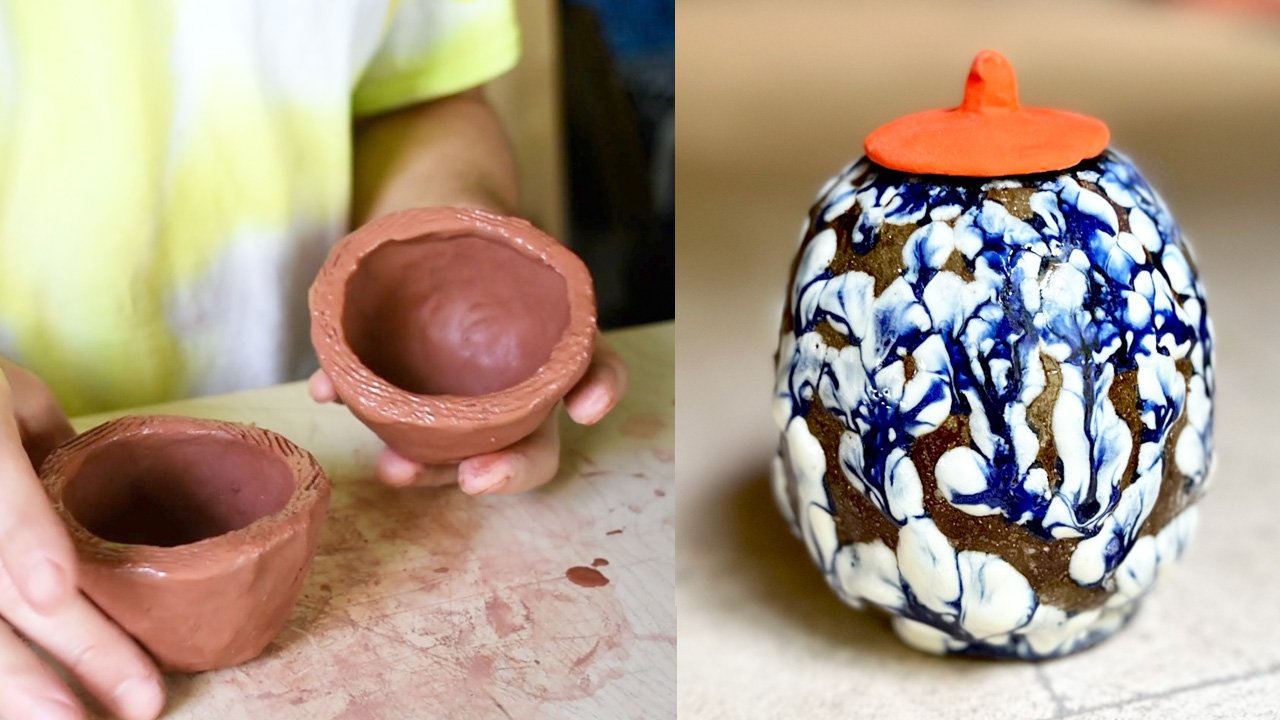
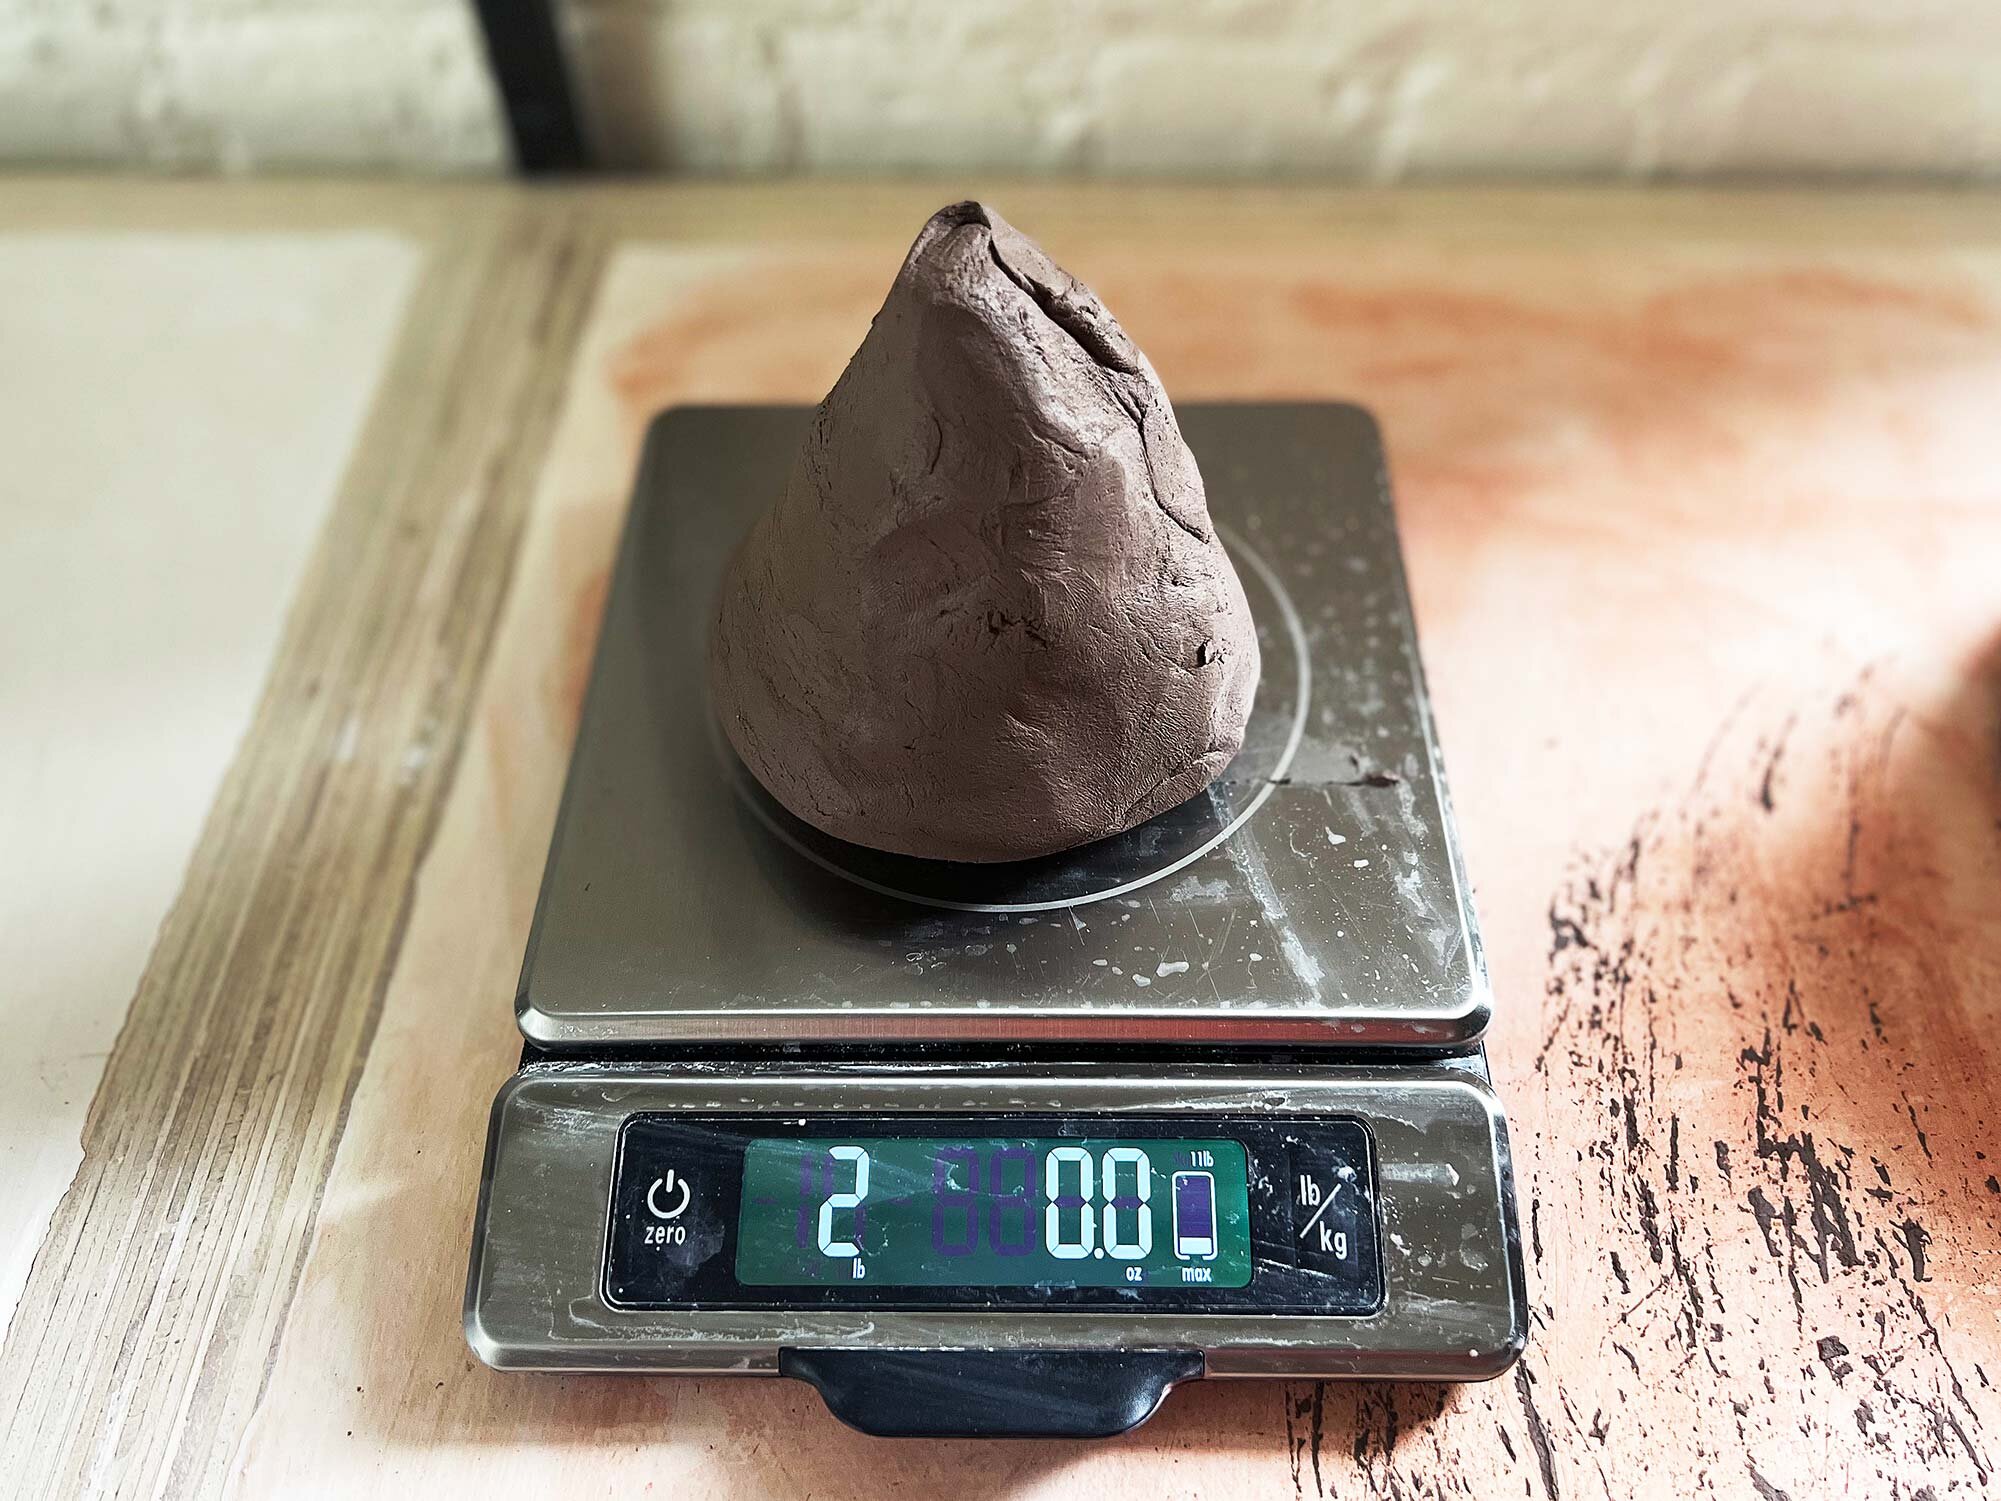
Starting with a small ball of clay, stick your thumb in the center and then pinch the walls to an equal thickness.
As you are making the pinch pots, try to keep the walls an even thickness and keep the rim flat.
To help even out the rims, which we will be joining in the next step, you can turn the pinch pot upside down and tap it against your work surface.
After your first pinch pot, make a second. Try to keep the diameter of the two pinch pots roughly the same.
Step 2: Join the Pinch Pots
After making the two pinch pots, it’s time to join them. Make sure the rims somewhat match up, but it’s ok if your pinch pots are varied shapes. Spherical, egg shaped, cylindrical—all will make a nice vase.
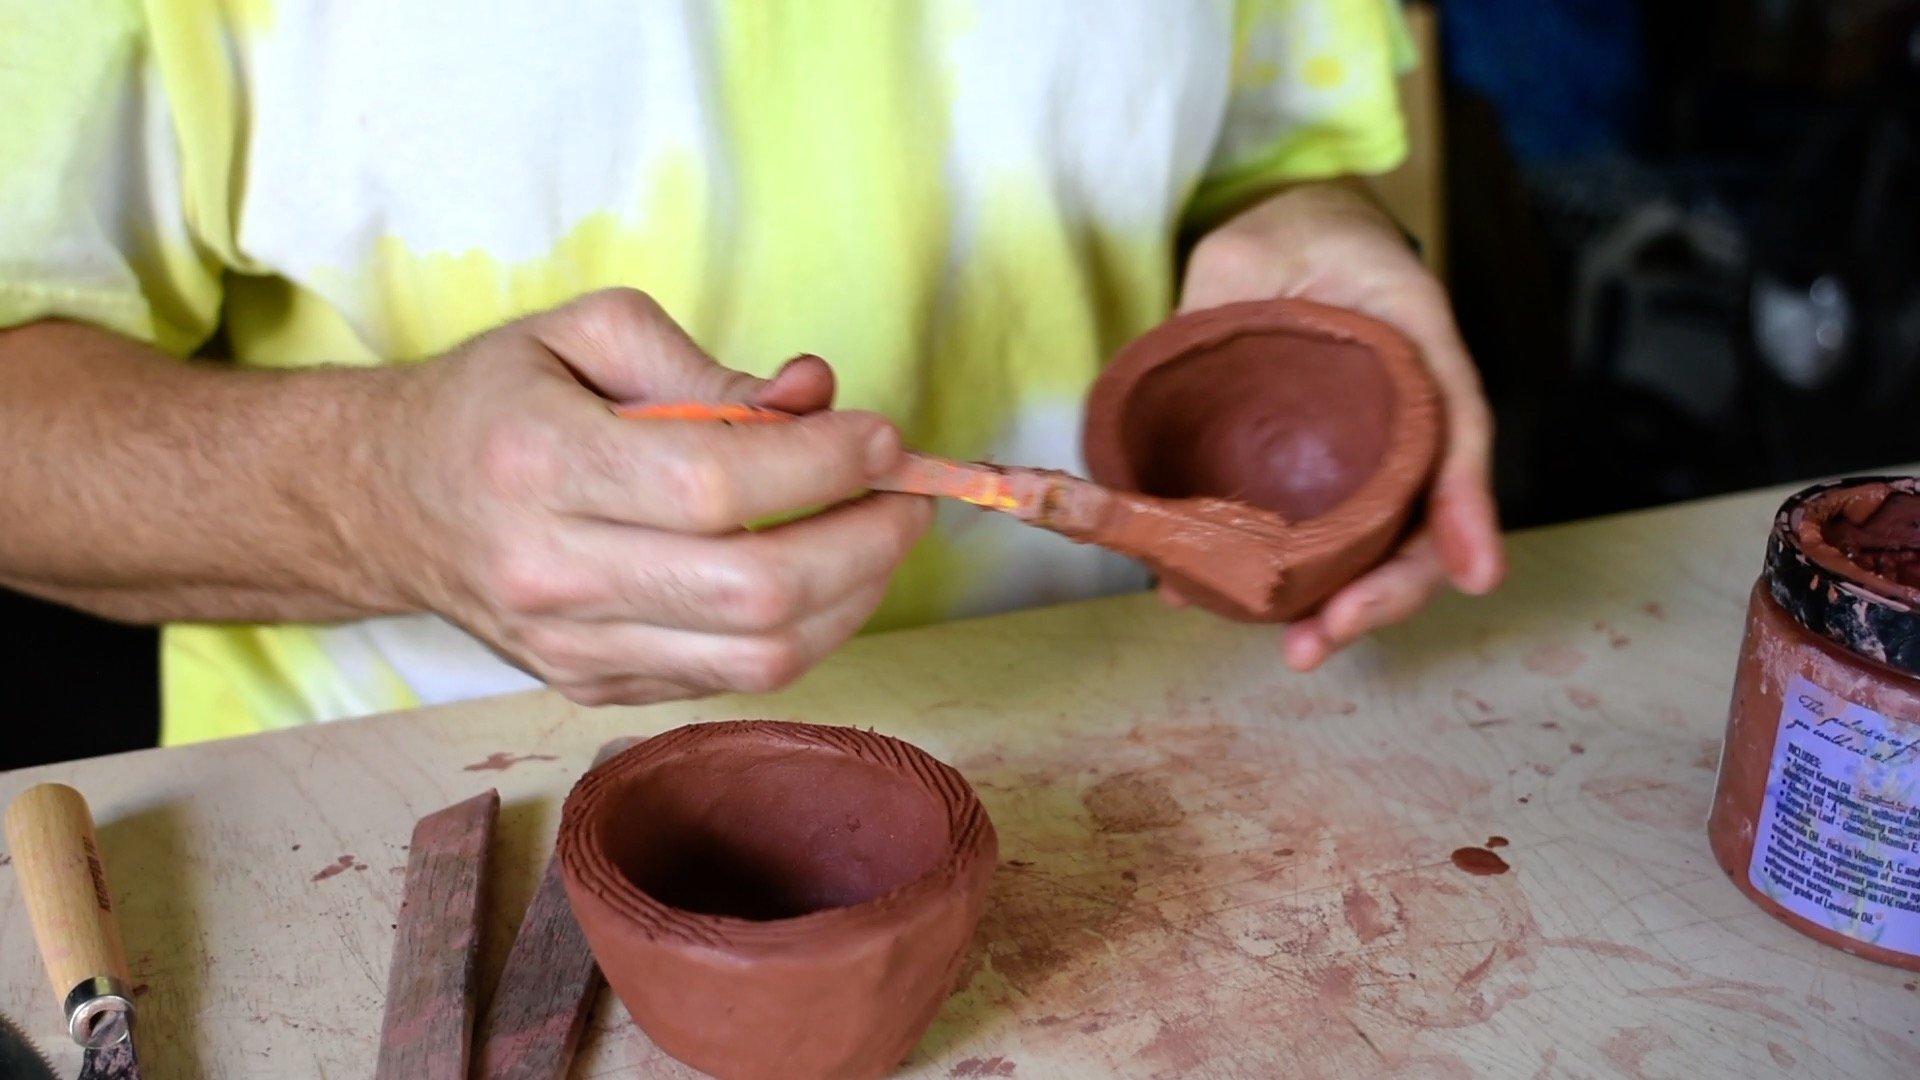
To join the pinch pots, first score with a serrated rib or fork, paint on joining slip, and then press the two pinch pots together.
Not pictured here, but it’s great to take a rib or other tool to really smooth the joint of the two pinch pots
Step 3: Add a Foot Ring
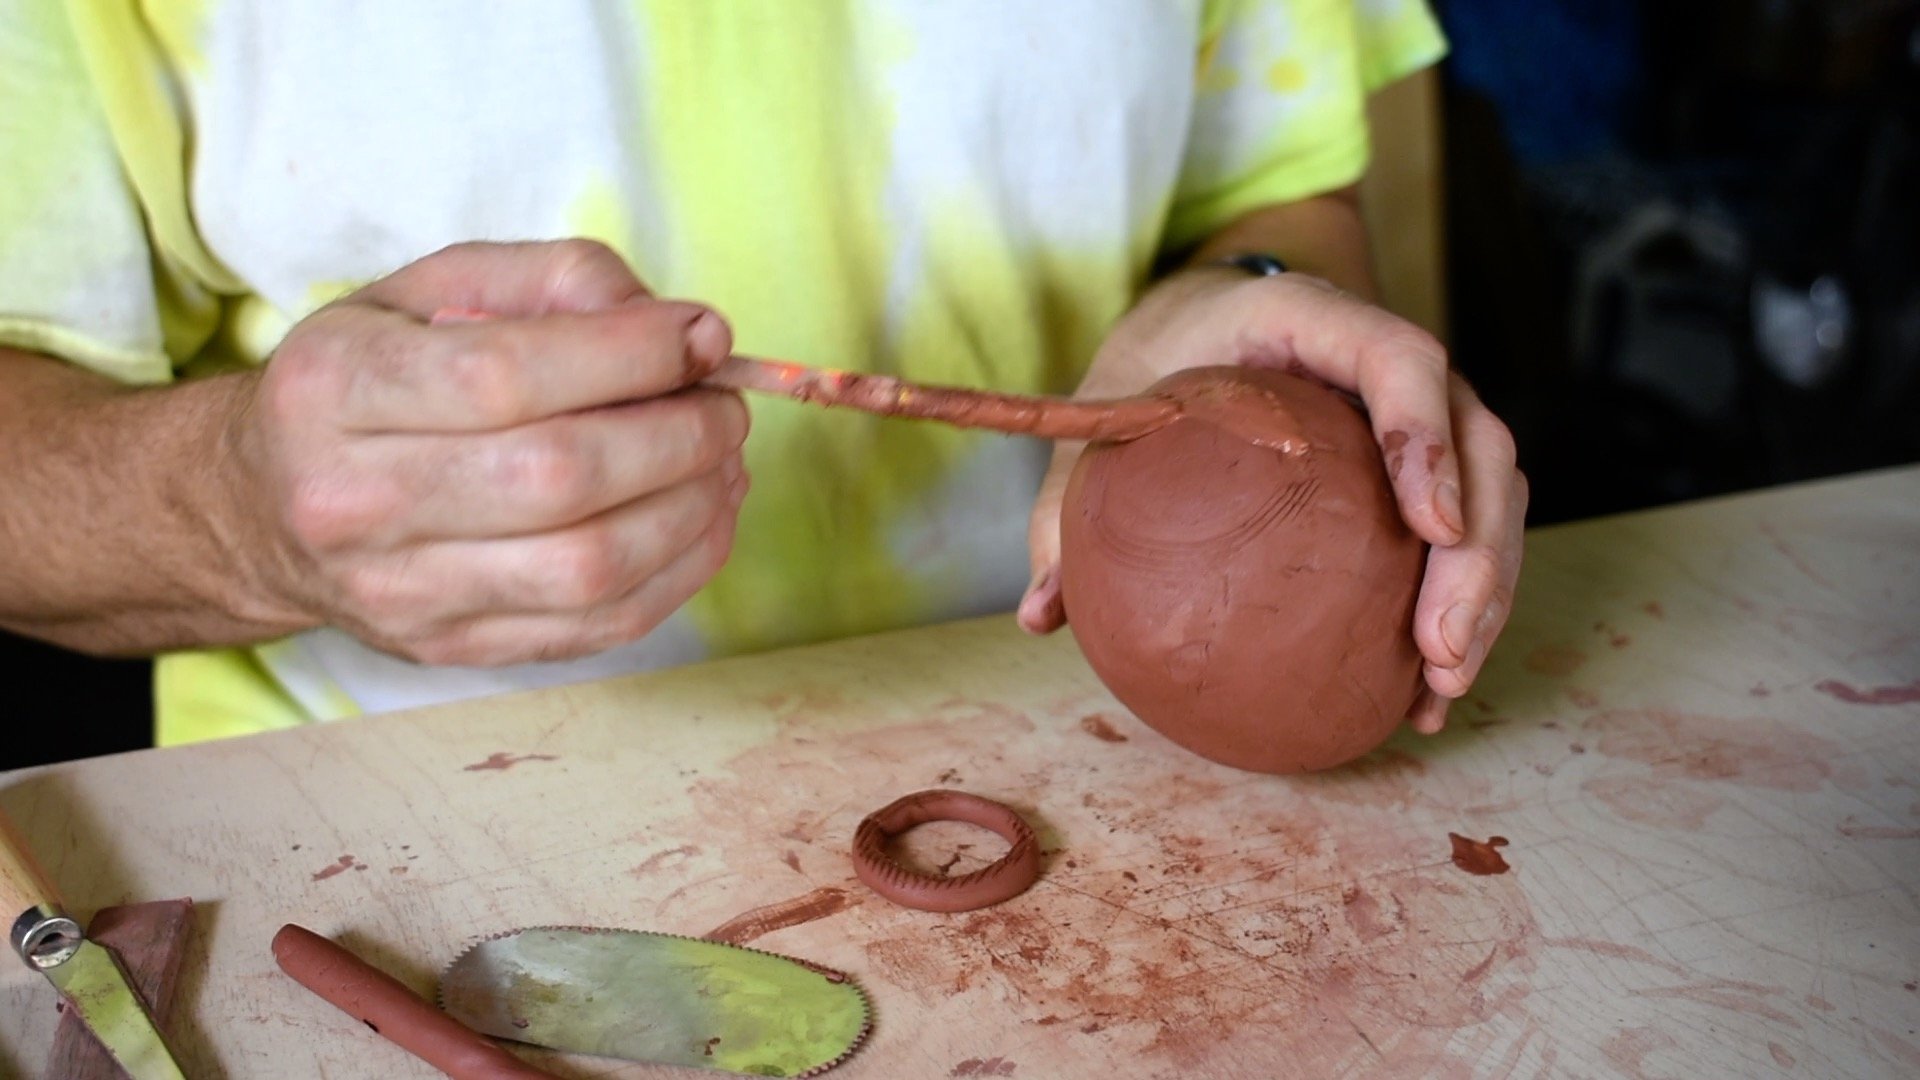
This vase benefits from a small foot ring. To make one, first roll a thin coil and form it into a circle.
Then, score, slip and press the foot ring to the base.
A wooden modeling tool can help join and clean up the foot ring.
Step 4: Cut and Shape the Lid
Now that you have a footed vessel, it’s time to make the lid.
Start by cutting the opening in the top.
Using the circle of clay you just cut out, you can pinch it a bit wider than the hole you just made. Add a curve or keep it flat.
Step 5: Add a Bumper and Knob to the Lid
To help the lid stay in place, make a small ring with a coil of clay, and join it to the underside of the lid. This will help it sit and stay in place.
You can also add a small knob to the lid, as shown in the picture.
When you have finished this step, you can let the piece dry, and then bisque fire it.
Step 6: Glazing
For this example, I glazed the lid with just underglaze by painting on 3 coats of an orange underglaze. I like to have a contrast between matte and glossy, but you can do whatever you want with your piece.
Using a clay shredder to clean up the outside rim.
For the vase, I layered two glazes to get the drippy blue and white effect. The first glaze was a white crawl glaze, which I poured inside the vase and painted on the outside. I applied a few layers to get it extra thick. Then, I painted a blue glaze on top of the blue crawl glaze.
Excess glaze was wiped away from the mouth of the vase, but I fired the vase and the lid separately.
All done!
Here’s the final results, a small lidded vase with an orange lid and drippy, blue and white glaze on red stoneware.
There are so many variations that you can do on this, and if you try it, you will find your own way to make a lidded vase. Have fun.
