How to Rip Sandpaper

Sandpaper ripped into eight pieces.

Sandpaper is a great studio tool but you usually don’t need to use a whole sheet at once. This tutorial will cover how to easily rip sandpaper into eight even pieces that are useful for small jobs such as sanding pottery ware, cleaning up rough wood, or any job. It’s a simple technique that results in even, rectangular pieces.

If you are doing any studio task that create dusts, wear a good dust mask or respirator. (Read our guide here) Or if you can, sand wet so that no dust is created.

For a guide to sandpaper and abrasives, click here.

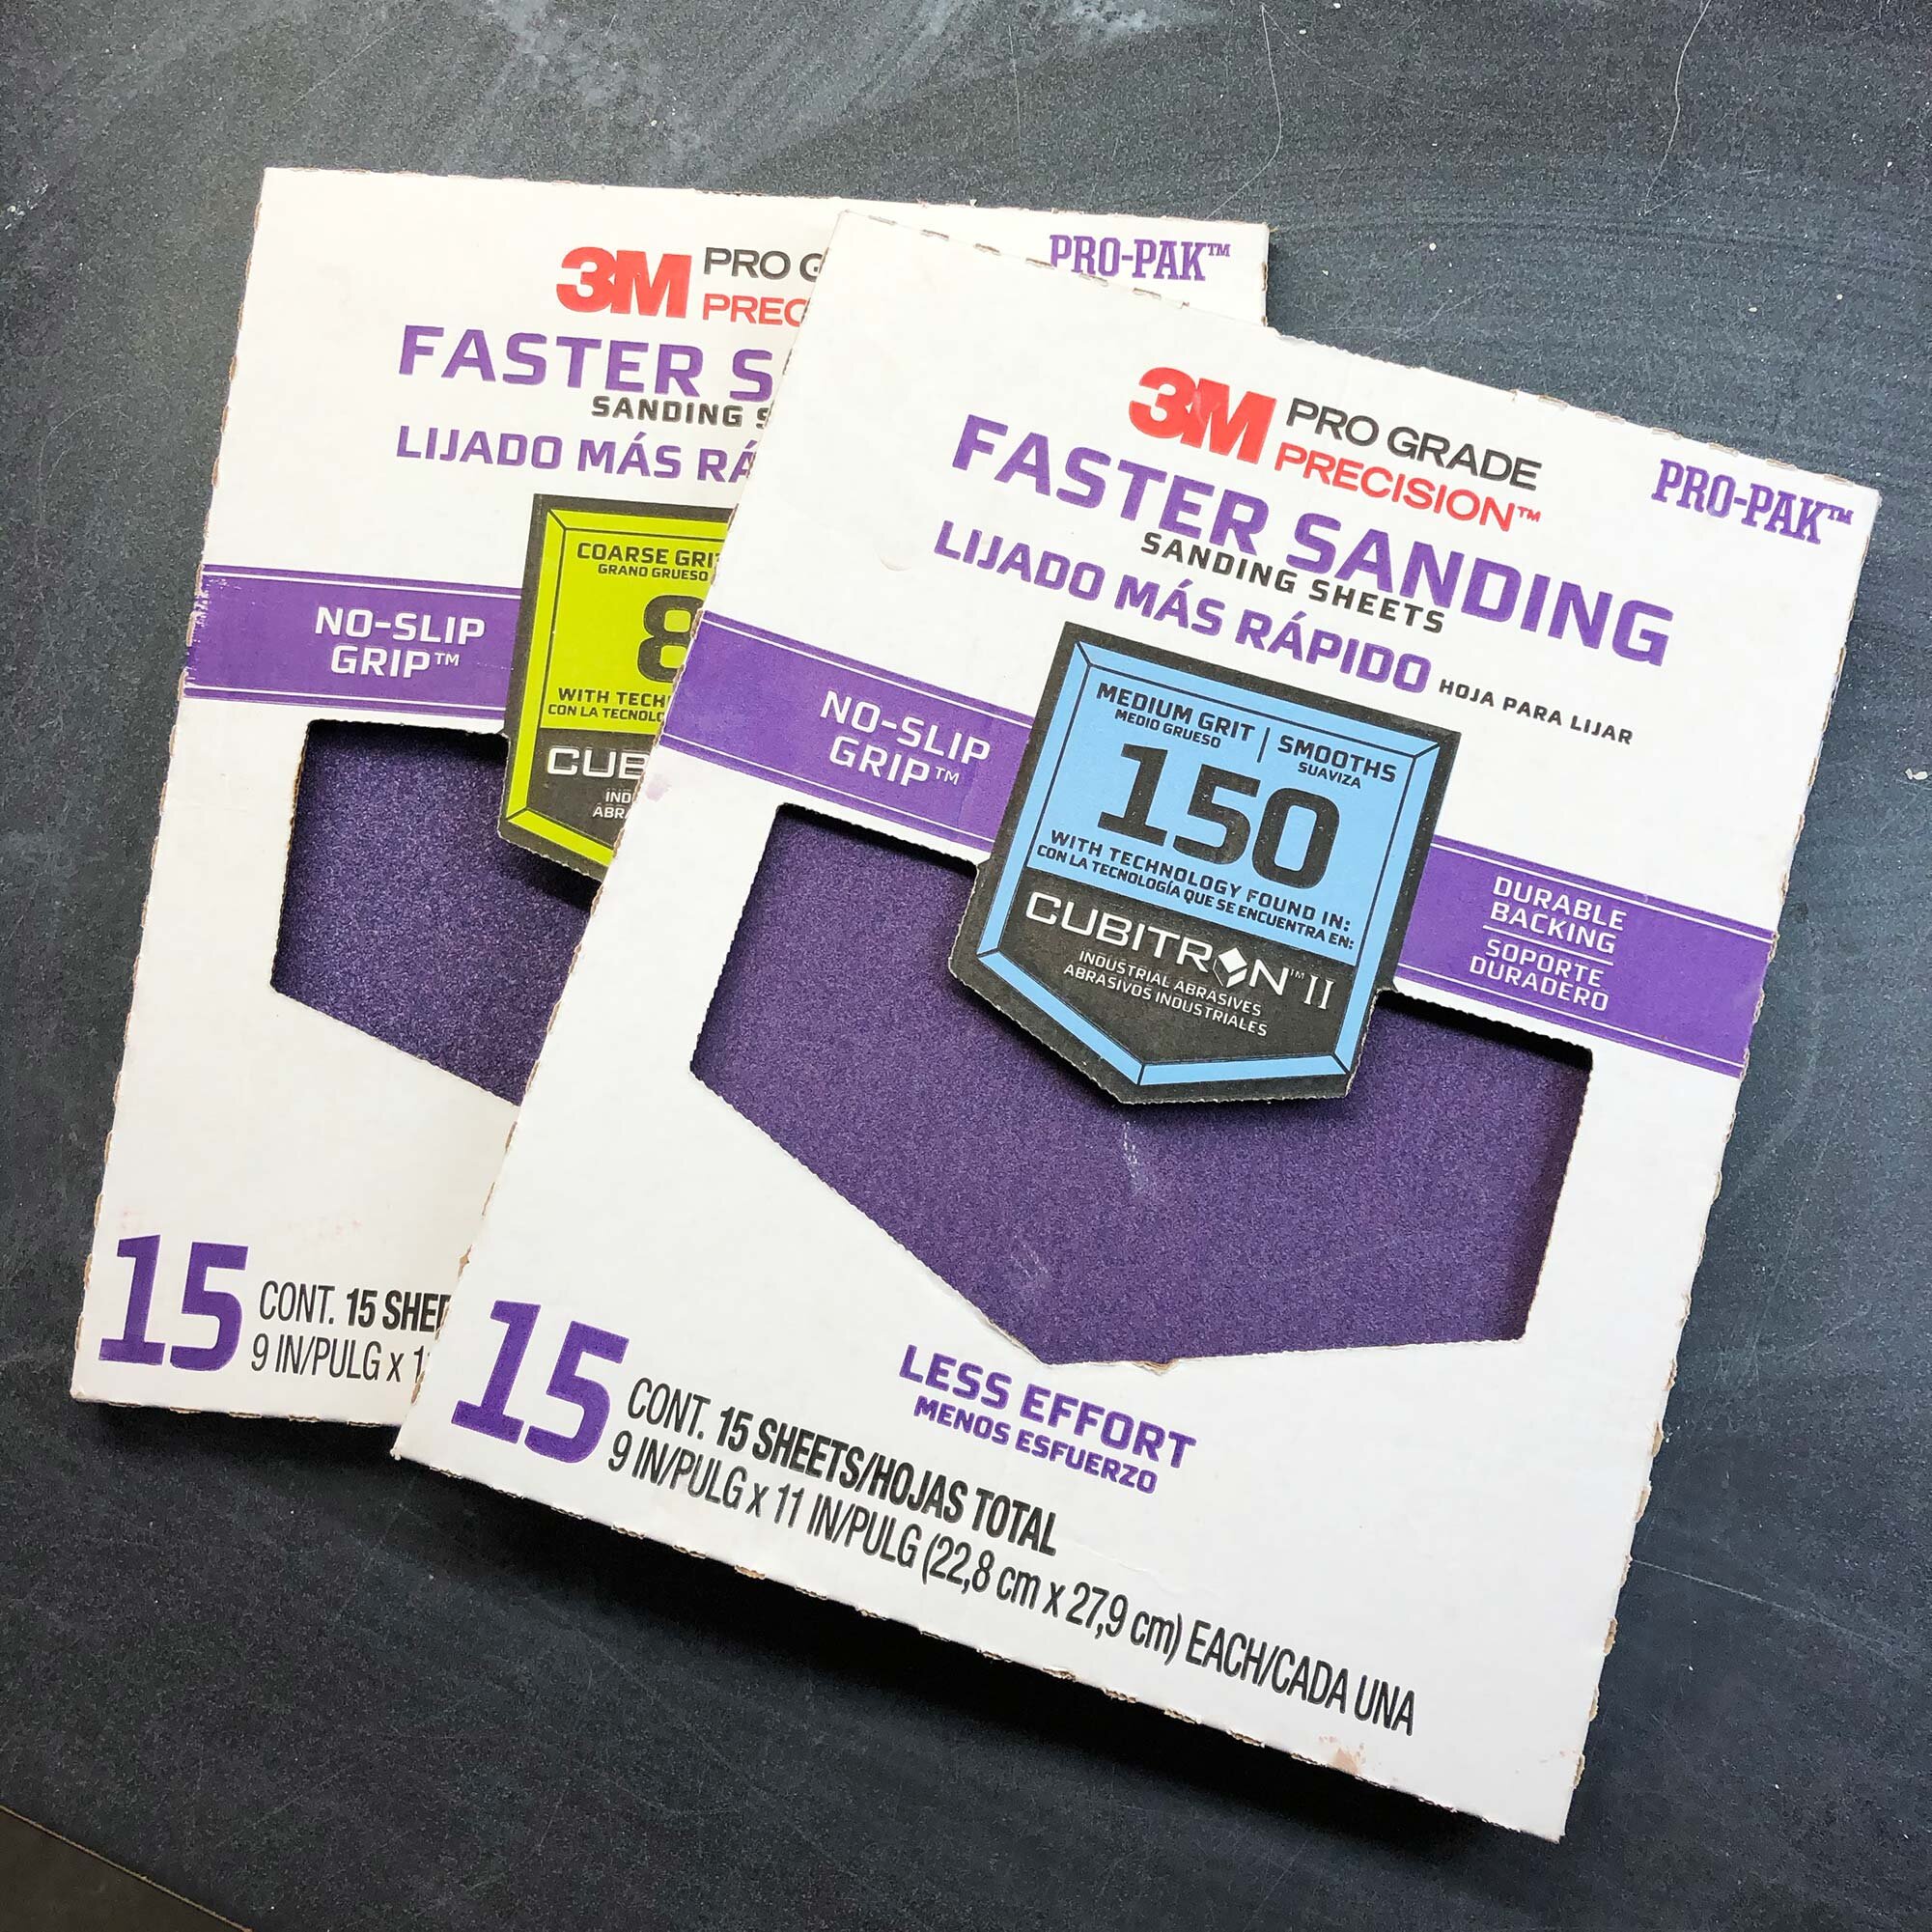
This tutorial uses 3M Pro Grade Sandpaper. It’s plastic backed, making it longer-lasting and suitable for wet sanding. It’s the best for ceramics and just about any other art studio use. Look for the “no-slip grip” sandpaper.

For sandpaper grits, I like to stock 60 and/or 80, 120, 200, and 400 grit.


How to Rip Sandpaper Into Smaller Pieces

Here’s how to rip a sheet of sandpaper into eight even pieces.

Step 1

Starting with a full sheet of sandpaper, fold it in half vertically (the long side) and crease.

Full sheet of sandpaper

Full sheet of sandpaper

Fold in half


Step 2

Ripping a creased sheet of sandpaper

Rip along the crease

Then, rip the sheet in half along the crease. You may rip a bit unevenly at first, but with practice you will get an even rip.


Ad


Step 3

Then on the long side of the smaller pieces you have just made: fold, crease, and rip.

Fold, crease, and rip again

Square pieces might be useful, but we’ll keep going.


Step 4

Continue to fold pieces in half, crease, and rip. I find that ripping a sheet into eight sheet results in a useful size.


ad


Step 5

Sandpaper ripped into eight pieces.

When you are at eight rectangular pieces, you are set. Now, find a small cup or box to store them in.


Summary

What sandpaper do you use in your studio? How do you rip and store it? Let us know in the comments.

You might enjoy:

Complete Guide to Sanding and Abrasives for Ceramics and Pottery

Best Wet Polishers

Best HEPA Vacuum for ceramics and woodshops

How to Make an Interchangeable Grinding Disc for Your Pottery Wheel

Shopping links:


The Best Sandpaper, Grinding Blocks, and Abrasives for Pottery and Ceramics

3M Pro Grade Sandpaper is a plastic-backed, long-lasting sandpaper that can be used wet for safe sanding.

3M Pro Grade Sandpaper is a plastic-backed, long-lasting sandpaper that can be used wet for safe sanding.

In ceramics, there’s always a need to sand something. Whether it is cleaning the foot of a pot or dealing with a massive glaze run on a kiln shelf, there are a few different tools that will really take care of these problems in effective, safe, and economical ways. This post will cover the best abrasives, sandpaper, and grinding blocks, as well as how to use them. You probably won’t need every single one of these tools, but they’re covered here so that you can find what will work best in your studio.

Safety note: Keep in mind that any sort of sanding or grinding can produce dust. Wear a dust mask or respirator, or when possible, sand wet.
Most Used / Top Pick: The thing I reach for the most is the plastic-backed, purple, pro-grade sandpaper made by 3M. (Pictured at top) It is economical, long lasting, and can be used wet. It’s a simple, versatile tool that has a place in any studio.


Table of Contents

  • Sandpaper

  • Grinding Blocks and Whetstones

  • Diamond Hand Pads

  • Silicon Carbide Stones for Power Tools

  • Wet Grinders

  • Sanding Tips and Tricks

  • Summary


Sandpaper

There are two sandpapers that I use in the studio: 3M Pro Grade Sandpaper and Emory Cloth. Other sandpapers, such as those designed for wood, don’t hold up under the heavy use needed with ceramics and clay. One advantage of sandpaper, as opposed to solid blocks, is that it is flexible and can be bent, creased, or cut into a variety of shapes if you need to sand hard-to-reach spots.

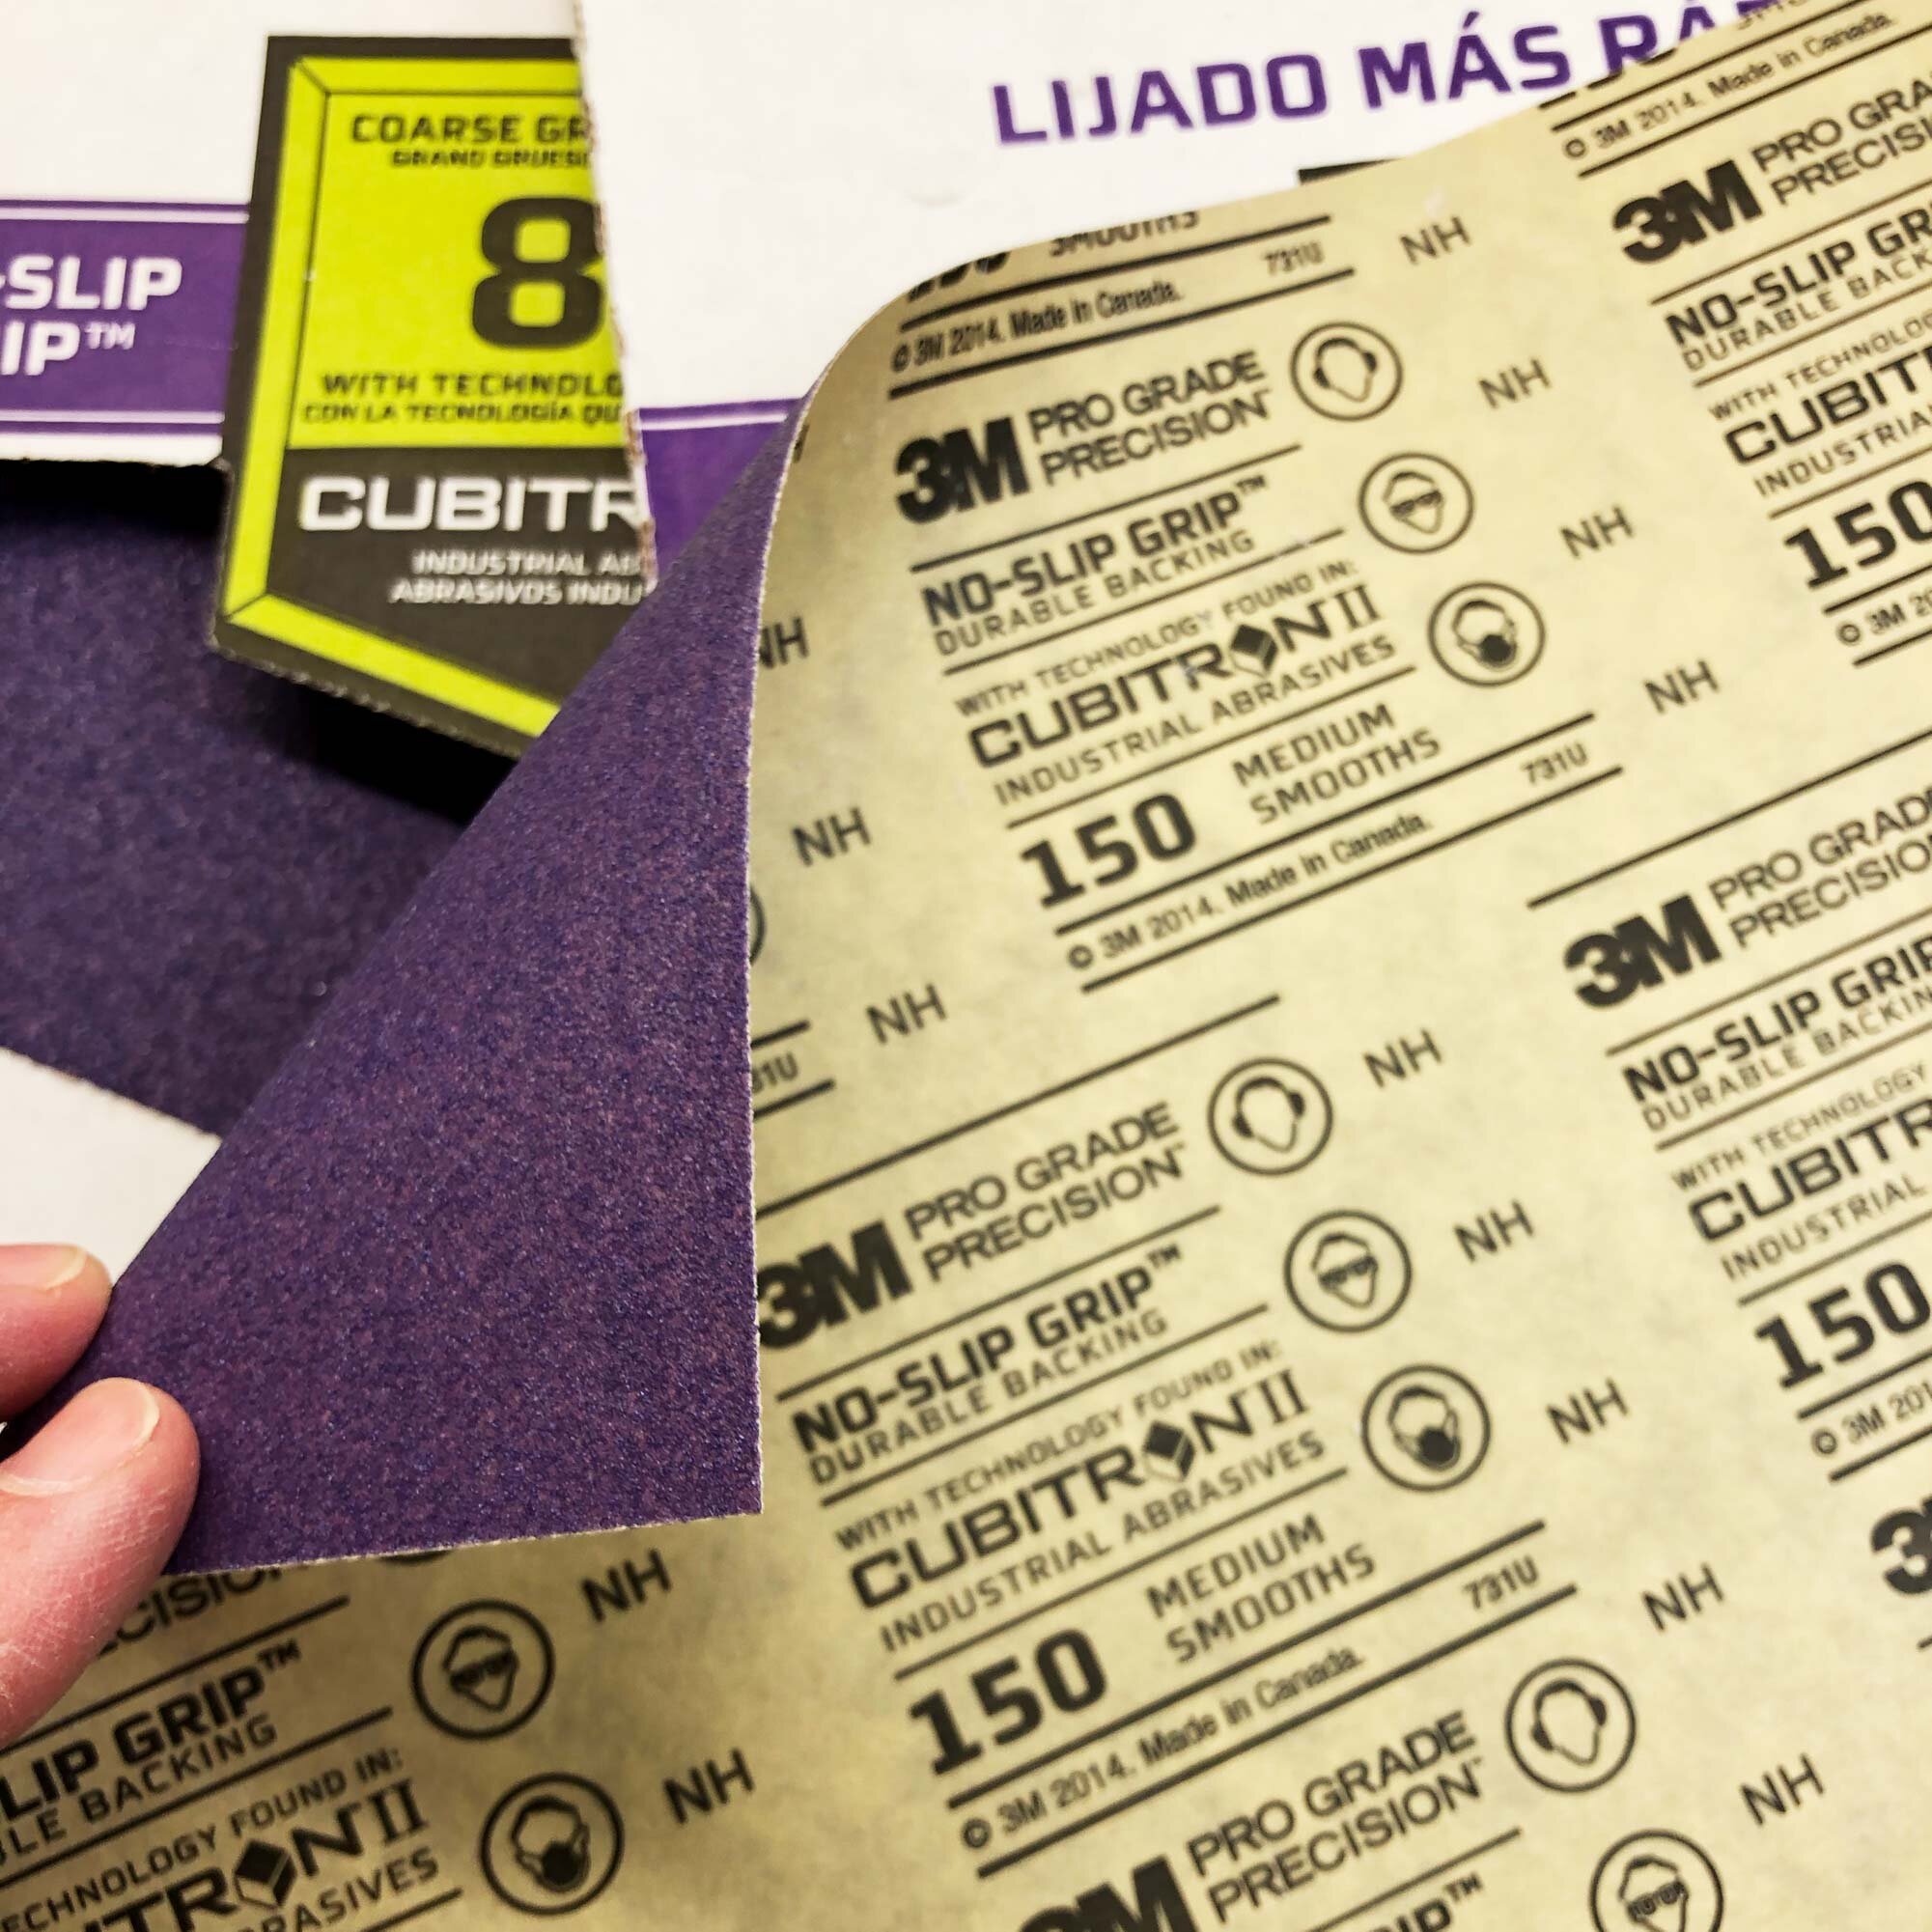
Detail shot of the front and back of the 3M Pro Grade No Slip Sandpaper.

Detail shot of the front and back of the 3M Pro Grade No Slip Sandpaper.

3M Pro Grade Sandpaper

The purple, plastic-backed 3M Pro Grade Sandpaper is the main tool in my sanding arsenal. It lasts longer than other sandpapers and can be used wet or dry. The plastic backing is advertised as “no-slip grip” and it is easy to hold and control, even when wet.

The paper measures 9 x 11 inches and is available in a variety of grits. I generally stock 80 and 150 grit, but a range of 4 grits from 60 to 220 would probably cover most needs.

The sandpaper can be found in smaller packs ranging from 3 to 6 sheets, or bulk packs with 20 or 100 sheets. 20 sheets will last a long time for individual use, or around 6 months for a busy academic or community studio.


A roll of Emory Cloth Sandpaper can be economical and functional.

A roll of Emory Cloth Sandpaper can be economical and functional.

Emory Cloth Sandpaper

Emory Cloth is a cloth-backed sandpaper that can also be used wet or dry, and the cloth backing makes it long-lasting and economical. Emory cloth can be found in sheets or in rolls. It is especially ideal for sanding the bottom of pots when they come out of the glaze firing, to clean up any small burrs or imperfections, or to remove kiln wash.

For emory cloth, I like to buy rolls so that I can cut or rip off just what is needed.


Grinding Blocks

There are a variety of grinding blocks that are useful in the ceramic studio. A block might be used in place of sandpaper, but I usually stock both sandpaper and blocks. The bigger blocks are especially useful for dealing with glaze drips and cleaning kiln shelves while a whetstone can be used to sharpen tools and clean up pots.

A silicon carbide rubbing block with a handle.

A silicon carbide rubbing block with a handle.

Silicon Carbide Rubbing Block

A silicon carbide rubbing block (or grinding block or brick) is one of the most effective ways to deal with glaze drips and to clean up kiln shelves and kiln posts. The blocks come in a variety of sizes, with or without handles, and some have fluting. The fluting is especially useful for grinding rough kiln shelves flat again. A flat-sided block is better for cleaning up the foot of pots or the bottoms of sculptures.

Detail of the fluted bottom of a typical silicon carbide rubbing block.

Detail of the fluted bottom of a typical silicon carbide rubbing block.

A longer, thinner, fluted silicon carbide rubbing block without a handle.

A longer, thinner, fluted silicon carbide rubbing block without a handle.

Silicon carbide blocks can be used wet, which is a plus for me because I’m always looking for ways to minimize dust in a studio.

A downside of these rubbing blocks is they are prone to cracking if dropped. This is especially a problem if you crack one with a handle. But don’t despair, the pieces are good until they are ground down to the last bit.

Another downside is they are typically on the rough side, around 20 to 60 grit. This is fine for kiln shelves, but you’ll want to follow up with something a bit finer, such as sandpaper or emory cloth, if you’re sanding the bottom of a pot.

The block with handles are typically 6” x 3” x 1”, but these sizes vary by manufacturer.

Aloxite Blocks and Whetstones

An aloxite sanding block.

An aloxite sanding block.

Available at ceramic suppliers, aloxite (aluminum oxide) blocks are smooth, hard, and extremely durable blocks. They are very long lasting, they don’t “shed” a lot of material when used, and they are especially great for sanding the bottom of pots.

Silicon carbide whetstone, with two grits — 120 and 240.

Silicon carbide whetstone, with two grits — 120 and 240.

Alternately, and easier to find, you can use whetstones designed for sharpening knives. Generally not as hard as aloxite, whetstones are another great option for cleaning small glaze runs, burrs, or rough patches on fired ceramic. They can also be used to sharpen studio tools, such as scissors or fettling knives.

Neither of these smaller blocks are particularly good for cleaning large areas of kiln shelves, but they’re great to use on pots.

Both aloxite stones and whetstones can be used wet, which keeps dust out of the air.


Diamond Hand Pads

Semi-hard foam-backed diamond hand pads from Stadea.

Semi-hard foam-backed diamond hand pads from Stadea.

Diamond hand pads are the perfect way to sand away burrs, small glaze drips, and rough patches on pots, sculptures, or kiln shelves and posts. Made of industrial-grade diamonds embedded in plastic, these are available from a variety of manufacturers as either soft, flexible pads or semi-hard, foam-backed pads. The foam-backed pads are my favorite because they provide structure and support your hand, but the flexible pads are useful for sanding more complicated shapes. Available as sets or individual pads, my recommendation is to get four individual pads in the range of 50 grit, 100 grit, 200 grit, and maybe 400 grit.

Semi-flexible diamond pads from Diamond Core Tools.

Semi-flexible diamond pads from Diamond Core Tools.

The soft pads are available from Diamond Core Tools, while foam backed pads are available from Diamond Core and other manufacturers such as Stadea or various generic names on Amazon. Expect to spend $15 to $30 per pad, but if used just when needed (use sandpaper for more everyday tasks), they should last for some time, maybe even years.

Like many other tools listed here, these can be used wet, which keeps sanding dust out of the air.

Shop semi-flexible pads at Diamond Core.


Silicon Carbide Grinding Wheels and Cups for Power Tools

A green silicon carbide bench grinder wheel.

A green silicon carbide bench grinder wheel.

If you have a bench grinder or angle grinder, you should get silicon carbide stones that fit these tools. Silicon carbide will grind through material such as glaze and ceramic without producing excess heat, and it’s the appropriate material to use with non-metallic materials including ceramic, stone, and concrete.

This especially comes in to play with using a bench grinder to clean up glaze drips. If it are not using silicon carbide, the wheel and glaze may get too hot, resulting in potentially dangerous melted bits of glaze. Stick with silicon carbide wheels that are properly dressed and kept in shape. (If you don’t have a dressing tool to keep your wheel even, definitely get one of those too.)

Silicon carbide grinding cups for use with angle grinders.

Silicon carbide grinding cups for use with angle grinders.

For angle grinders, there are also silicon carbide cups that can quickly clean kiln shelves. These are especially useful if you need to take off all the kiln wash and start with a fresh coat. Keep in mind that angle grinders produce a lot of dust, so do use this tool with caution. Or see the recommendation below about switching to a wet grinder for these types of uses.

Shop Silicon Carbide Grinding Cups at Amazon


Wet Grinders

Makita variable speed wet grinder.

Makita variable speed wet grinder.

Rather than an angle grinder, which definitely make a lot of dust, consider a wet grinder for quickly dealing with bad glaze runs or cleaning kiln shelves. A wet grinder has a water feed that keeps a stream of water flowing out of the center arbor hole on the grinder. They can spray water and sanded bits all over,, but if you have a tub or large sink to catch the water, it is not that bad.

It’s best to go with a quality wet grinder, such as a Makita or Flex. (I’ve personally been using a Flex brand grinder for about 7 years). If you carefully read reviews, the cheaper wet grinders can give small electric shocks or stop working after some use. For an electric tool that uses water, you definitely want a quality machine that won’t shock you! And while using, be sure to follow every safety protocol. Personally, in my years of using a Flex variable speed grinder, I’ve never felt one tiny shock.

A variable speed wet grinder is the way to go, as that allows you to control the speed. Slower speeds don’t whip as much water around. Wet grinders are generally used with diamond pads. As with hand pads, in my experience a range of grits from 40 or 60 to around 400 get the job done. I’ve had good luck with Stadea pads (shop at Amazon), both the 4 and 5 inch sizes. The lower grits can wear out quickly, depending on use, so you may want to order a few of those. I originally purchased an entire set that goes all the way up to 3000 and buff, but for cleaning up glaze drips, 400 suits me, so I prefer to purchase individual pads to use with the wet grinder.

One drawback with wet grinders is figuring out the right hose connection. Expect to make a few trips to the hardware store to find the right fittings to connect your wet grinder to a hose or faucet.


Sanding Tips and Tricks

A few ideas to put into practice in your studio:

  • Broken pieces of kiln shelves, especially silicon carbide shelves, make excellent sanding blocks and stones.

  • Rub the bottom of two pots together for a quick post-firing sanding / cleanup. This can be done wet under running water or dip quickly into a bowl of water.

  • A set of sharp chisels and a rubber mallet can help in removing glaze drips from kiln shelves, then follow up with sanding tools.

  • Check out our tutorial for a DIY Interchangeable Grinding Disc

  • Whenever possible, sand wet! It’s the safest way to keep dust out of the air.

Safety Note

Any type of sanding, grinding, or rubbing will create dust. Take appropriate precautions with wearing dust masks or respirators, and eye protection too, when sanding or using power tools.


Summary

This post has covered and reviewed a variety of sanding and grinding tools and abrasives for use with ceramics and pottery.

My most-used tools are sandpaper and a silicon carbide rubbing block, but I also have a wet grinder with diamond pads and hand pads. I also keep broken pieces of kiln shelves to use as grinding tools. All of this is done wet, when possible, or I use proper safety protection such as a dust mask and safety glasses when sanding. Sanding, grinding, and cleanup are an inevitable part of working with fired ceramic and the best tools will get the job done for you in a safe, effective, and long-lasting way.

What sanding or grinding tools do you use in the studio? Let us know in the comments.