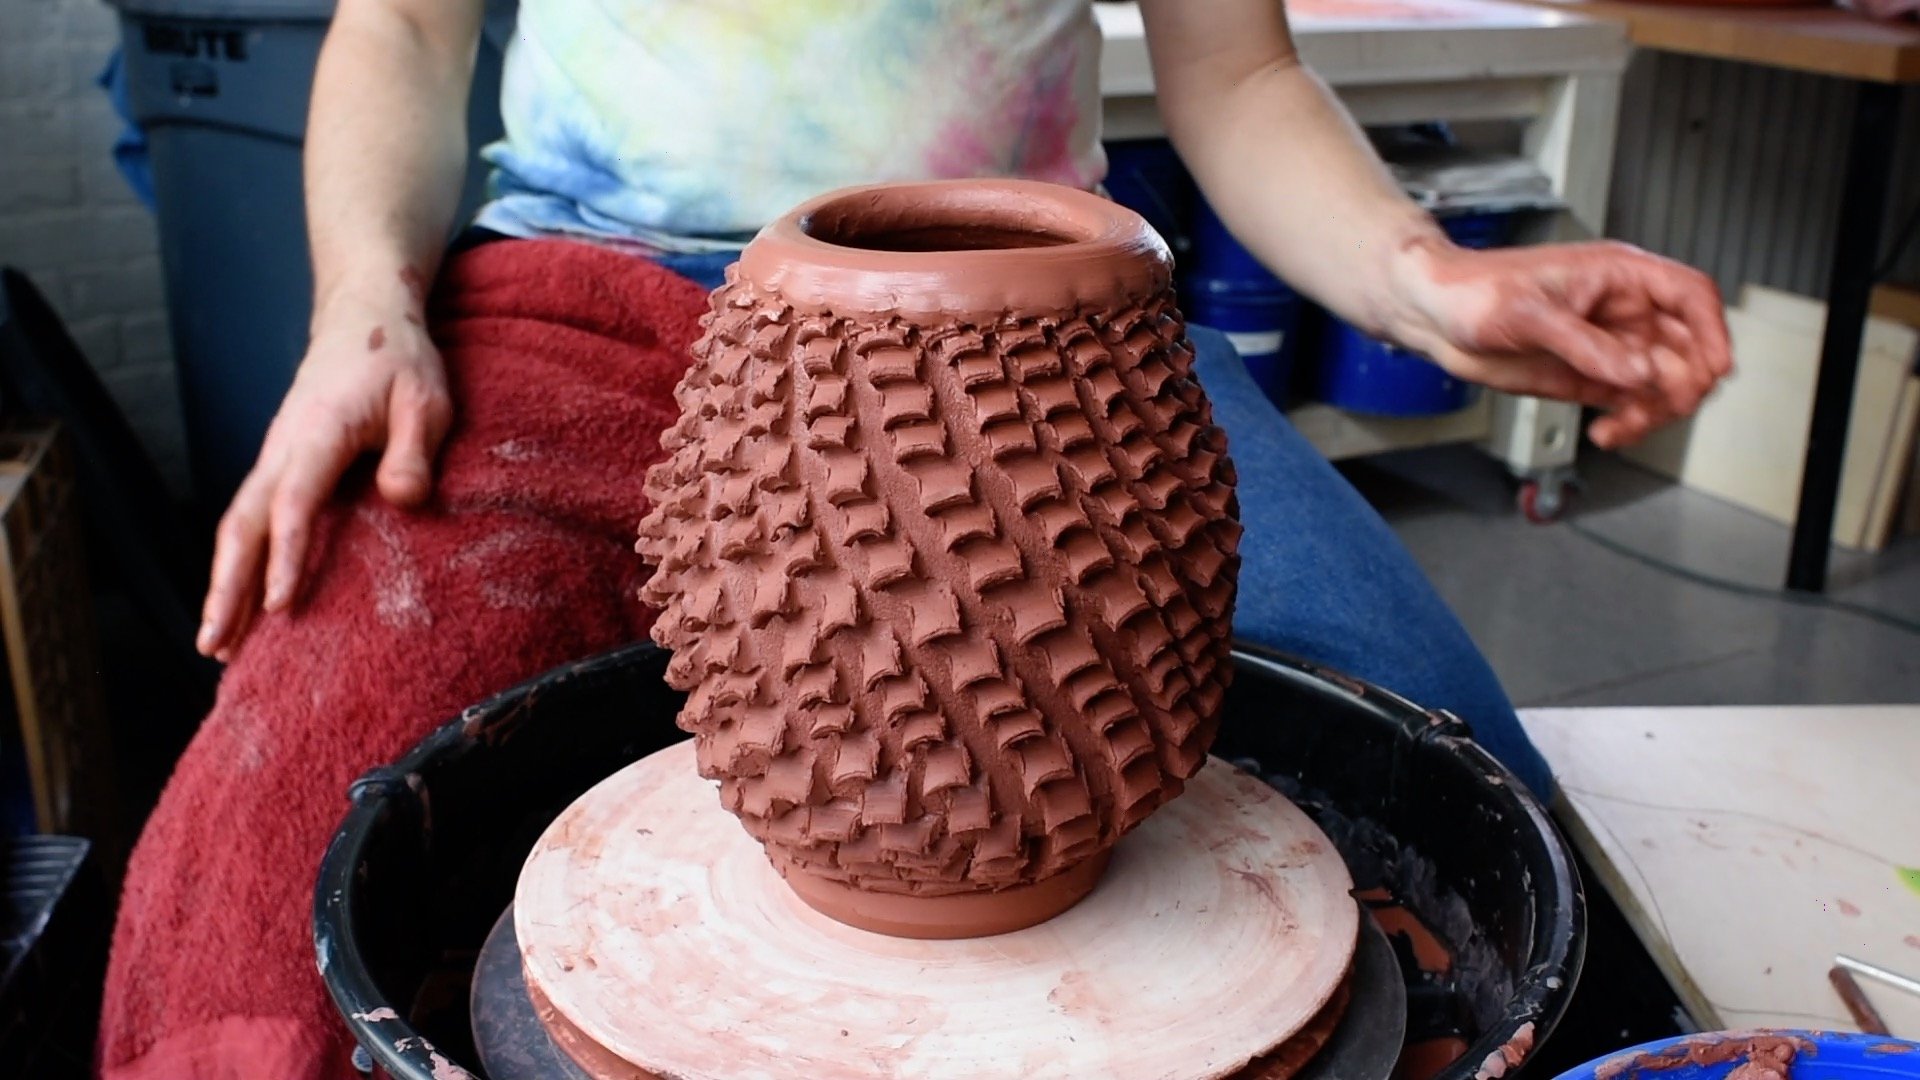
A Pineapple Vase is a very distinctive style of wheelthrown pottery invented by Japanese potter Shozo Michikawa. You can find Michikawa’s work in galleries and museums worldwide, and there are a number of online videos of Michikawa demonstrating this technique and others.
For this tutorial, I made my own version of the Pineapple Vase, and at the end of the video, I show how I alter it to make it more my own.
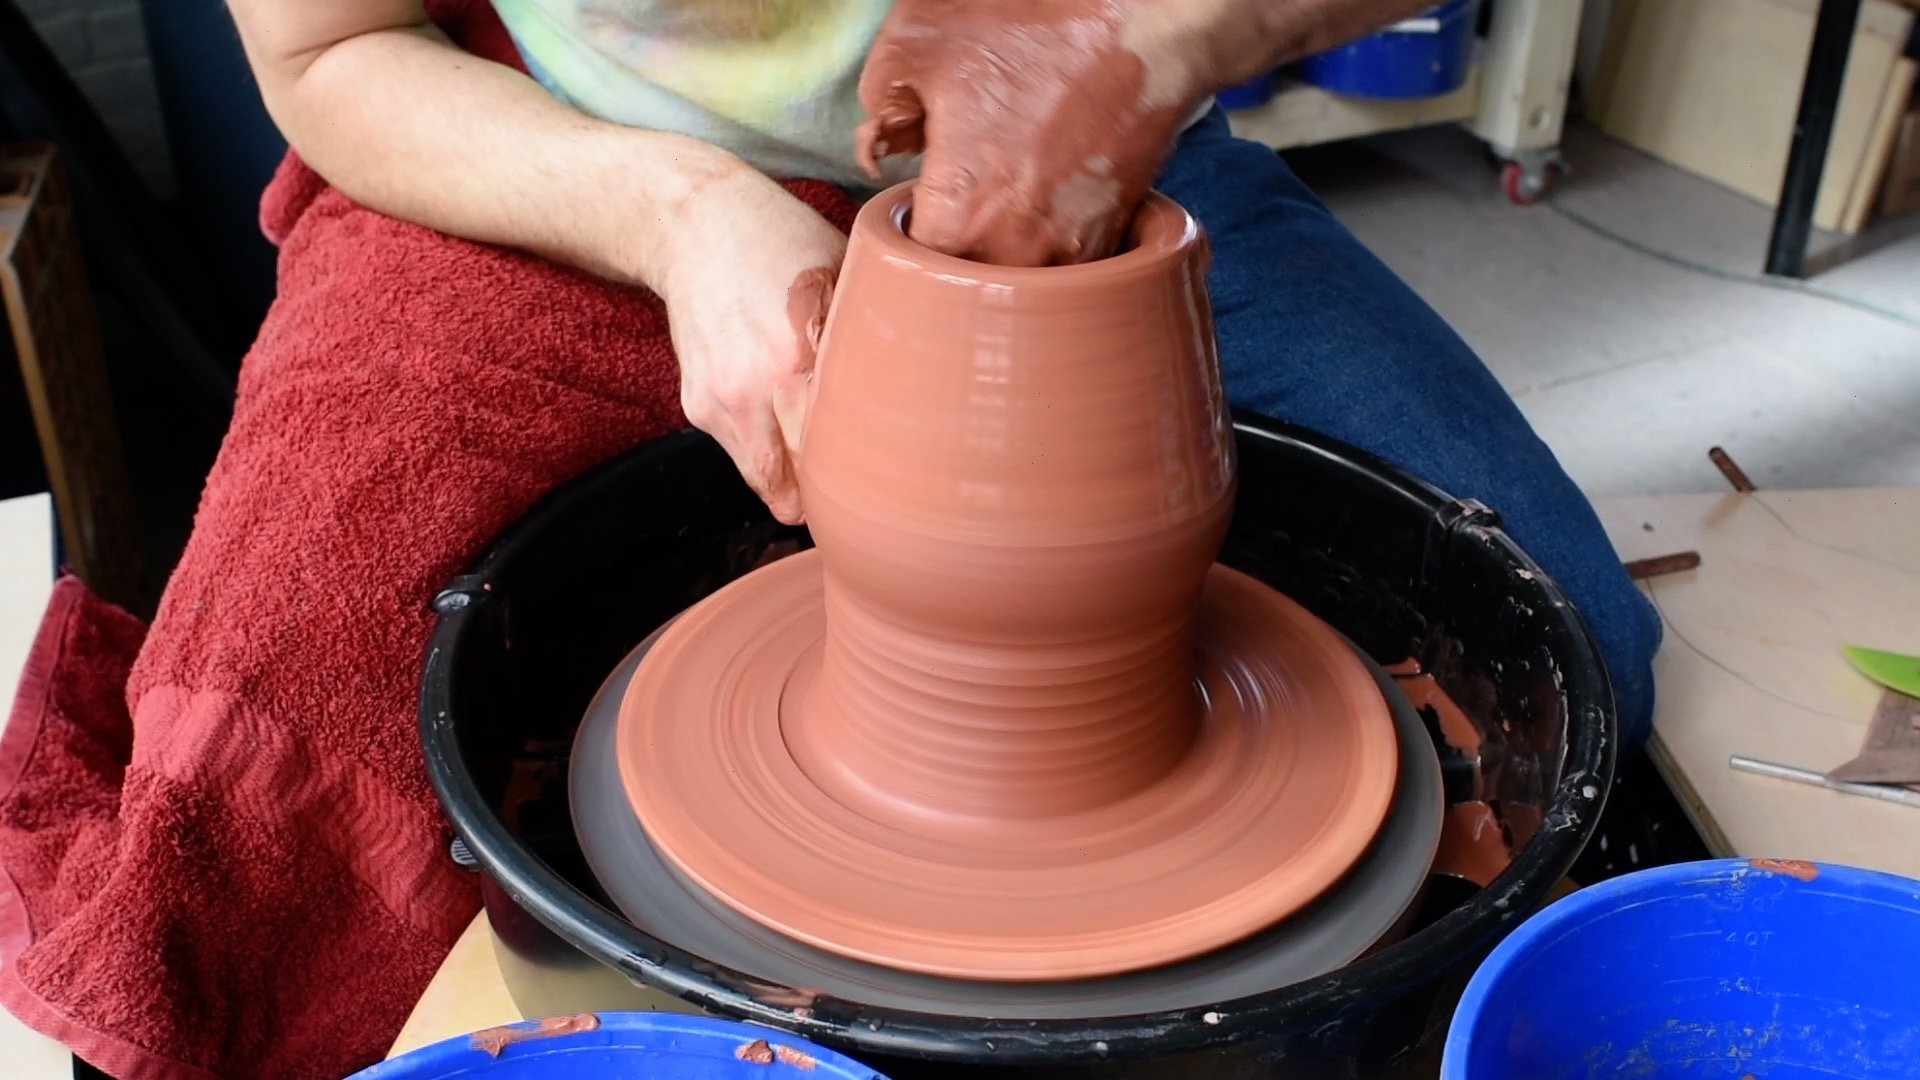
The main way to approach this technique is to make a narrow cylinder with a thick wall, around 1 inch or about 2 cm thick. Then, score and alter the sides of the cylinder. Finally, you open the cylinder with one hand, stretching out the decoration into a helix pattern as you open and widen the vase. It’s really fun and worth trying. Check out this video, or keep scrolling for a complete tutorial with pictures.
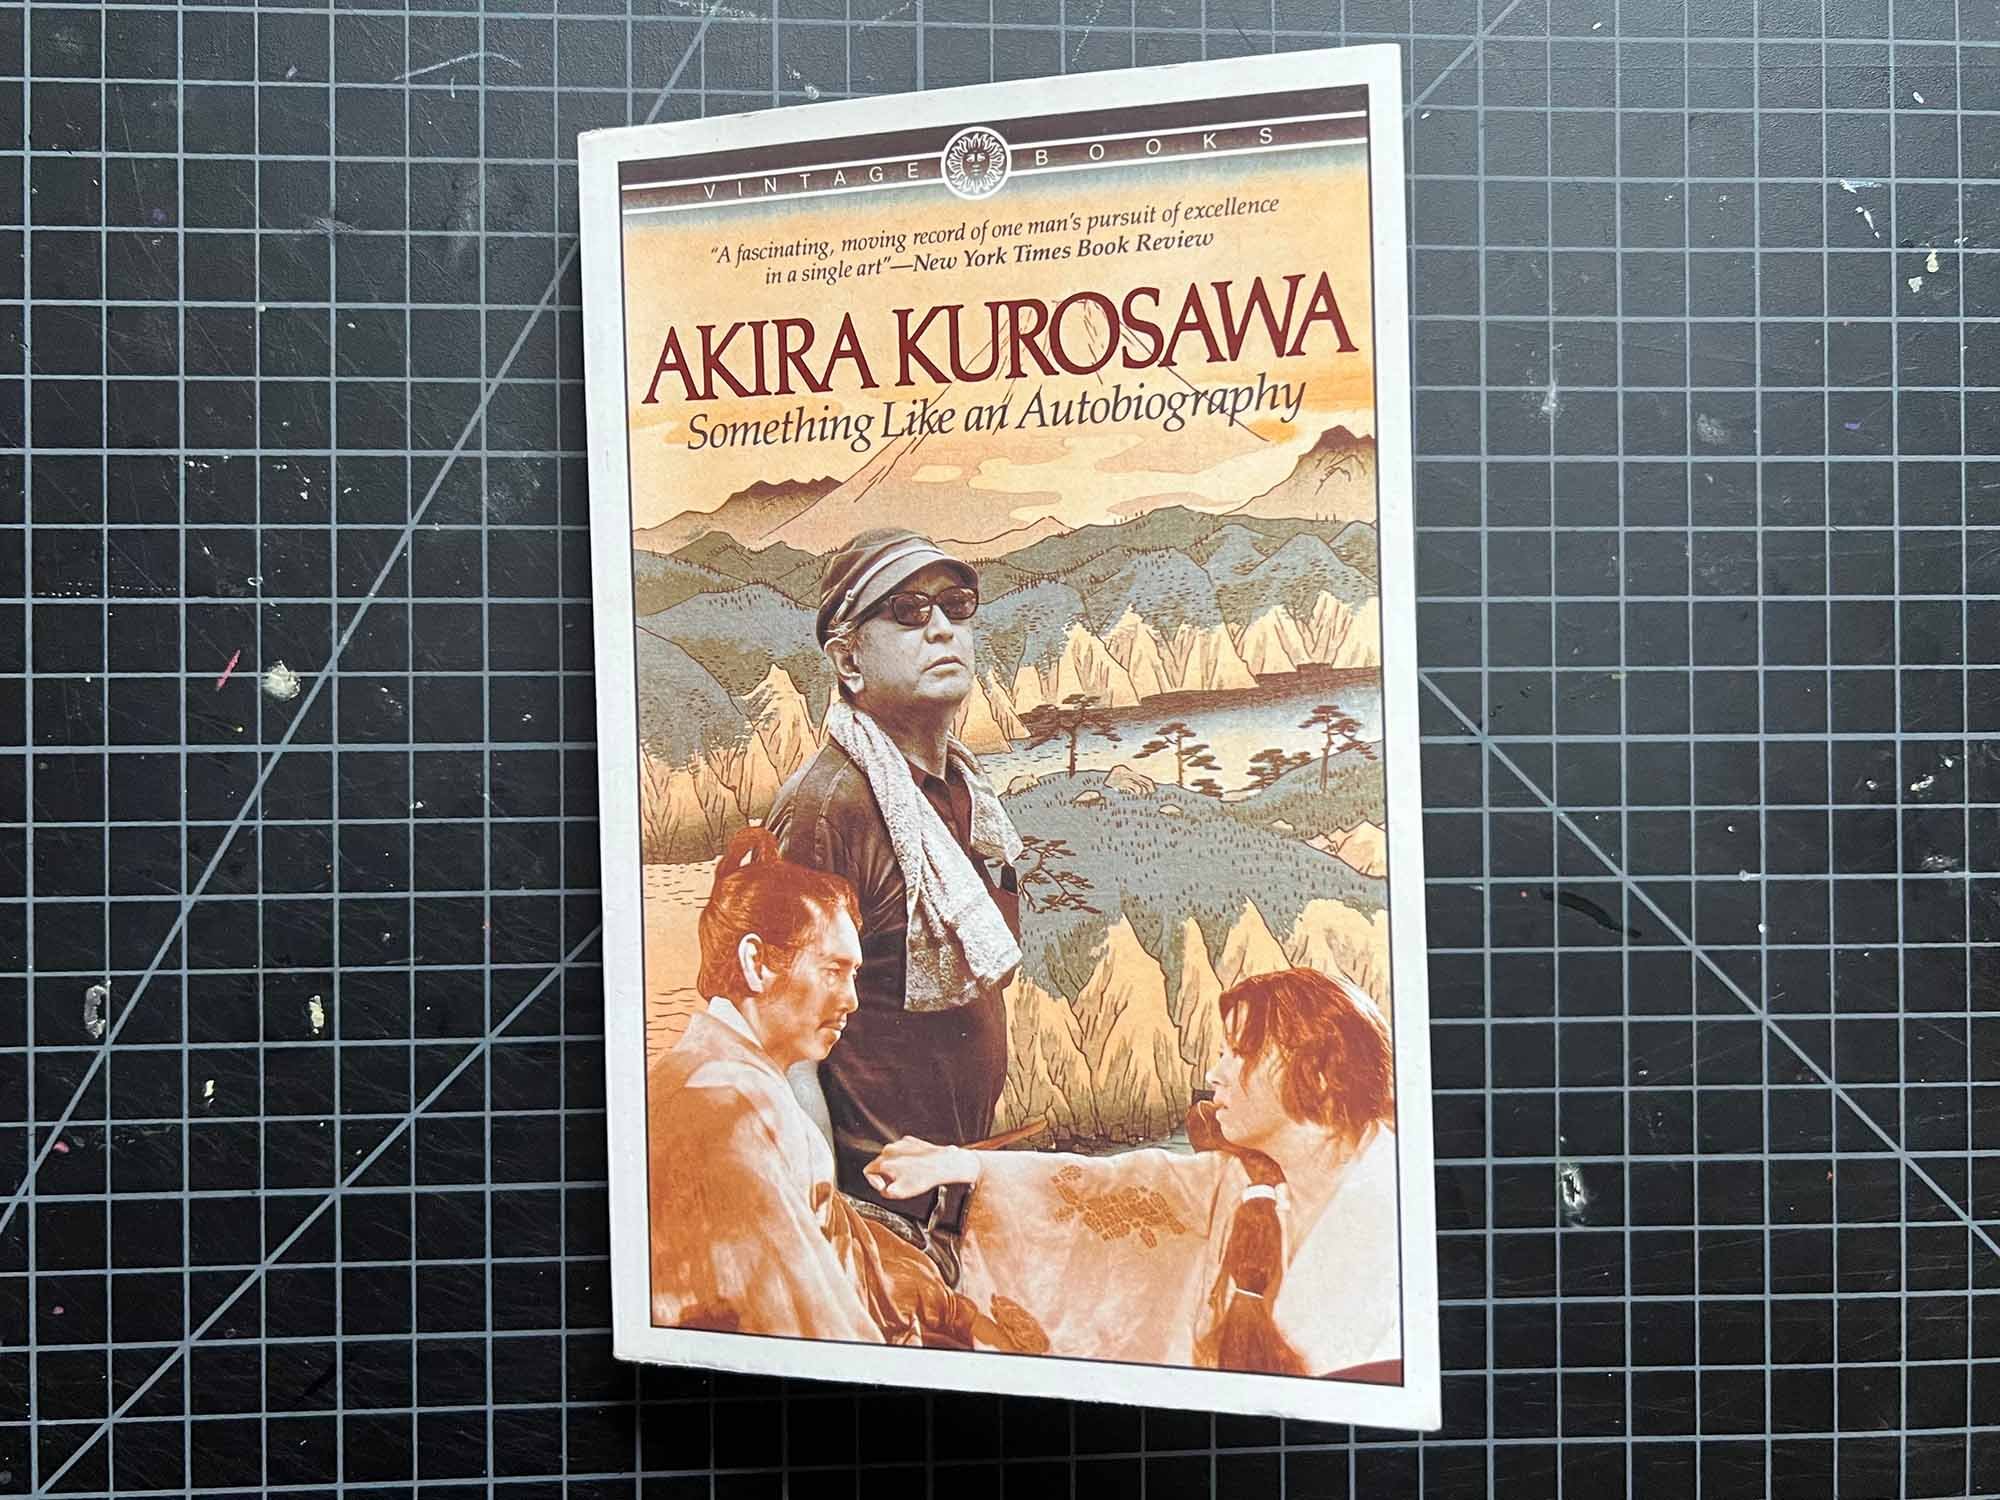
If you would like to learn more about Shozo Michikawa, check out this catalog of his ceramic art at Amazon.
Make a Pineapple Vase Pottery Tutorial
Step 1: Center, open, and pull
Wedge, center, open, and pull the walls up.
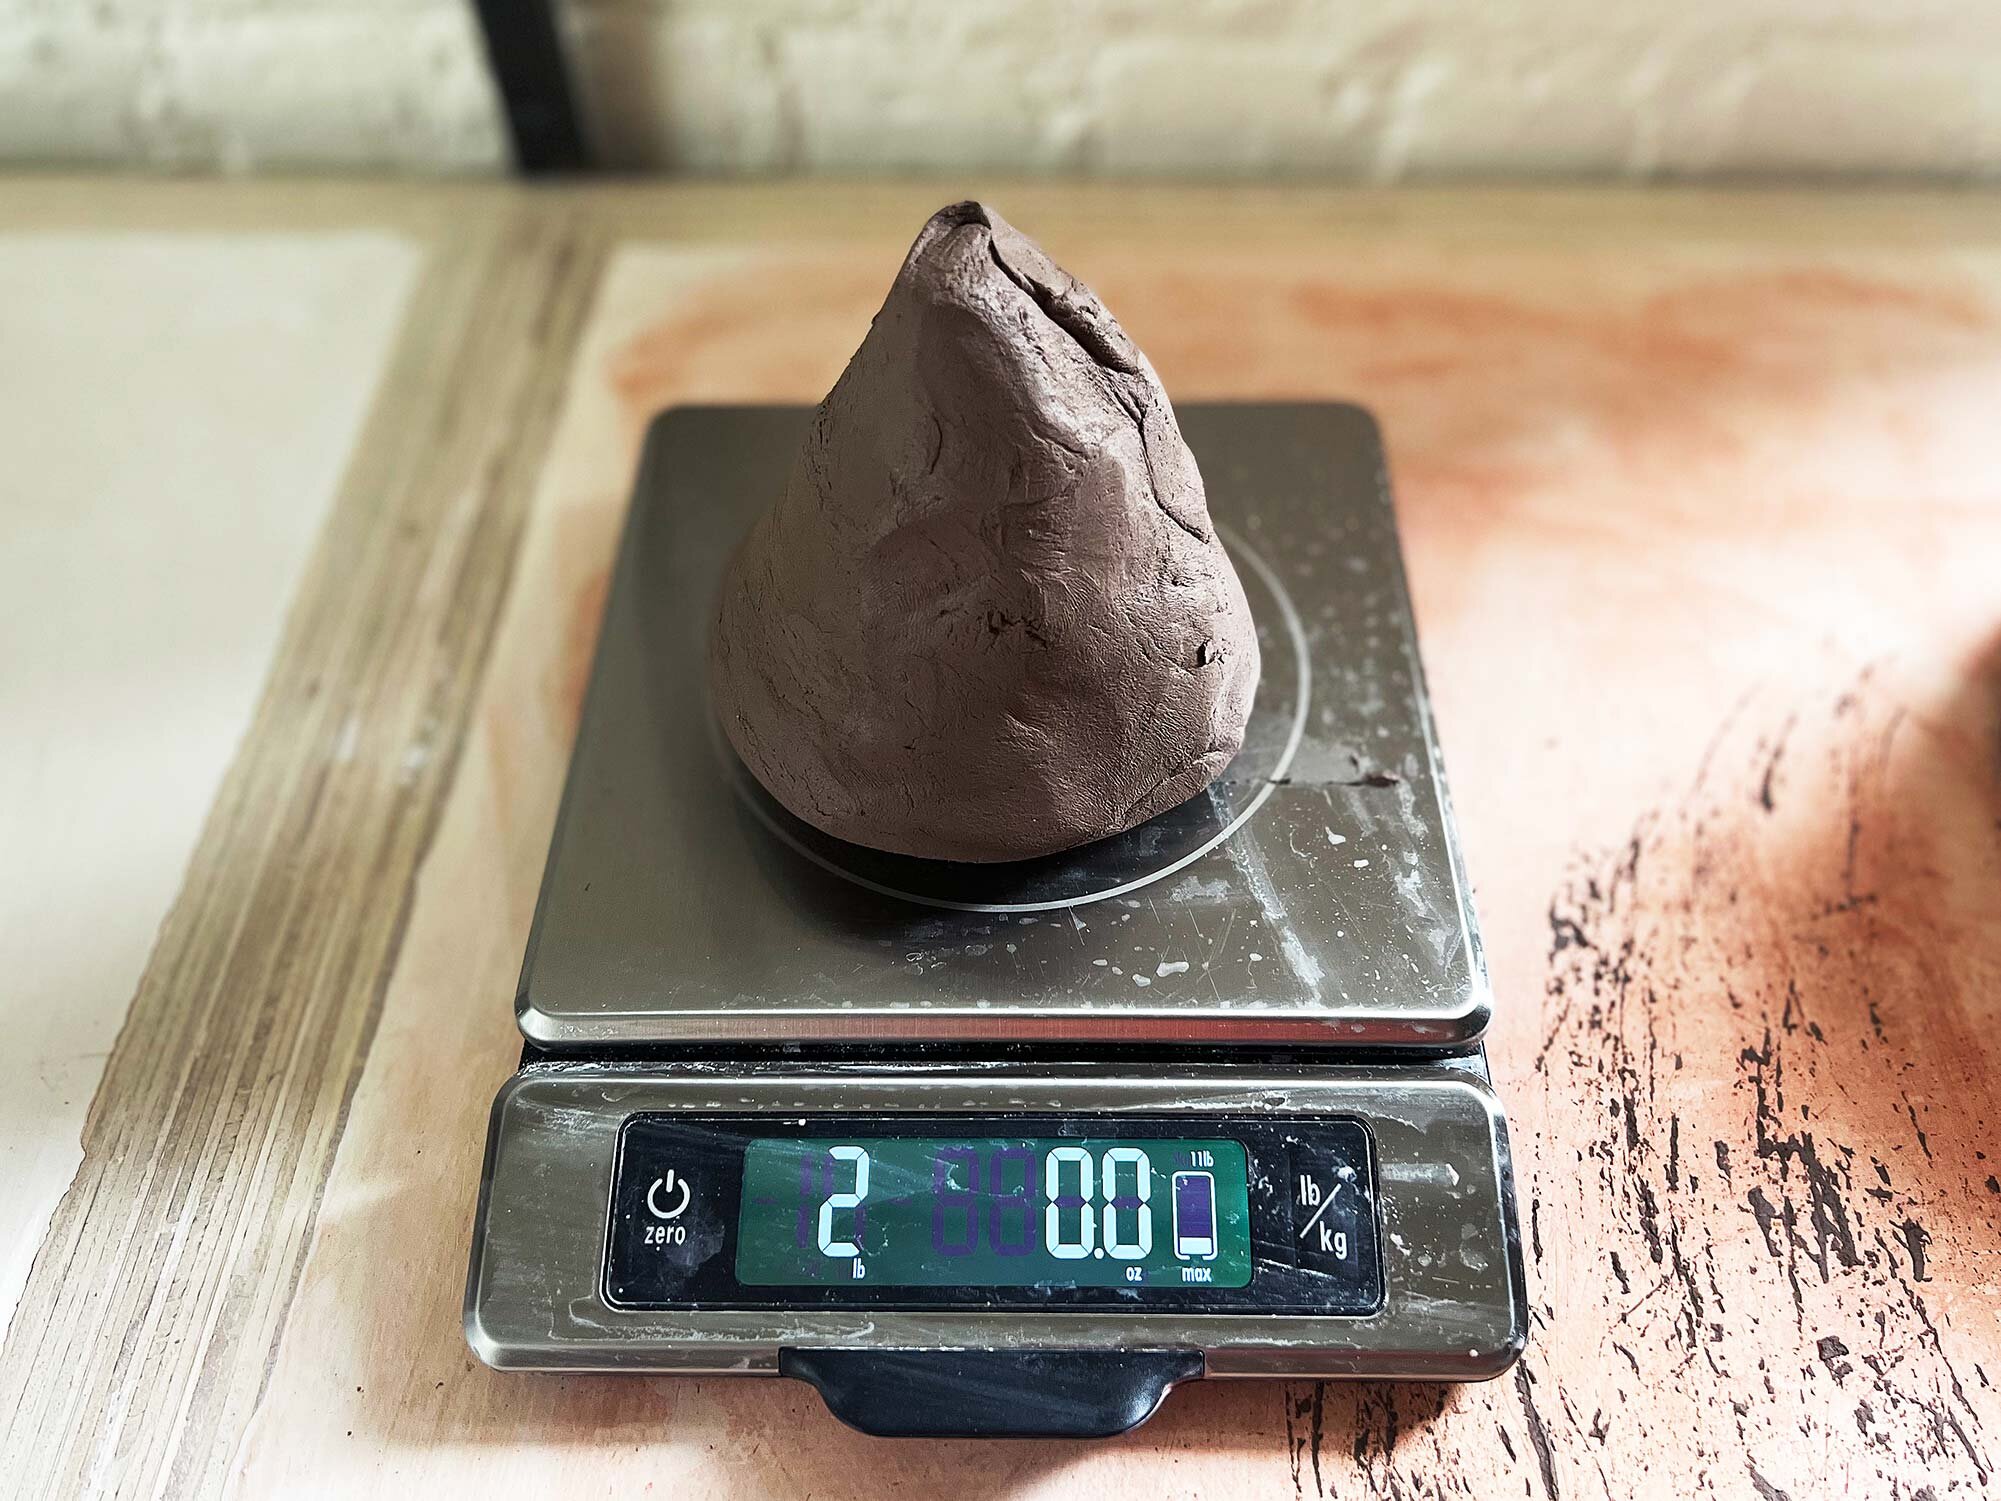
To get started, wedge and center around 8 to 10 lbs of clay. Open and pull the walls. Be sure to keep the walls as thick as possible, around 1 inch thick.
Step 2: Collar In
Collaring in.
After raising your walls, collar the cylinder in to make it as narrow as possible.
The more narrow your cylinder, the more the pattern will “travel” when you open it up.
Step 3: Clean Slip From Sides
Removing slip from the cylinder.
After collaring in your cylinder, remove any slip from the outside with a rib. This will help you get a crisp design.
Step 4: Add Design
Adding the horizontal design.
After creating your narrow cylinder and removing slip, it’s time to add your design. Using an angled tool — a sharp metal tool is best — add horizontal lines. If desired, you can undercut these a bit.
Step 5: Cut Vertical Lines
Lightly score vertical lines.
Next, use a needle tool to lightly score vertical lines from top to bottom. Unlike what is shown in this image, keave the rim unscored, or you may have to recompress and join the rim back together.
Step 6: Open
Opening the cylinder.
After adding your horizontal design and vertical scoring, work your hand back in to the cylinder and begin to open up. If you can do this with very little water, it’s best, as the added friction will help you twist the design into a helix pattern.
Step 7: Clean Up and Done!
Cleaning the base
After opening your vessel, the next step is to lightly remove material from the base, cut off, and dry.
Congratulations! You’ve mastered a new technique.
Cutting off the bat with a wire tool.
Done!


