A salad bowl is one of my favorite things to make on the pottery wheel. This tutorial will cover every step of making a salad bowl including centering, opening, pulling the walls, trimming, and glazing.
When making this shape, keep in mind that the key to this form is to make the walls more vertical, around a 45 degree angle when pulling up, and then gradually open and lower the walls in the shaping stage.
Here’s a video of the process and a full tutorial with pictures is below.
Step 1: Center and Open
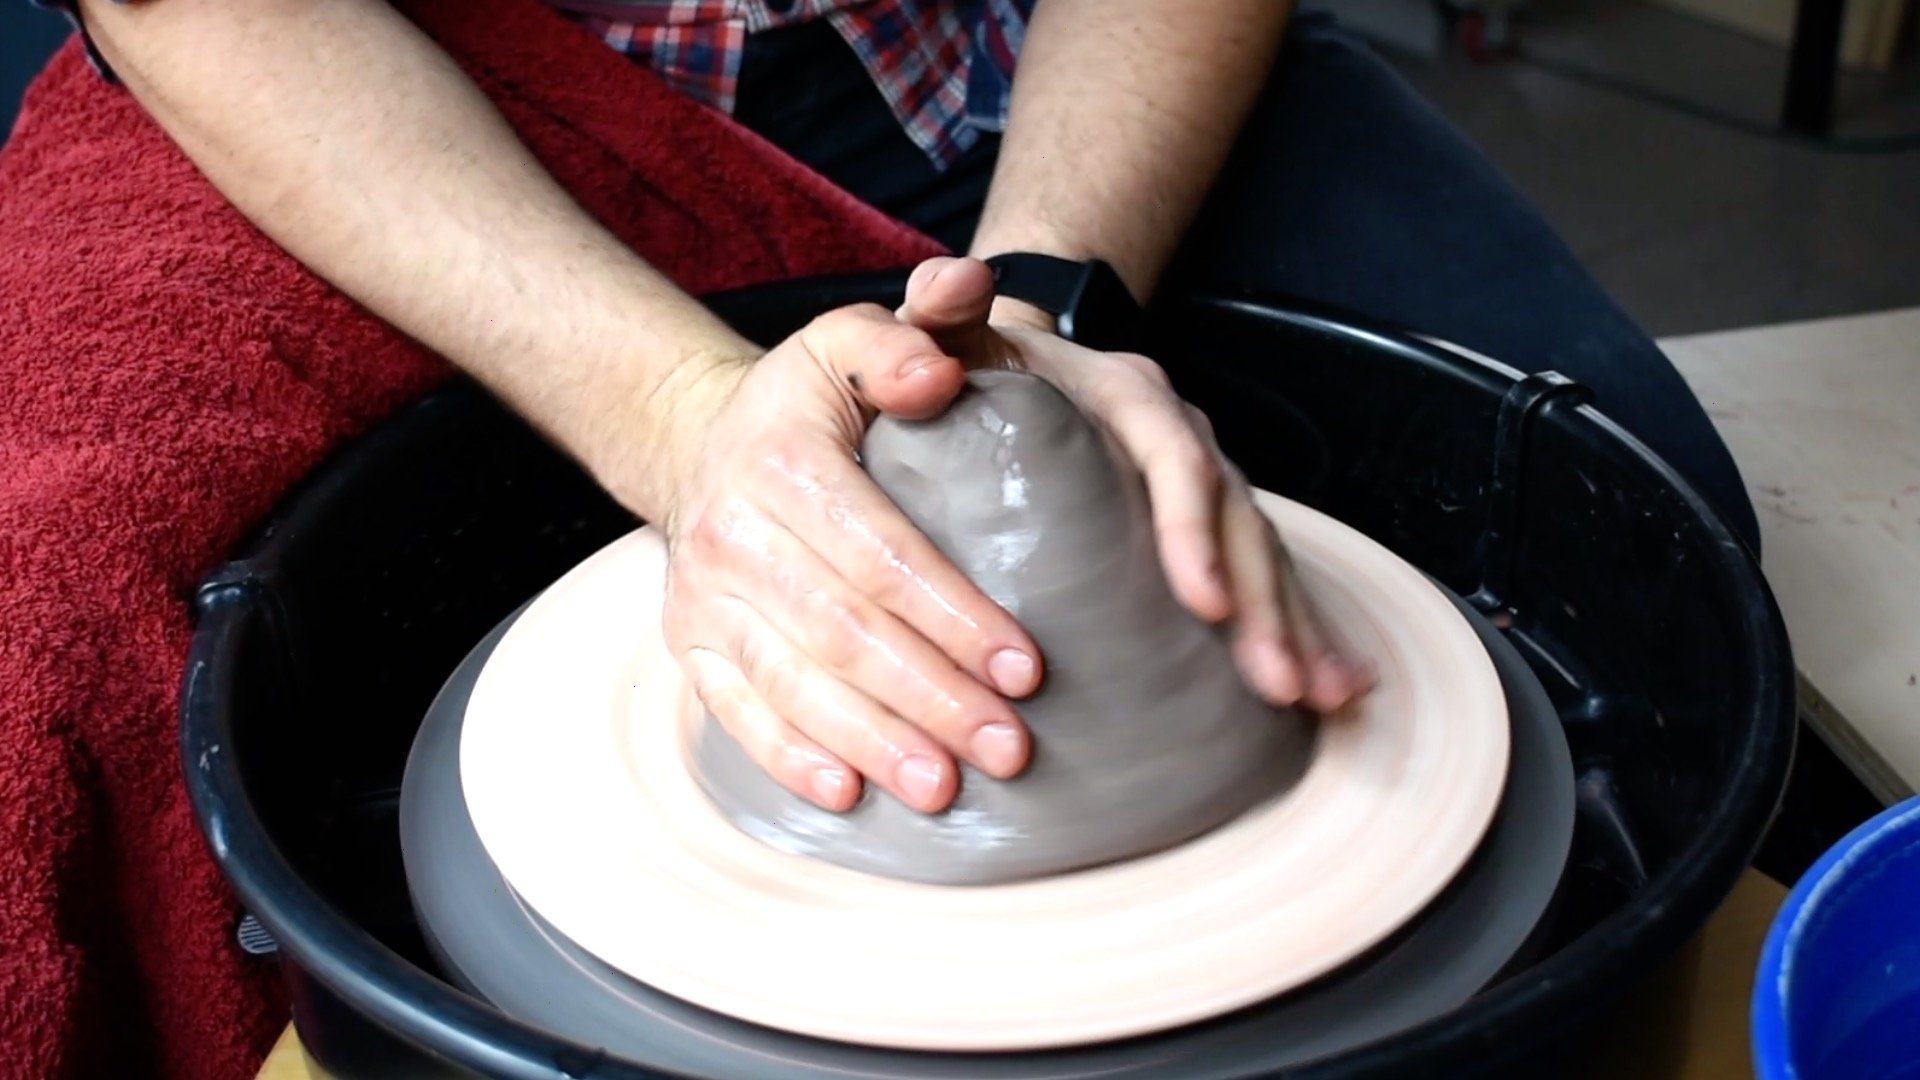
Beginning to center the clay.
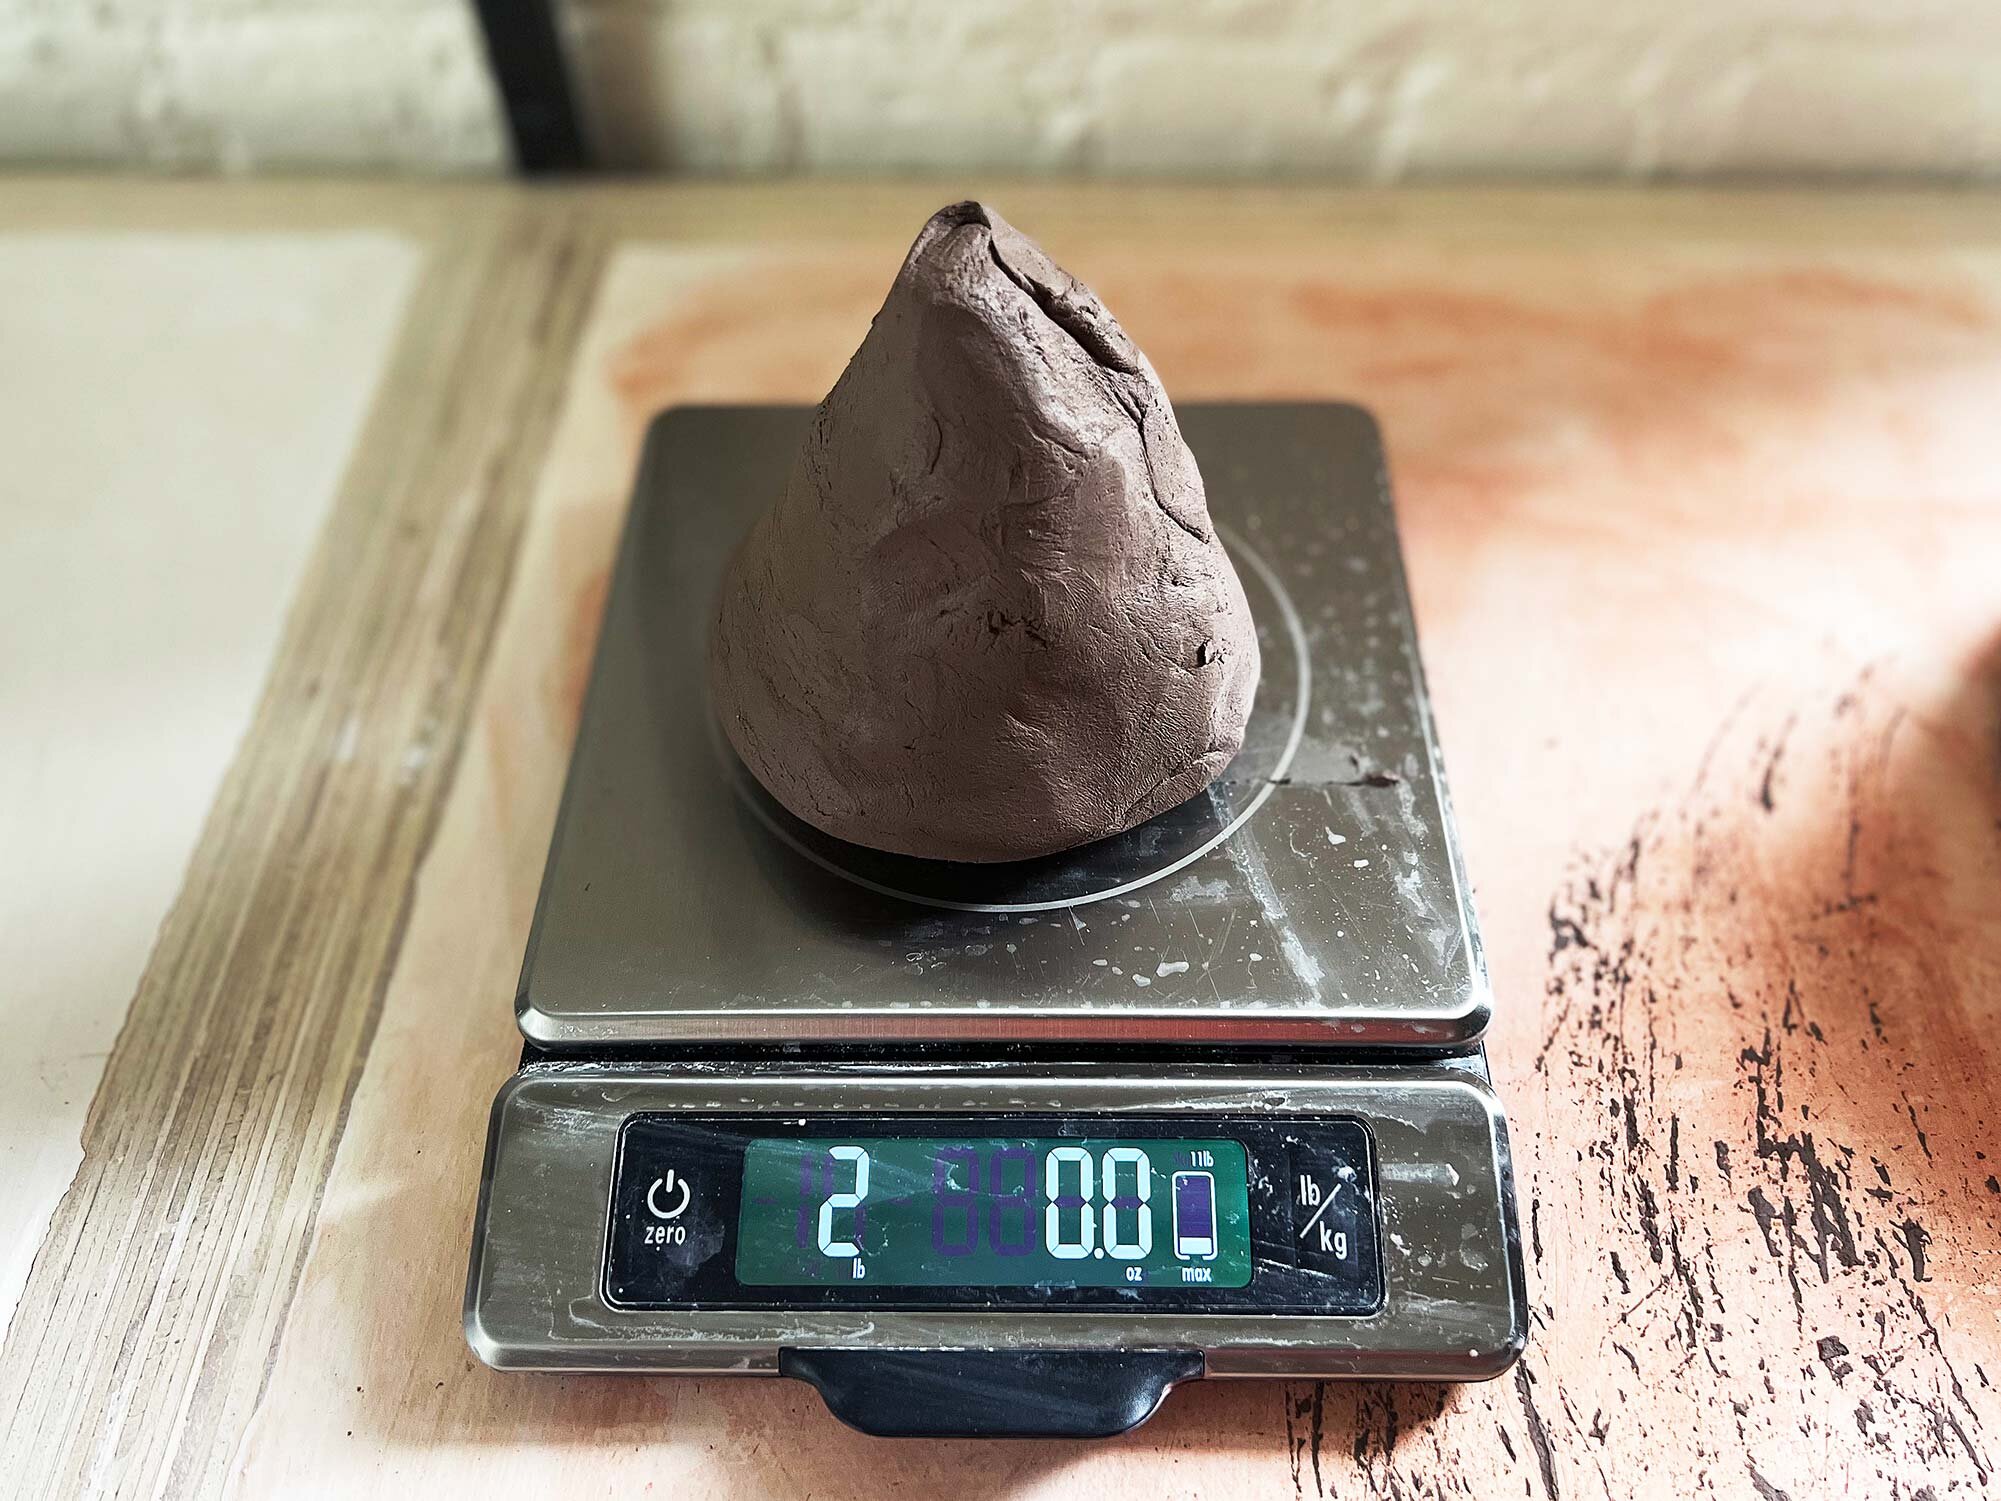
In this tutorial, five pounds of brown speckled clay was used, but this style of bowl could be made in any range of weights and clay bodies.
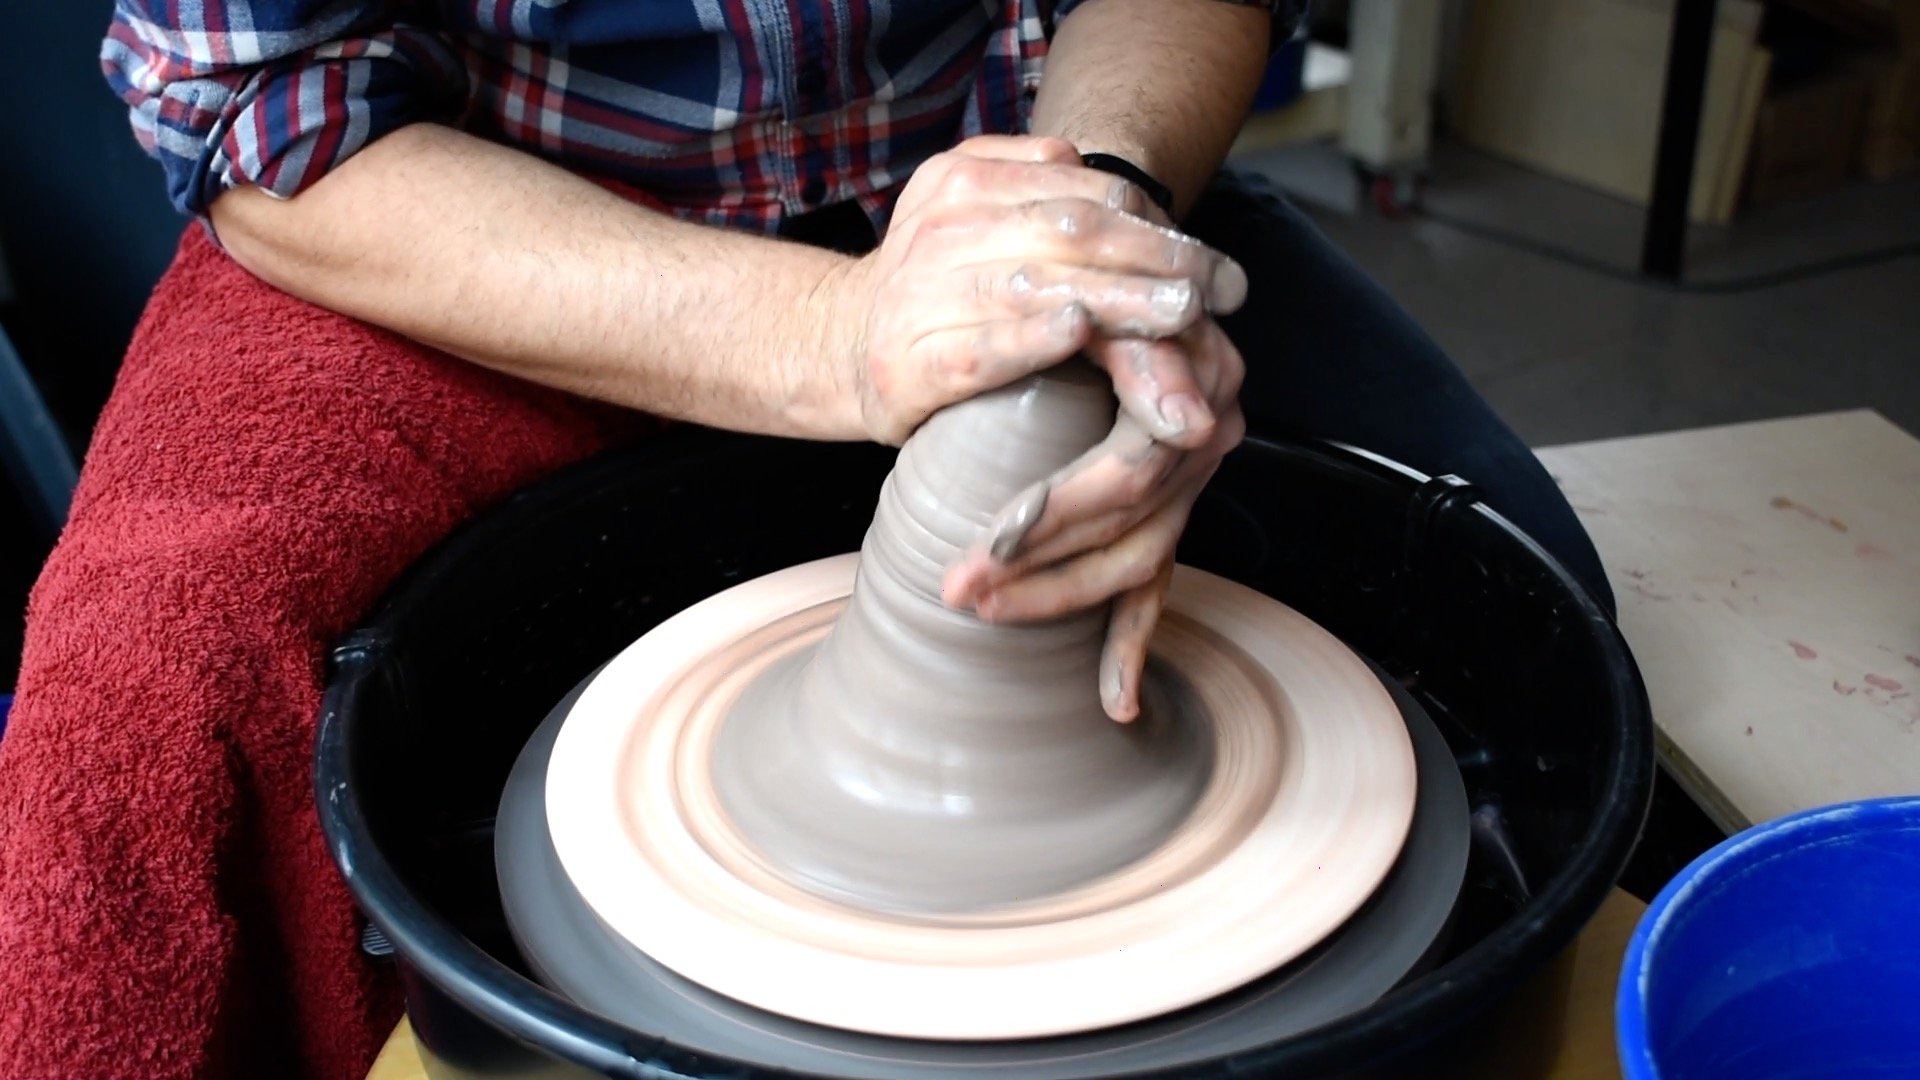
Pushing forward and down after bringing up a cone of clay.
Recommended weights for this style:
Small bowl — 2 to 4 pounds
“Normal” serving bowl — 4 to 7 pounds
Large bowl — 8 pounds or more.
The first opening move.
After wedging, join the clay to the wheel head and begin centering.
I usually bring the clay up into a cone and then push it forward and back down at least three times, until the clay feels even, organized, and workable. This process is called “wedging on the wheel” but you should always wedge your clay before joining on the wheel head too!
The second opening “pinch” inwards.
Then, open the mass of clay. I first put my right thumb in and squeeze towards my left hand, then I do a second open where I pinch the clay in towards my torso. As this will be a bowl, it’s best to have a curved bottom rather than the flat bottom you would want for a cylinder.
Step 2: Pull Up and Out
The first pull using an index finger wrapped around a thumb in a semi-fist position.
After centering and opening the clay, the next step is to pull the clay.
For my first pull, I use the knuckle / side of my index finger with my hand in a fist position. I find this to be stronger and results in less strain on my wrist.
Remember to ompress the rim after each pull.
Usually, I will make a bowl like this in three to four pulls, but do as many pulls as you need without overly softening the clay. After each pull, it’s important to compress the rim. Also, focus on bring the clay up more than out. In the next step, the bowl will be lowered and widened using a rib.
Step 3: Opening, Shaping, and Lowering the Walls
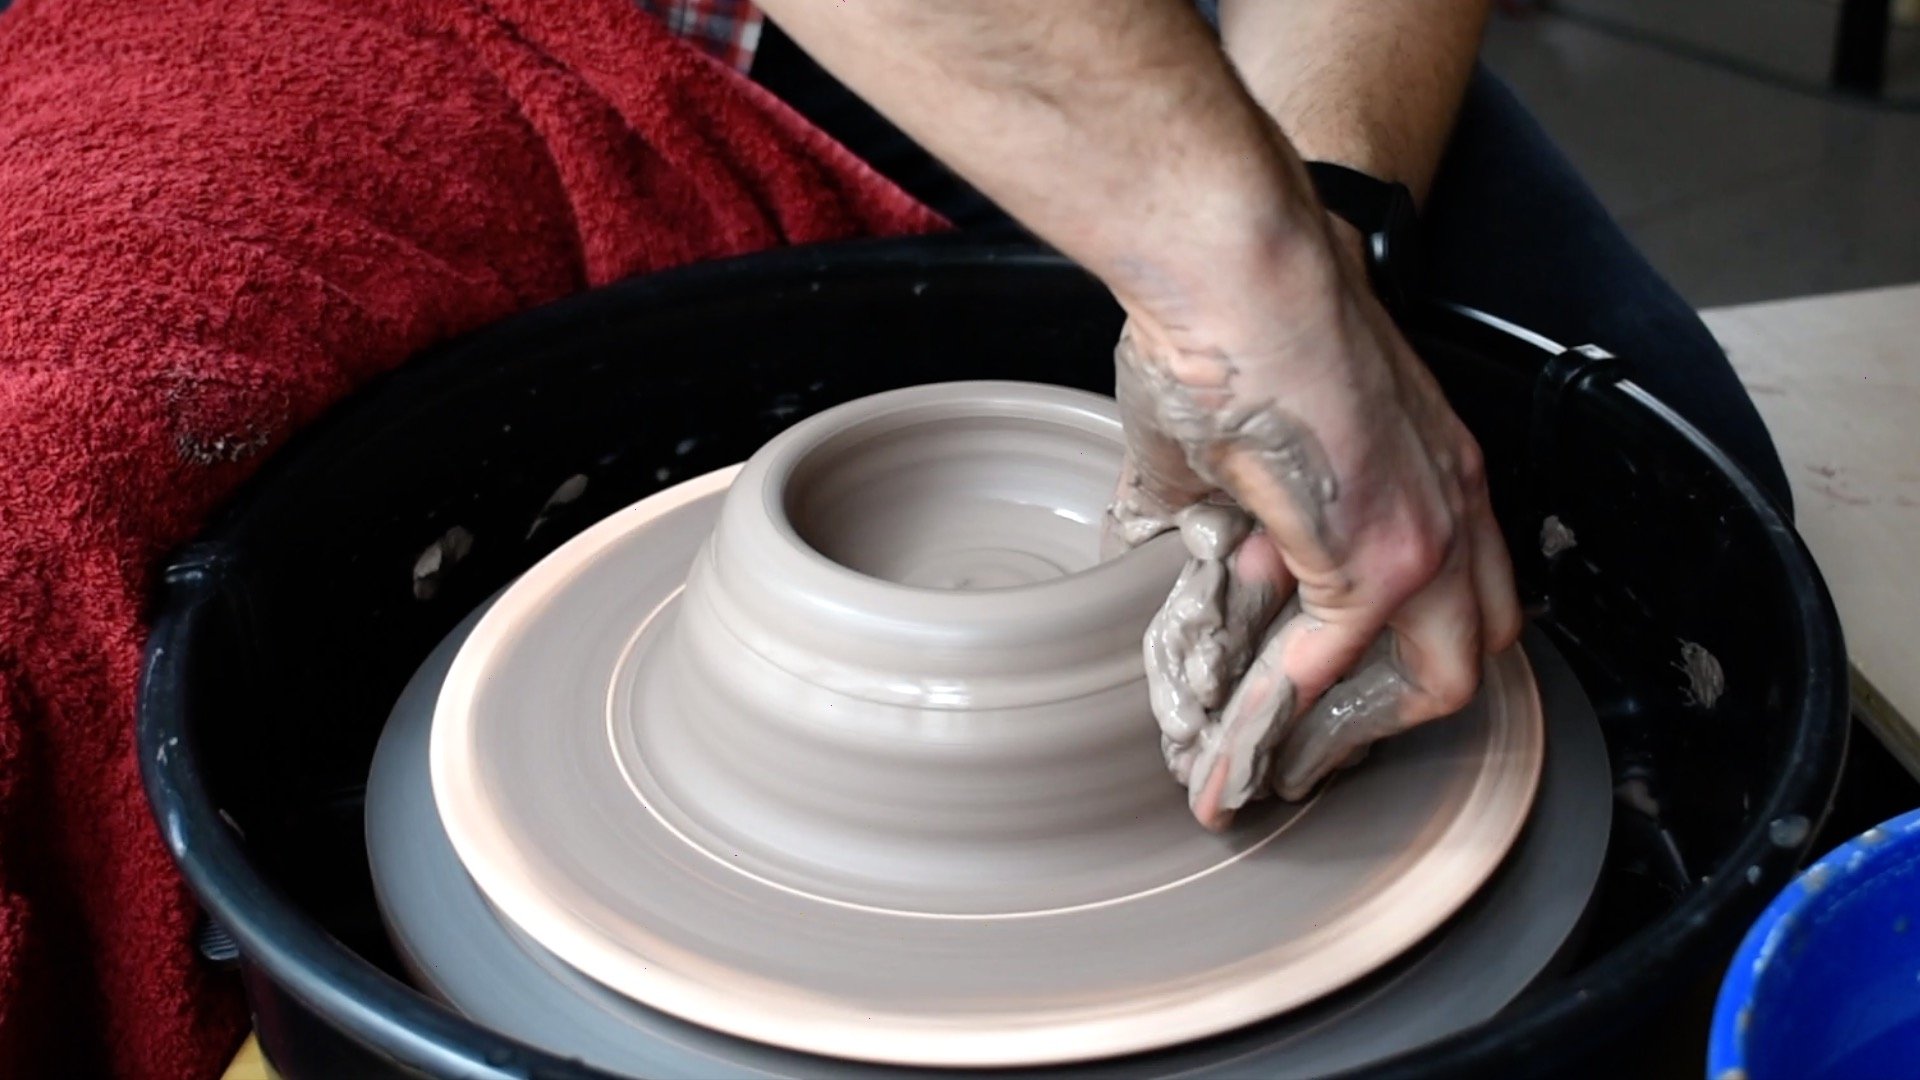
Beginning to shape and lower the walls with a large rib.
After pulling the walls up and somewhat out, the next step is to shape and lower the walls. You may be happy with a more upright shape, and those can be great bowls! But these photos show how a large rib can be used to gently shape and lower the walls of the bowl into an almost platter-like form.
The second pass with the rib, bringing the walls even lower.
You should not be adding any water in this stage and as you are removing slip and starting to dry the bowl a bit, you can be somewhat adventurous in shaping the walls.
You can make numerous passes to really get the wall the shape that you want. You may need to find or make a rib that is your desired profile for the inside of a bowl.
The best tool for this is a large rib made out of metal, wood, or plastic. In this tutorial, I’m using a homemade metal rib that you can make following this tutorial.
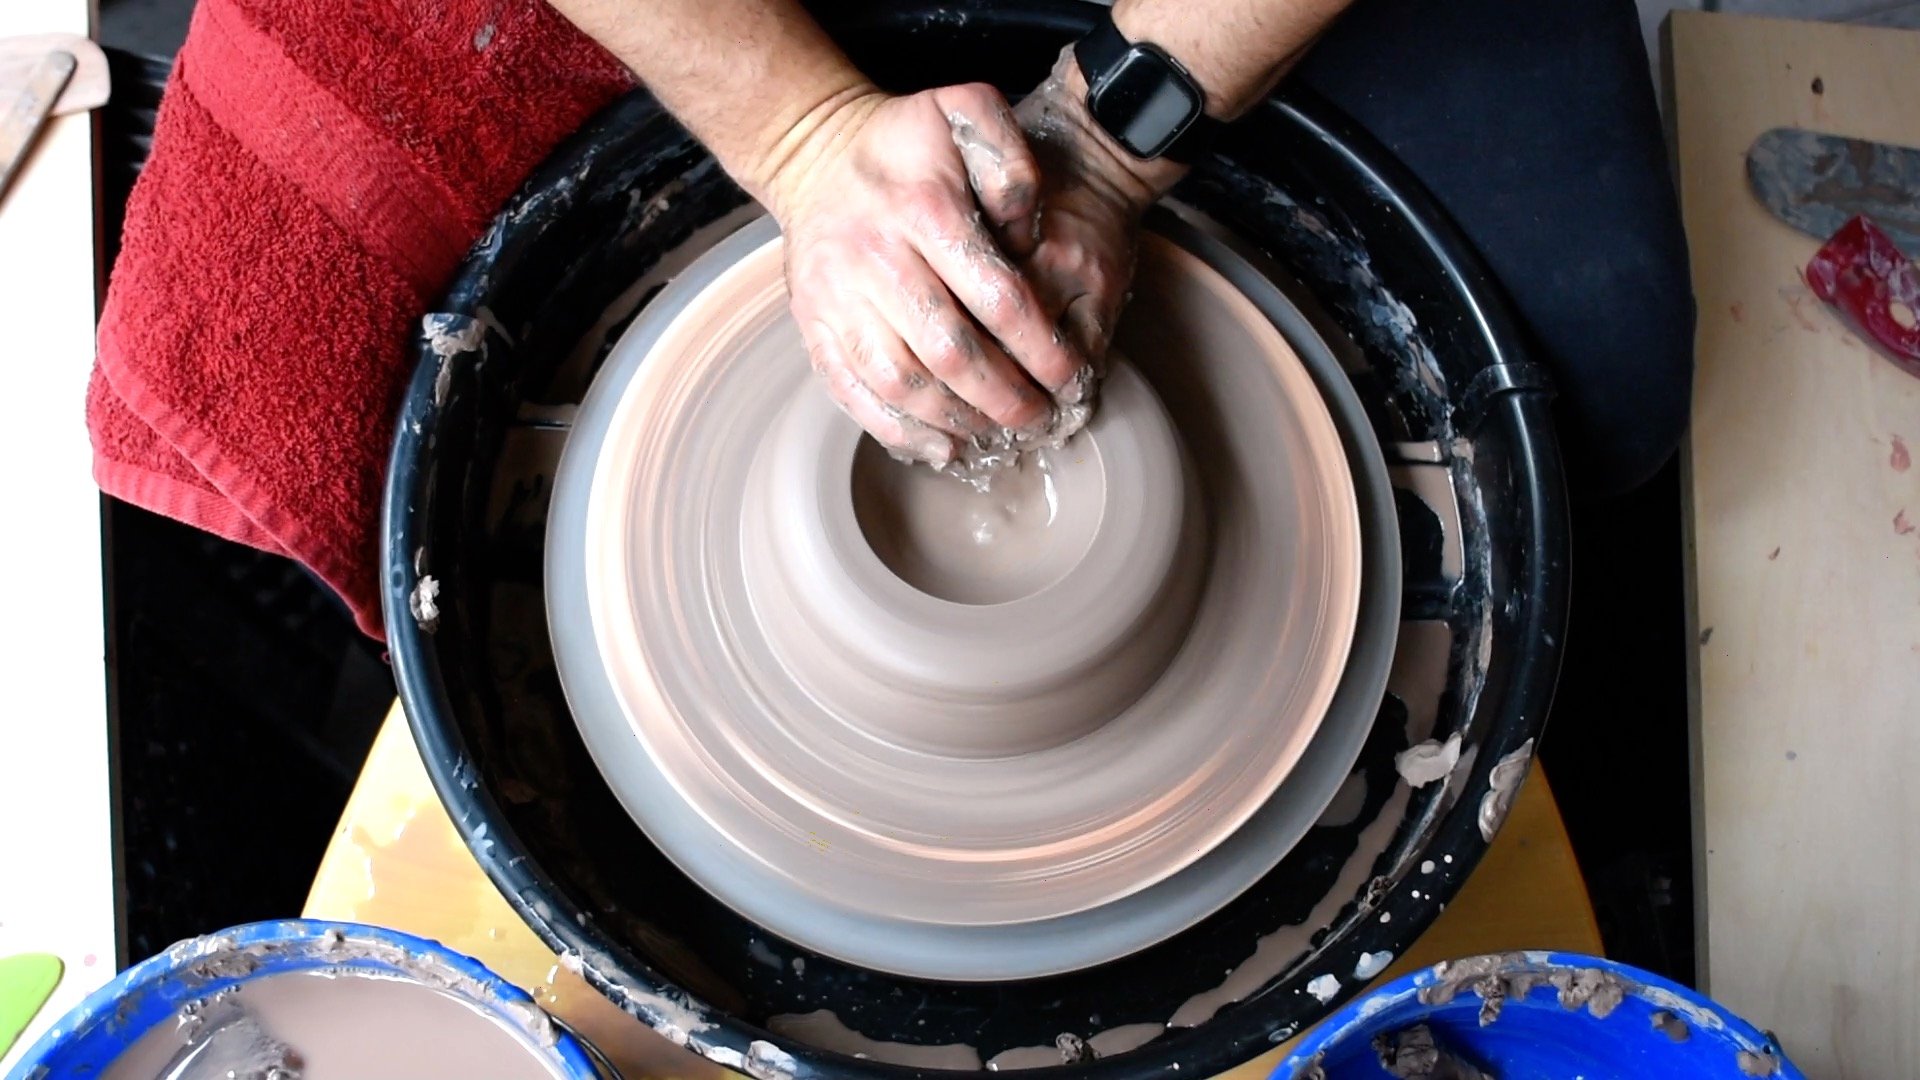
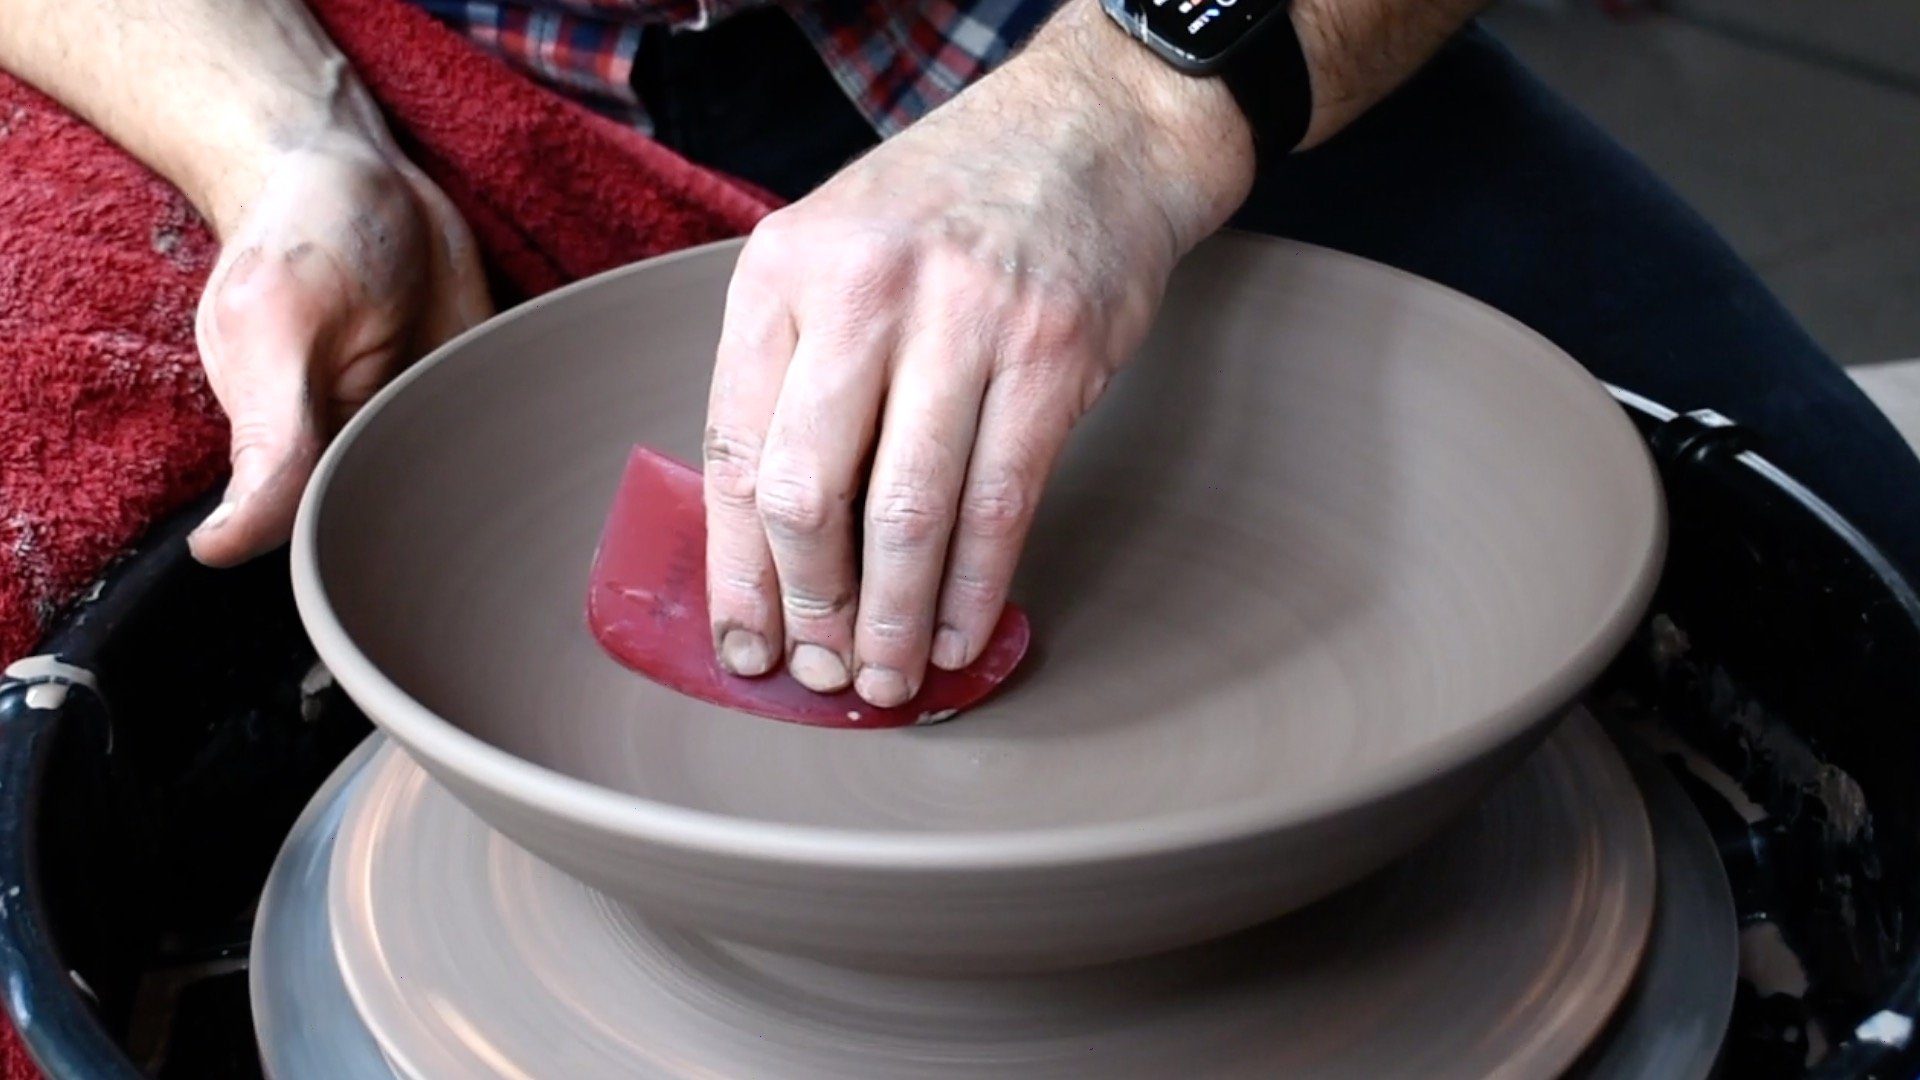
The final step is to smooth the inside and remove any throwing marks.
The final step is to really smooth and refine the inside of the bowl (We’ll deal with the outside in the trimming stage.) For this, I use a red Mudtools brand rib, but you can use any flexible rib to compress and smooth the inside of the bowl.
If you want to watch the centering, opening, pulling, and shaping process in one continuous shot, here’s a video of just that:
Step 4: Trimming
Attaching the leather-hard bowl to a bat for trimming.
Trimming is the time to take care of the bottom of the bottom of the bowl.
First, center the upside down bowl and then anchor it in place with at least 4 lugs of clay.
Establishing the foot ring.
Next, lightly trim the outside of the foot ring, until you are at the outside diameter that you want. Then, make a shallow cut to establish the inside of the foot ring.
Trimming inside the foot ring.
After you have established your foot ring, you can trim clay from the inside of the foot ring. A few taps or gentle “pushes” will help you figure out if the clay is still stiff and therefore a bit too thick. Or, if it has a slight give when you push on it, you have trimmed enough.
Testing if the piece has any “give” to see if enough clay has been removed or not.
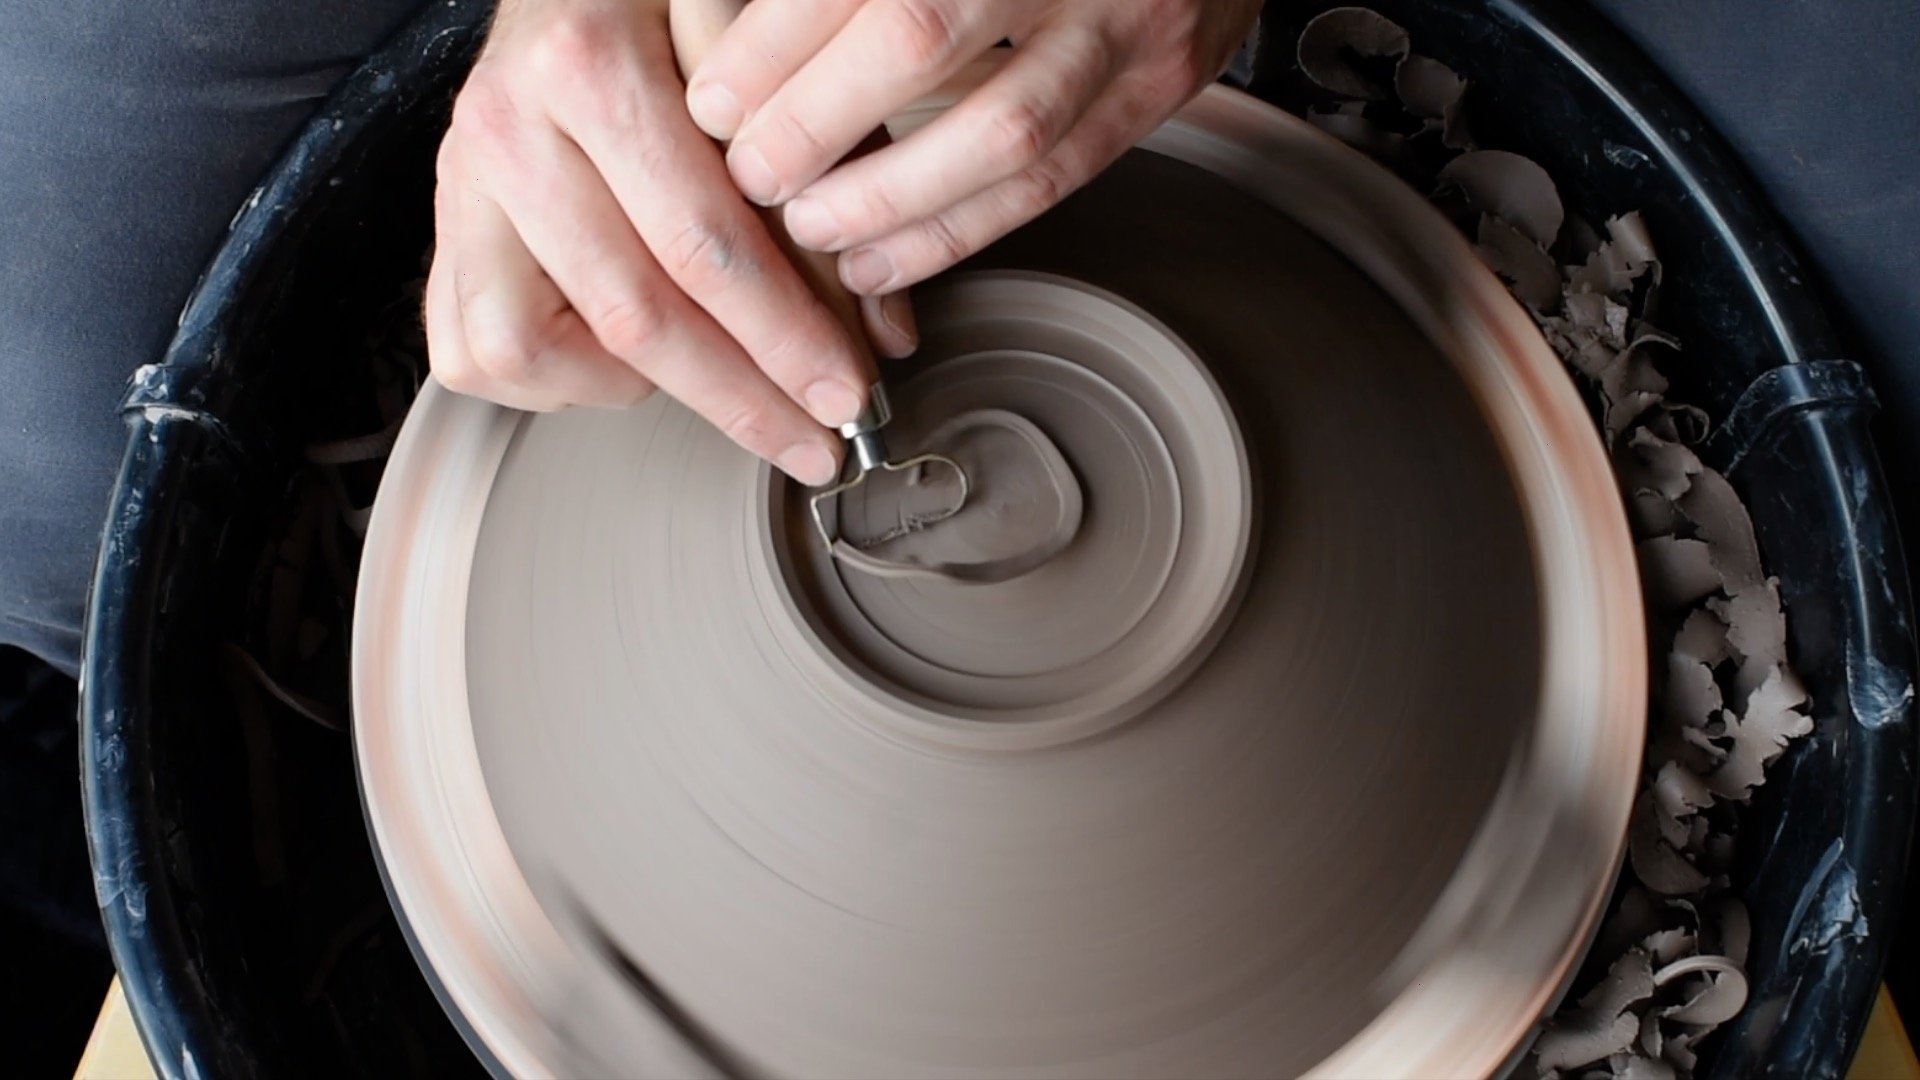
After trimming the inside of your foot ring, turn your attention to the outside walls. I usually start with a large loop tool and then switch to a detail tool to finish everything.
Trimming the walls of the bowl.
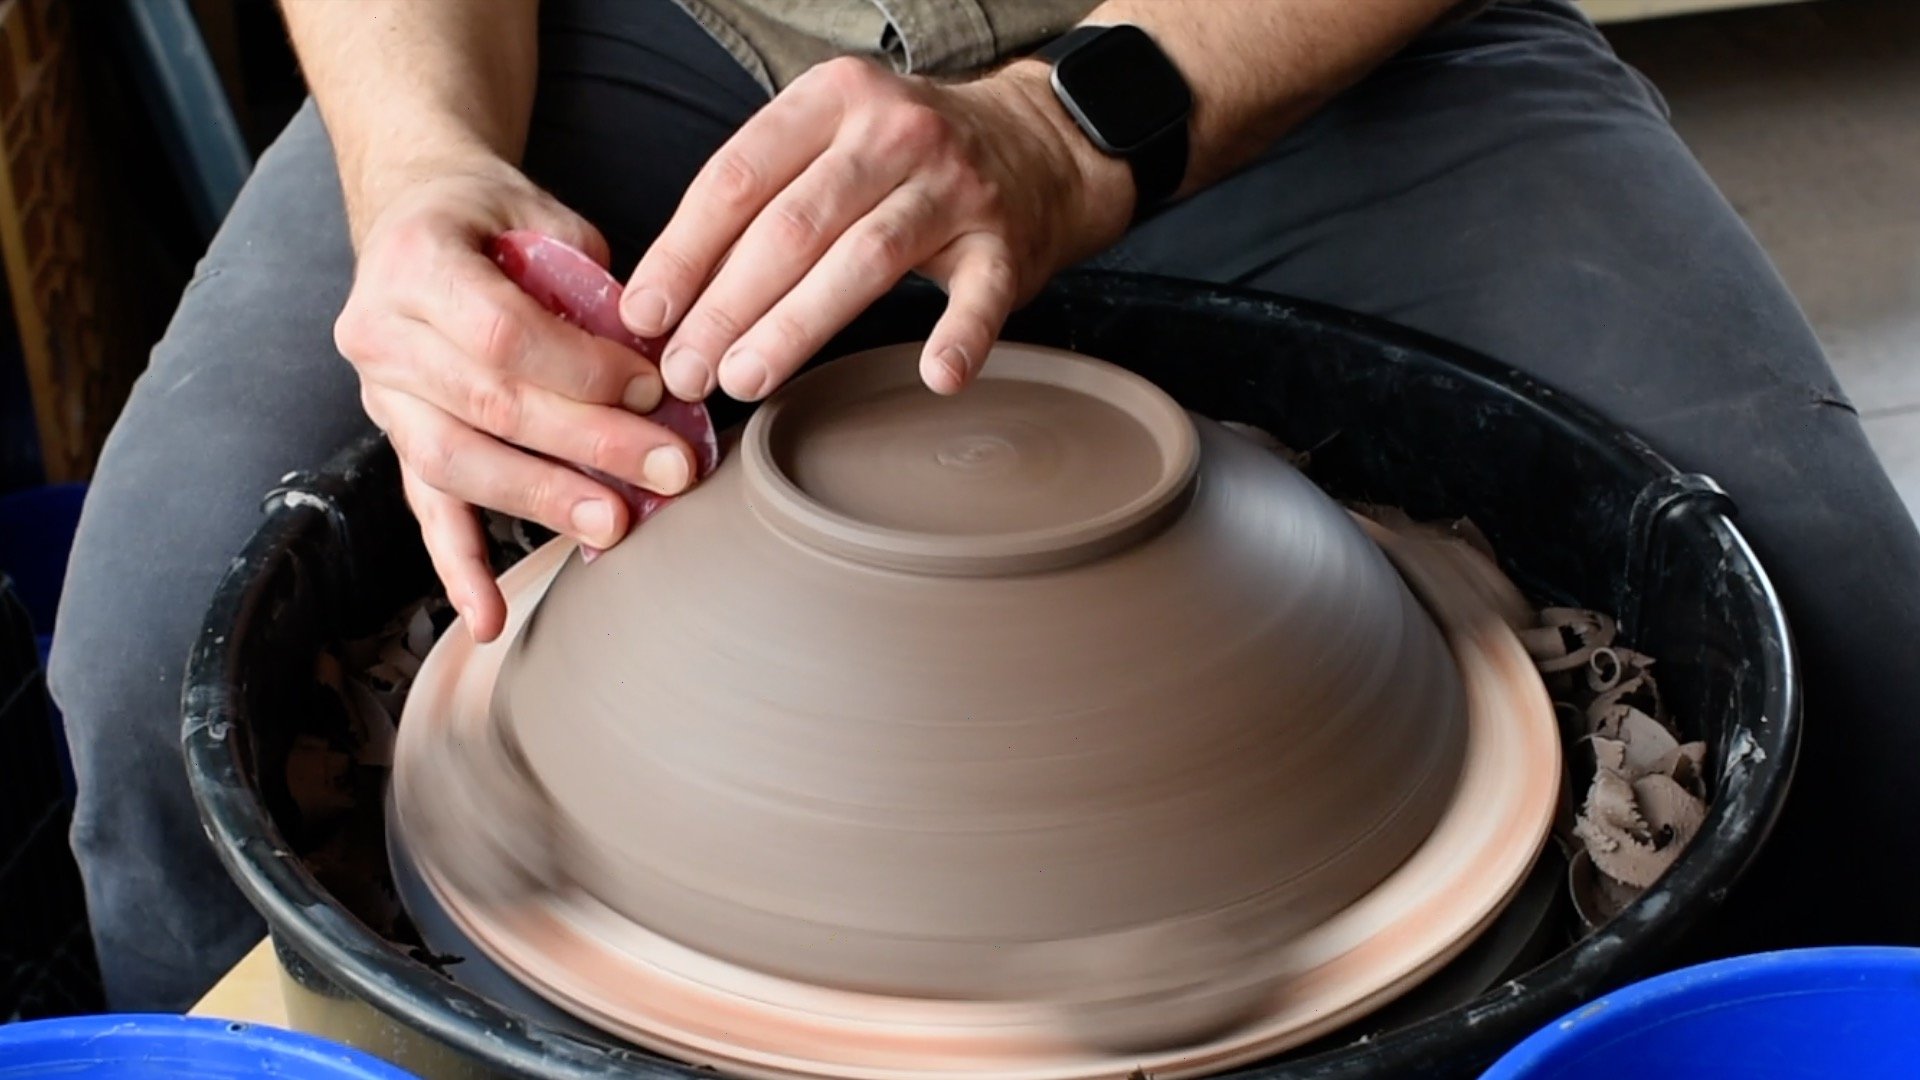
To complete the trimming process, lightly smooth the piece with a sponge, and then finish with a flexible rib to remove any trimming marks.
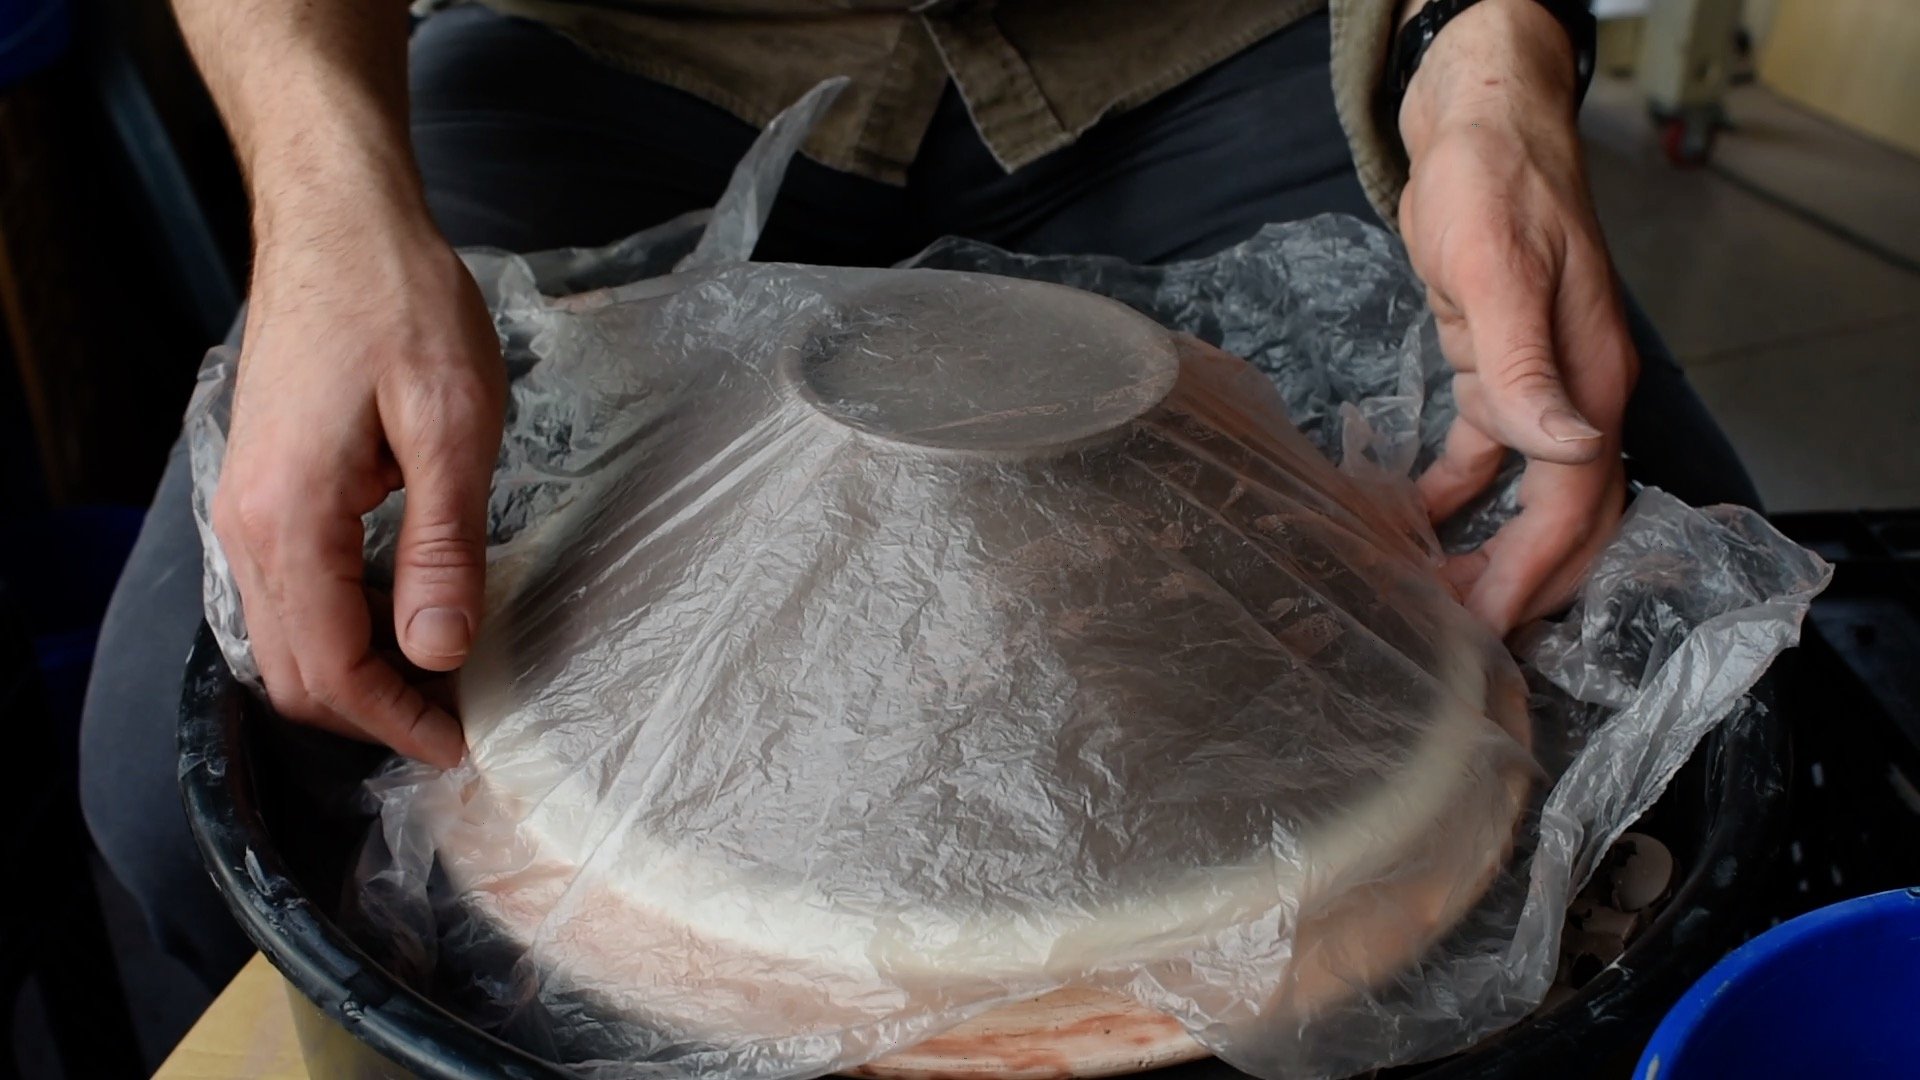
When you are done trimming, cover the bowl with plastic so it will dry slowly. Bowls and wide forms are especially prone to S-cracks that can be caused by uneven drying.
Final detail trimming with a small, detail loop tool.
Lightly cleaning / compressing with a damp sponge.
Using a rib to smooth out the bowl and remove any trimming marks.
Covering the bowl with plastic wrap for slow drying.
Step 5: Glazing
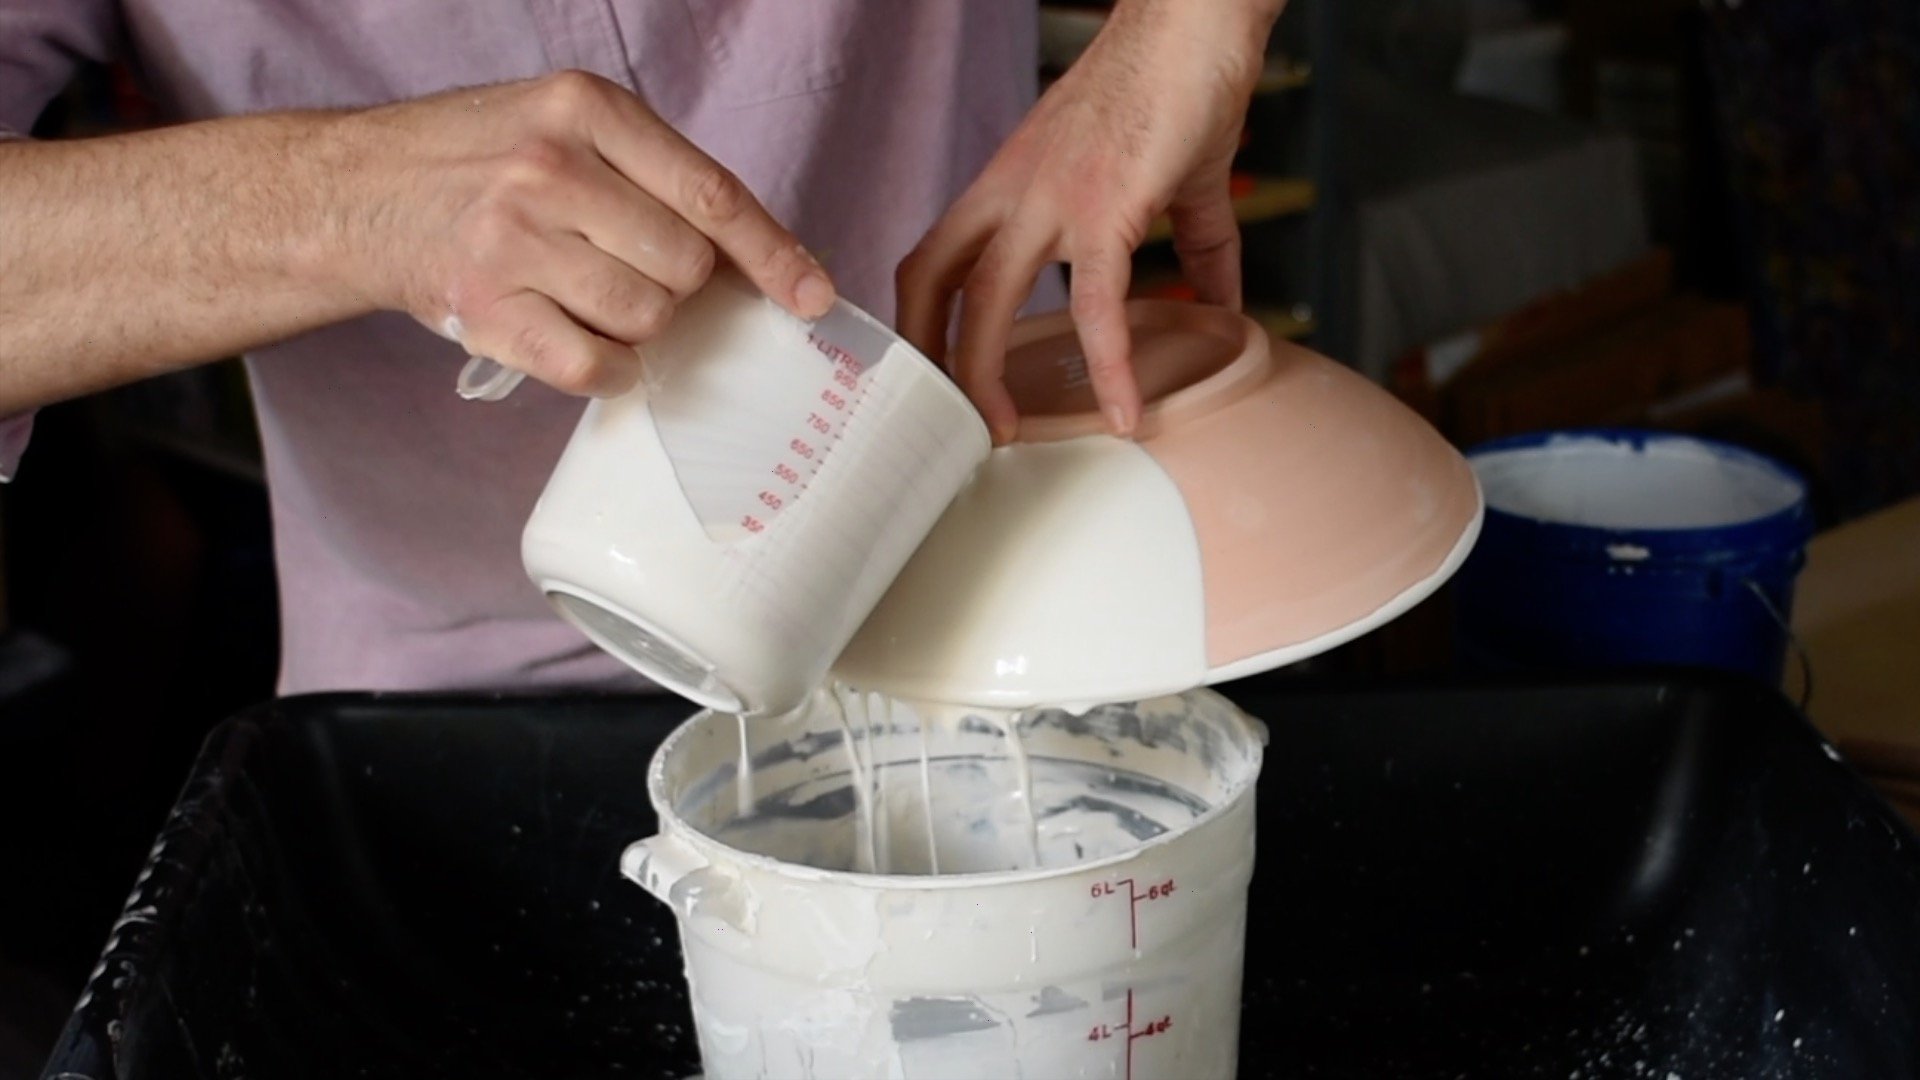
Pouring glaze on the inside of the bowl.
After the bisque firing, it’s time for glazing. This bowl was finished in a matte white glaze and because it was made with a speckled clay, the black speckles from the granular manganese add to the glaze.
Pouring glaze on the outside of the bowl.
To glaze a pot, first clean it with a wrung-out, damp sponge to remove any dust or debris.
Then, you can paint, dip, or pour glaze. For this bowl, I poured the glaze, first on the inside, then on the outside.
Cleaning the foot ring with a sponge.
After applying the glaze, use a sponge to clean the footring and you are ready to glaze fire.
All done! After glaze firing, it’s time to enjoy your bowl. There’s nothing better than eating off of hand made bowls and plates!

