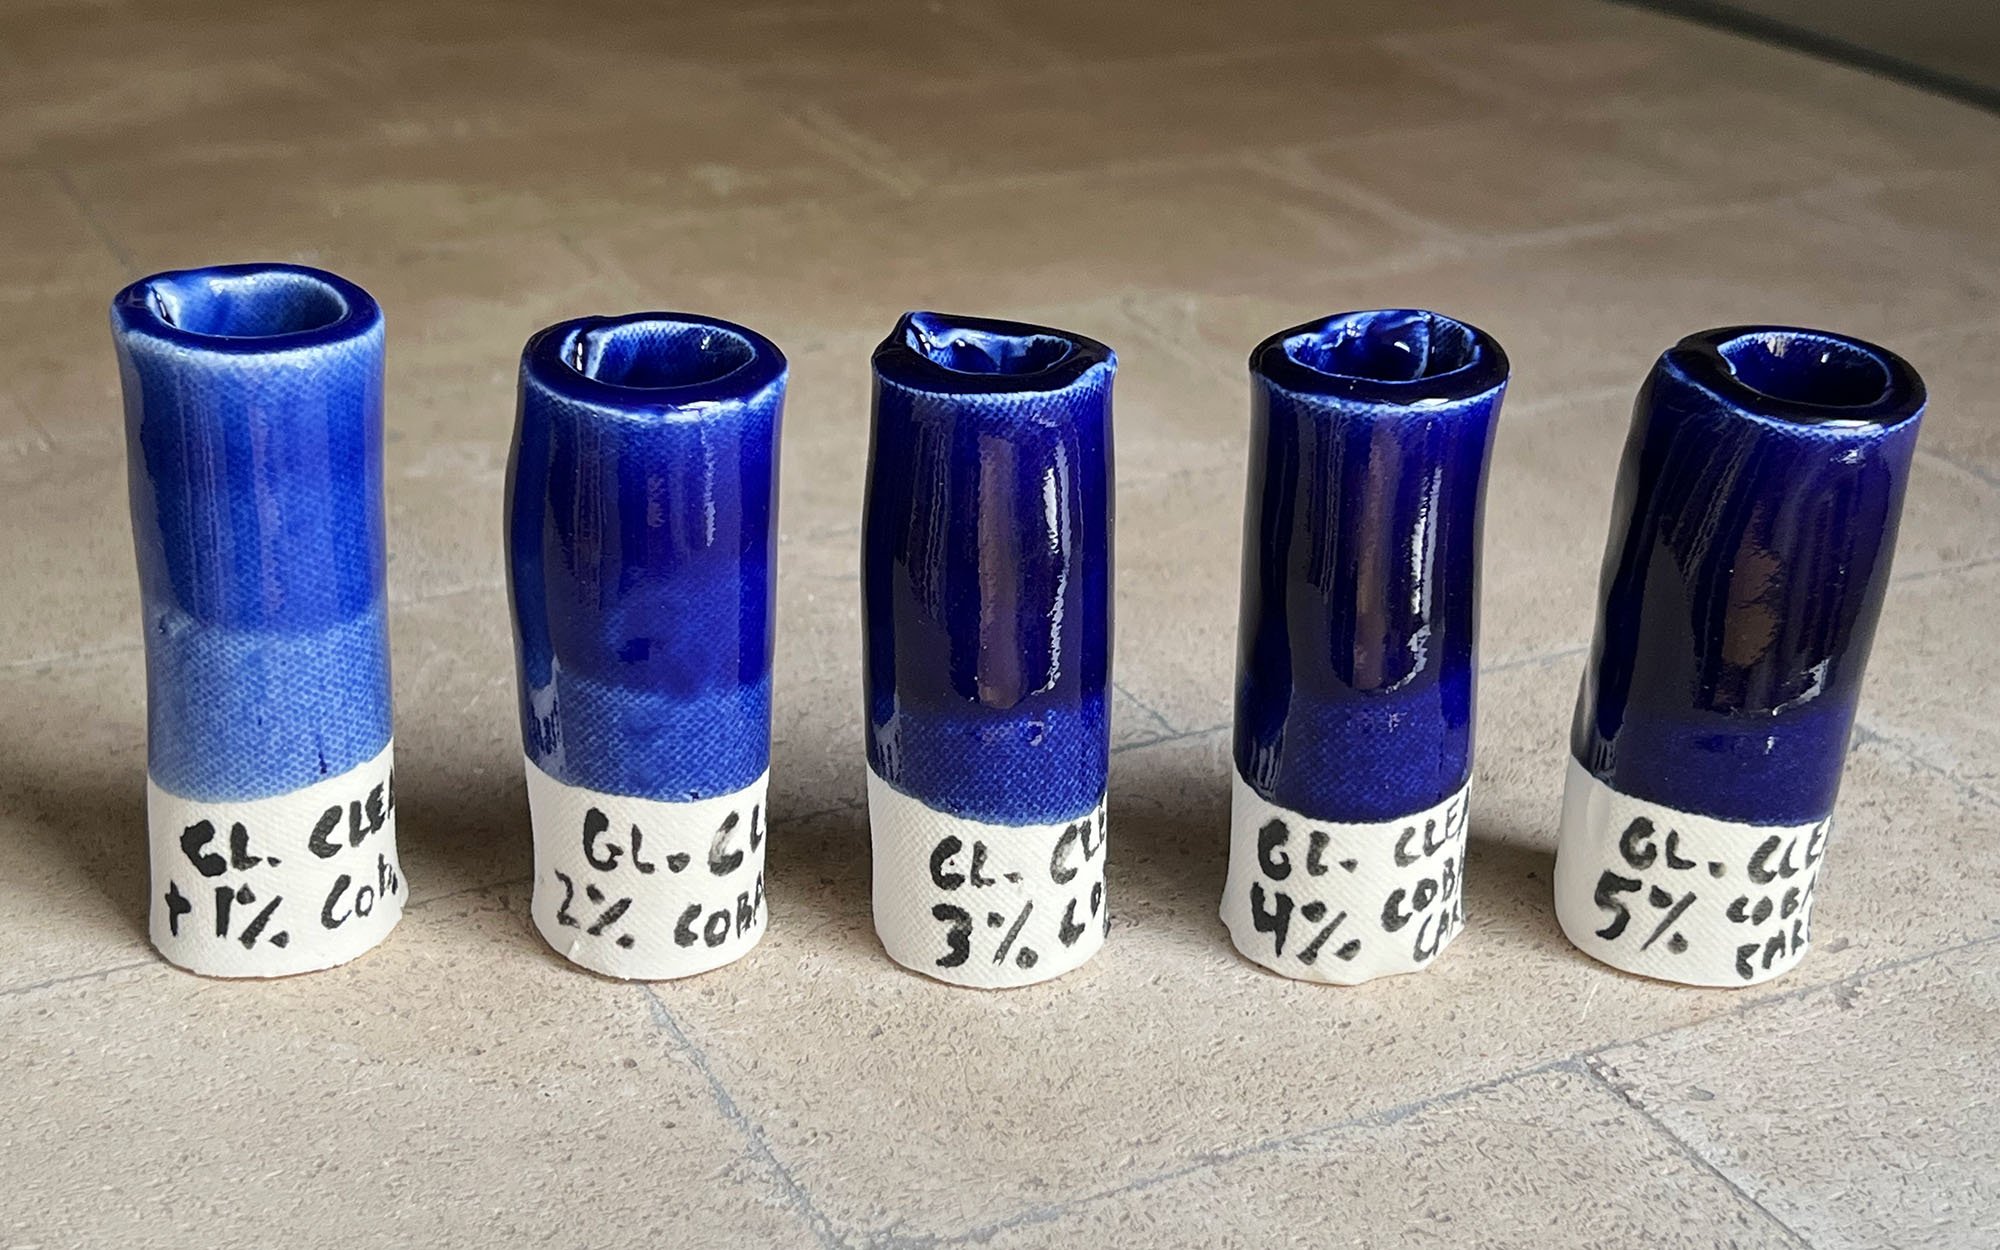
Cobalt Blue is a dependable Cone 5-6 mid-range oxidation glaze with a deep blue glossy finish breaking to lighter blue highlights. On darker clays, or where it is thicker, it will turn a lighter, more cloudy blue that is still really nice. The base glaze is the same as the ever-popular June Perry Red, but this glaze has less tin and 2% cobalt oxide. Cobalt Blue layers well with other glazes and is one of the most popular glazes in the community studio I manage. This glaze stays a nice blue over darker clays, while going in a more ultramarine direction on white clays.
I’m unsure who developed this glaze variant, but it if you are curious about the original June Perry Red, you can see more of her recipes at Shambhala Pottery.
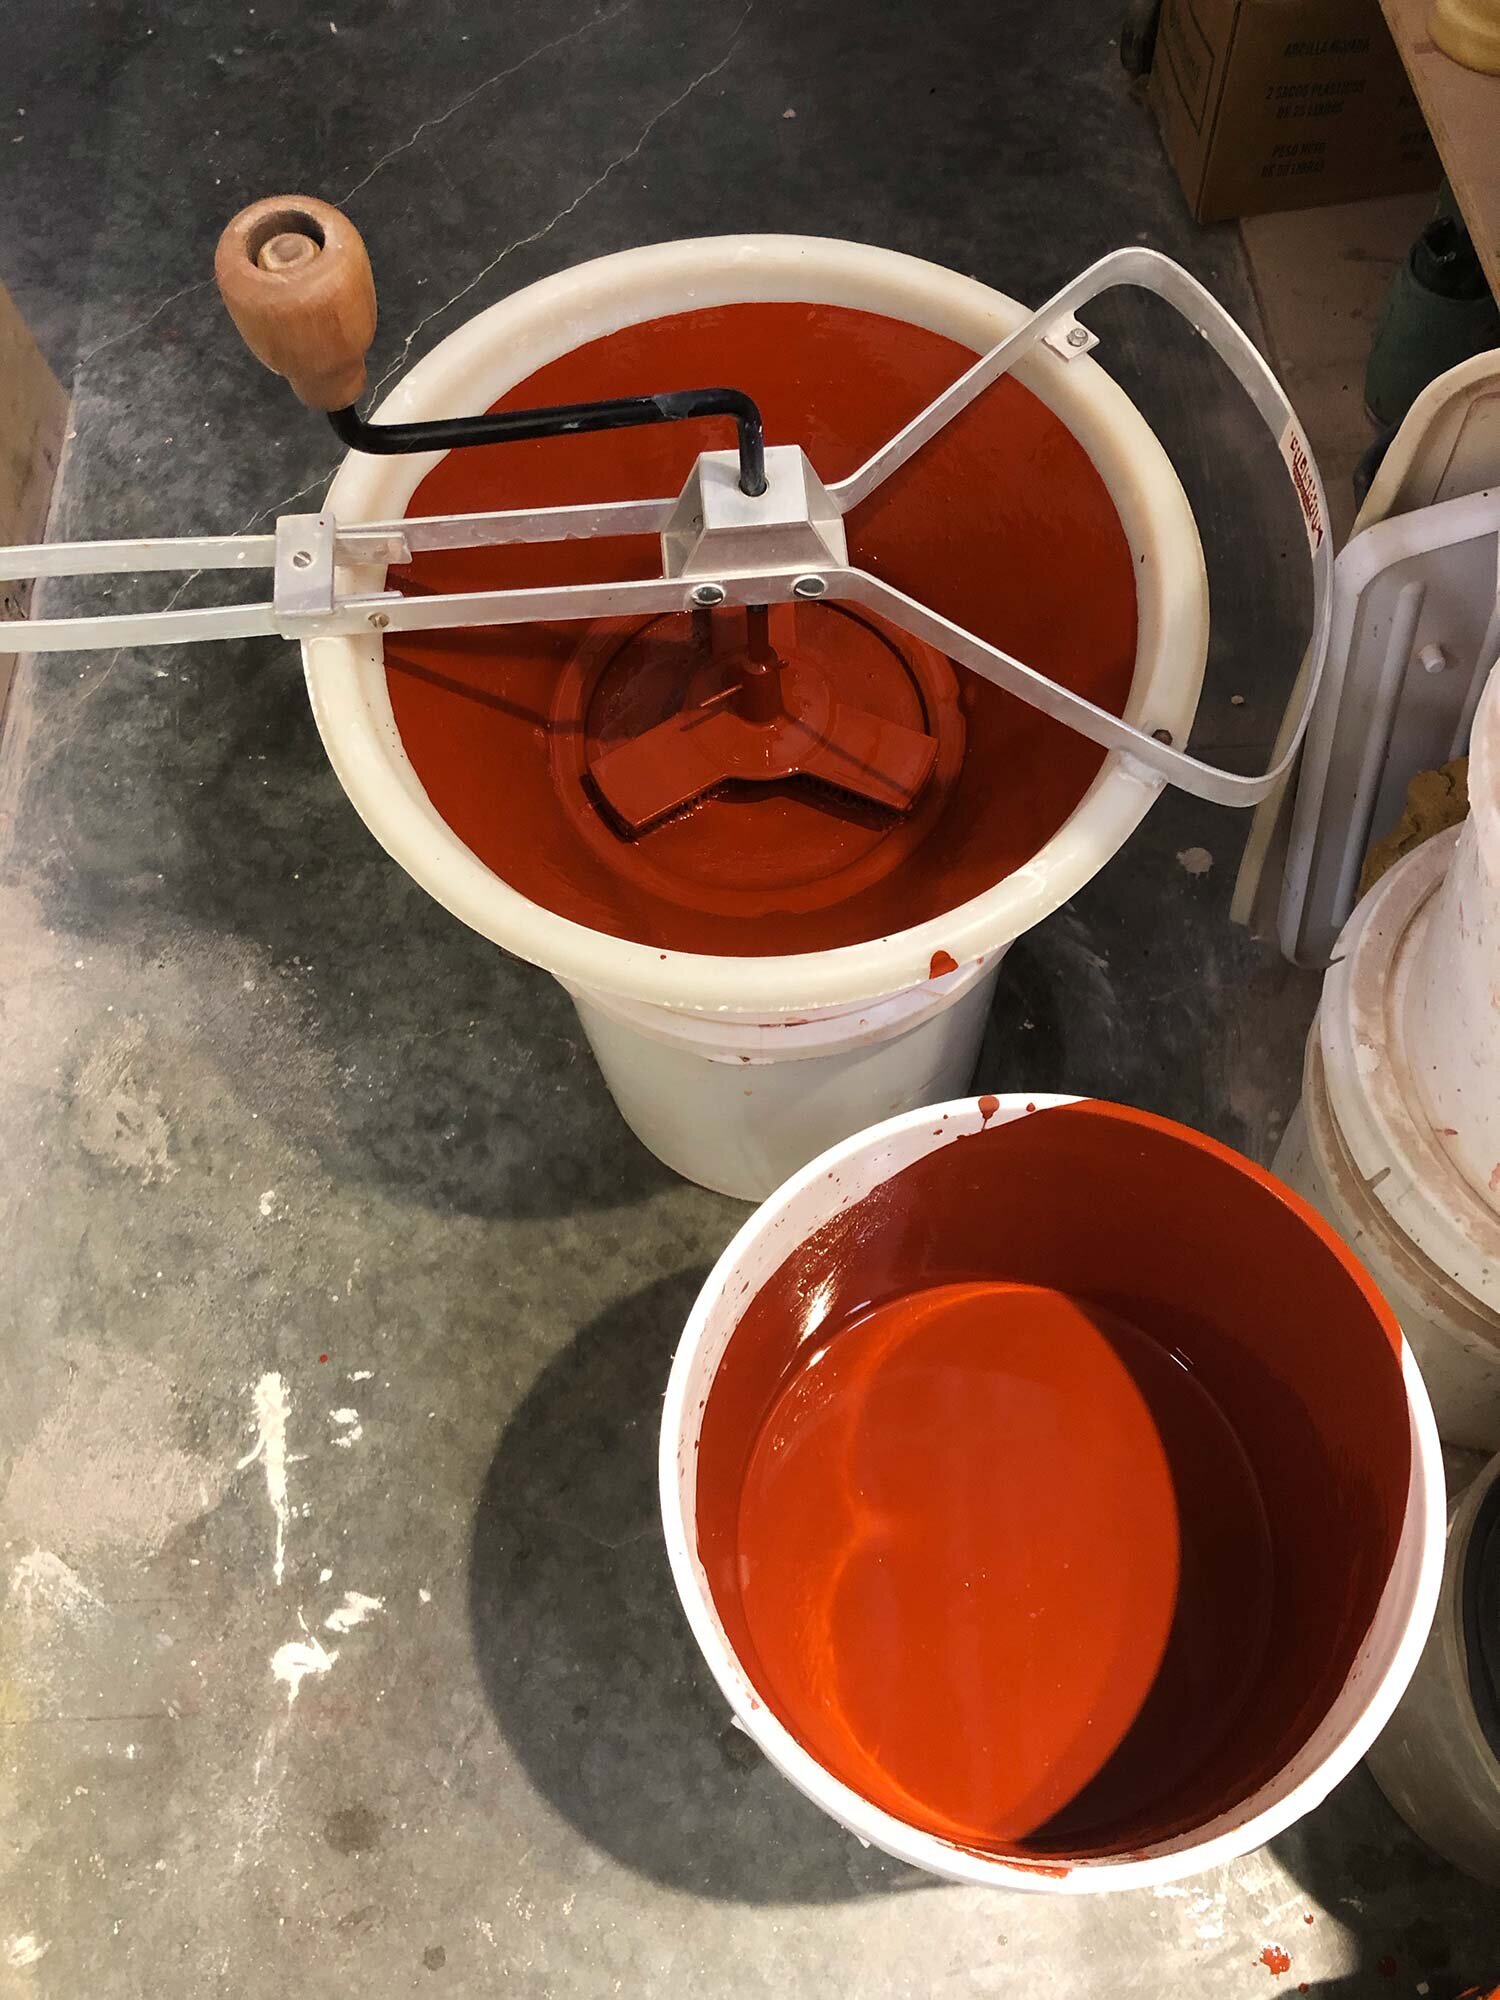
The glaze tests here were oxidation fired to Cone 6 in an electric front-loading kiln, with a 10 minute soak and slow cooling due to the 6” thickness of the kiln walls. Try this glaze out, and let us know what you think in the comments.
Cone 6 Cobalt Blue Glaze, based on June Perry Red
| Ingredient | Percentage | 3000g batch |
|---|---|---|
| Silica | 32 | 960g |
| Gerstley Borate | 21 | 630g |
| Whiting | 20 | 600g |
| Nepheline Syenite | 16 | 480g |
| EPK | 11 | 330g |
| Tin Oxide | 2 | 60g |
| Cobalt Oxide | 2 | 60g |
| 104 | 3120g |
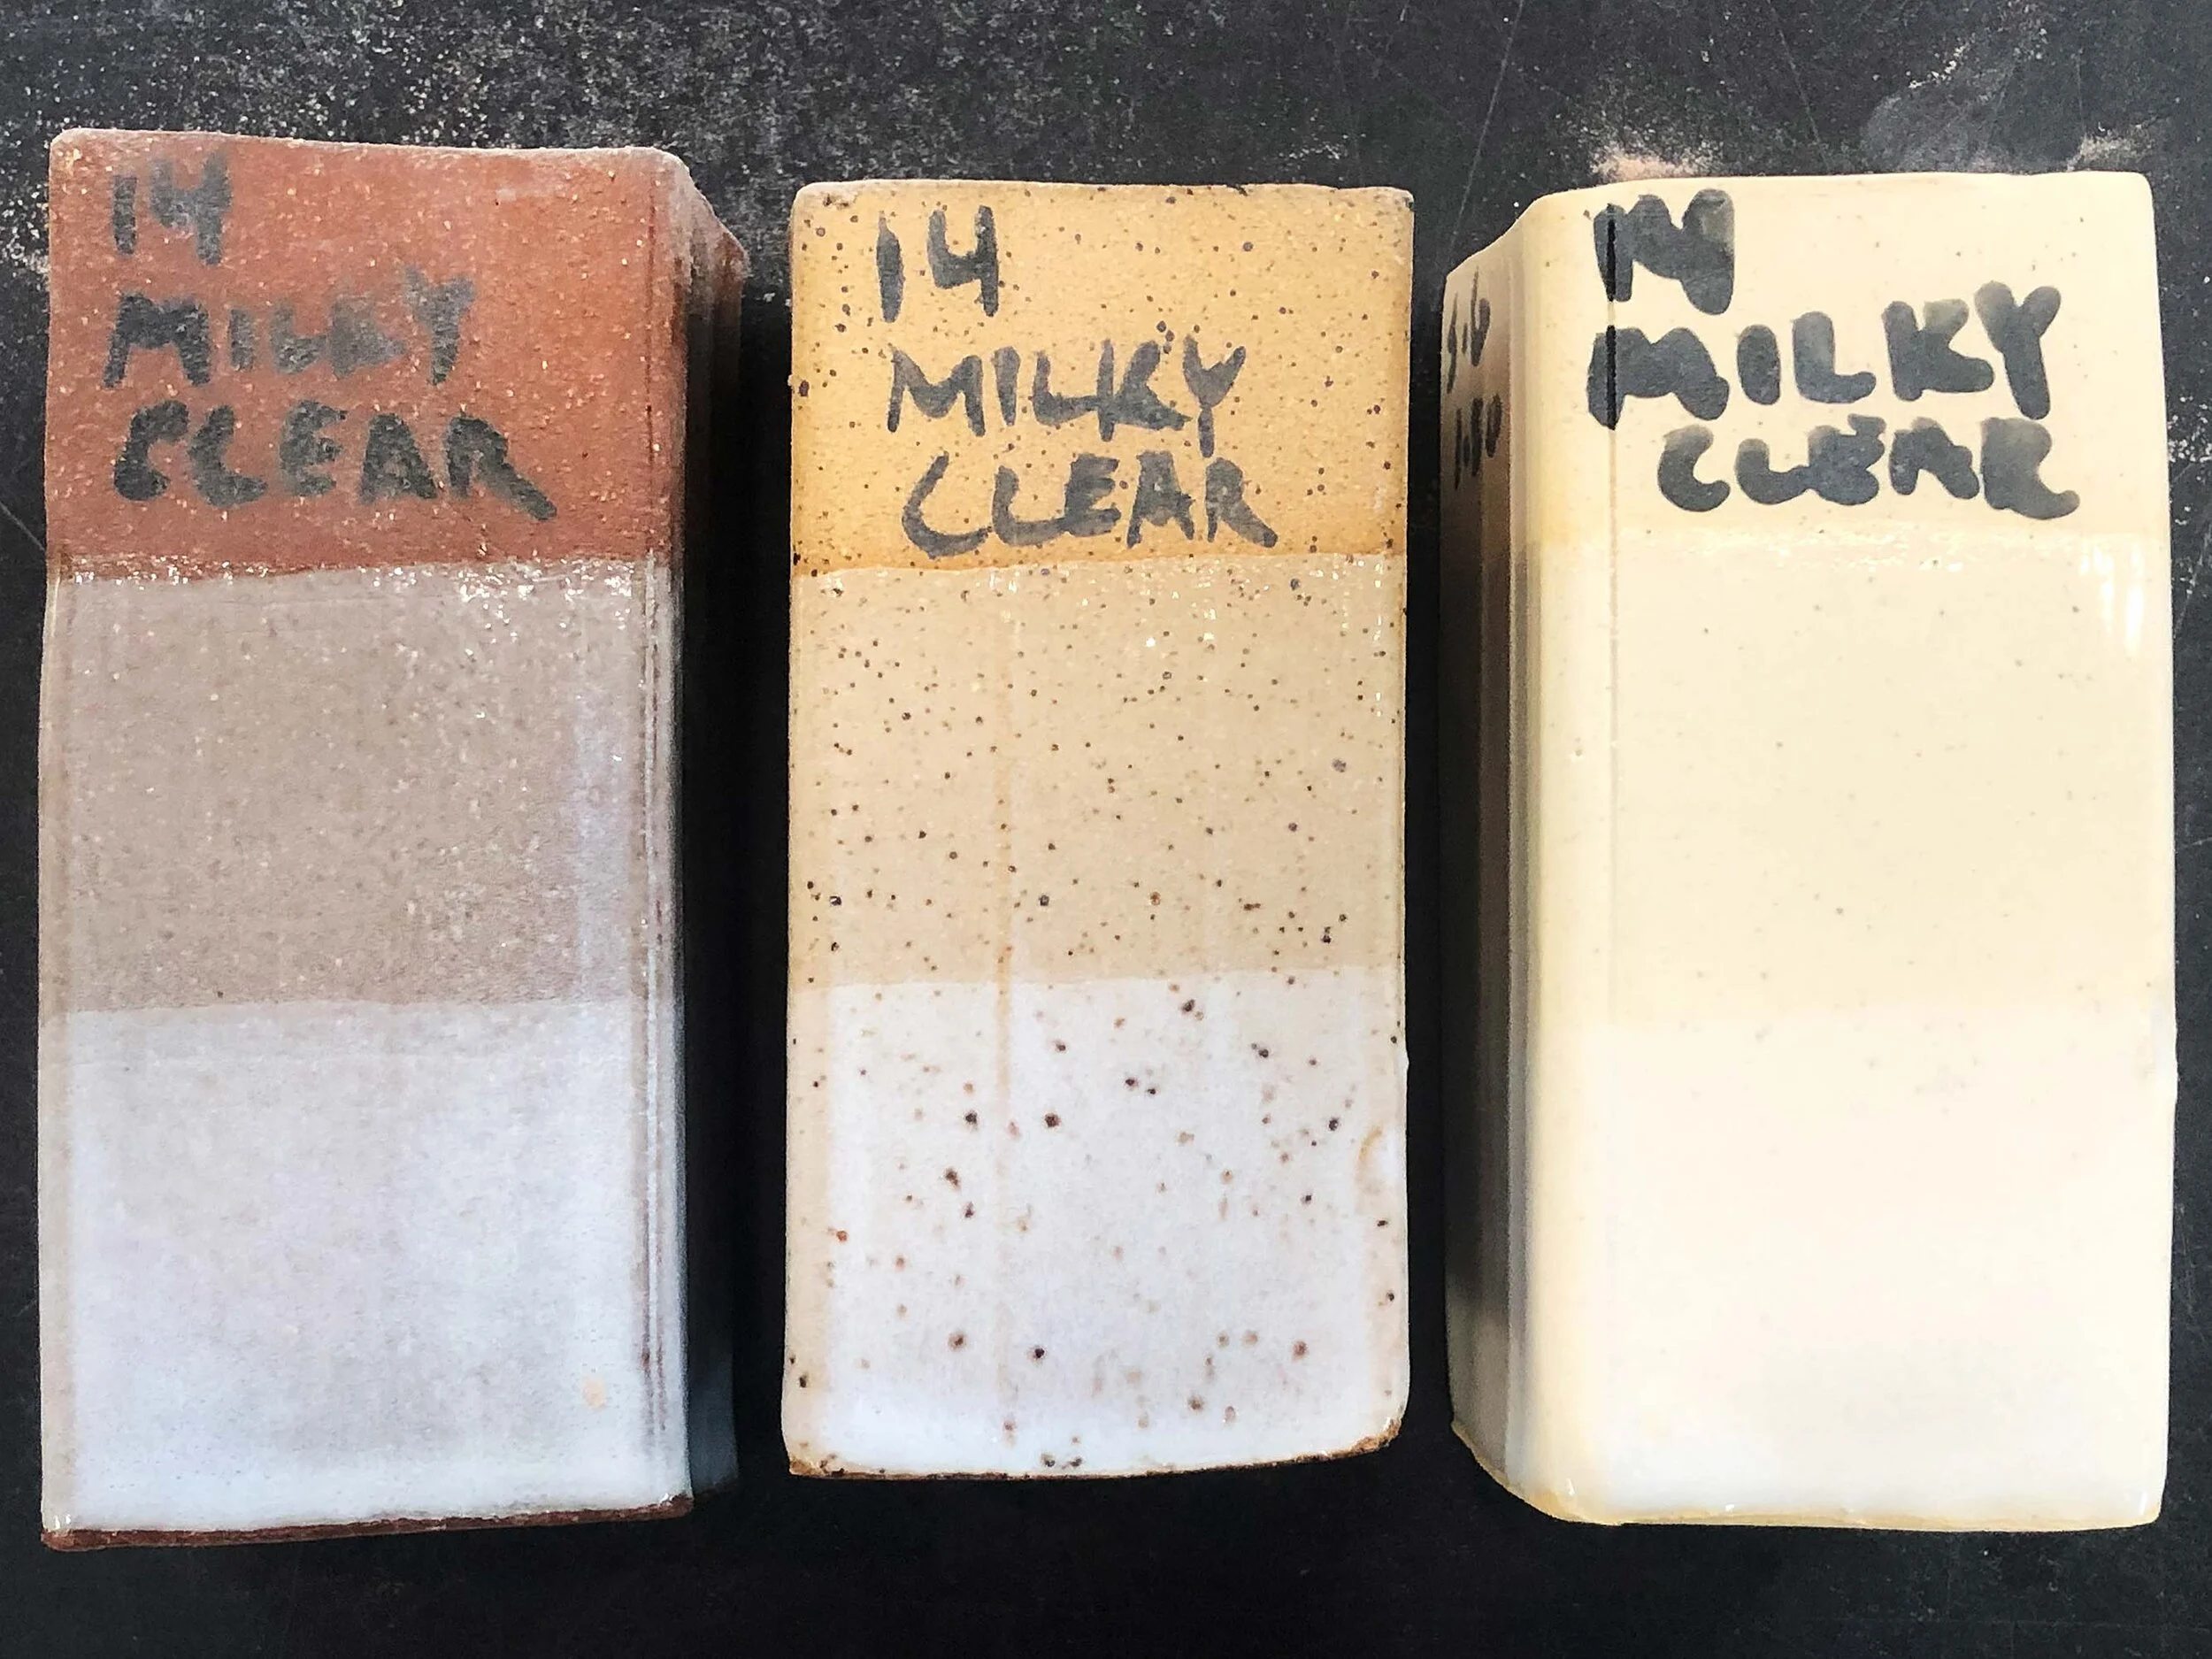
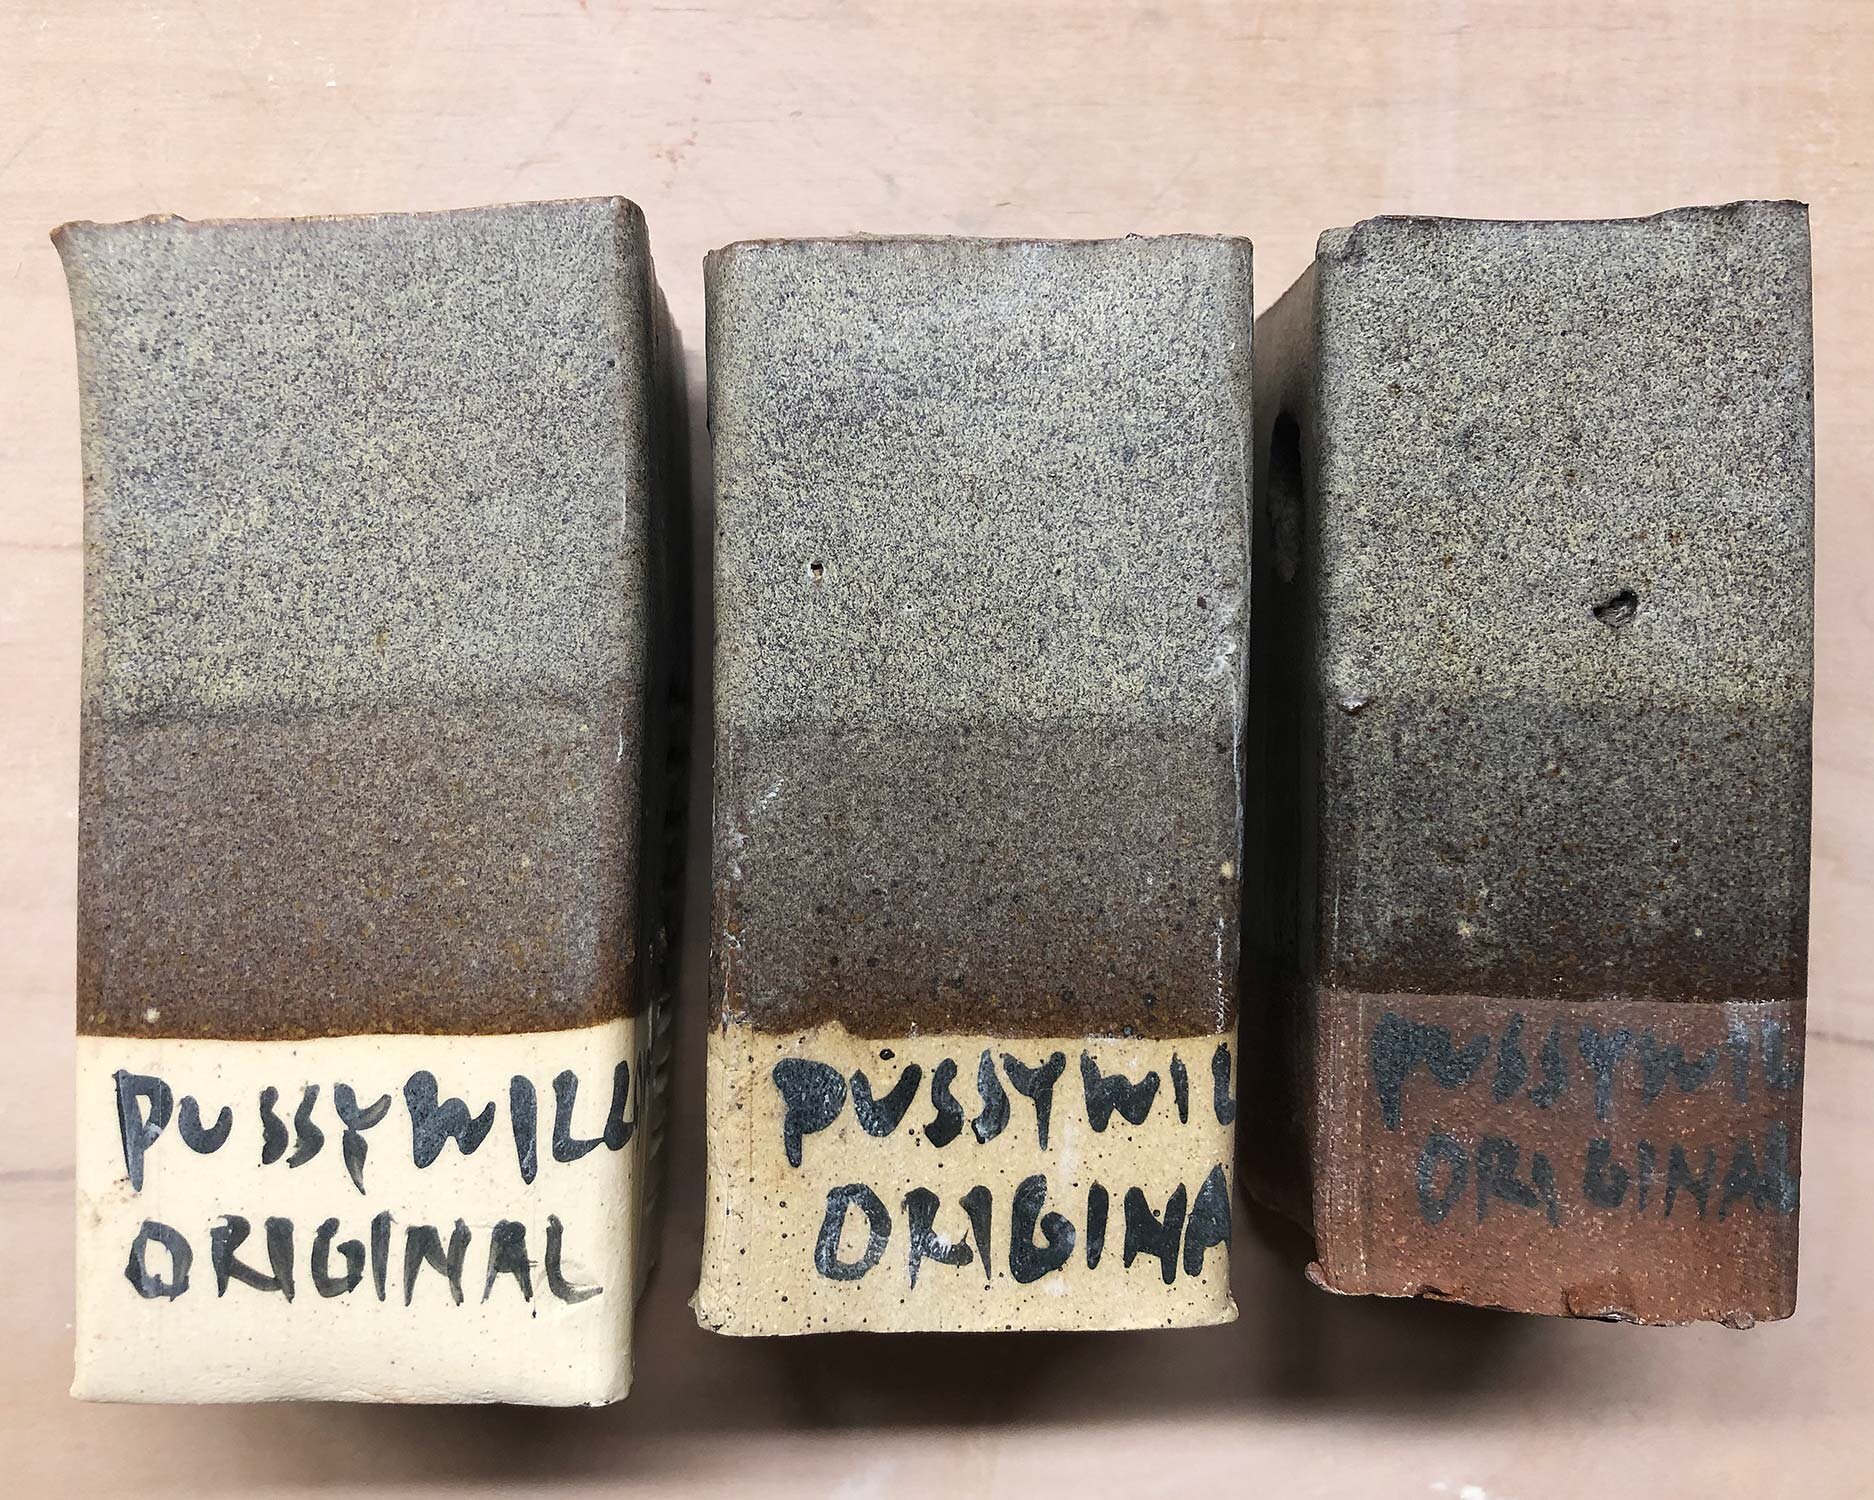
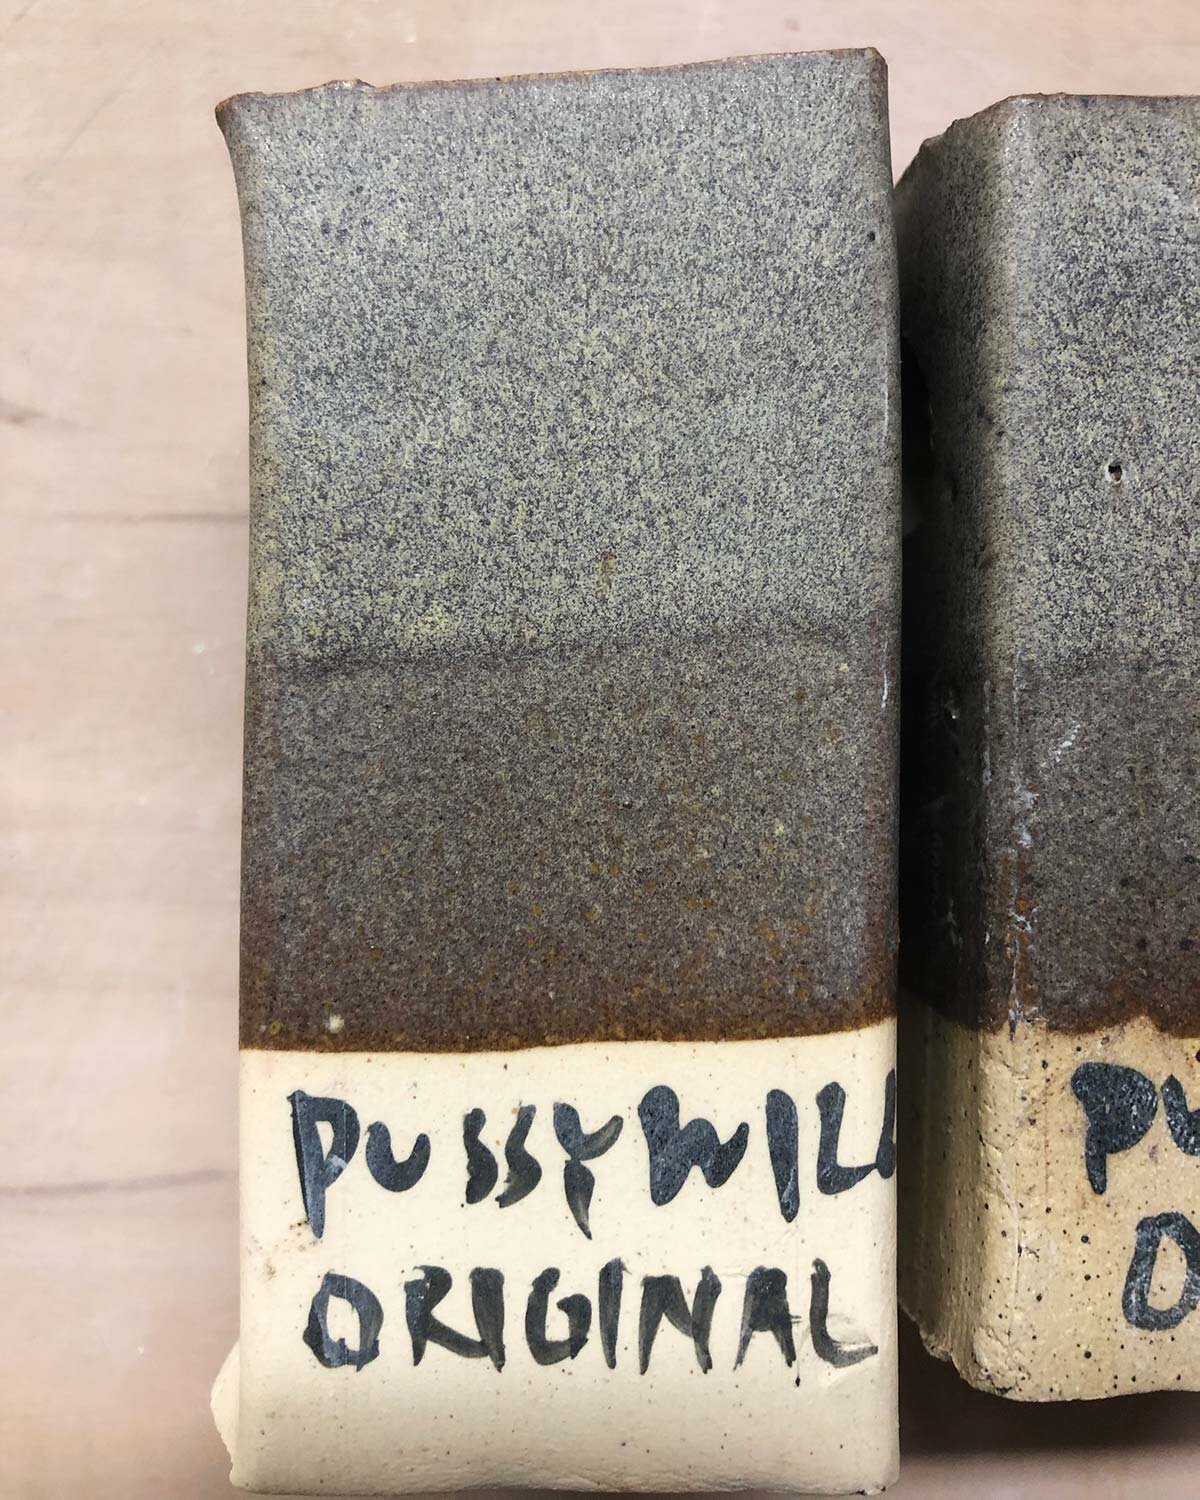
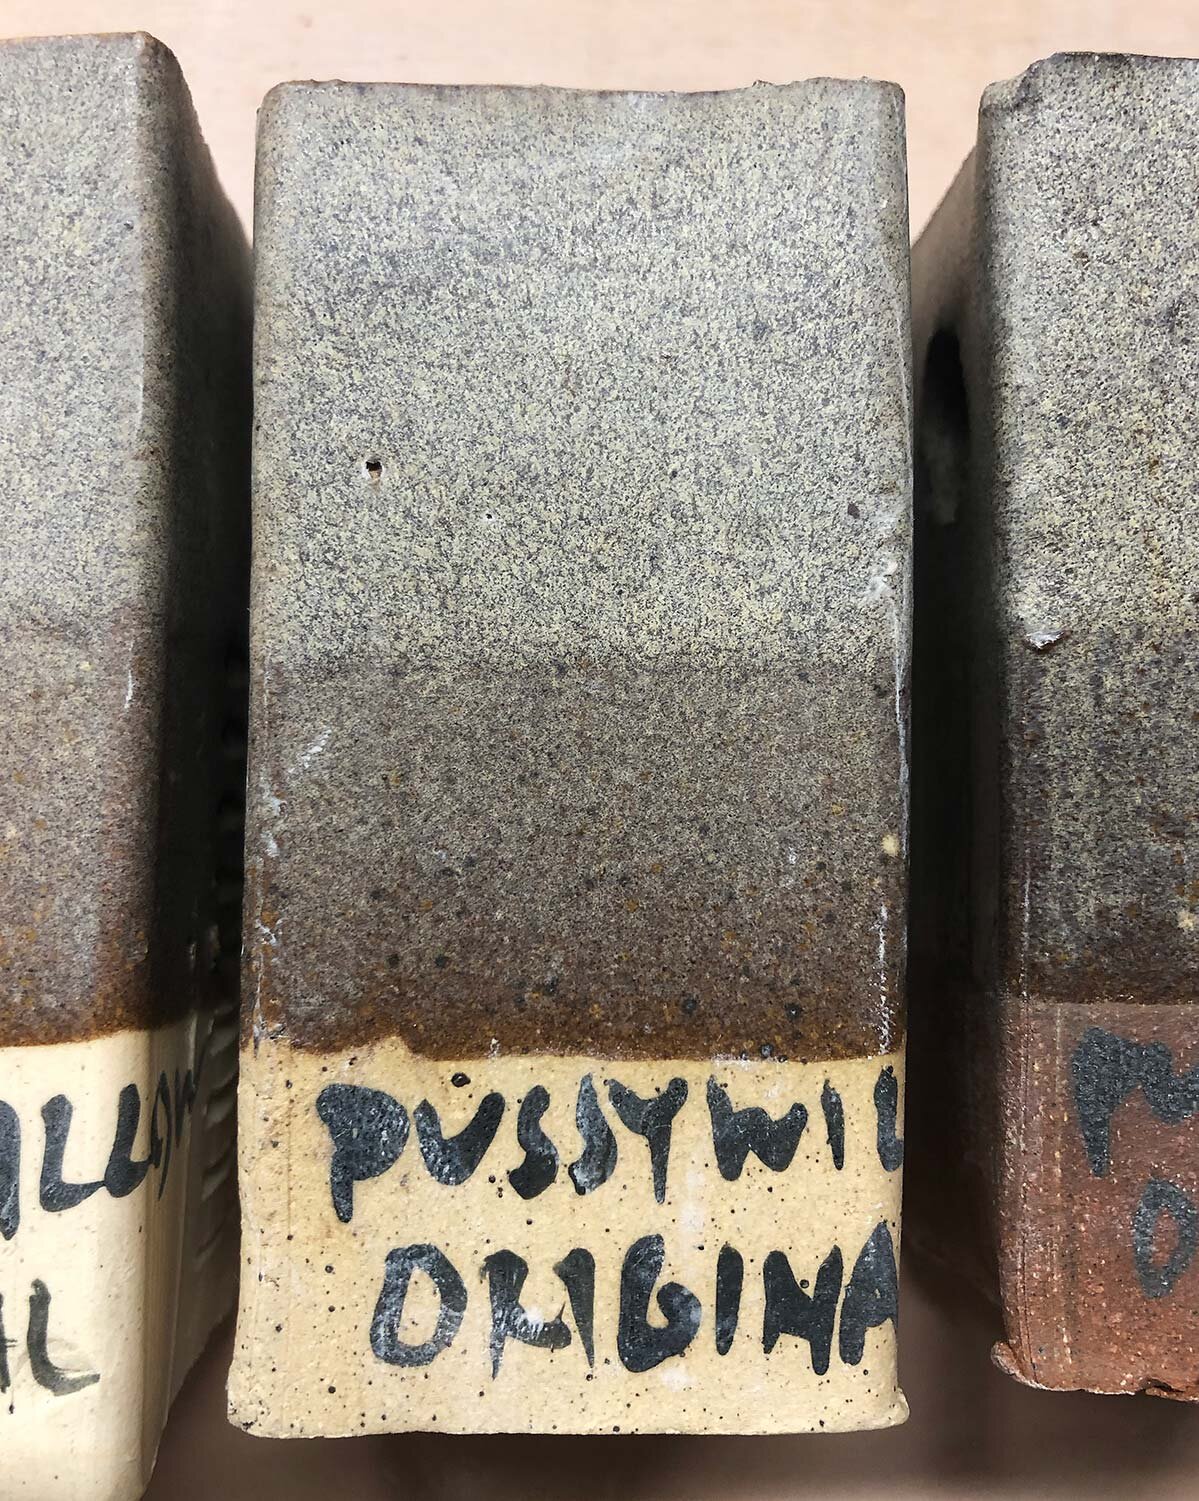
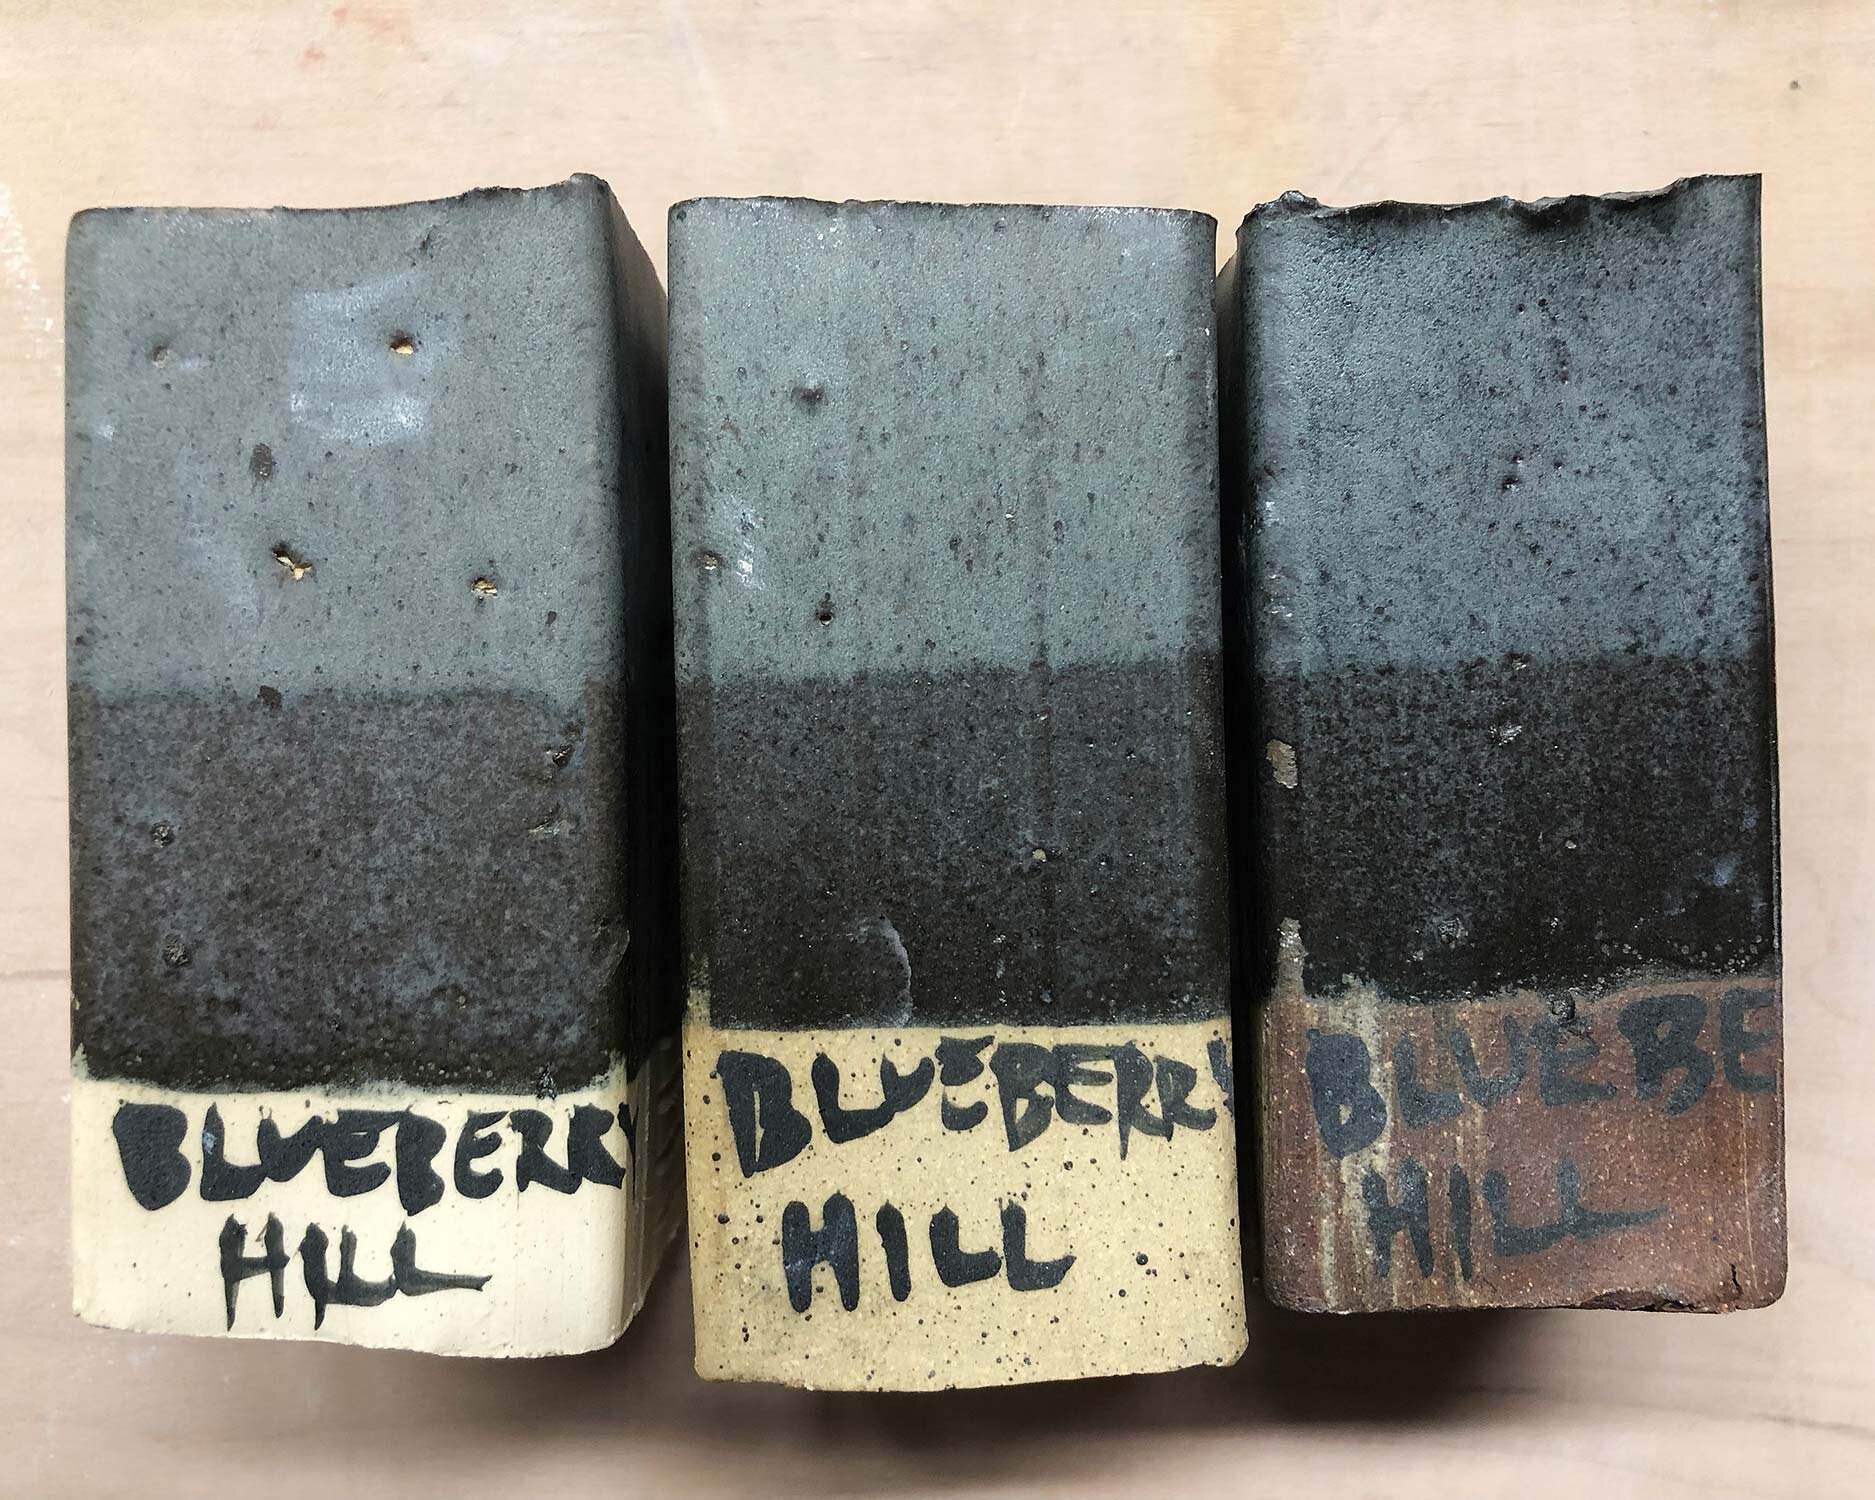
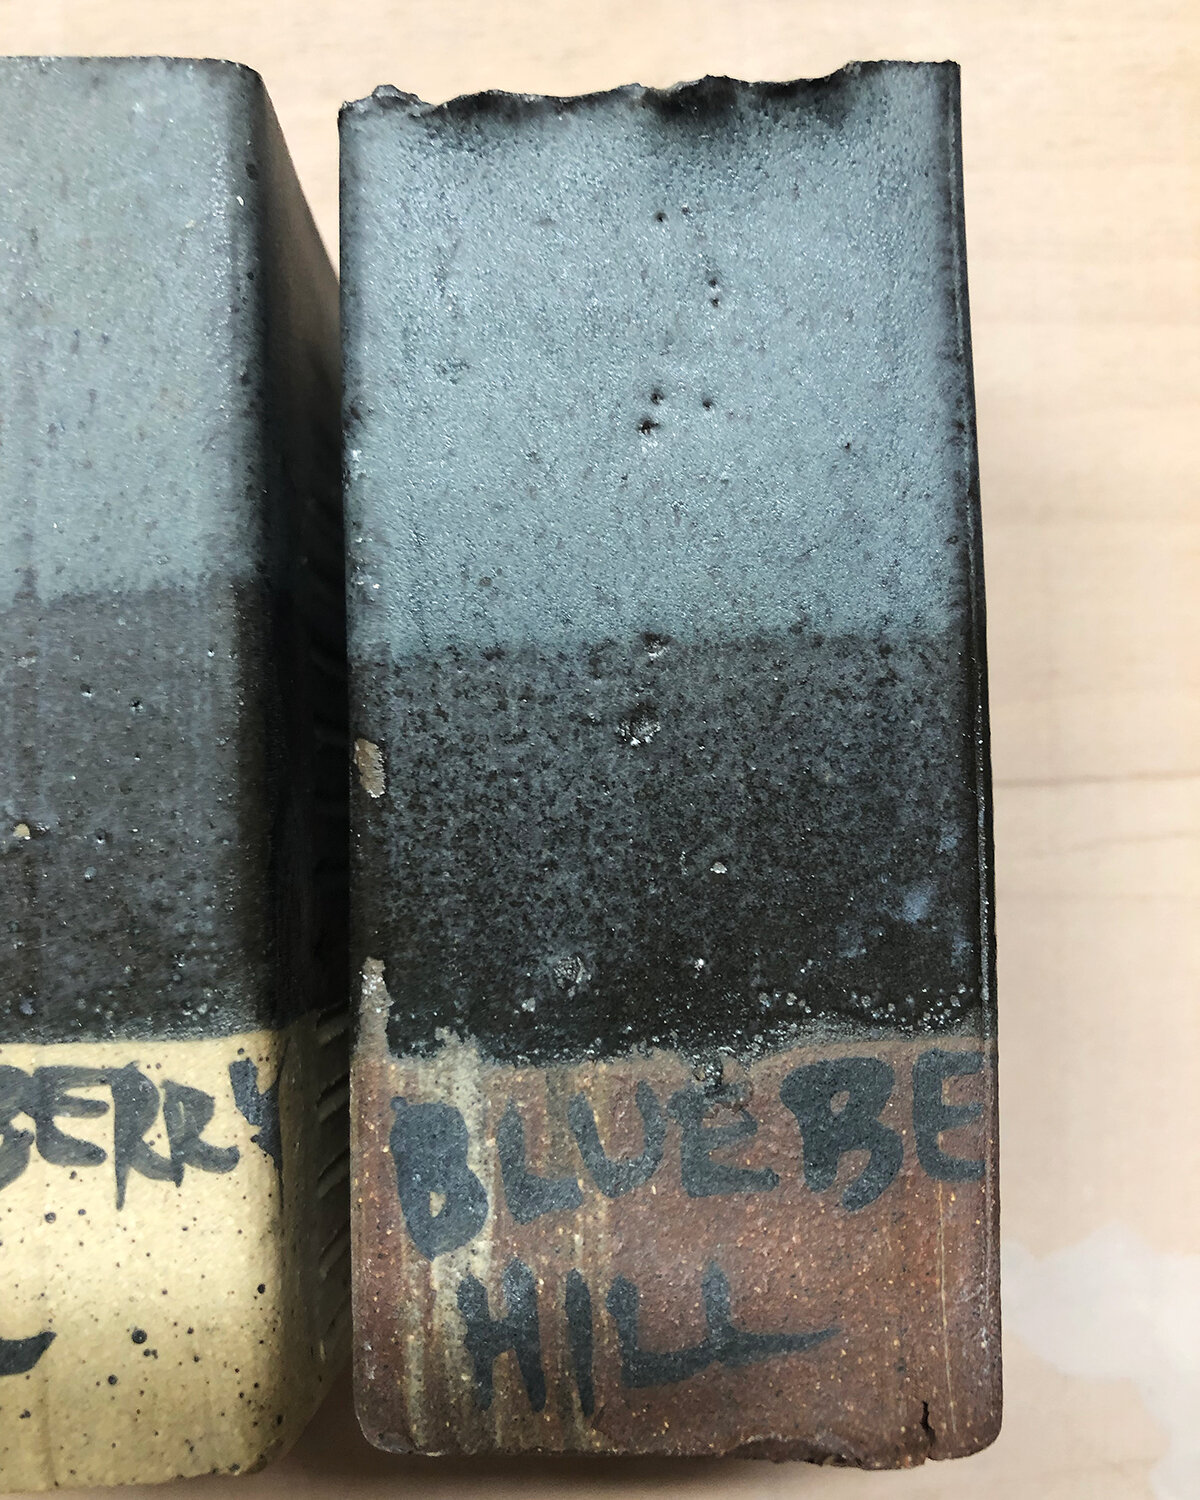
Test Tiles

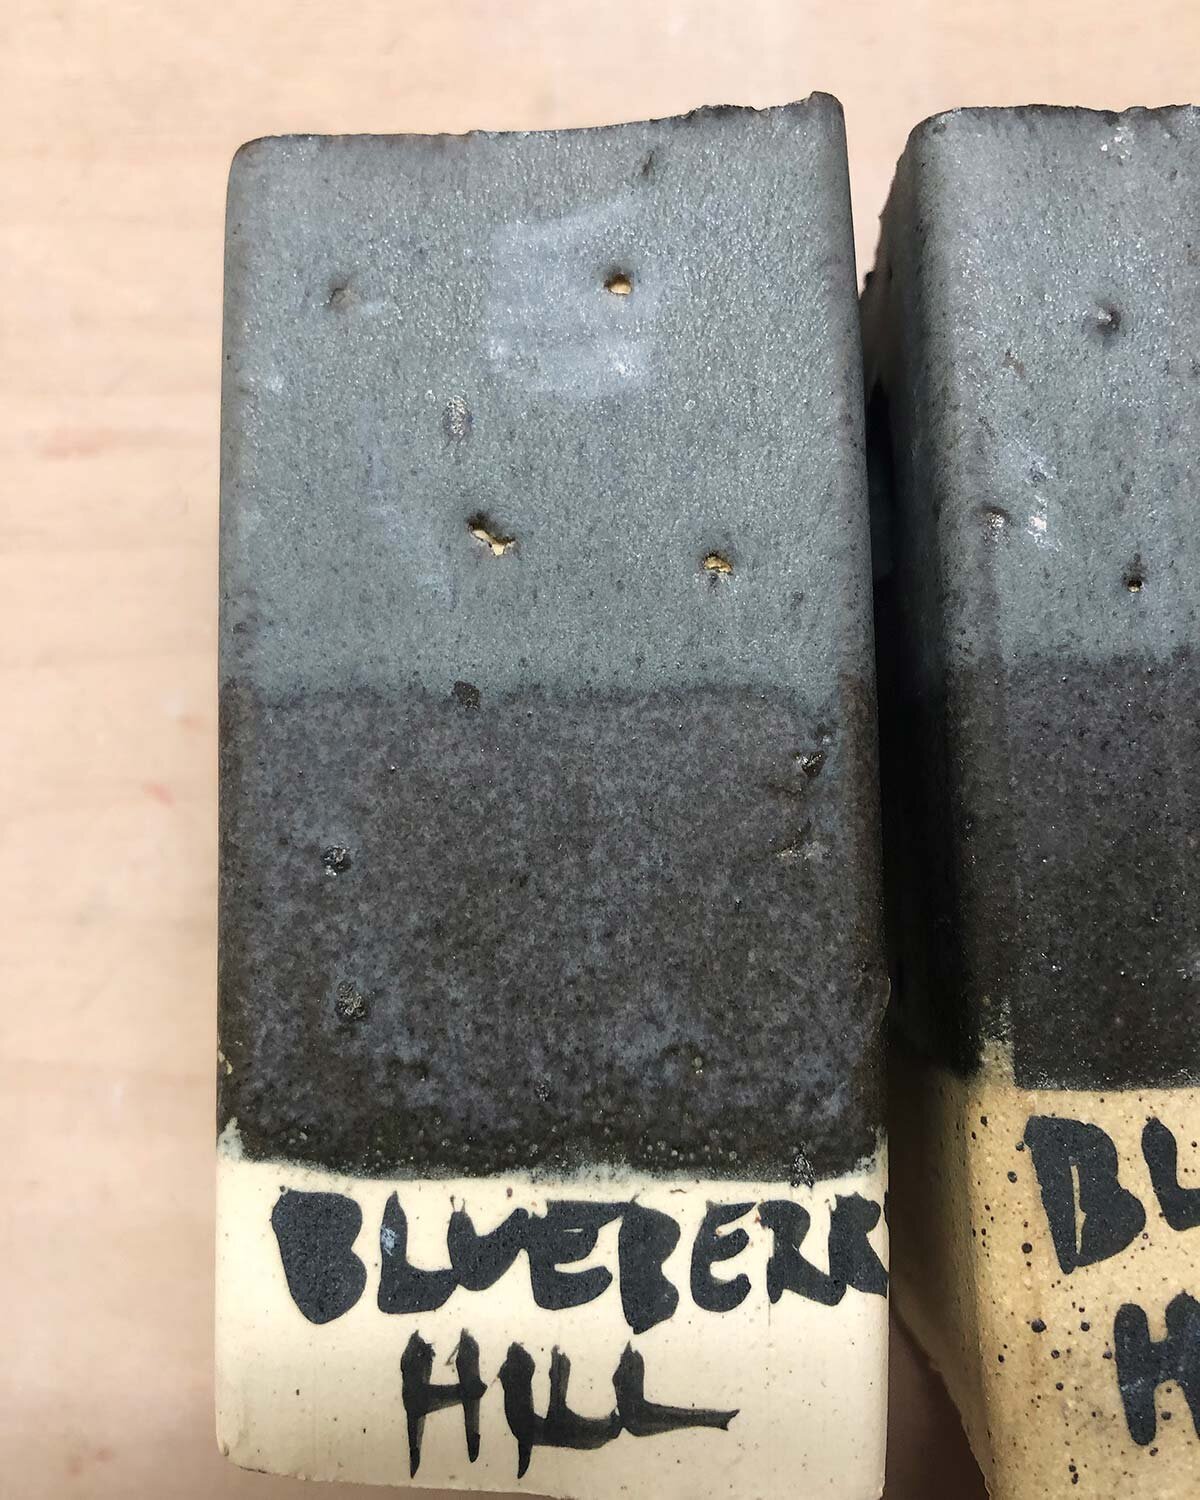
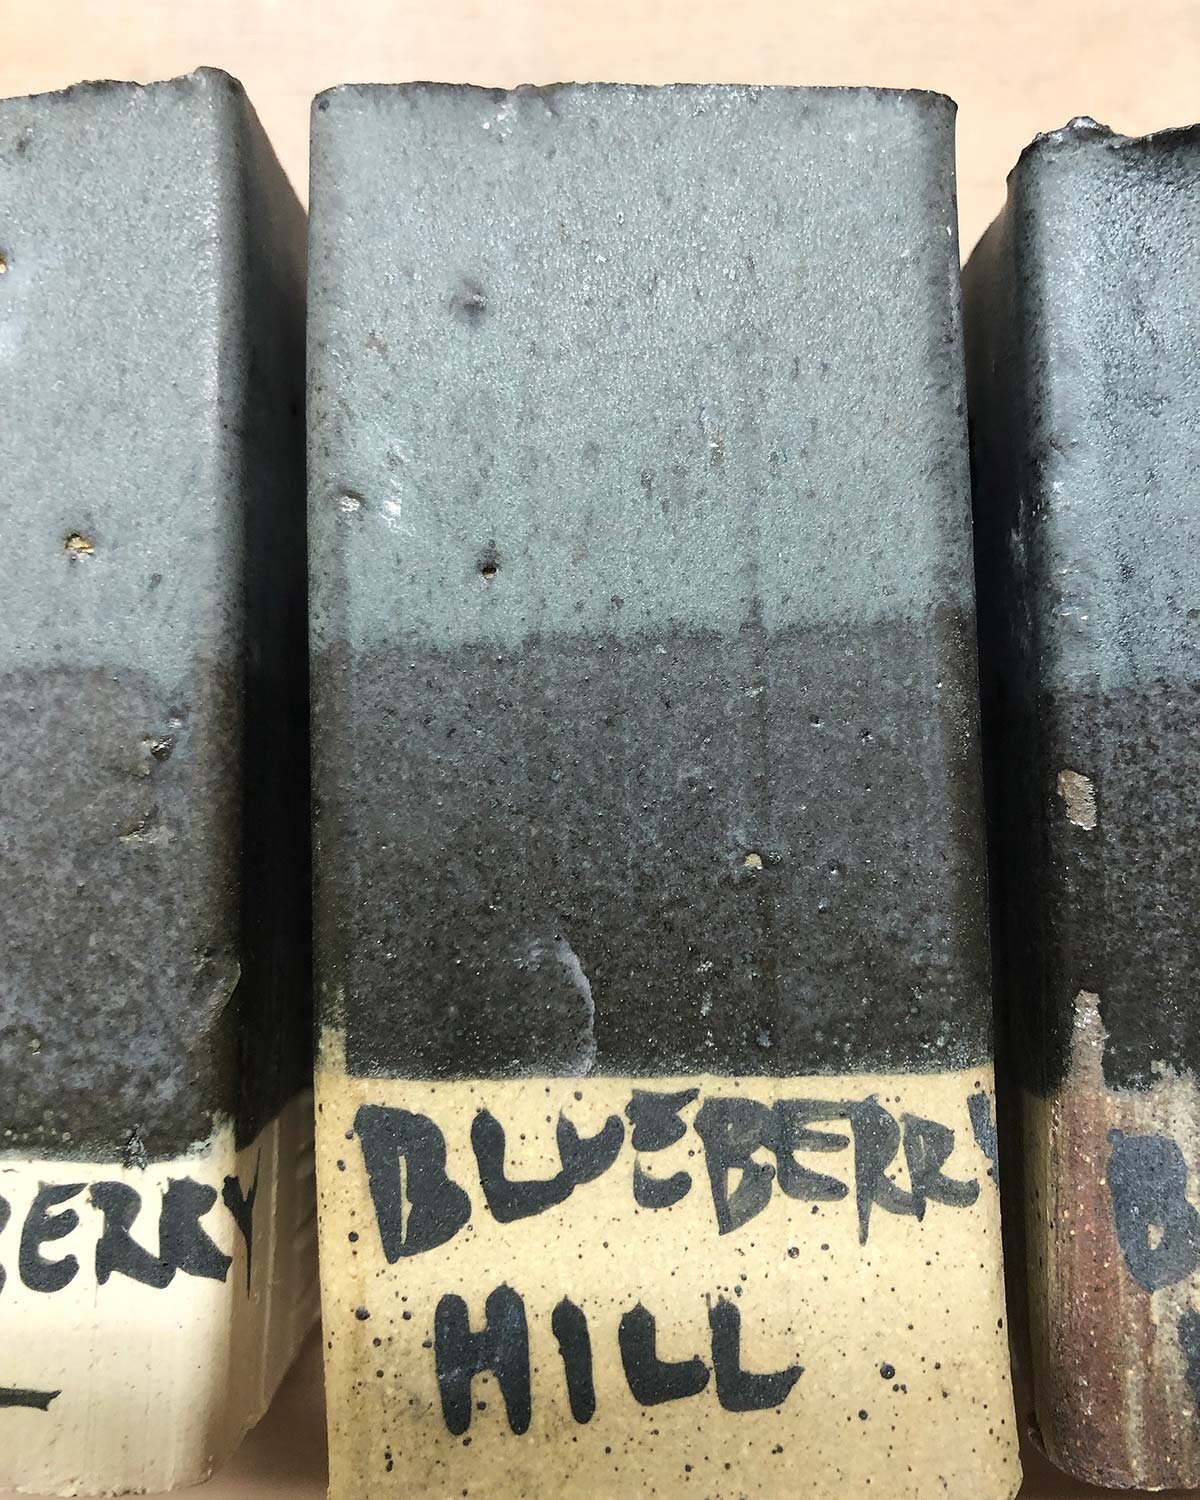
Cobalt Blue on Standard 182 White Stoneware

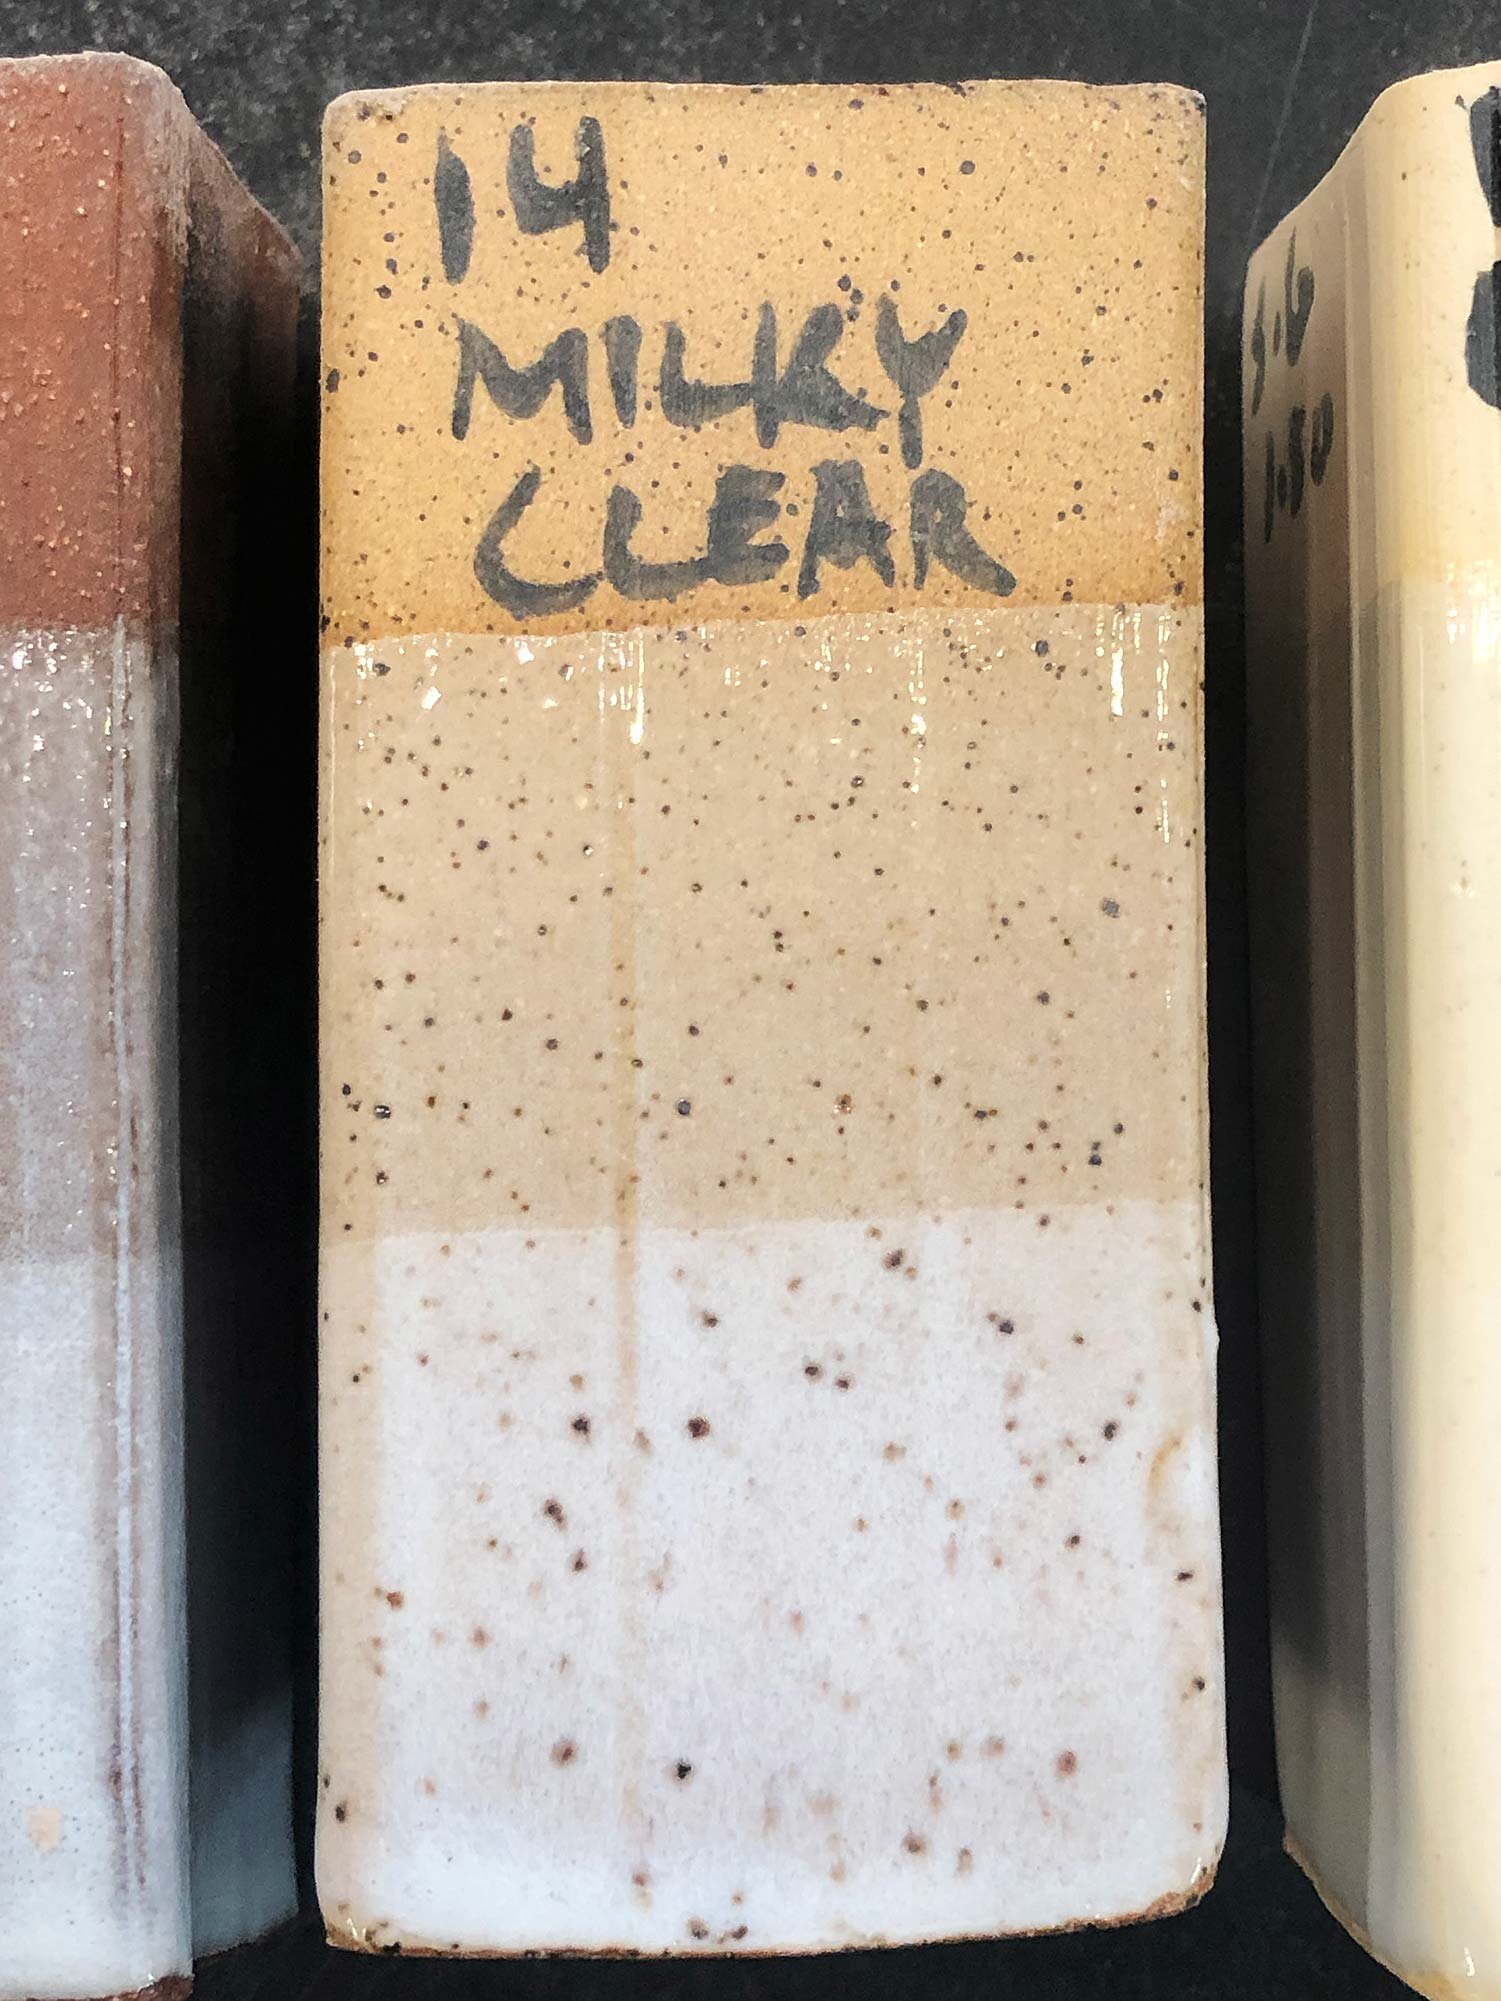
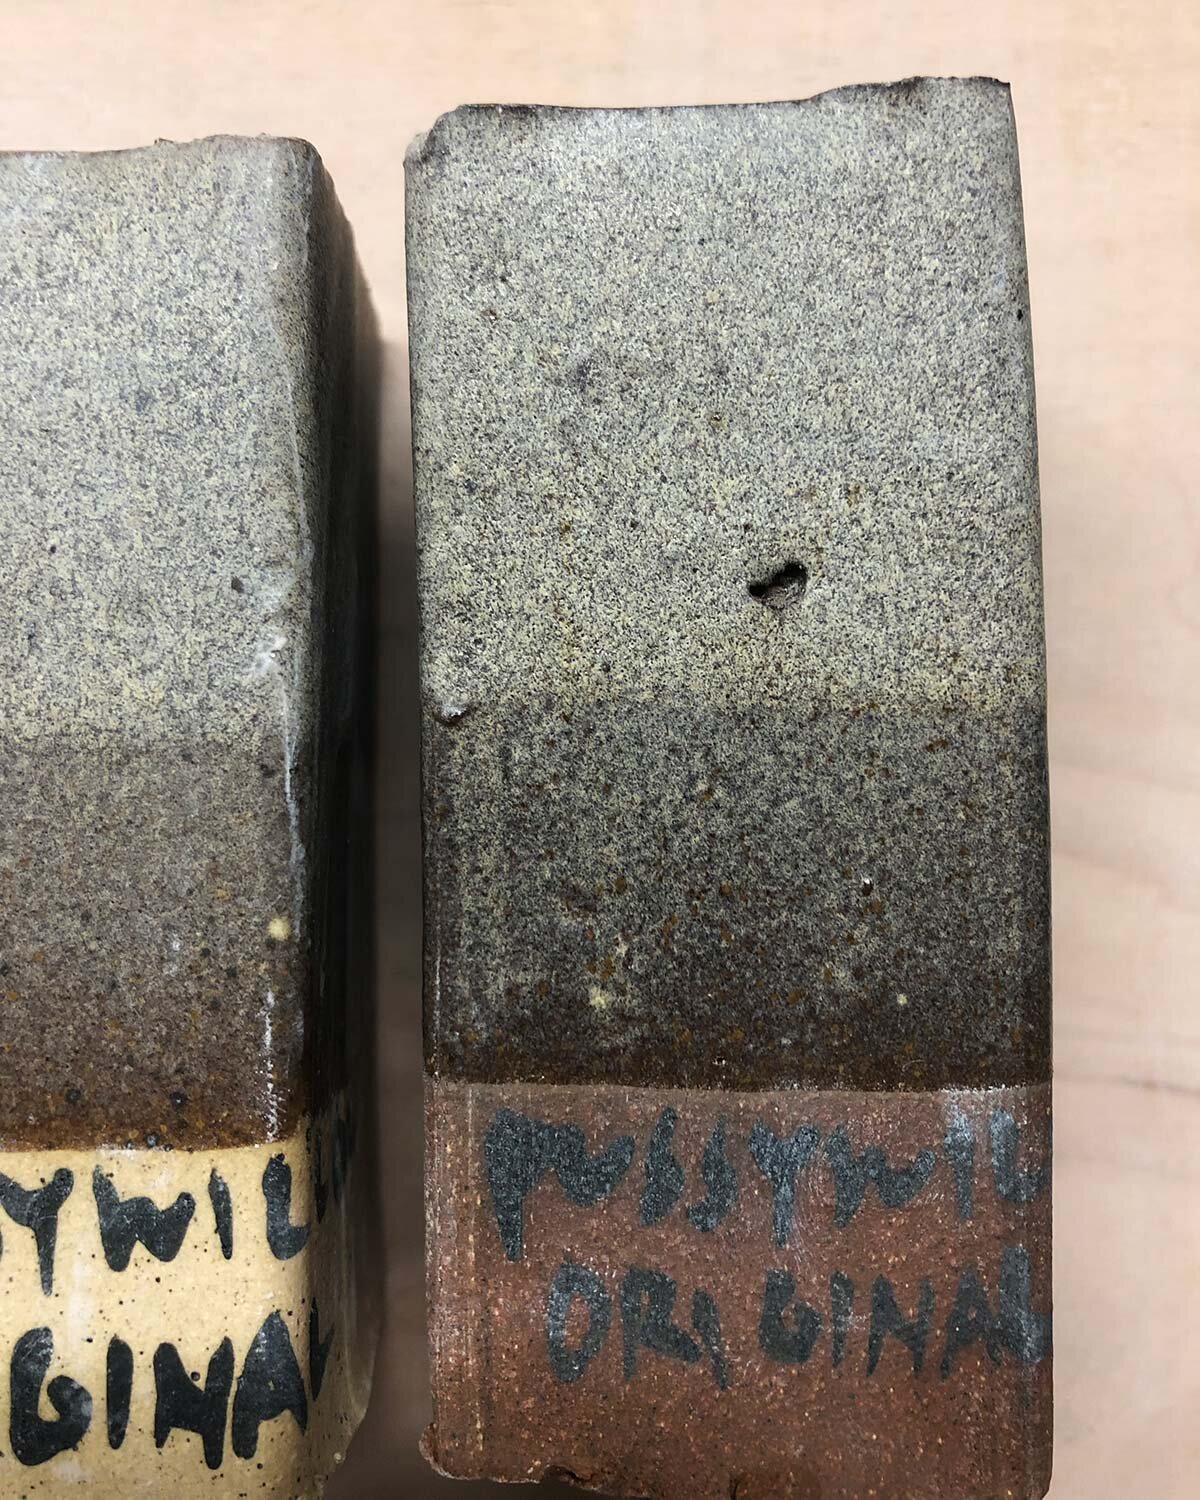
Cobalt Blue on Standard 112 Brown Speckle
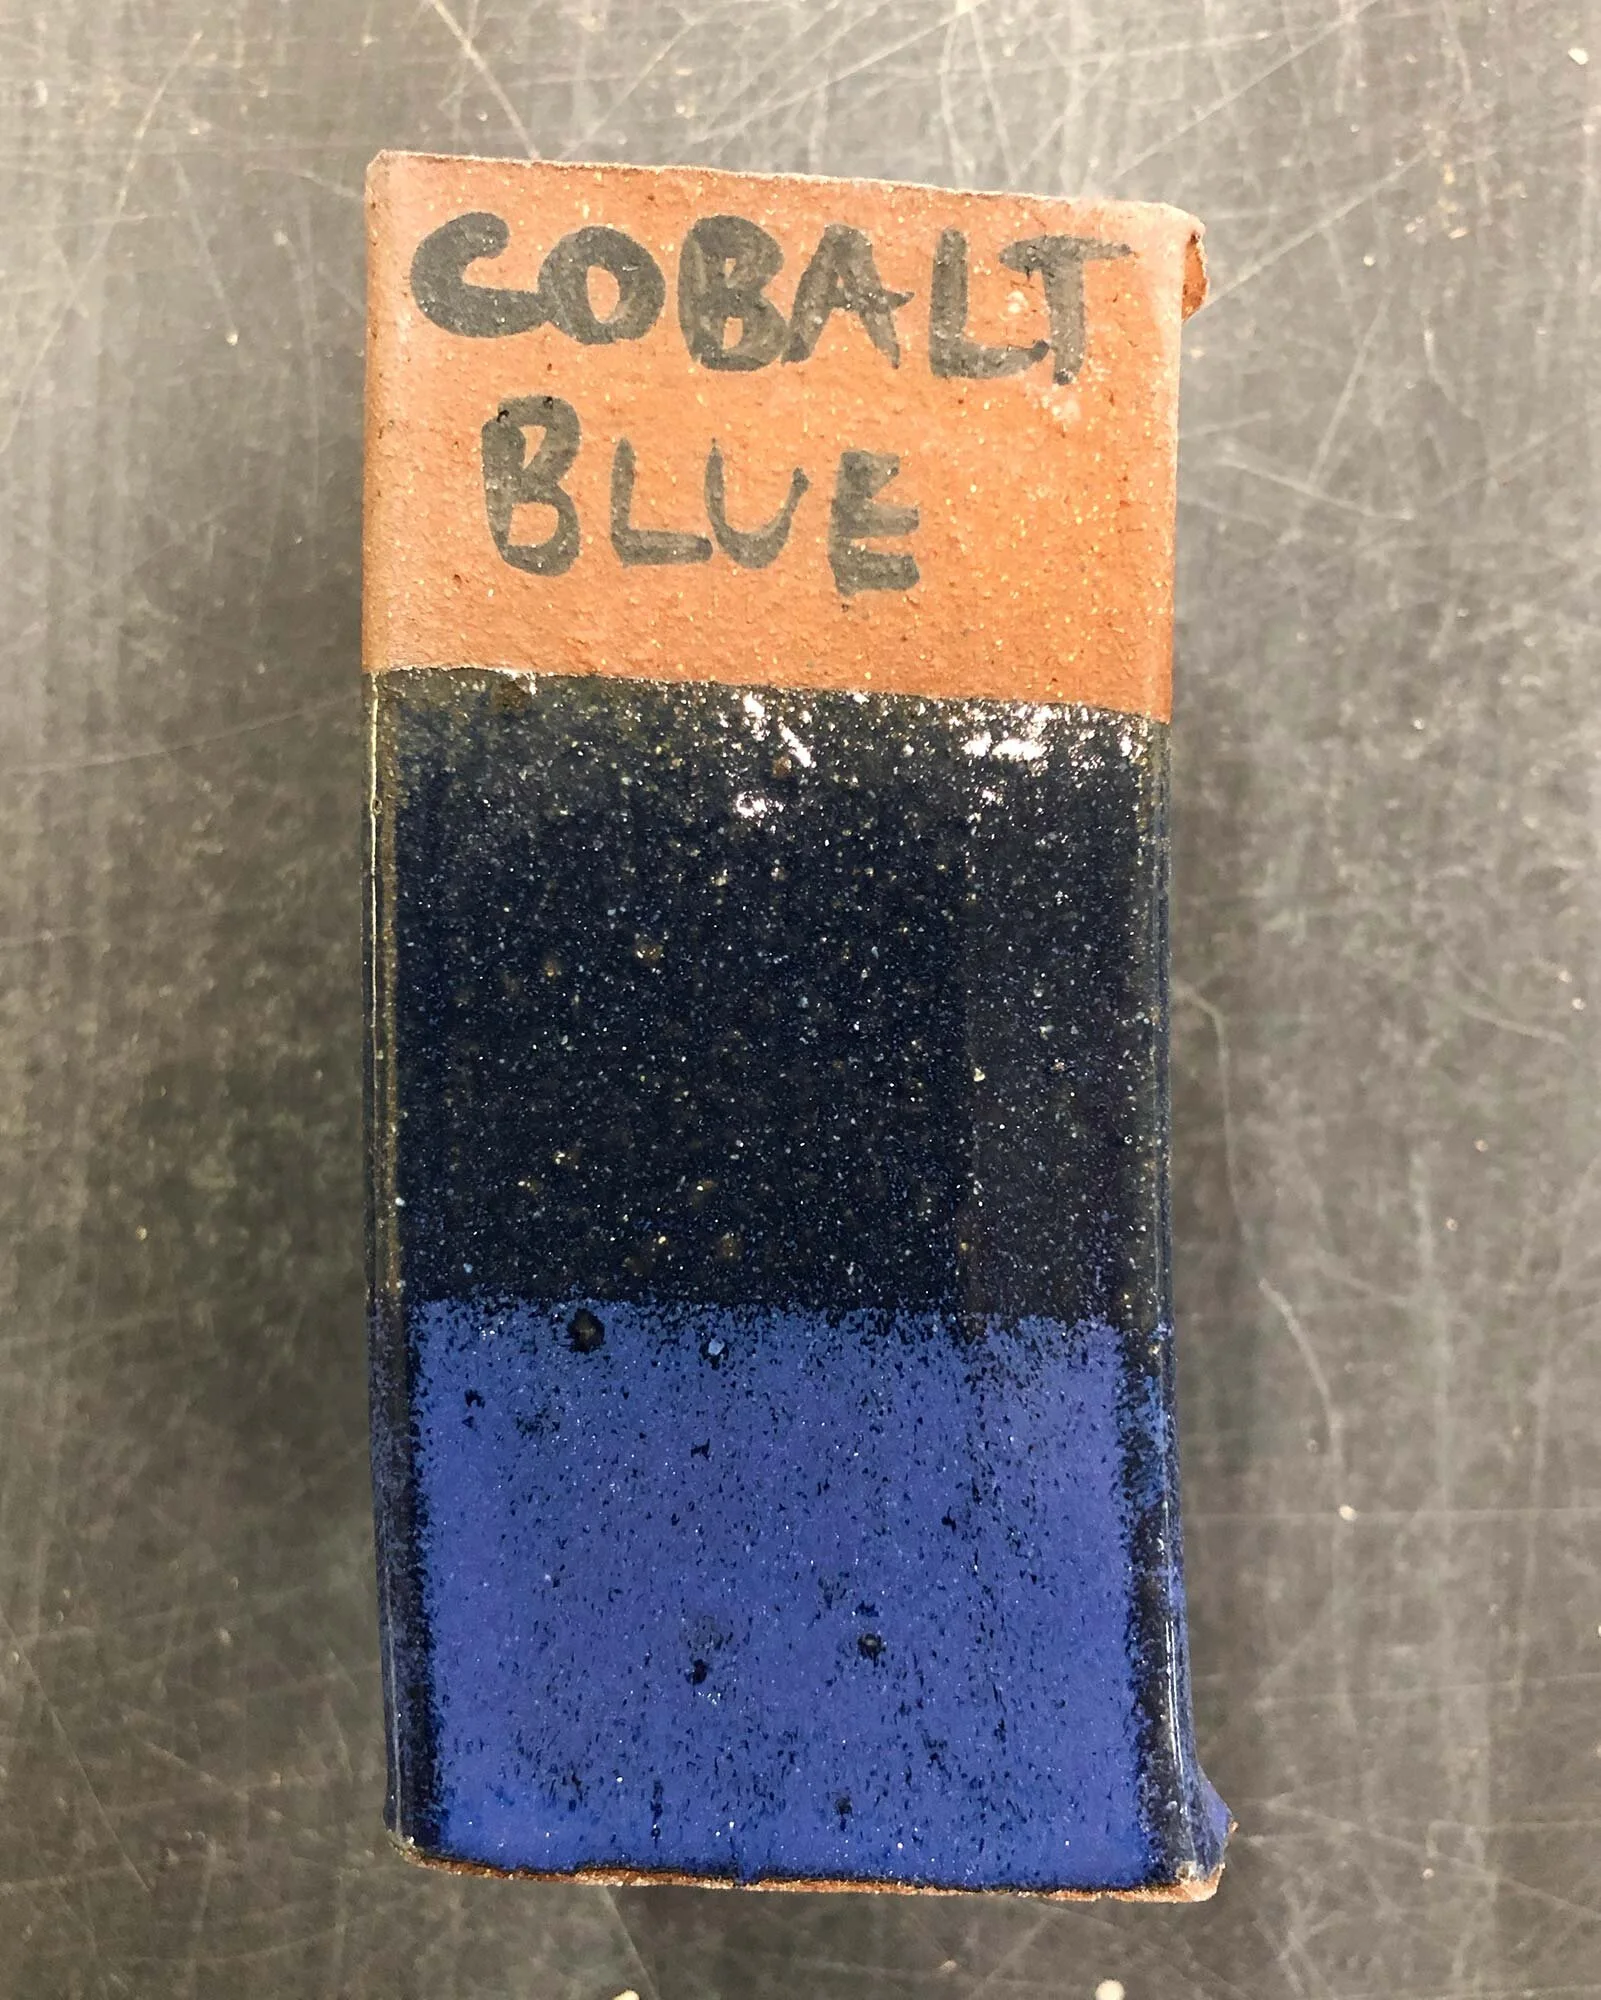
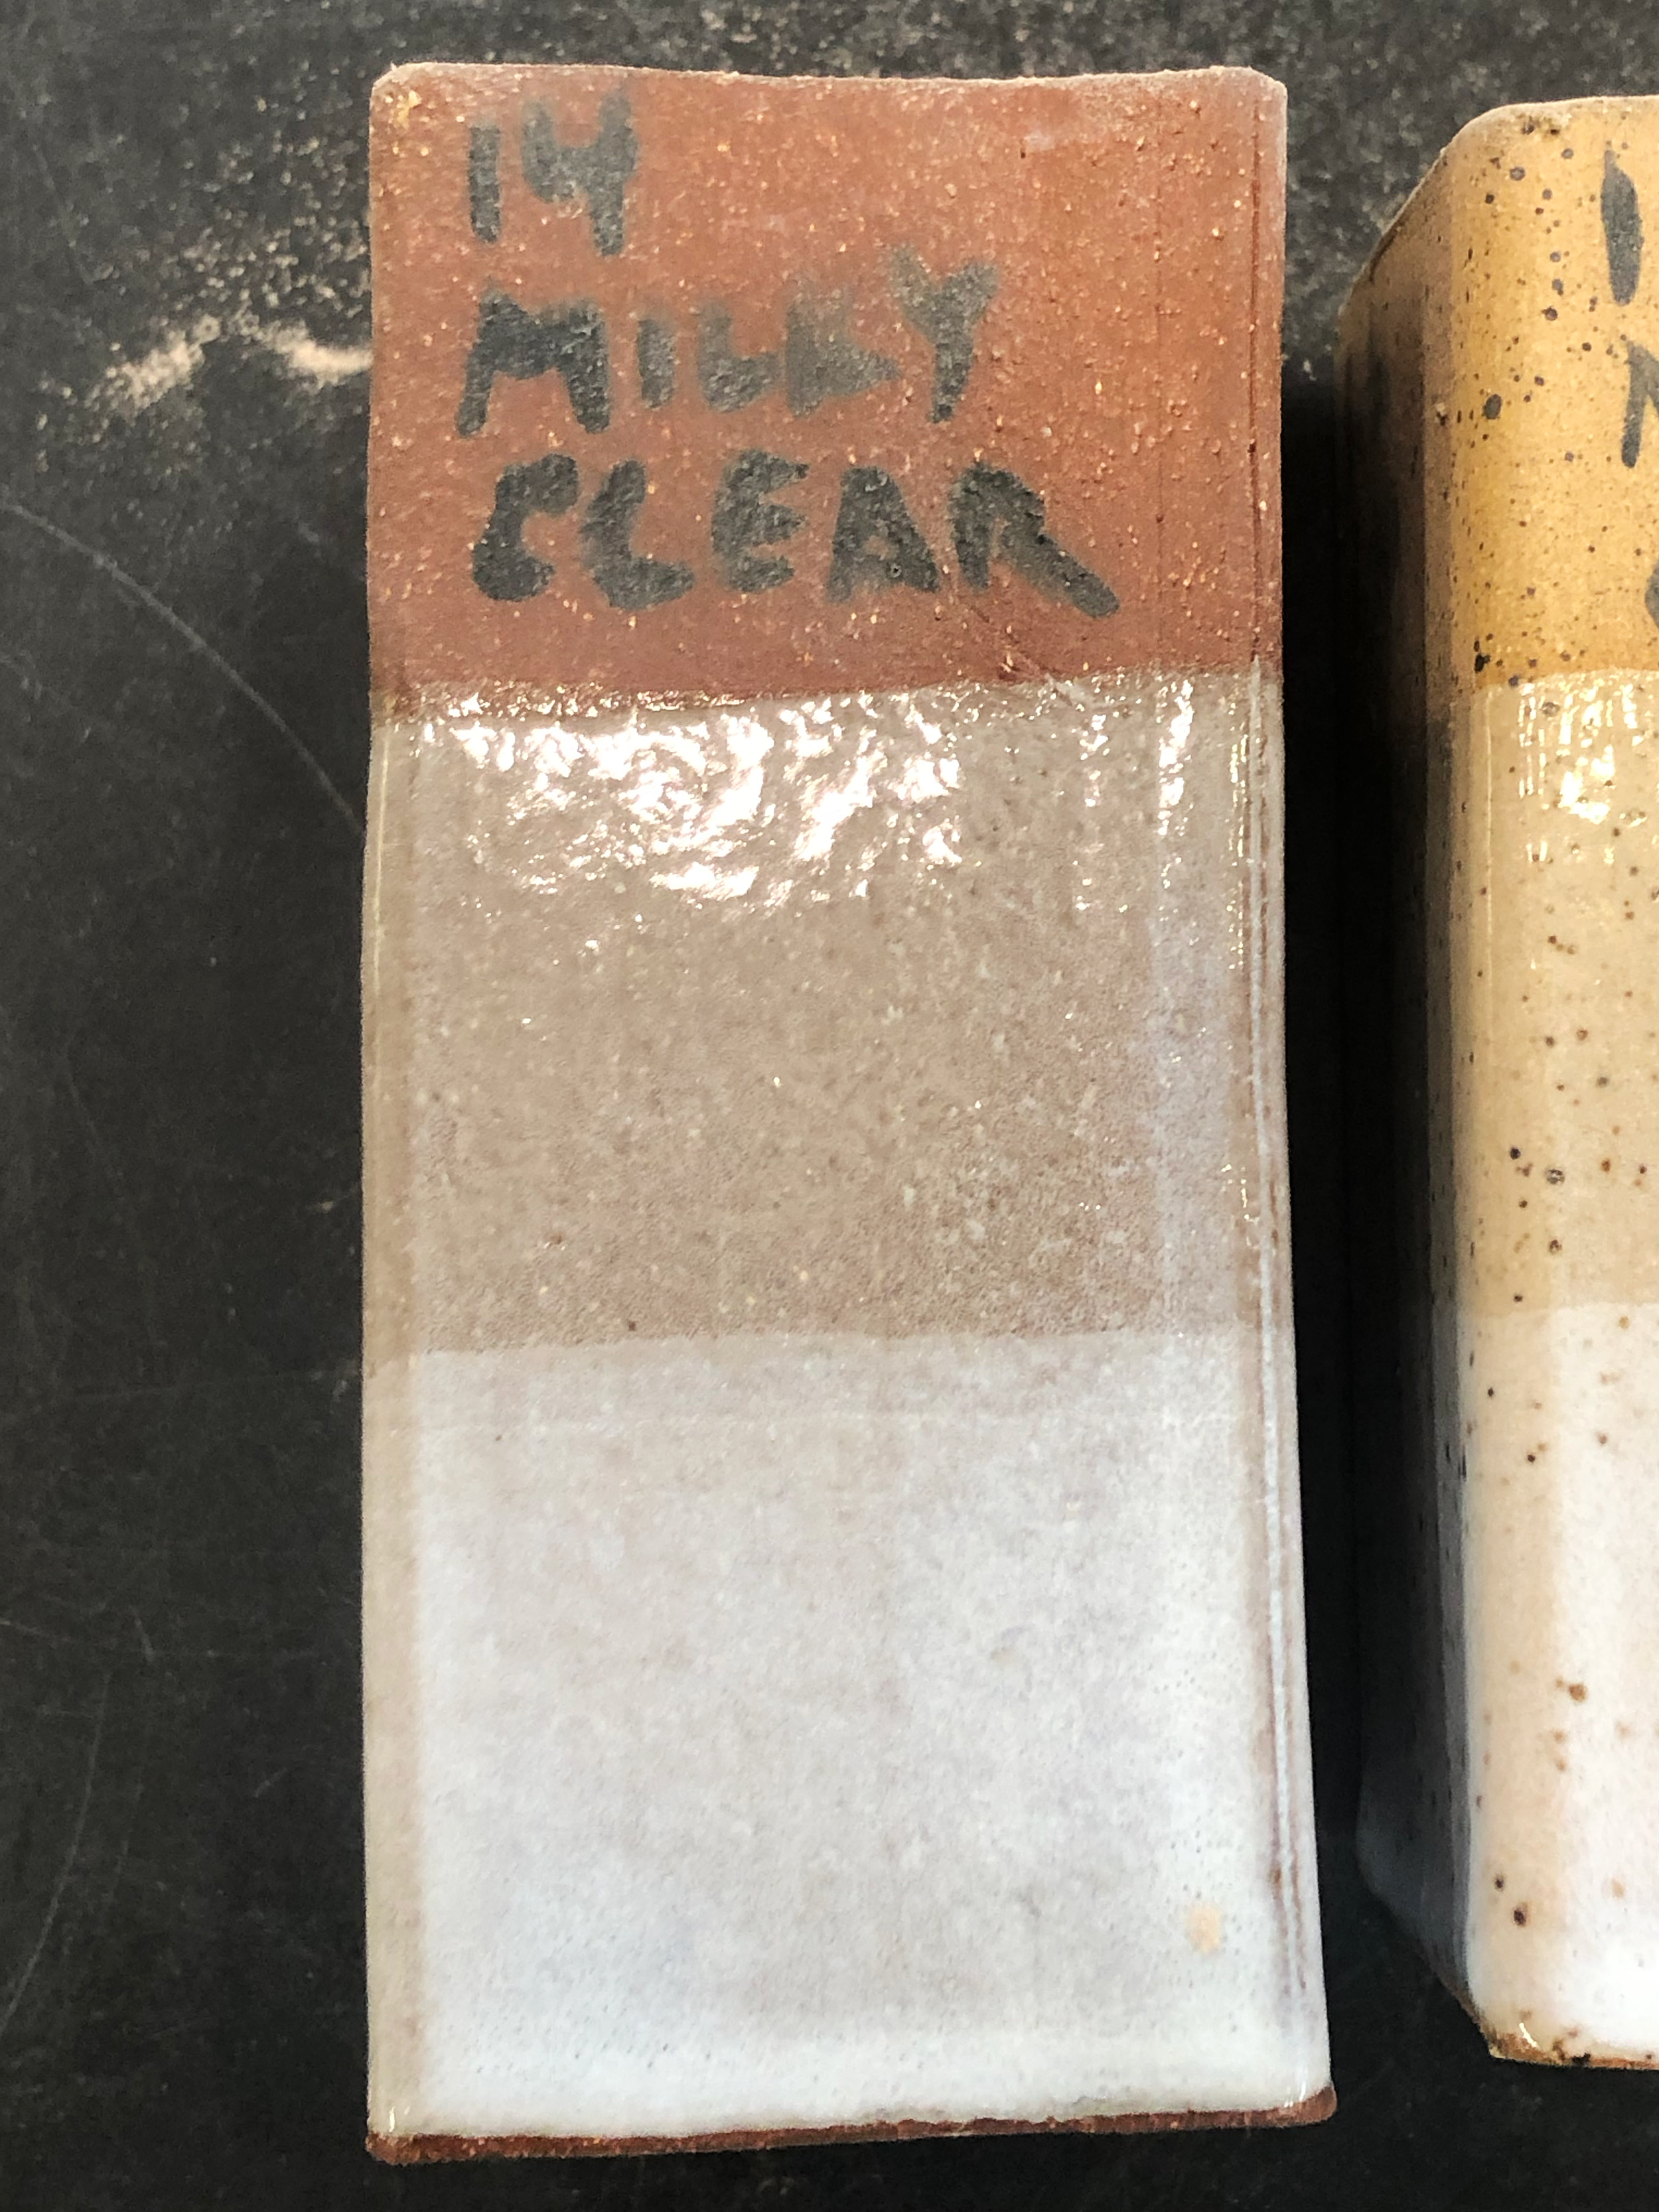
Cobalt Blue on Standard 308 Brooklyn Red
#Glazes That Work
This recipe is part of our series of posts of glazes that just work. There’s a million glaze recipes out there, but we’re posting a series of our tried-and-true favorites. Click here to see the other recipes we’ve posted.
For more info:
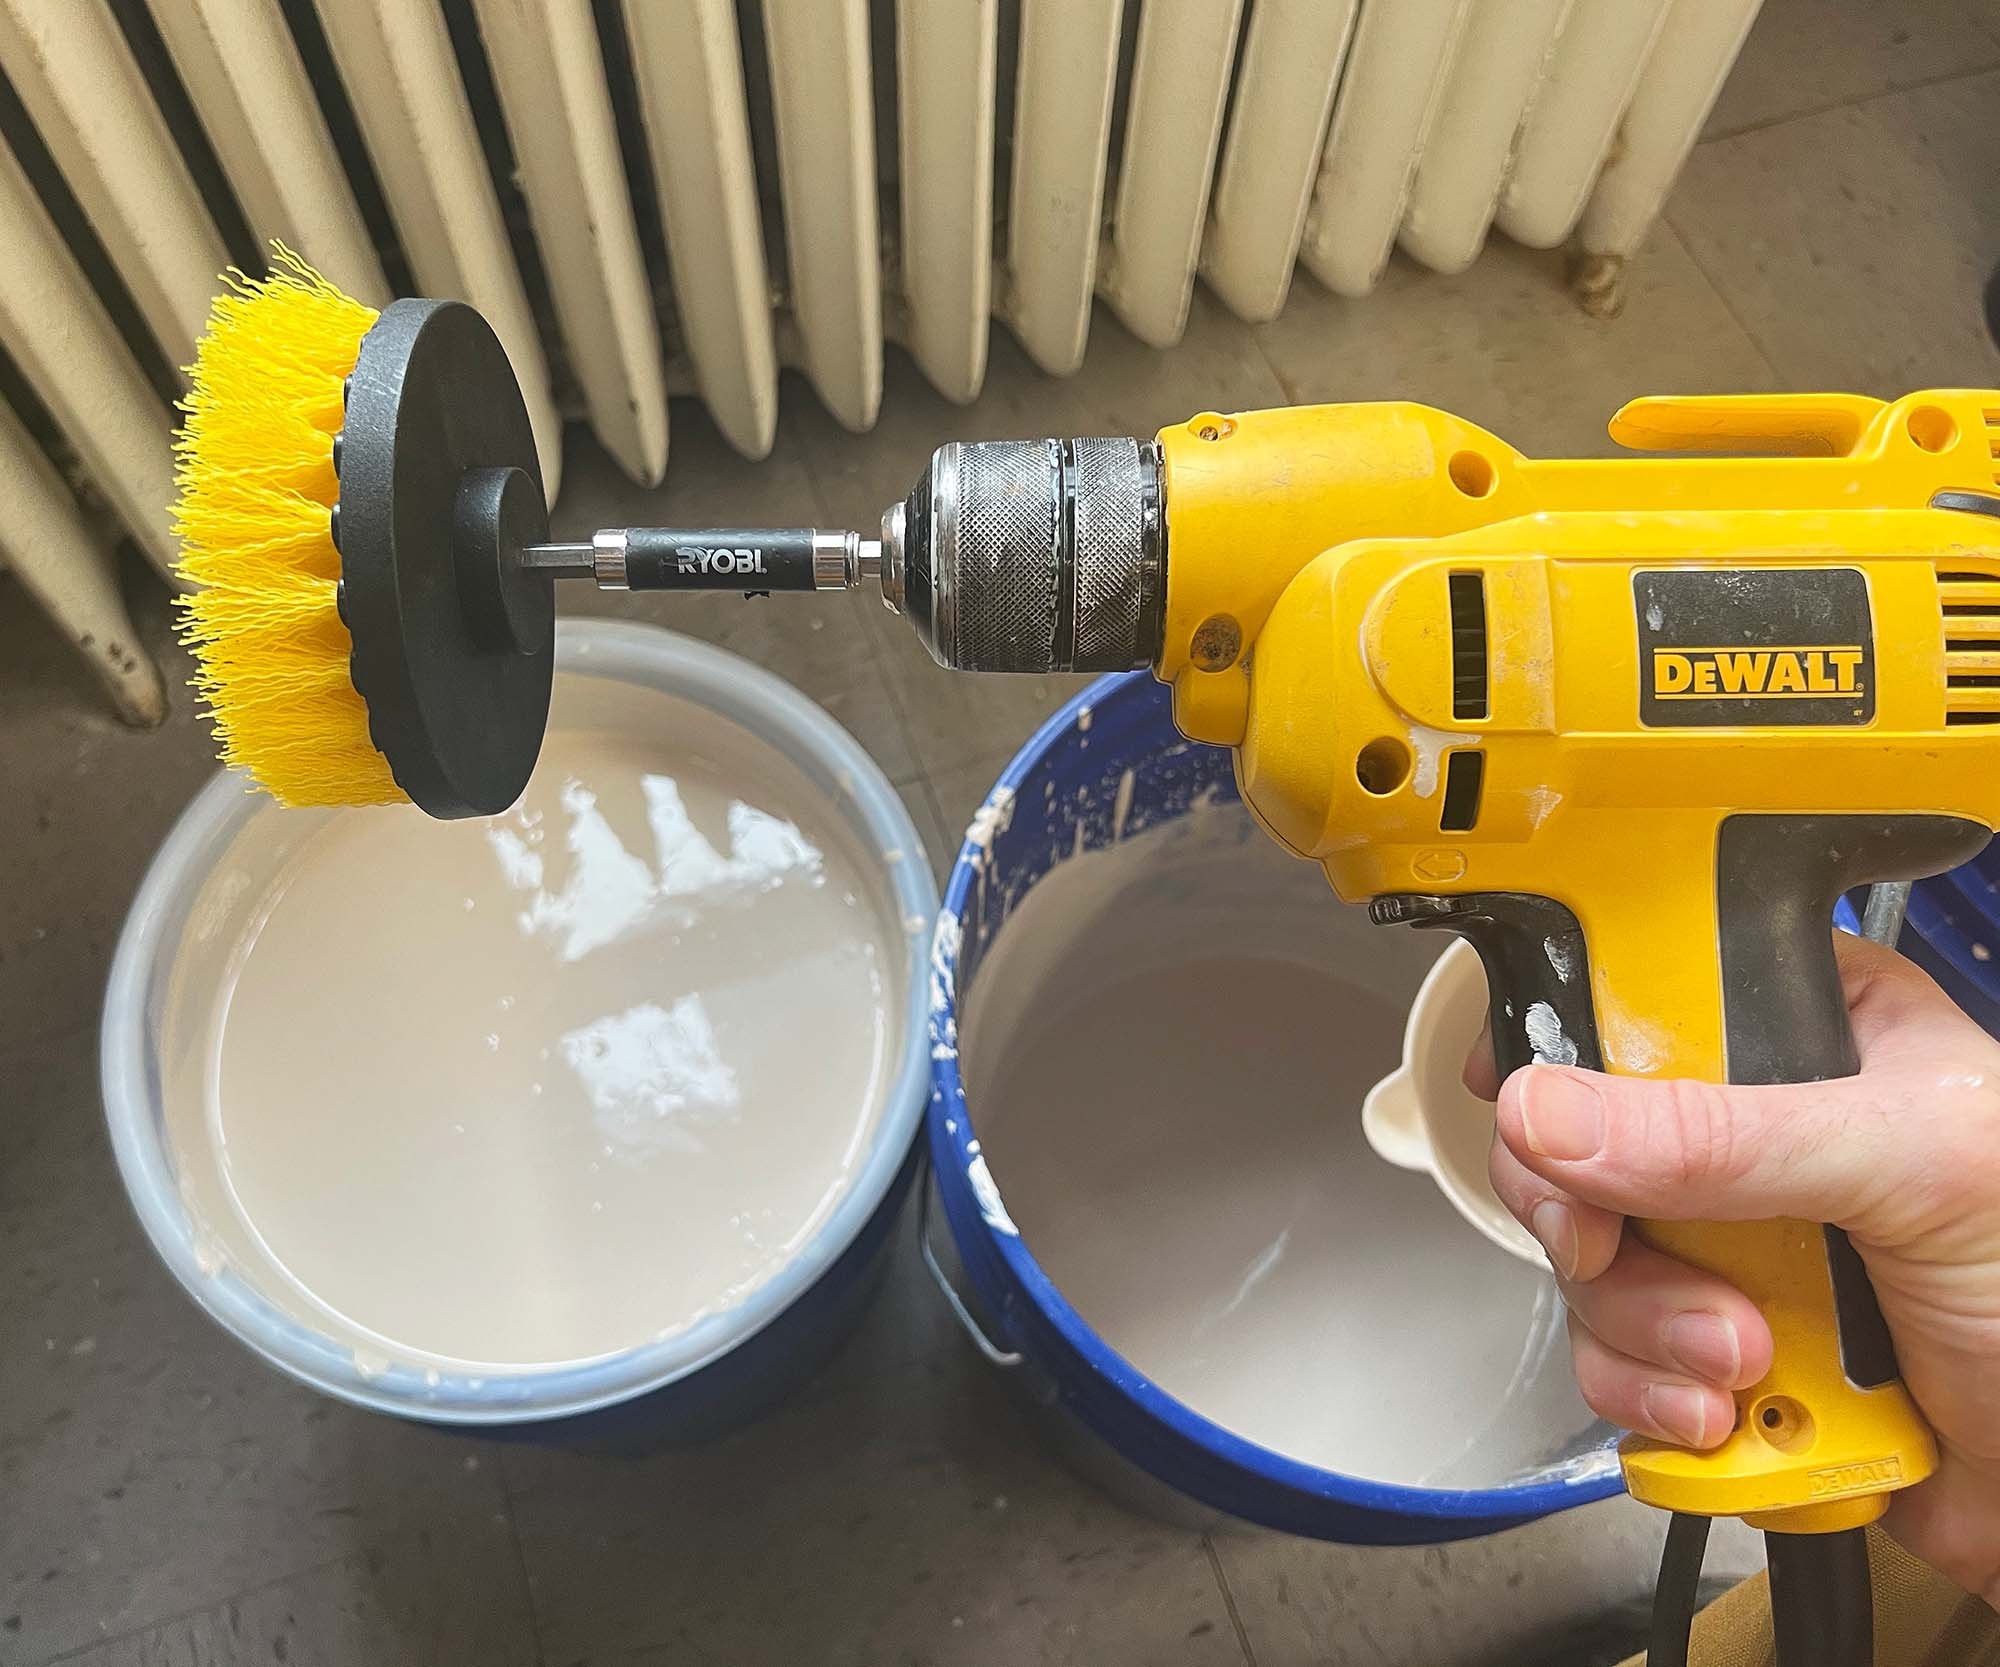
Read our guide on mixing glazes from scratch.
See our reviews of the best scales, cordless drills, or corded drills for mixing glazes.
Check out our recommended glazing accessories.
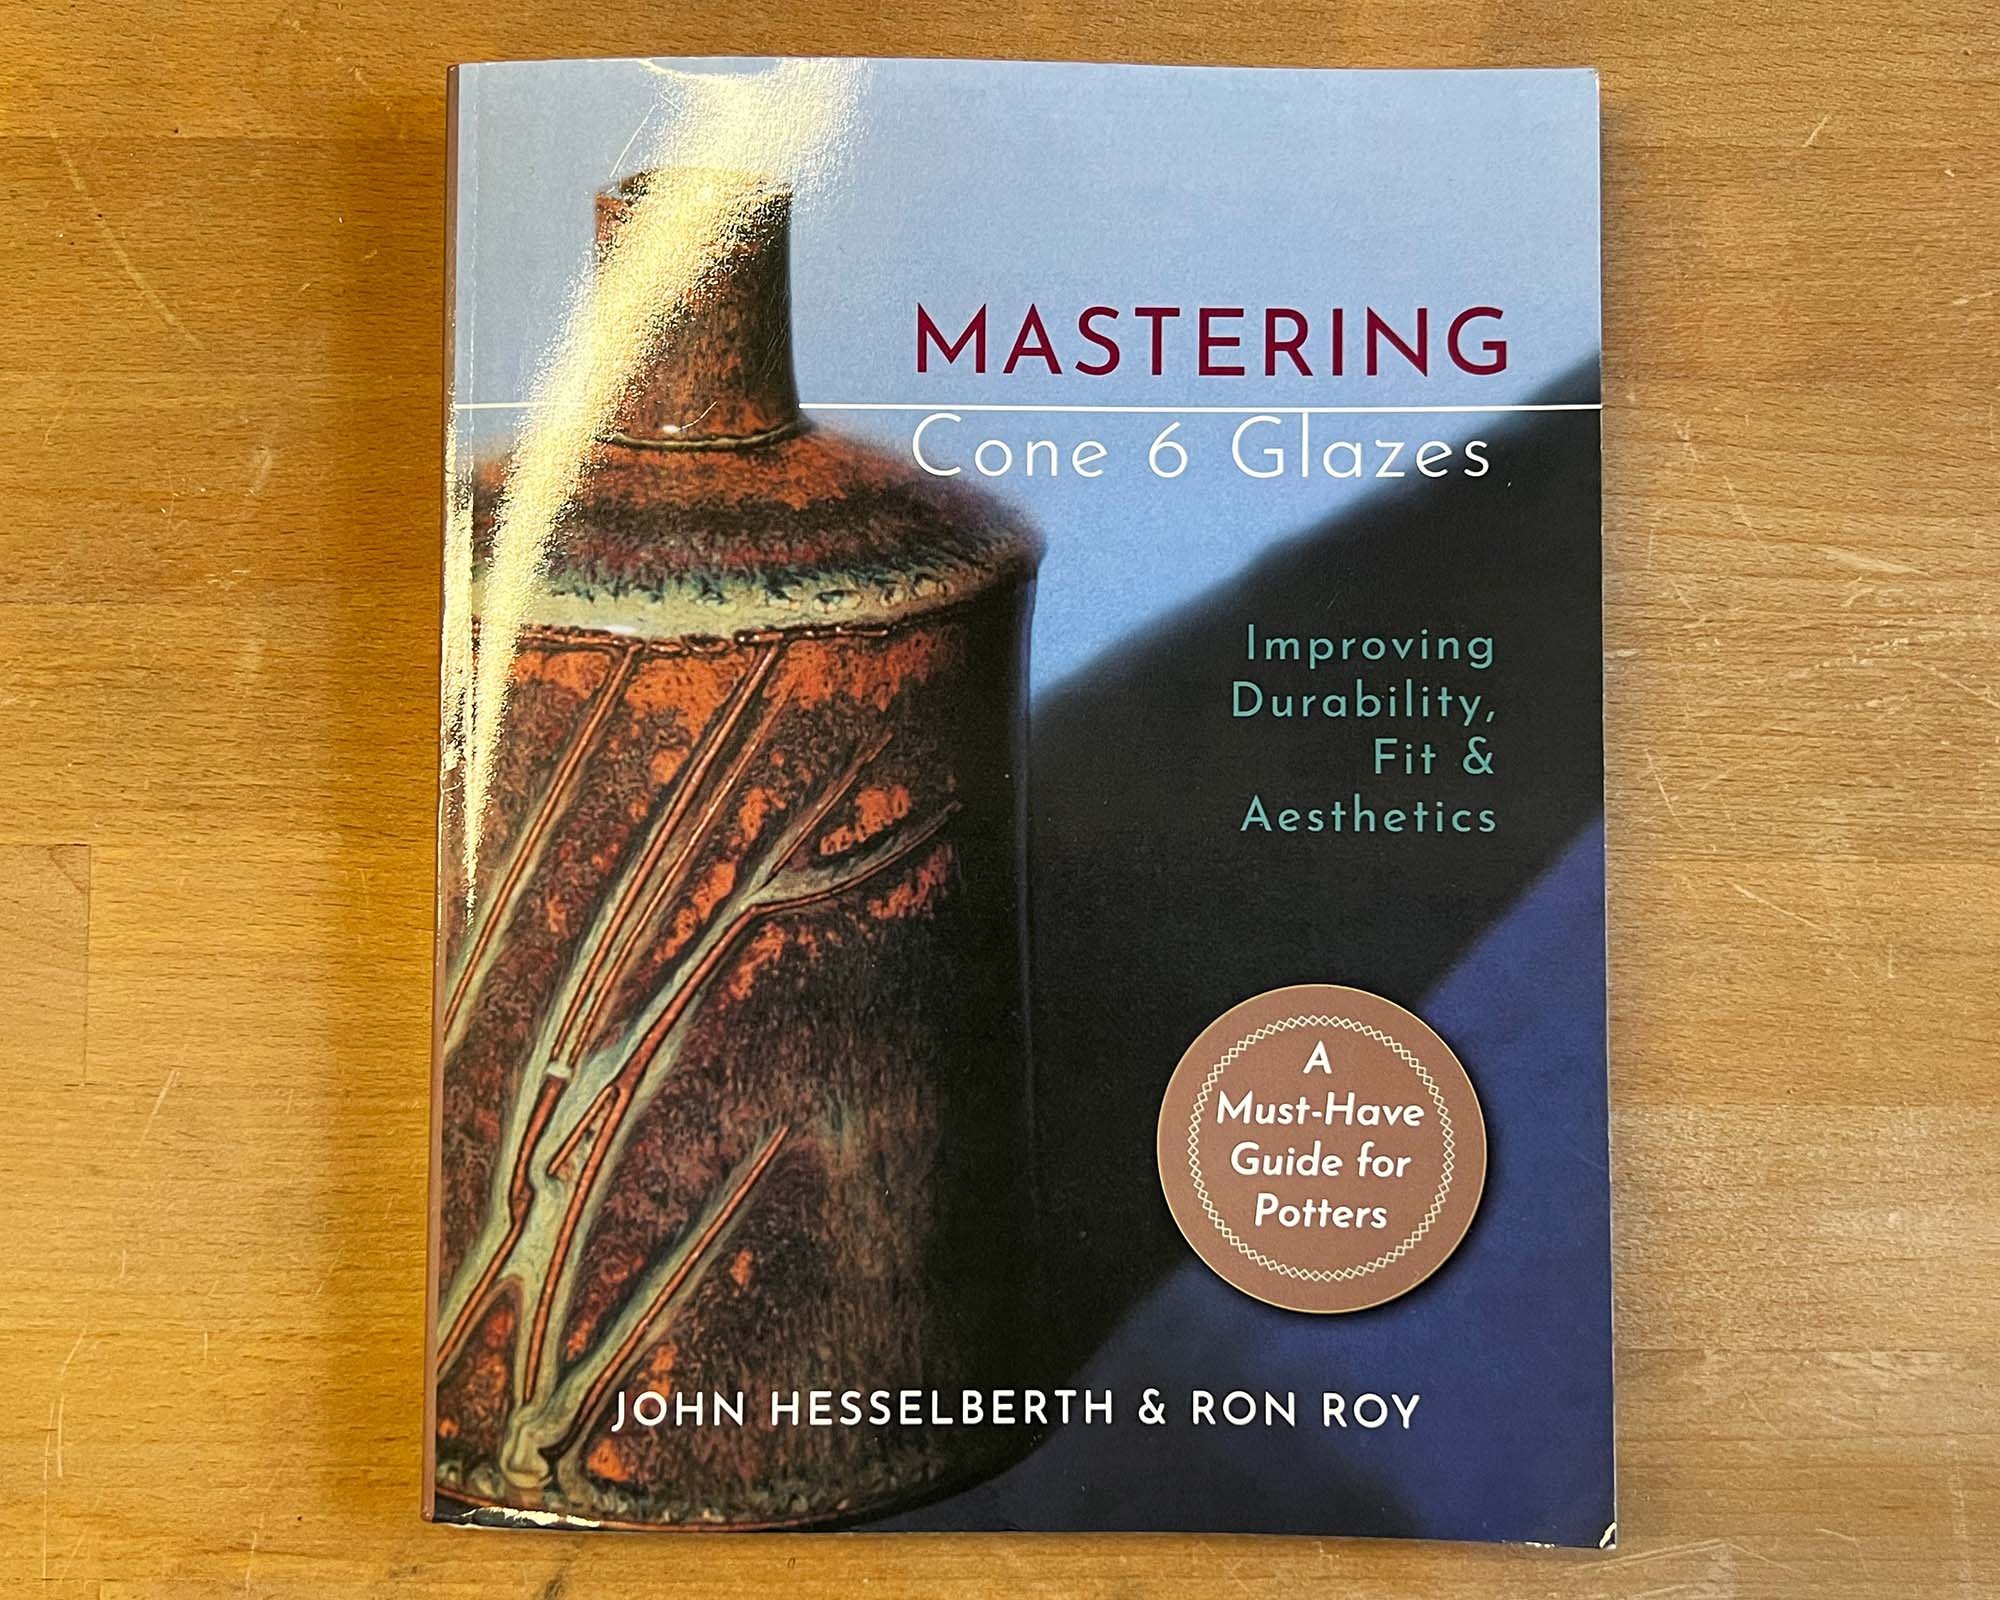
If you’d like to learn more about mid-range glazes, the best place to start is The Complete Guide to Mid-Range Glazes by John Britt. The book provides a comprehensive overview of materials, techniques and glaze recipes.
Buy at amazon.
Buy at bookshop.org.
Do you have a favorite mid-range cobalt blue recipe? Let us know in the comments.