This post is no longer up to date and will be archived soon.
Please click here for the latest 2025 Pottery Wheel Comparison Chart
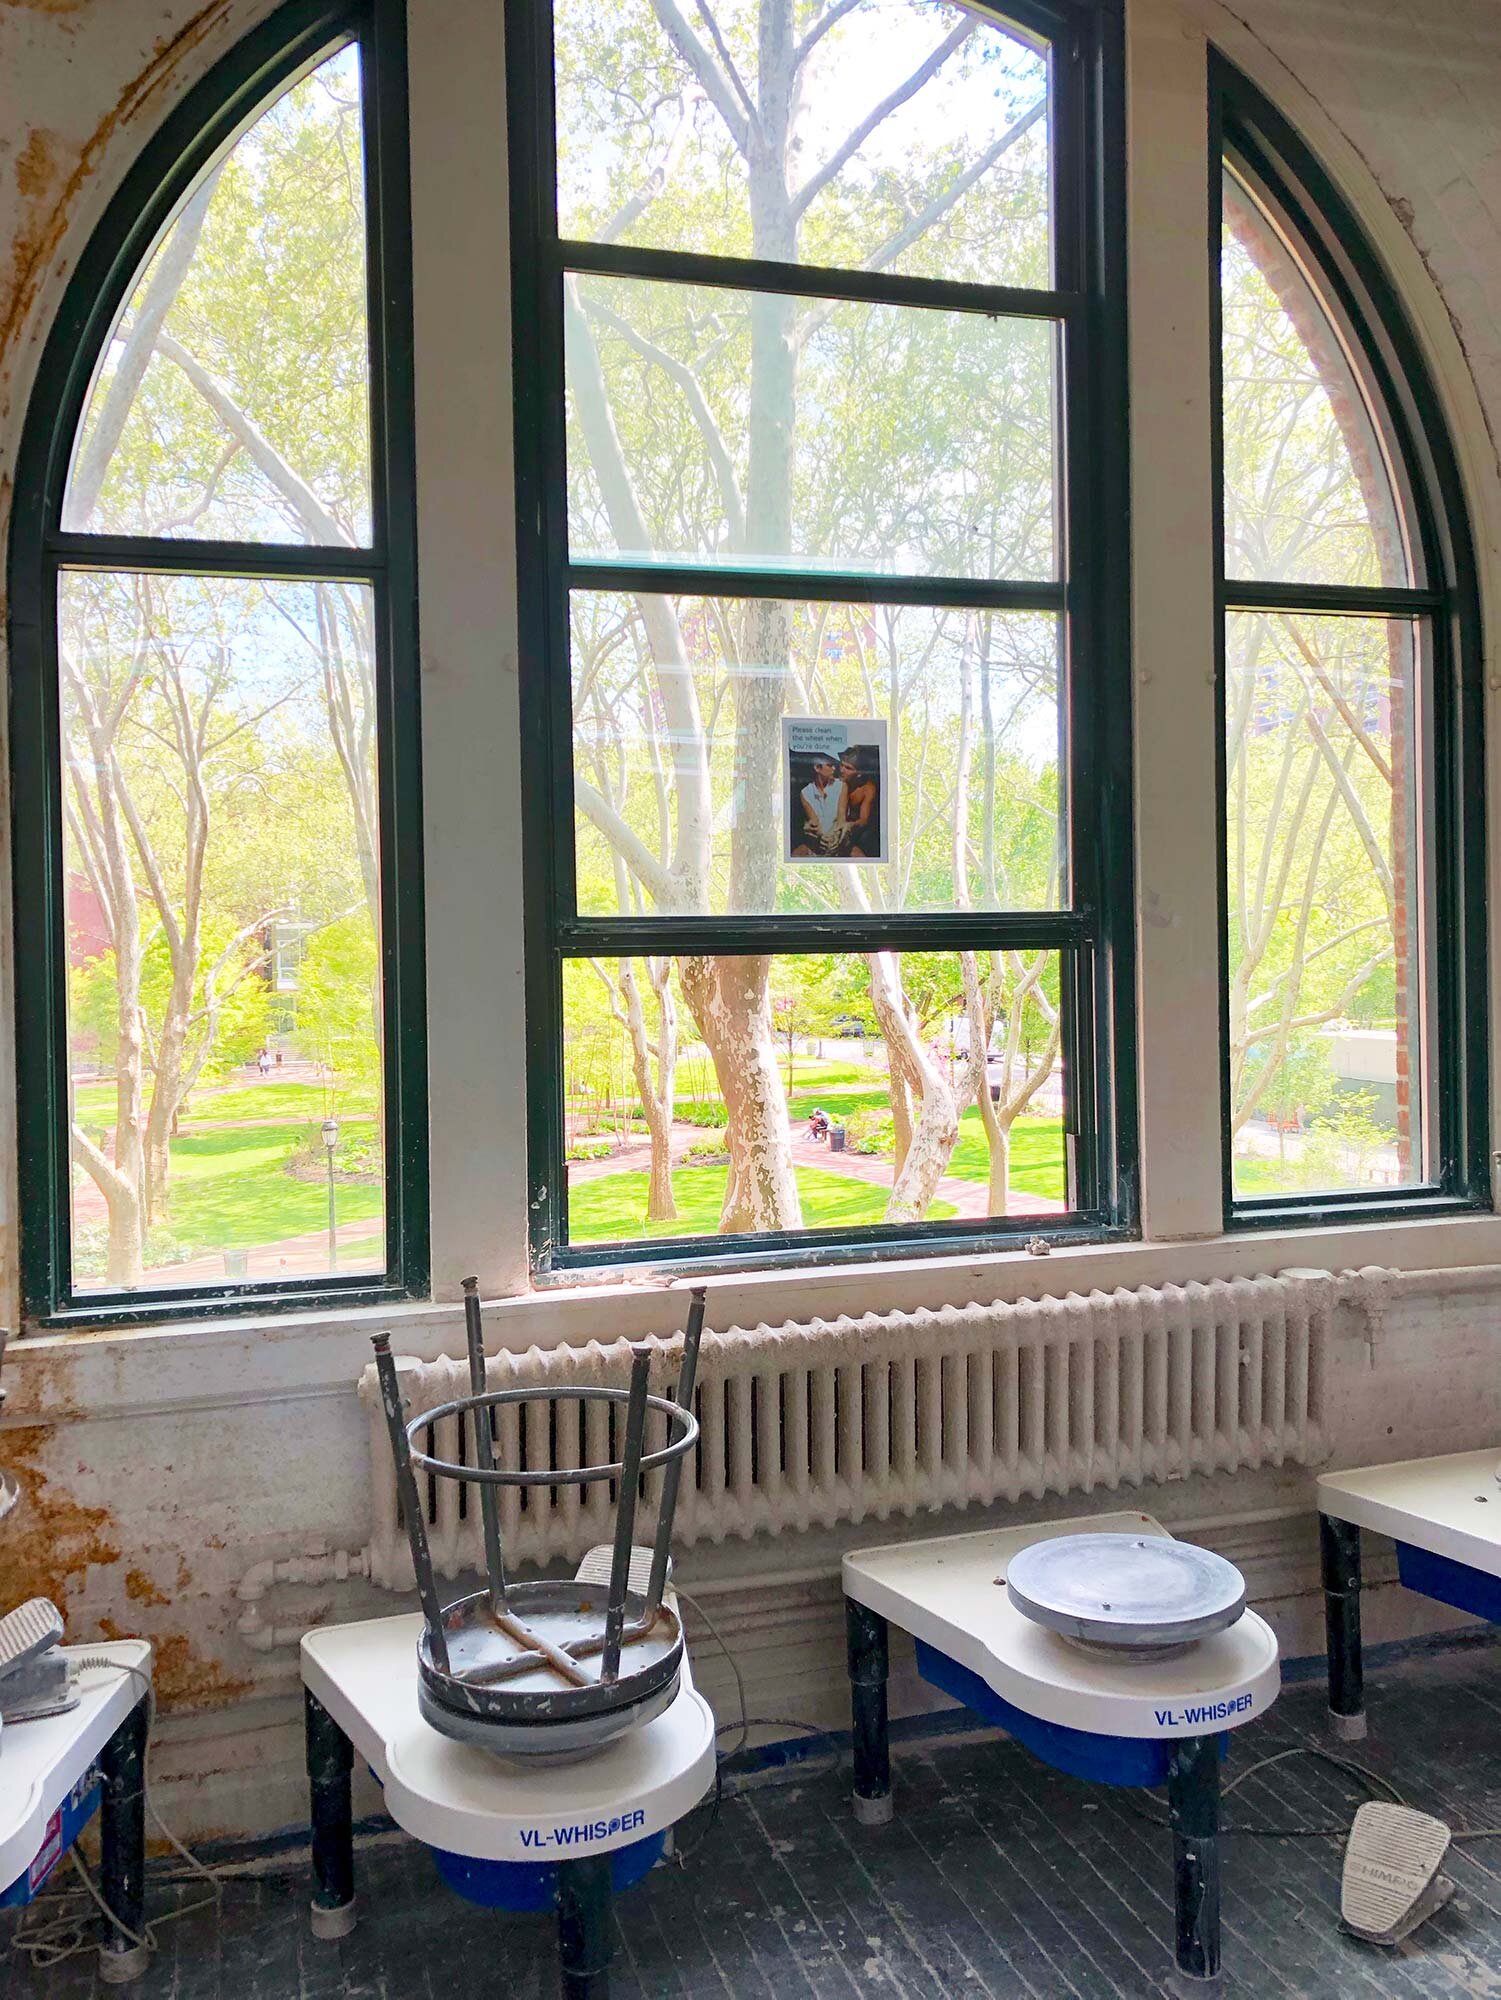
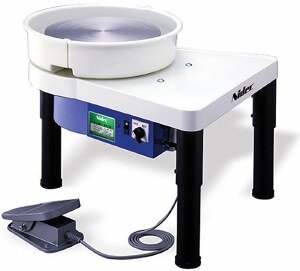
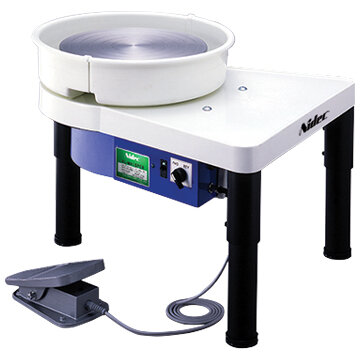
The Shimpo VL-Whisper, the top pick in our Pottery Wheel Buyer’s Guide.
Note: Updated prices and info as of October 2023
This chart includes every wheel made by dependable manufacturers, including Bailey, Brent, Lockerbie, Pacifica, Shimpo, Skutt Thomas Stuart, Soldner, and Speedball. The chart includes specifications, typical price ranges, and other information to help you make a decision when shopping for a wheel.
Click here for our complete 2023 Pottery Wheel Buyer’s Guide, including our top picks, tips on how to buy, and a complete description of each manufacturer.
Note: The chart below uses affiliate links with Dick Blick and Amazon. If you click a link and make a purchase, we may receive a small commission at no extra cost to you.
Bailey Pottery Wheels
Available at baileypottery.com| Model | Typical Price | Motor (HP) | Wheelhead Diameter |
Bat Pin Diameter |
Reversible | Dimensions | Weight | Speed (RPM) | Warranty | Capacity |
|---|---|---|---|---|---|---|---|---|---|---|
| ST | $1,351 | 1/4 HP | 12" | 10" | Yes, plug | 22.5 x 25.5 x 21" | 93 lbs | 0-200 | 5/10 years | 50 lbs |
| ST-X | $1,541 | 1/4 HP | 13" | 10" | Yes, switch | 24.5 x 29 x 20.25" | 103 lbs | 0-200 | 10 years | 50 lbs |
| ST-XL | $1,702 | 1/2 HP | 13" | 10" | Yes, switch | 24.5 x 29 x 20.25" | 123 lbs | 0-200 | 10 years | 100 lbs |
| PRO-50R | $1,499 | 1/4 HP | 12" | 10" | Yes, plug | 24.25 x 29 x 20.25" | 92 lbs | 0-200 | 10 years | 50 lbs |
| PRO-X | $1,581 | 1/4 HP | 13" | 10" | Yes, switch | 24.5 x 29 x 20.25" | 102 lbs | 0-200 | 10 years | 50 lbs |
| PRO-XL | $1,692 | 1/2 HP | 13" | 10" | Yes, switch | 24.5 x 29 x 20.25" | 116 lbs | 0-200 | 10 years | 100 lbs |
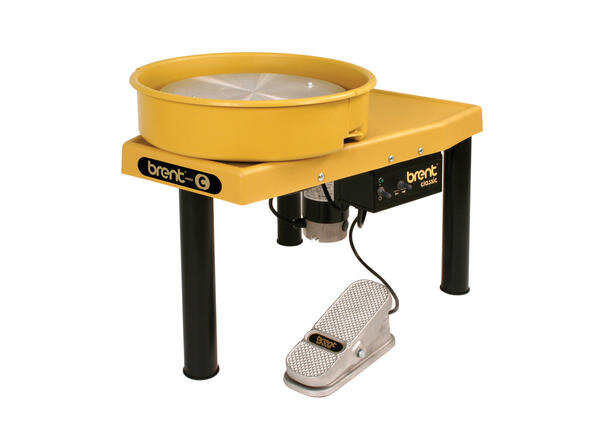
Brent Pottery Wheels
Click links in the chart to shop at Blick.| Model | Typical Price | Motor (HP) | Wheelhead Diameter |
Bat Pin Diameter |
Reversible | Dimensions | Weight | Speed (RPM) | Warranty | Capacity |
|---|---|---|---|---|---|---|---|---|---|---|
| B | $1,898 | 1/2 HP | 12" | 10" | Yes, switch | 21 x 28 x 21.5" | 119 lbs | 0-240 | 10 years | 150 lbs |
| B Black | $1,938 | 1/2 HP | 12" | 10" | Yes, switch | 21 x 28 x 21.5" | 119 lbs | 0-240 | 10 years | 150 lbs |
| C | $1,983 | 3/4 HP | 14" | 10" | Yes, switch | 21 x 28 x 21.5" | 121 lbs | 0-240 | 10 years | 225 lbs |
| C Black | $2,023 | 3/4 HP | 14" | 10" | Yes, switch | 21 x 28 x 21.5" | 121 lbs | 0-240 | 10 years | 225 lbs |
| CXC | $2,064 | 1 HP | 14" | 10" | Yes, switch | 21 x 28 x 21.5" H | 129 lbs | 0-240 | 10 years | 300 lbs |
| CXC Black | $2,104 | 1 HP | 14" | 10" | Yes, switch | 21 x 28 x 21.5" H | 129 lbs | 0-240 | 10 years | 300 lbs |
| Model 16 | $3,855 | 1/2 HP | 12" | 10" | Yes, switch | 36 x 36 x 21-35" H | 287 lbs | 0-240 | 2 years | 150 lbs |
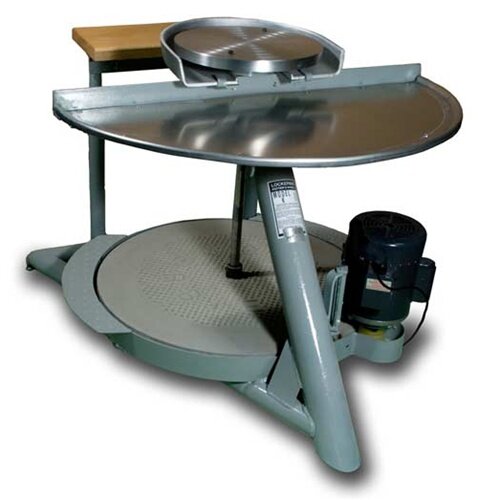
Lockerbie Pottery Wheels
Available at axner.com and other ceramic suppliers.| Model | Typical Price | Motor (HP) | Wheelhead Diameter | Bat Pin Diameter | Reversible | Dimensions | Weight | Speed (RPM) | Warranty | Capacity |
|---|---|---|---|---|---|---|---|---|---|---|
| Kickwheel | $1,575 | N/A | 13" | 10" | N/A | 42 x 36 x 30" | 325 lbs | N/A | 5 years | N/A |
| Electric | $1,881 | 1/3 HP | 13" | 10" | No | 42 x 36 x 30" | 365 lbs | 0-157 | 5 years | 50 lbs |
| Electric-Reversible | $2,024 | 1/3 HP | 13" | 10" | Yes | 42 x 36 x 30" | 365 lbs | 0-157 | 5 years | 50 lbs |

Pacifica Pottery Wheels
Click the links to shop at Blick.| Model | Typical Price | Motor (HP) | Wheelhead Diameter |
Bat Pin Diameter |
Reversible | Dimensions | Weight | Speed (RPM) | Warranty | Capacity |
|---|---|---|---|---|---|---|---|---|---|---|
| GT400 | $1,260 | 1/4 HP | 13" | 10" | Yes | 31 x 27 x 20" | 92 lbs | 0-260 | 5 years | 80 lbs |
| GT800 | $1,485 | 1/2 HP | 13" | 10" | Yes | 31 x 27 x 20" | 105 lbs | 0-260 | 5 years | 100 lbs |
Shimpo Pottery Wheels
Click the links below to shop at Blick.| Model | Typical Price | Motor (HP) | Wheelhead Diameter |
Bat Pin Diameter |
Reversible | Dimensions | Weight | Speed (RPM) | Warranty | Capacity |
|---|---|---|---|---|---|---|---|---|---|---|
| Aspire table top | $569 | 1/3 HP 100w | 7" | 6" | No | 14.5 x 20 x 9" | 25 lbs | 0-230 hand, 0-250 foot | 5 years | 20 lbs |
| VL-Lite | $858 | 1/2 HP 100w | 12" | 10" | Yes, switch | 22 x 28 x 21" | 85 lbs | 0-250 | 5 years | 25 lbs |
| RK-Whisper | $1,310 | 1/2 HP, 400w | 12" | 10" | Yes, switch | 20 x 21 x 20" | 118 lbs | 0-250 | 5 years | 100 lbs |
| VL-Whisper | $1,532 | 1/2 HP, 400w | 14" | 10" | Yes, switch | 23.2 x 27.5 x 22.75" | 122 lbs | 0-250 | 5 years | 100 lbs |
Skutt Pottery Wheels
Click the links in the chart to shop at Blick.*Note that Skutt does not provide RPMs or Centering Capacity.
| Model | Typical Price | Motor (HP) | Wheelhead Diameter |
Bat Pin Diameter |
Reversible | Dimensions | Weight | Speed (RPM) | Warranty | Capacity |
|---|---|---|---|---|---|---|---|---|---|---|
| Prodigy | $1,320 | 1/3 HP | 12" | 10" | No | 24 x 30 x 24" | 94 lbs | - | 10 years | - |
| Removable splash pans: | ||||||||||
| Legend | $1,849 | 1/3 HP | 14" | 10" | Yes, switch | 24 x 30 x 24" | 117 lbs | - | 10 years | - |
| Legend | $1,980 | 1/2 HP | 14" | 10" | Yes, switch | 24 x 30 x 24" | 119 lbs | - | 10 years | - |
| Legend | $2,100 | 1 HP | 14" | 10" | Yes, switch | 24 x 30 x 24" H | 128 lbs | - | 10 years | - |
| Built-In Splash Pans: | ||||||||||
| Classic | $1,900 | 1/3 HP | 14" | 10" | Yes, switch | 24 x 30 x 24" | 127 lbs | - | 10 years | - |
| Classic | $2,153 | 1/2 HP | 14" | 10" | Yes, switch | 24 x 30 x 24" | 128 lbs | - | 10 years | - |
| Classic | $2,189 | 1 HP | 14" | 10" | Yes, switch | 24 x 30 x 24" | 140 lbs | - | 10 years | - |
Soldner Pottery Wheels
*Prices listed are as of 2022.| Model | Typical Price | Motor (HP) | Wheelhead Diameter |
Bat Pin Diameter |
Reversible | Dimensions | Weight | Speed (RPM) | Warranty | Capacity |
|---|---|---|---|---|---|---|---|---|---|---|
| S50 | $1,409 | 1/6 HP | 14" | 10" | Yes, switch | 24 x 24 x 19-25" | 85 lbs | 0-250 | 2 years | 50 lbs |
| S100 | $1,576 | 1/4 HP | 14" | 10" | Yes, switch | 24 x 24 x 19-25" | 95 lbs | 0-250 | 2 years | 100 lbs |
| P100 | $1,891 | 1/4 HP | 14" | 10" | Yes, switch | 29 x 38 x 22-28" | 130 lbs | 0-250 | 2 years | 100 lbs |
| P200 | $2,079 | 1/2 HP | 14" | 10" | Yes, switch | 29 x 38 x 22-28" | 145 lbs | 0-250 | 2 years | 200 lbs |
| P400 | $2,438 | 3/4 HP | 14" | 10" | Yes, switch | 29 x 38 x 22-28" | 160 lbs | 0-250 | 2 years | 400 lbs |
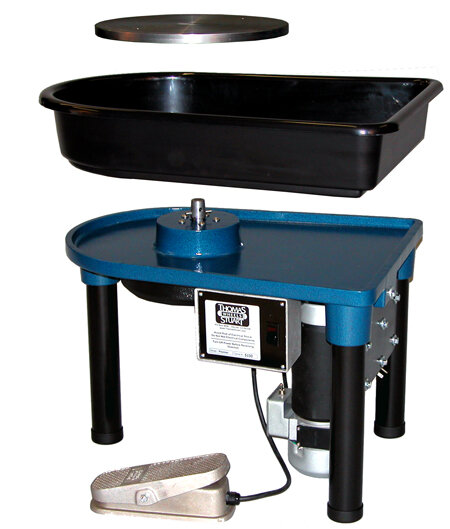
Speedball Pottery Wheels
Click the model name to shop at Blick.| Model | Typical Price | Motor (HP) | Wheelhead Diameter |
Bat Pin Diameter |
Reversible | Dimensions | Weight | Speed (RPM) | Warranty | Capacity |
|---|---|---|---|---|---|---|---|---|---|---|
| Artista table top | $549 | 1/3 HP | 11" | 10" | No | 24 x 18 x 9" | 26 lbs | 0-220 | 2 years | 25 lbs |
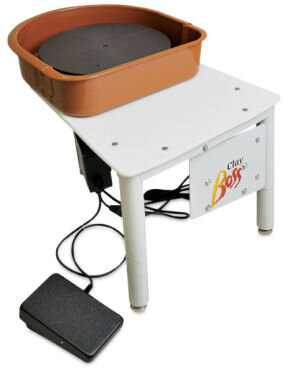
| Clay Boss | $1038 | 1/2 HP | 14" | 10" | Yes, plug | 21 x 26 x 19.5" | 83 lbs | 0-240 | 10 years | 100 lbs |
| Big Boss | $1,271 | 0.85 HP | 14" | 10" | Yes, plug | 21 x 26 x 19.5" | 89 lbs | 0-250 | 10 years | 150 lbs |
| Boss Elite SQ | $1,428 | 1 HP | 14" | 10" | Yes, plug | 21 x 26 x 19.5" | 96 lbs | 0-240 | 5 years | 175 lbs |
Sources and Research
The information in the chart was compiled by visiting manufacturers’ websites, reviewing product manuals, and researching products on various retailers’ websites. Every effort has been made to provide accurate, up-to-date info. If you notice any errors, please contact us.
Click here for our complete 2023-24 Pottery Wheel Buyer’s Guide.
Or check out our 2023-24 Table Top Wheel Buyer’s Guide.
Other posts of interest:
Gift Guide For Potters and Ceramic Artists
Best Loop Tools for Trimming Pottery
For more info on Pottery Wheels and where this data was sourced from:
Bailey: baileypottery.com
Brent: amaco.com/t/equipment/brent/wheels
Lockerbie: www.lagunaclay.com/potterswheels
Pacifica: www.lagunaclay.com/potterswheels
Shimpo: Japan www.nidec-shimpotougei.jp/en/pe; North America: www1.ceramics.nidec-shimpo.com
Skutt Thomas Stuart: skutt.com/pottery-wheels
Soldner: bluebird-mfg.com
Speedball: speedballart.com