Tools for Home and Studio

There are many tools that are equally valuable at home or in the studio. Sometimes, it seems like most tools that are useful in a kitchen can also be put to use in the studio.

This post includes reviews of a few favorites that will hopefully give you some ideas for new tools to use, either at home or in the studio. What do you use in both the kitchen and studio? Please share in the comments.


Swedish Notched Rolling Pin

This notched, diamond-pattern wooden rolling pin or kruskavel can be used in the studio to roll out textured clay slabs. It’s especially useful for making test tiles. Or put it to use at home making crackers. It’s designed to make Swedish knaackebrods but the simple pattern looks great on a variety of baked goods.

Uses:

At home: roll out dough crackers, flatbreads, Swedish knaackebrods, or add notches to baked goods
In the studio: add the diamond texture to clay slabs and test tiles

Linden Sweden Deep Notched Rolling Pin

Swedish Notched Rolling Pin

Swedish Notched Rolling Pin


Patterned Wooden Rolling Pins

clay roller 2.jpg

This set has 10 wooden rolling pins with a variety of patterns. It’s is probably more useful in the studio than at home, but it can be used on crackers and flatbreads just as easily as clay slabs. These roller are relatively small, ranging from 3.5 to about 5 inches wide.

Uses:

At home: patterned crackers
In the studio: textured slabs, roll patterns on to thrown pots, create textured slabs to add to other pieces.

10-pack of textured clay rollers

10-pack of textured clay rollers

Set of 10 Wooden Pattern Rollers
This set is listed twice on amazon. Find it here or try this link.


Wooden Meat Tenderizer Mallet

wooden mallet.jpg

An all-wood meat tenderizer mallet is another texture tool for the studio, or a useful addition to your kitchen. Wood is less likely to stick to clay than metal, so this all-wood option is the way to go.

Uses:

At home: tenderizing steaks, fish, poultry, etc. Great for making flattened chicken breasts.
In the studio: similar to the diamond-pattern of the Swedish rolling pin, this is also a great tool for making patterns on individual test tiles

Double Side Heavyweight Wooden Meat Tenderizer Mallet


Round Cutters in Graduated Sizes

This set of circular cutters is another tool that is equally at home in the kitchen or studio. Great for biscuits or other round baking needs, it’s also perfect for making circles out of clay slabs. The simple design makes it easy to clean, and the container helps organize the pieces for storage.

There are also fluted circular cutters, which can add some nice patterns to your work. It’s best to stick with firm metal cutters, the softer plastic options are often not strong enough for the kitchen or studio.

Uses:
At home:
cut biscuits, bread, English muffins, fondant decoration
In the studio: cut circular slabs, trace circles

Nesting Round Metal Cutters Set
There are name brand and many generic versions of this type of tool. Pictured is the Kayaso version, but there are other options such as this or this 6 piece option from Wilton.

For a fluted option, try this 11-piece set from Jokumo, or a 6-piece set from Wilton.


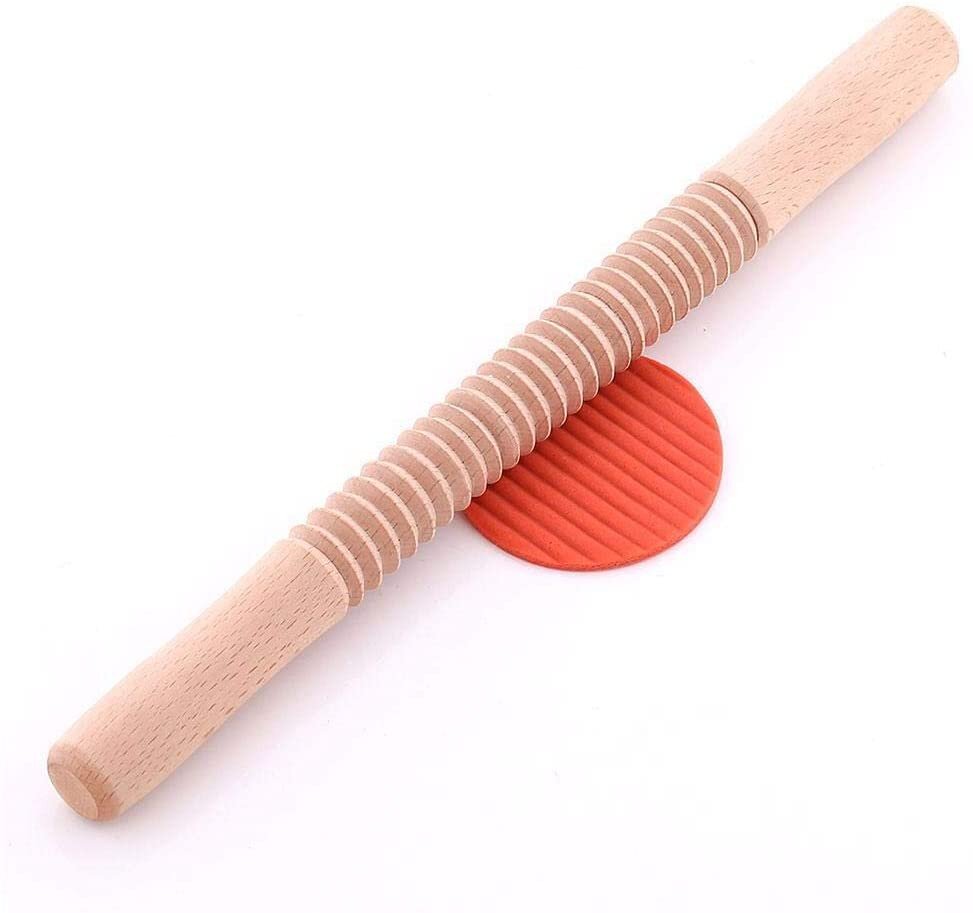
Wooden Thread Spiral Rolling Pin

wood thread rolling pin.jpg

Another simple but useful tool, this wooden rolling pin will add texture to your baking or clay projects. All wood is great because it’s less likely to stick to clay.

Uses:

At home: add texture to cookies, dumplings, pastas
In the studio: add texture to slabs. Great for adding texture and then stretching

Spiral Threaded Wooden Rolling Pin


Silicone Mats for baking or studio use

The Amazon Basics silicone mat

The Amazon Basics silicone mat

A non-stick work surface is vital if you are baking or working with clay. Products like Silpats or silicone baking mats give you that flexibility and are a tool for the home or studio. It’s handy to have these around for working on craft projects, or handbuilding with clay.

If you are looking for ceramic-specific work mats, the Ceramic Shop in Philadelphia has a variety of options. Those are nice options, but a silicone baking mat is often cheaper, almost as stiff, and can be used in a variety of ways.

Amazon Basics Silicone Baking Mat


Green Bell G-1008 Nail Clippers

The Green Bell G-1008 Nail Clipper

The Green Bell G-1008 Nail Clipper

If you are cooking or working in the studio, long nails can get in the way. Nail clippers may seem like the most mundane thing, but upgrading to a pair of Green Bell clippers shows how just about any other clippers is not as good.

I discovered the Green Bell Clippers years ago via this rhapsodic review, and they truly are the best nail clippers I’ve ever used. Made in Japan, these clippers effortlessly cut nails with a perfect tension. They also have a built-in nail file and are constructed with a weight, finish, and somewhat hefty quality that is just a step above any other nail clipper. Sure, they are now about $21 but you’ll most likely never need another clipper.

Green Bell Nail Clippers
I recommend the Green Bell G-1008 at amazon. For a smaller, narrower option, try the Green Bell G-1205


GorillaPod Phone Tripod

GorillaPod GripTight Pro

GorillaPod GripTight Pro

A flexible phone tripod is a handy tool to have anywhere these days, but especially at home or in the studio. Need to set up your phone to read a recipe? Trying to capture the perfect selfie? Or maybe you’re getting into timelapse recording of your work? This is the perfect tool for that.

GorillaPod Mini

GorillaPod Mini

There are numerous knockoff options, many that will do a fine job, but I have been very happy with the original version of this product, the Joby GorillaPod. I frequently use the phone option, and I have the larger 3K kit that can hold my big DSLR camera. They do cost a bit more, but Joby products stand the test of time.

Currently, there are two options for phone holder. The pro-grade phone stand that retails for almost $60, and a newer mini option that is $15 or less. The pro-grade model gives you longer legs that will allow the tripod to grip unusual objects, such as a stick or pole. The smaller option is good for a simple tripod or to stand on an uneven surface, but I wouldn’t expect it to grip too tightly.

GripTight GorilliaPod Phone Stand / Tripod

What are the essential tools that work in your home or studio? Please share in the comments.


How To Use and Clean Up Wax Resist in a Ceramics Studio

 
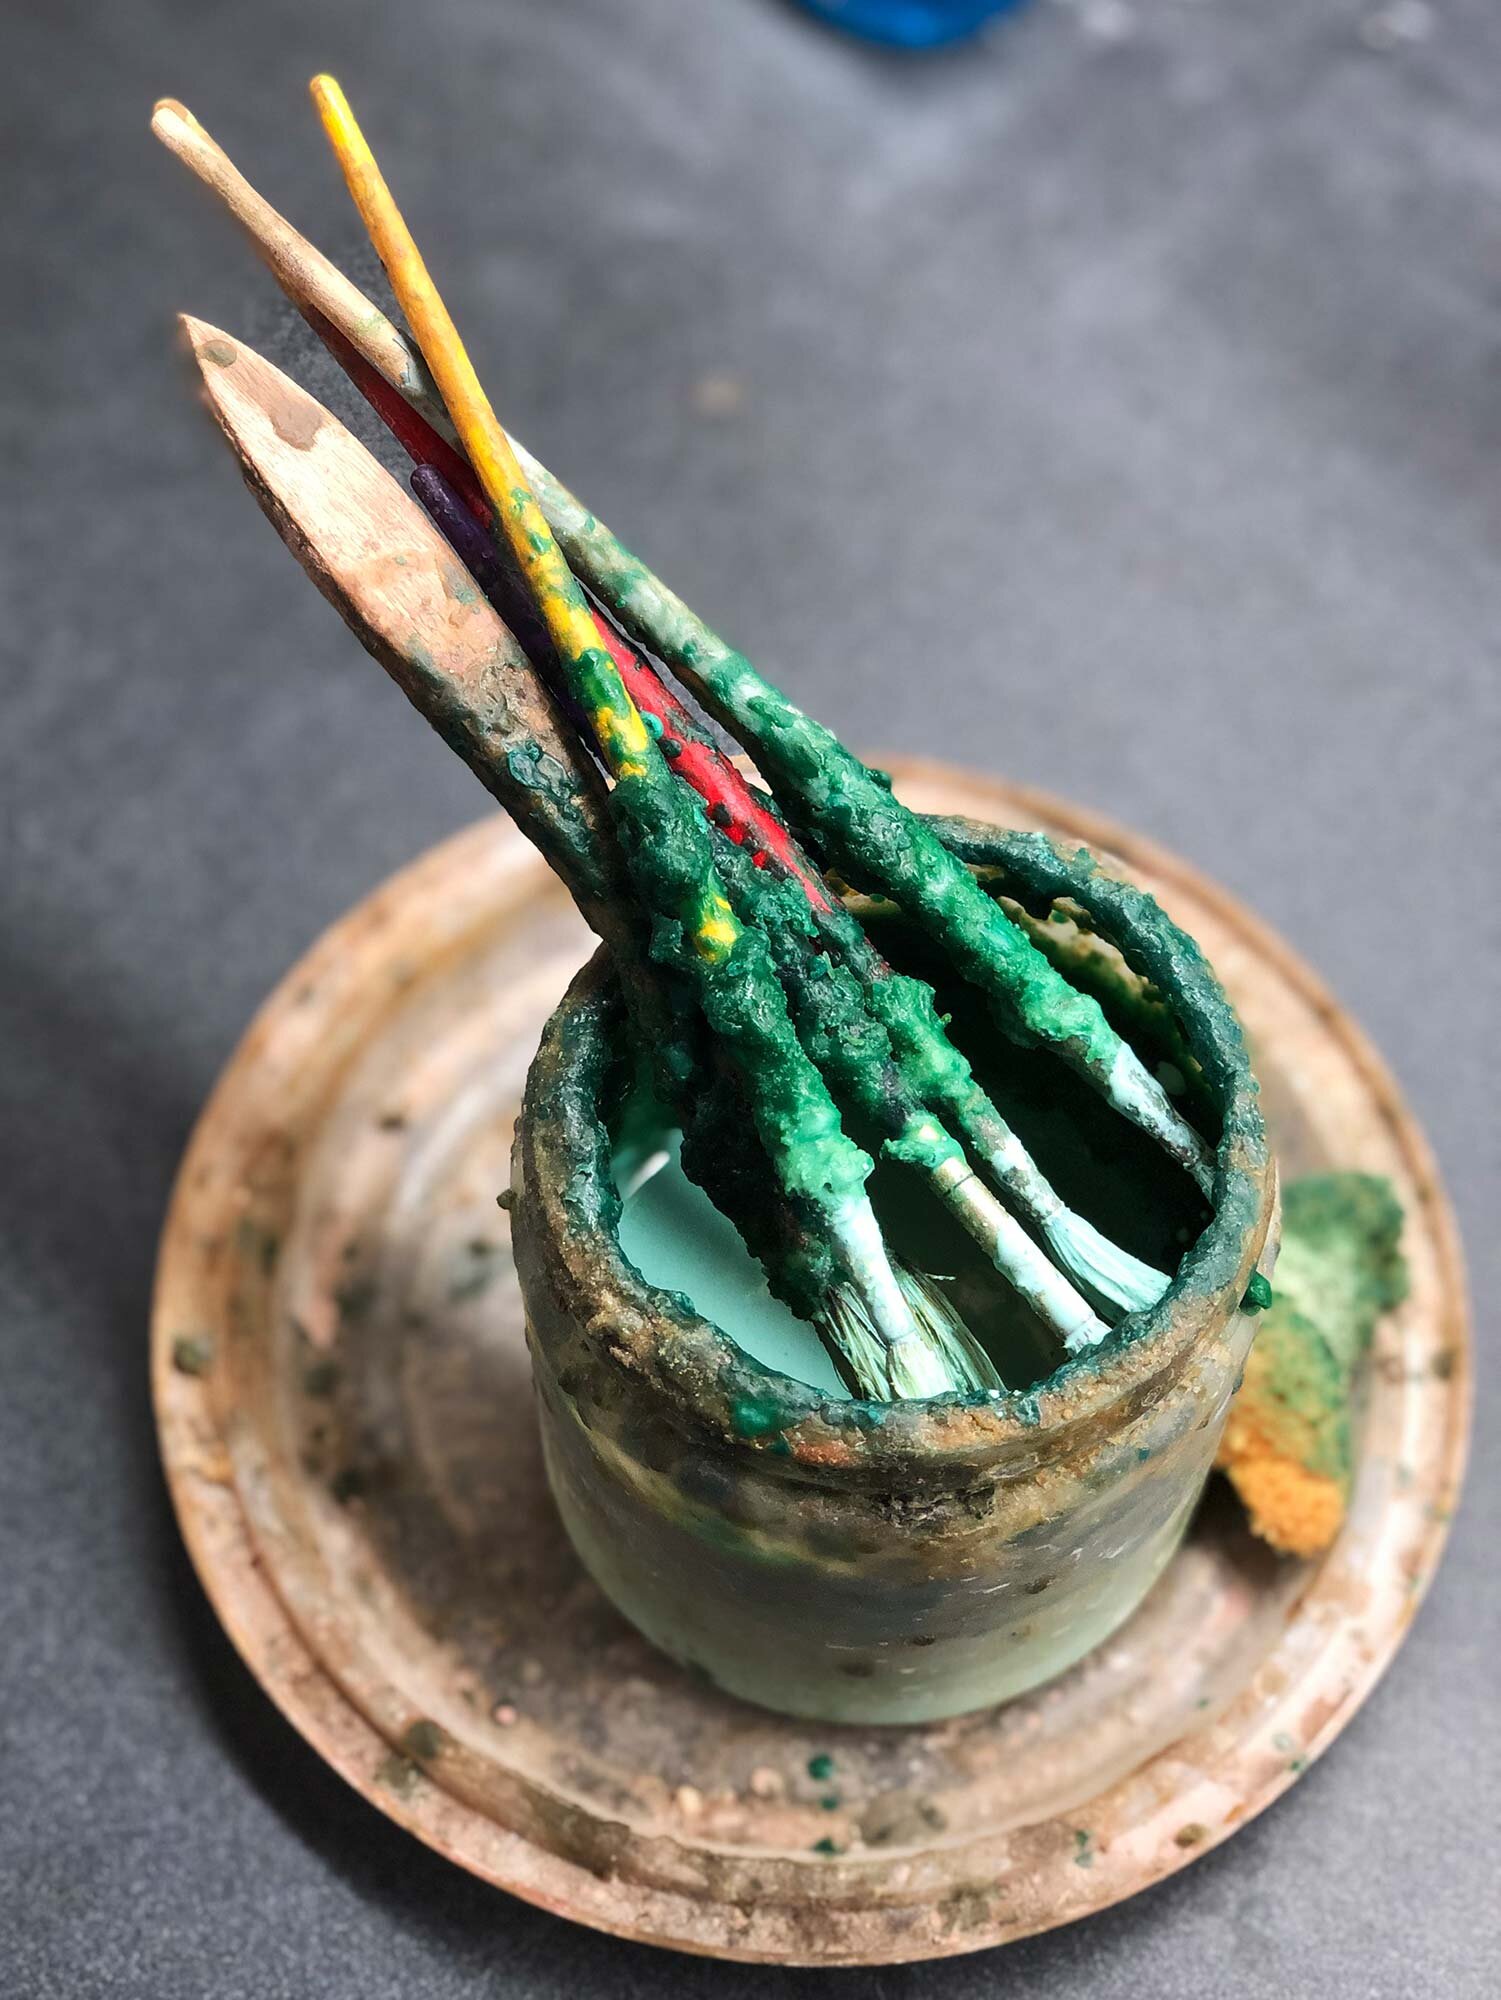
Brushes covered in wax. In this post, we’ll show you how to clean them with boiling water.

Brushes covered in wax. In this post, we’ll show you how to clean them with boiling water.


Wax resist is a great thing to use with ceramics and pottery. It gives you a lot of decorative glazing options, and is useful when glazing rims, lids, feet—anywhere you need to keep free of glaze. But inevitably, you will have to clean it up.

The best way to clean wax resist is with boiling water. Below is a step-by-step tutorial of how to clean your wax brushes and container. There’s also a review a favorite electric water kettle, and some tips of how to best use wax resist. The post will start with a review of wax resists.


Table of Contents

  • Our Favorite Wax Resist: Amaco Green Wax

  • How to Use Wax: Tips and Tricks

  • What You Can Do With Wax

  • How to Clean Wax Brushes tutorial

  • Our Favorite Electric Water Kettle

  • Wrap-Up: Wax Resist Use and Clean Up


The Best Wax Resist

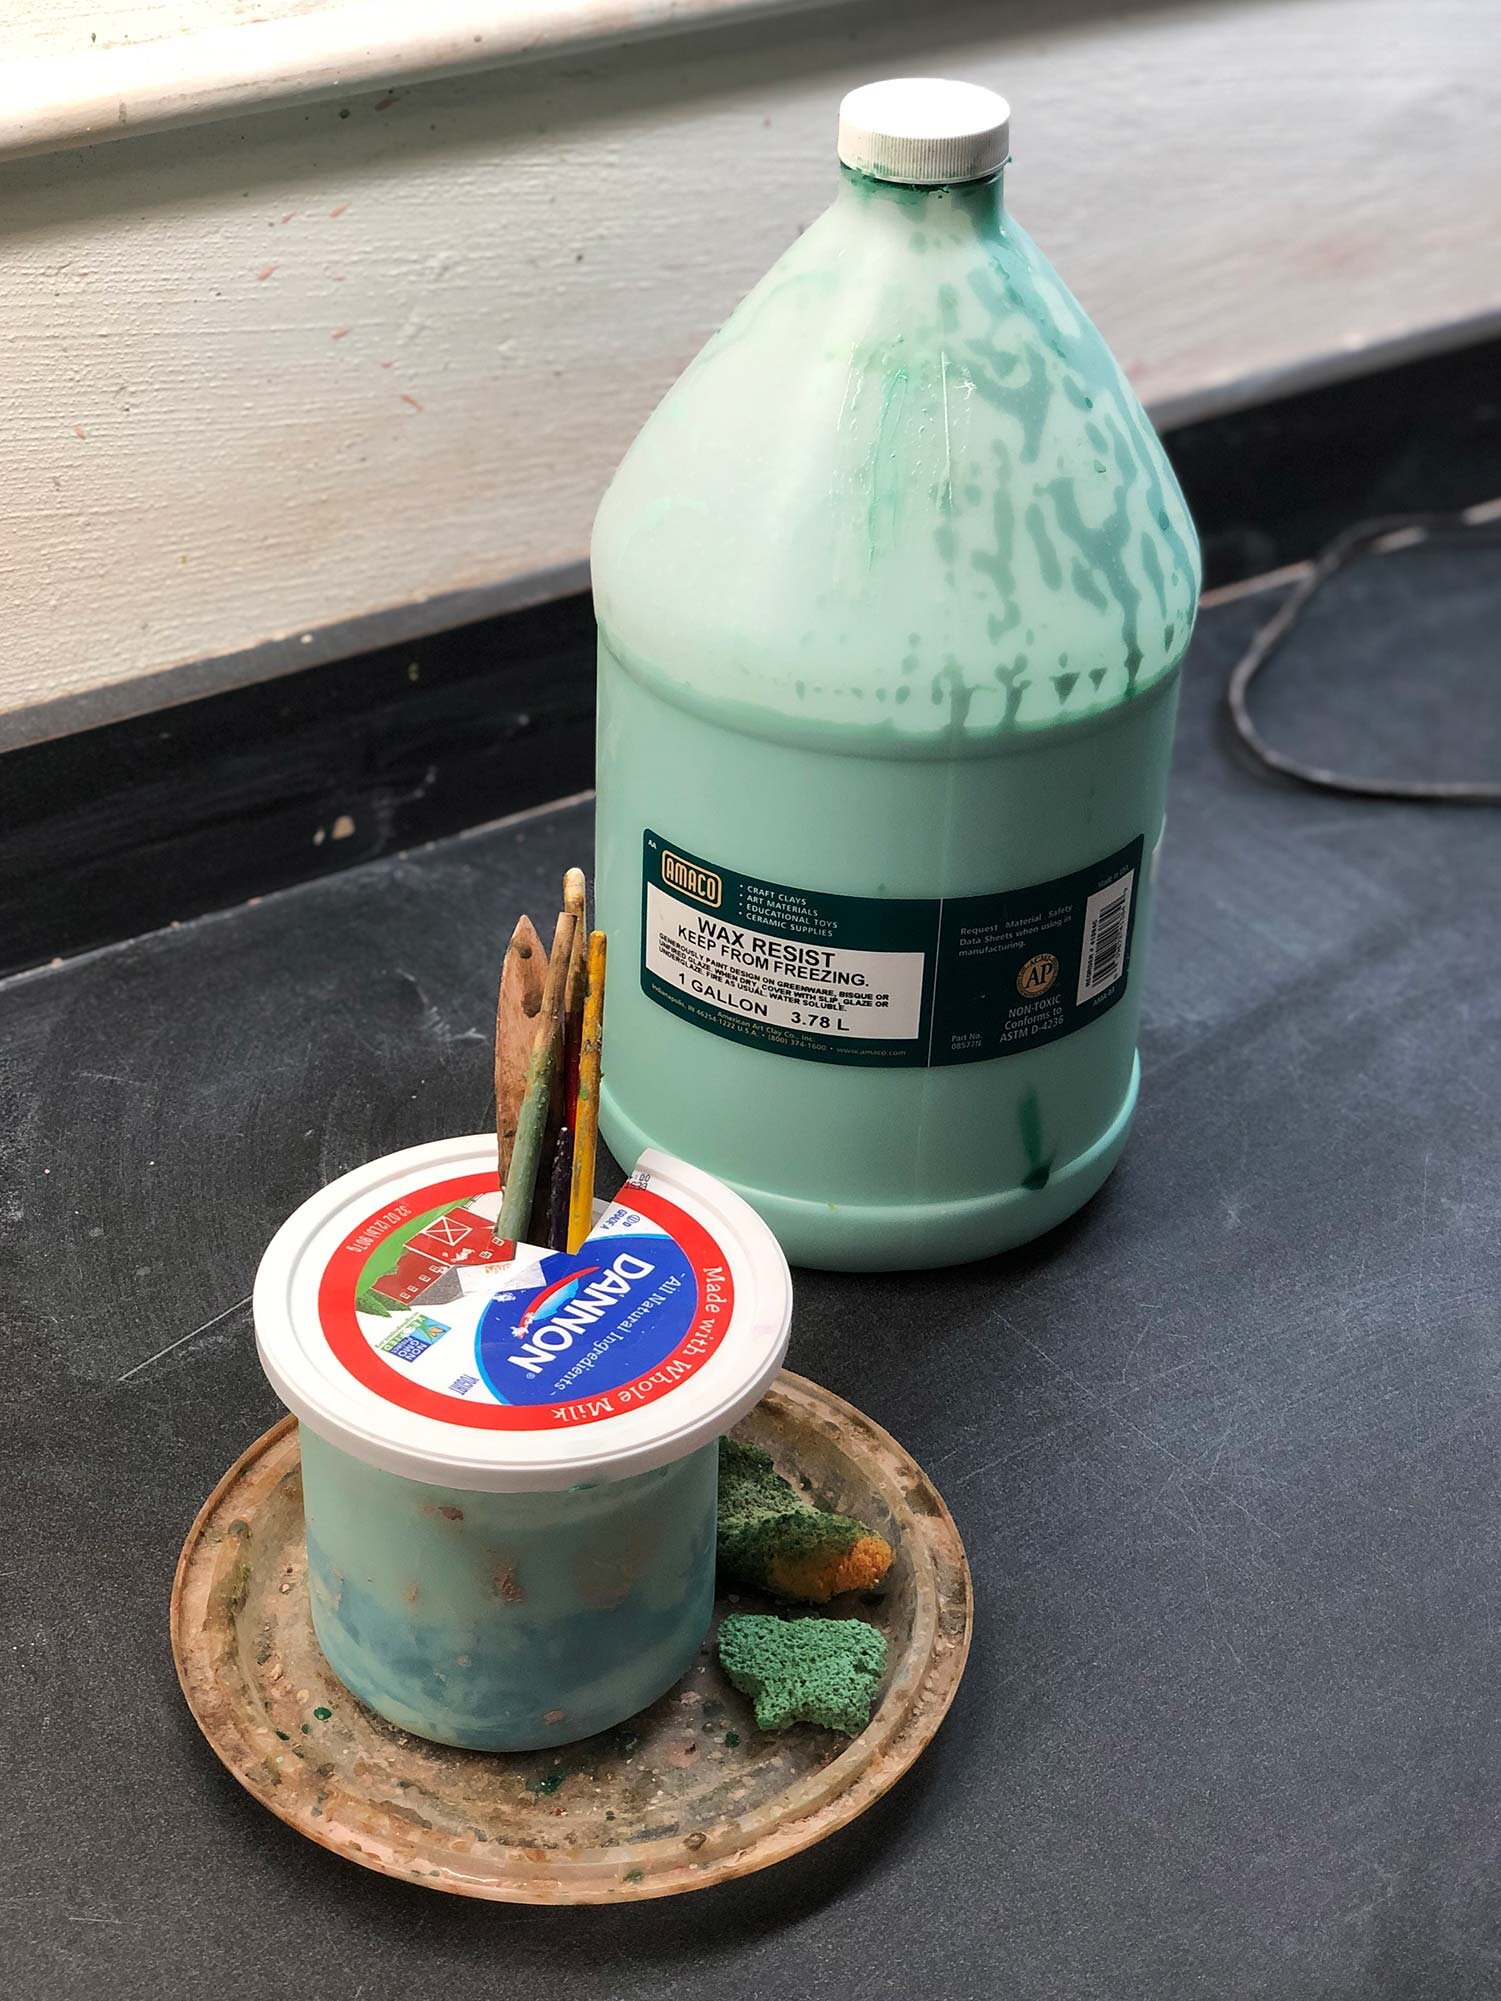
The best wax resist is the green Amaco Wax Resist available in pints and gallon jugs. It’s a premium wax resist that doesn’t peel or fall off when using on top of other glazes for decorative effects. You can buy it by the gallon, which is more economical. One gallon lasts 12 to 15 months in a busy community studio, so a pint is probably an appropriate amount for an individual studio. This resist does everything you need a wax to do and the green dye makes it easy to see on bisqueware or if it drips on a counter top. Out of the bottle, it’s a bit thick so it’s recommended to water it down by about 1/3 to 1/2 with hot tap water.

To store the watered-down wax, use an old container that can also hold your designated wax brush. To make cleanup easier, put a plastic plate or take-out-lid underneath, and and make a notched lid to go around the brushes to prevent the wax from drying. As needed, top up the jar with more wax and water. Inevitably, the brushes and sides of the jar will get wax build up. Below is a tutorial on how to clean this with boiling water.

Buying by the gallon and using a jar is a trade-off. It’s economical to buy in bulk, but the wax jar does take some maintenance. For a busy academic or community studio, this is an easier system to use and maintain than a pint jar with a threaded, screw-on lid. In most shared studios, those threads never stay clean which means the cap is never screwed on tight which can mean…ugh…semi-frequent spills of a pint of wax resist. You definitely don’t want a pint of wax resist all over your floor.


How to Use Wax: Tips and Tricks

This post is mainly about cleaning up wax resist, but here’s a quick overview of how to use wax resist:

Some recommend painting wax resist on the bottom of every pot, but I do not. Instead, think about your piece: will it be easier to clean up your glaze with or without wax? If it’s a large, flat form like a plate, you probably should use wax to cover the bottom. If it’s a small foot ring, it will be easier and faster to clean with a sponge. The key with wax is that you don’t want to unnecessarily waste time, material, or energy because of drips or simply using wax where you don’t need it.

  • As mentioned above, watered-down wax resist is preferred because it dries faster and leads to less build-up on your ware. A thin coat is all you need. Mix 1/3 hot tap water to 2/3 wax resist and stir. You might be able to go thinner! Test what works for you.

  • When applying, be careful to not create drips or puddles where you don’t want wax to go. To remove wax, you may have to re-bisque fire a piece. Alternately, you can remove by sanding or scraping, or by pouring boiling water on the bisqueware. The problem is that wax gets into the pores of your bisqueware, so it can be hard to remove.

  • Allow wax to dry completely before glazing. This can take 15-30 minutes.

  • Wax can be great as a decorative tool, especially on top of one glaze to create a resist effect in combination with a second coat. Cheaper wax resist options often peel up or don’t work on top of a chalky, dried glaze. That’s one reason to use the green Amaco wax. It works on top of every glaze I’ve tested and stays in place with no peeling.

  • Keep in mind that wax burns off anywhere from about 200–500 degrees. It doesn’t do anything to protect your kiln shelves. As this burning can create some smell and a small amount of smoke, it’s best to minimize wax use if your kilns are indoors. Definitely vent your kilns!

Other ideas for wax in the studio

  • Paint over thin areas of greenware to slow the drying of the clay.

  • Lid Wax: add 1/2 cup Alumina Hydrate to 1 pint wax to create a special wax for firing lids on pots. When the wax burns off, the powdered, refractory alumina hydrate will stay behind, leaving a chalky resist. This will hopefully prevent glaze runs, etc, that could cause the lid to stick to the rim of the pot.


How to Clean Wax Brushes and Jars: A Tutorial

To prevent contamination and keep things efficient and functional, designate 3 or 4 brushes of different sizes as wax brushes. These brushes sit in the wax resist pot, and over time, wax builds up on the sides of the brushes and the rim of the wax jar. Here is how to clean them.

Step 1

Brushes and jar with built-up wax resist.

Brushes and jar with built-up wax resist.

Here is a picture of a wax jar with dirty brushes. The wax jar is a wide-mouth, recycled underglaze jar. For brushes, try using economical 1/2” chip brushes, and a few smaller brushes.


Step 2

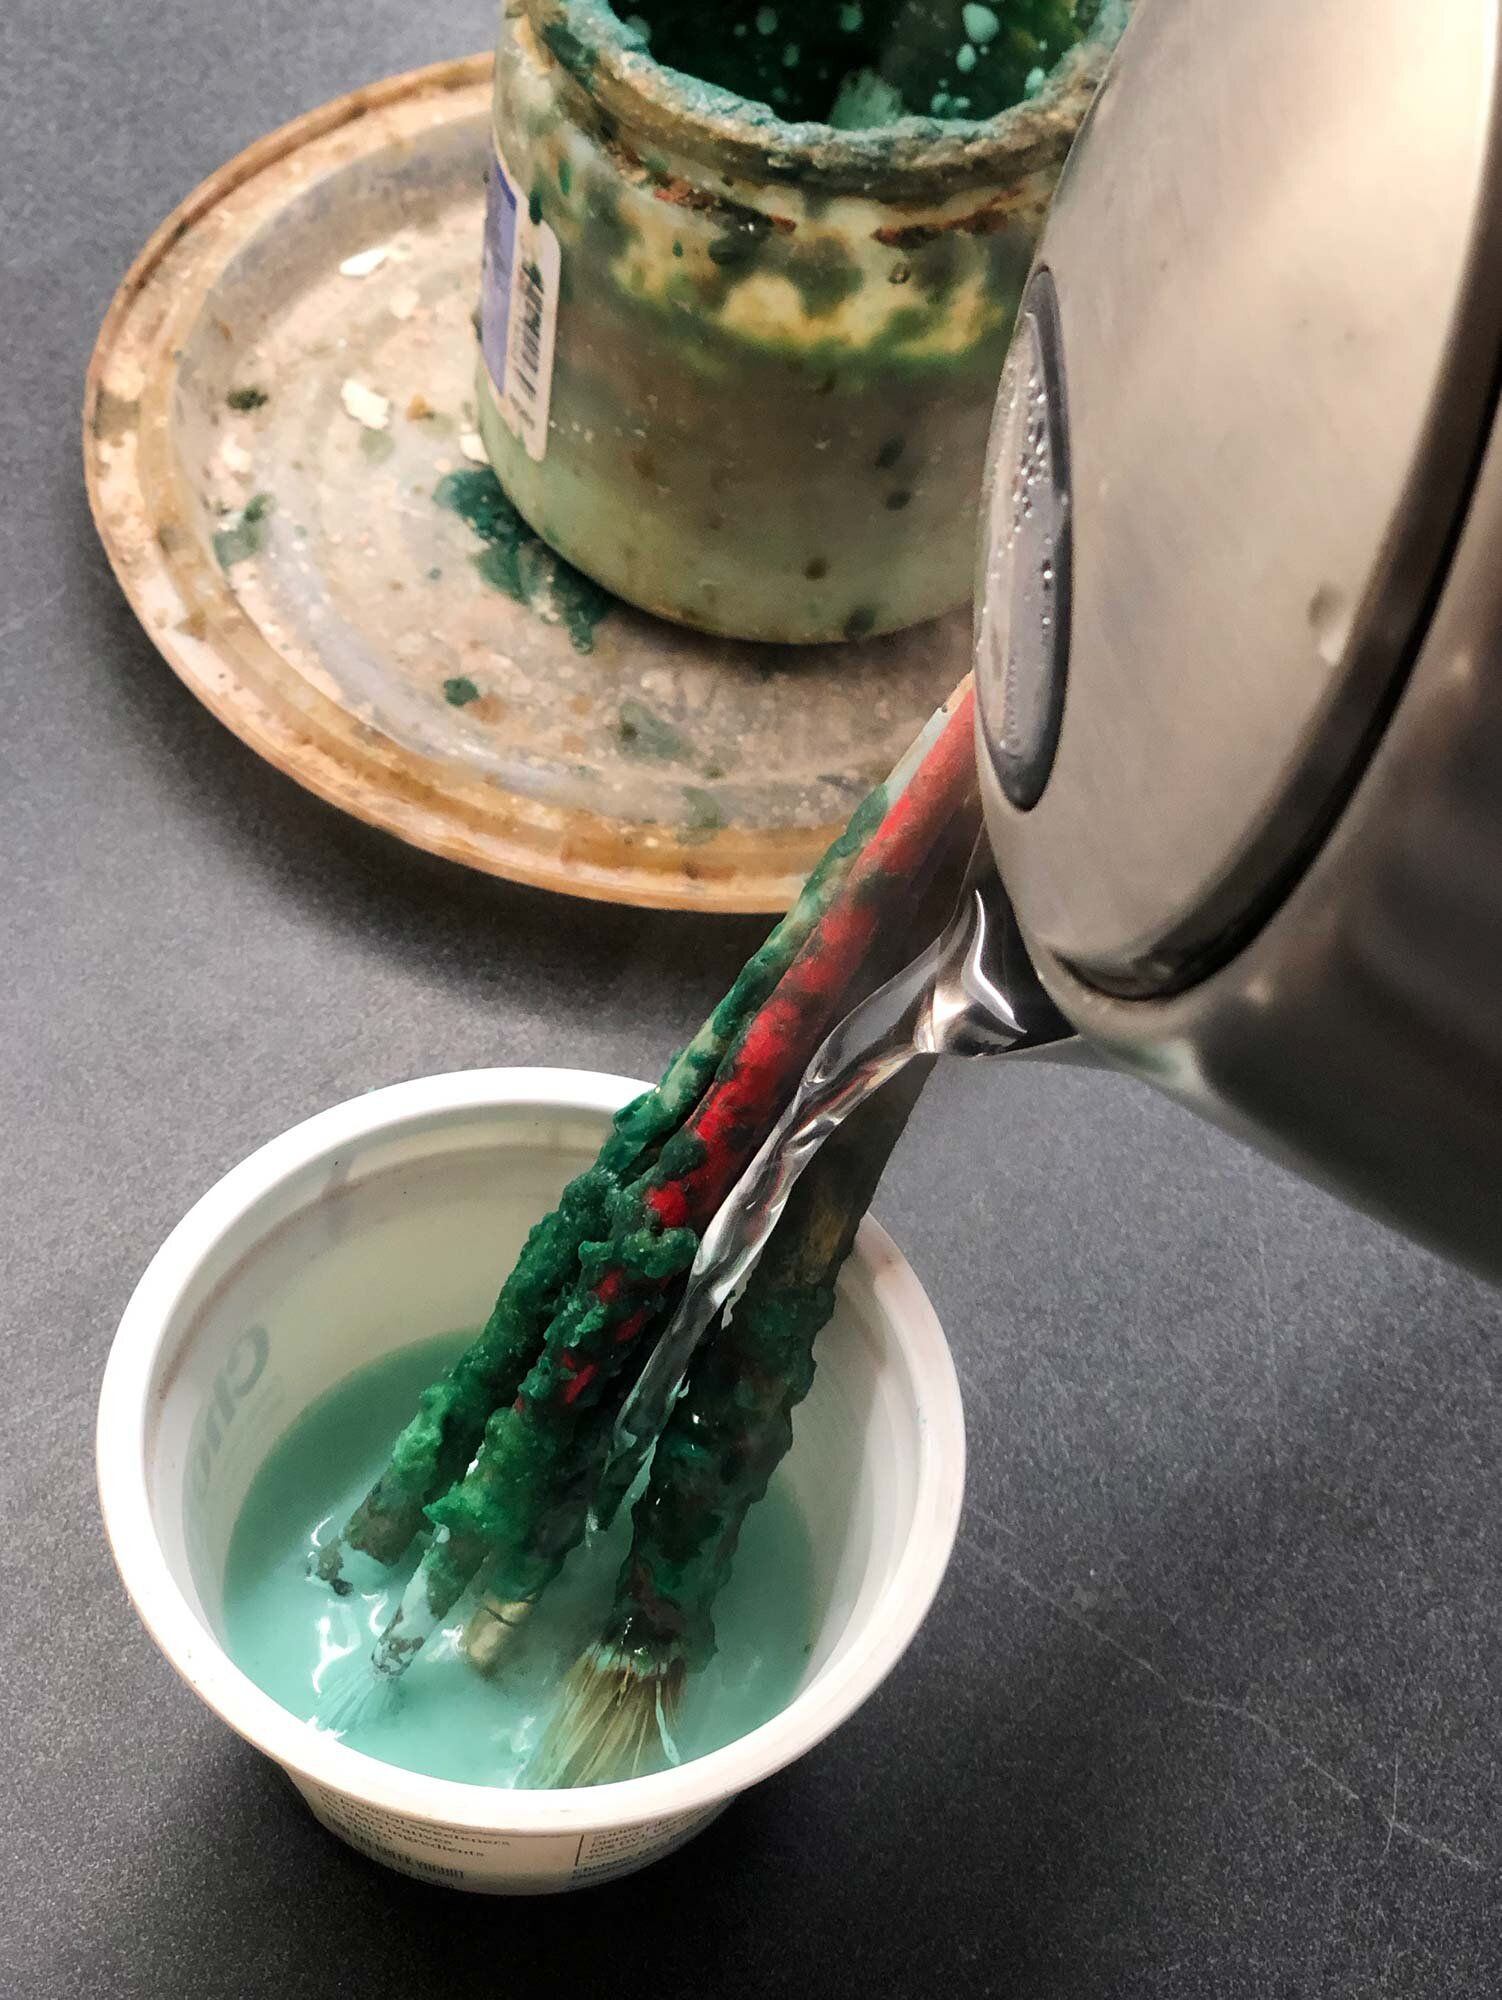
Move brushes to a small container. Pour boiling water over the brushes.

Move brushes to a small container. Pour boiling water over the brushes.

If you have heavy wax build up on your brushes, you may want to cut off and dispose of this build up with a fettling knife.

Then, move brushes to a small container, such as a recycled yogurt cup. Boil water and pour over the brushes. Swirl the brushes in the water and use the brushes to clean the sides of the other brushes.


Step 3

One brush cleaned, four more left.

One brush cleaned, four more left.

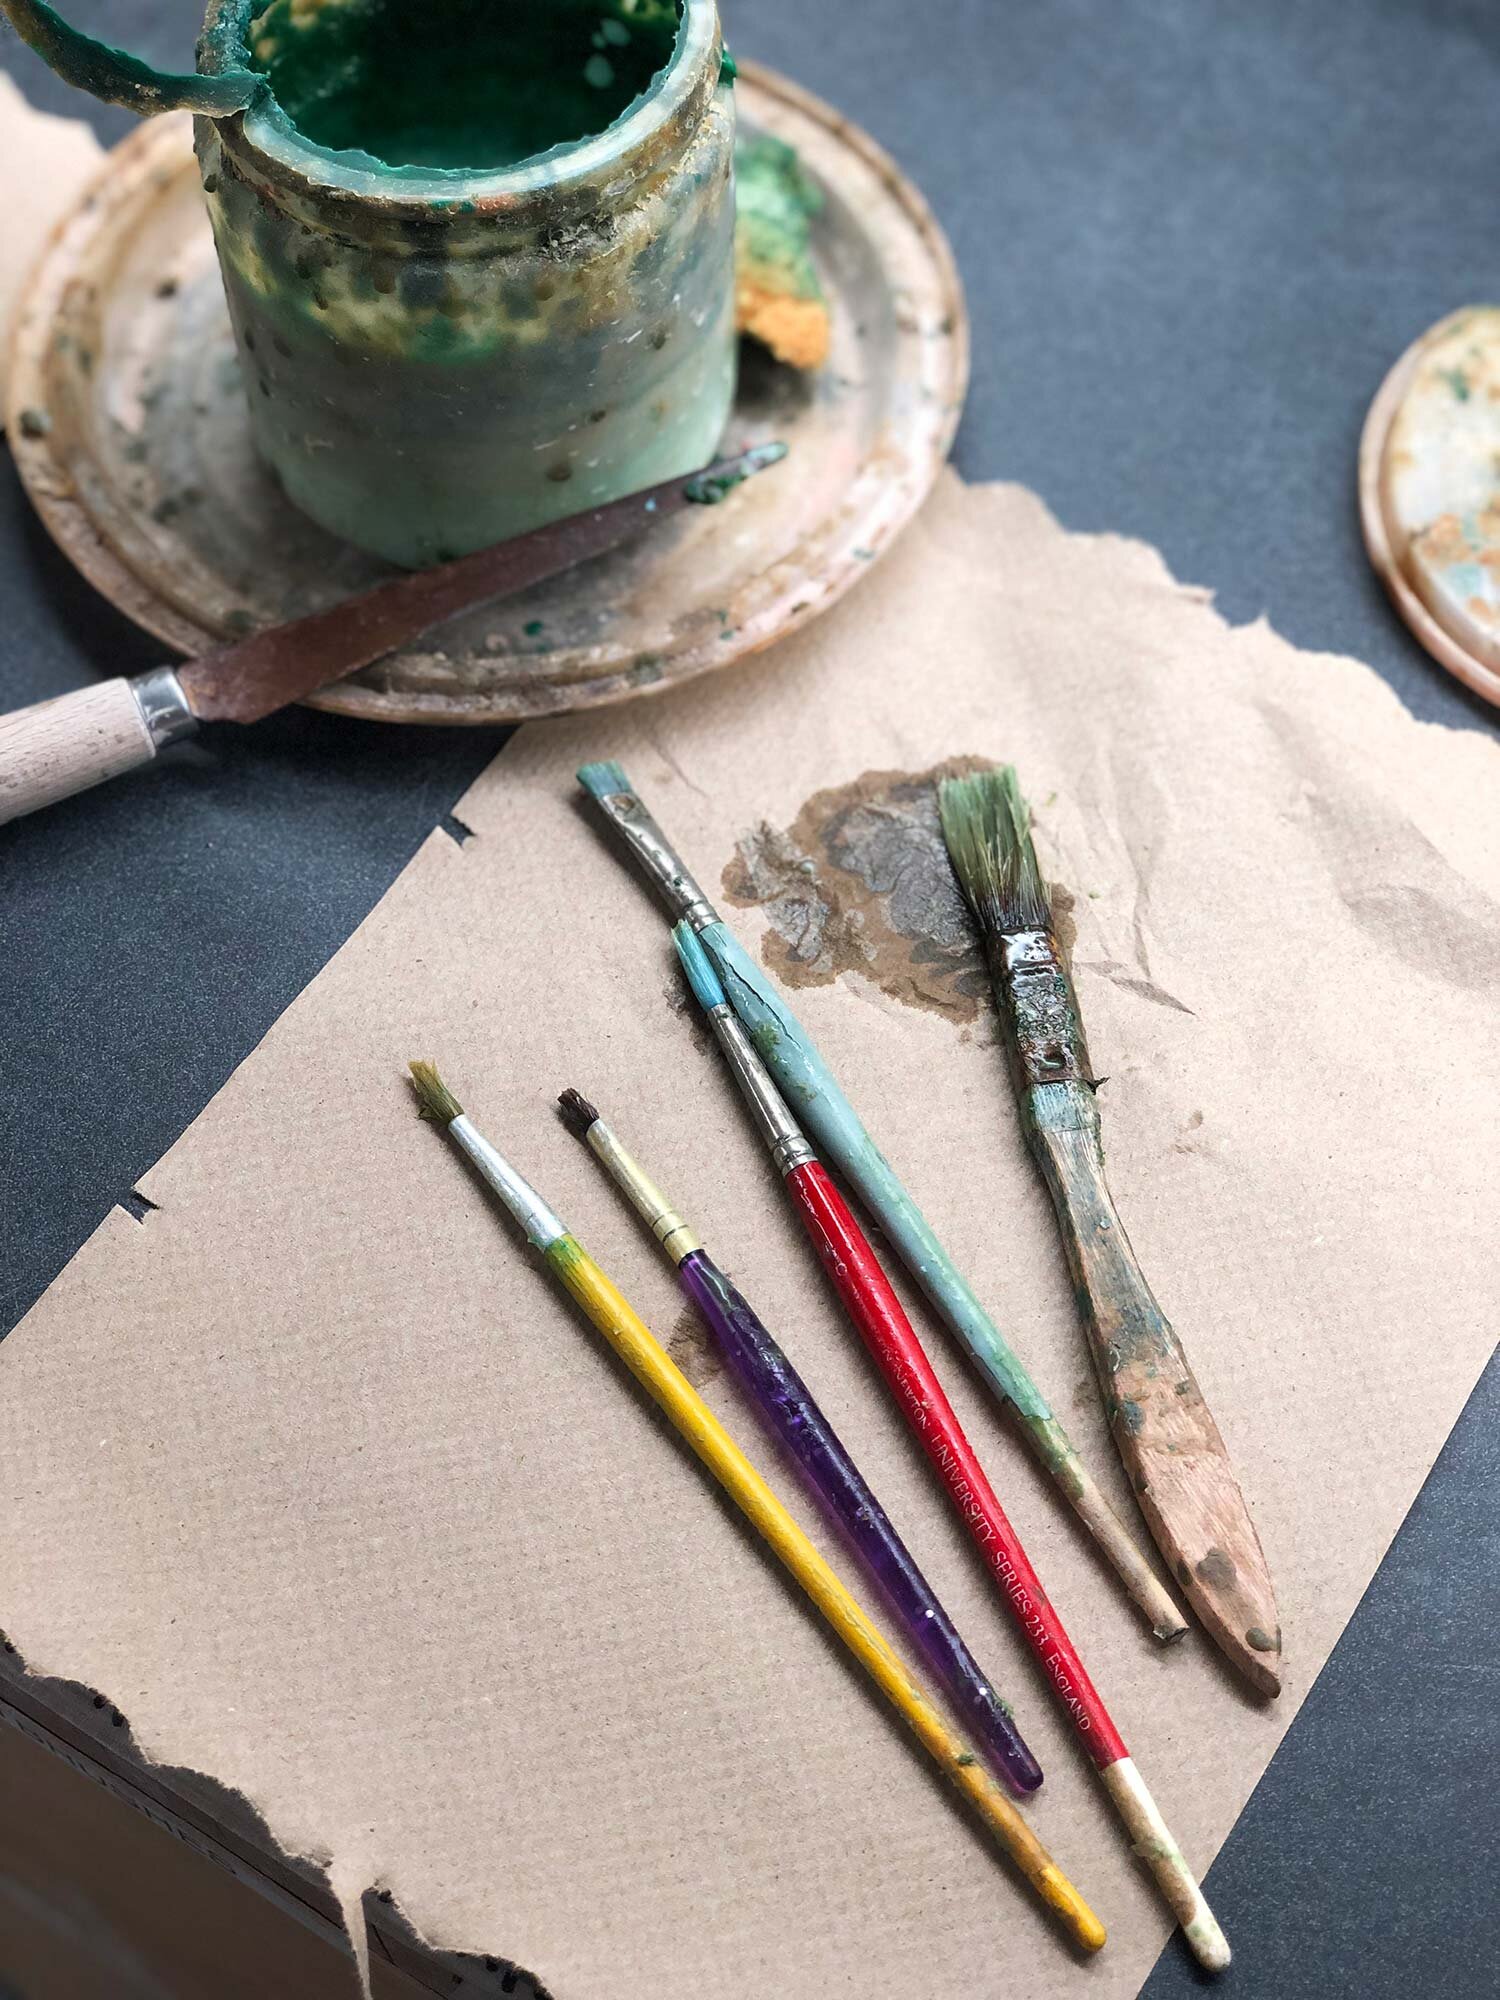
Here’s a picture of the cleaning in progress and then the cleaned brushes.

After you’ve cleaned all your brushes, set them aside. The water and cup you’ve used for cleaning can be thrown away. (Don’t pour wax down your drain!) Or, let the water cool, remove and dispose of the cooled wax, and then clean the container. If possible, you could save this one container to reuse over and over as your wax-brush cleaning container.

 
The brushes after cleaning.

The brushes after cleaning.


Step 4

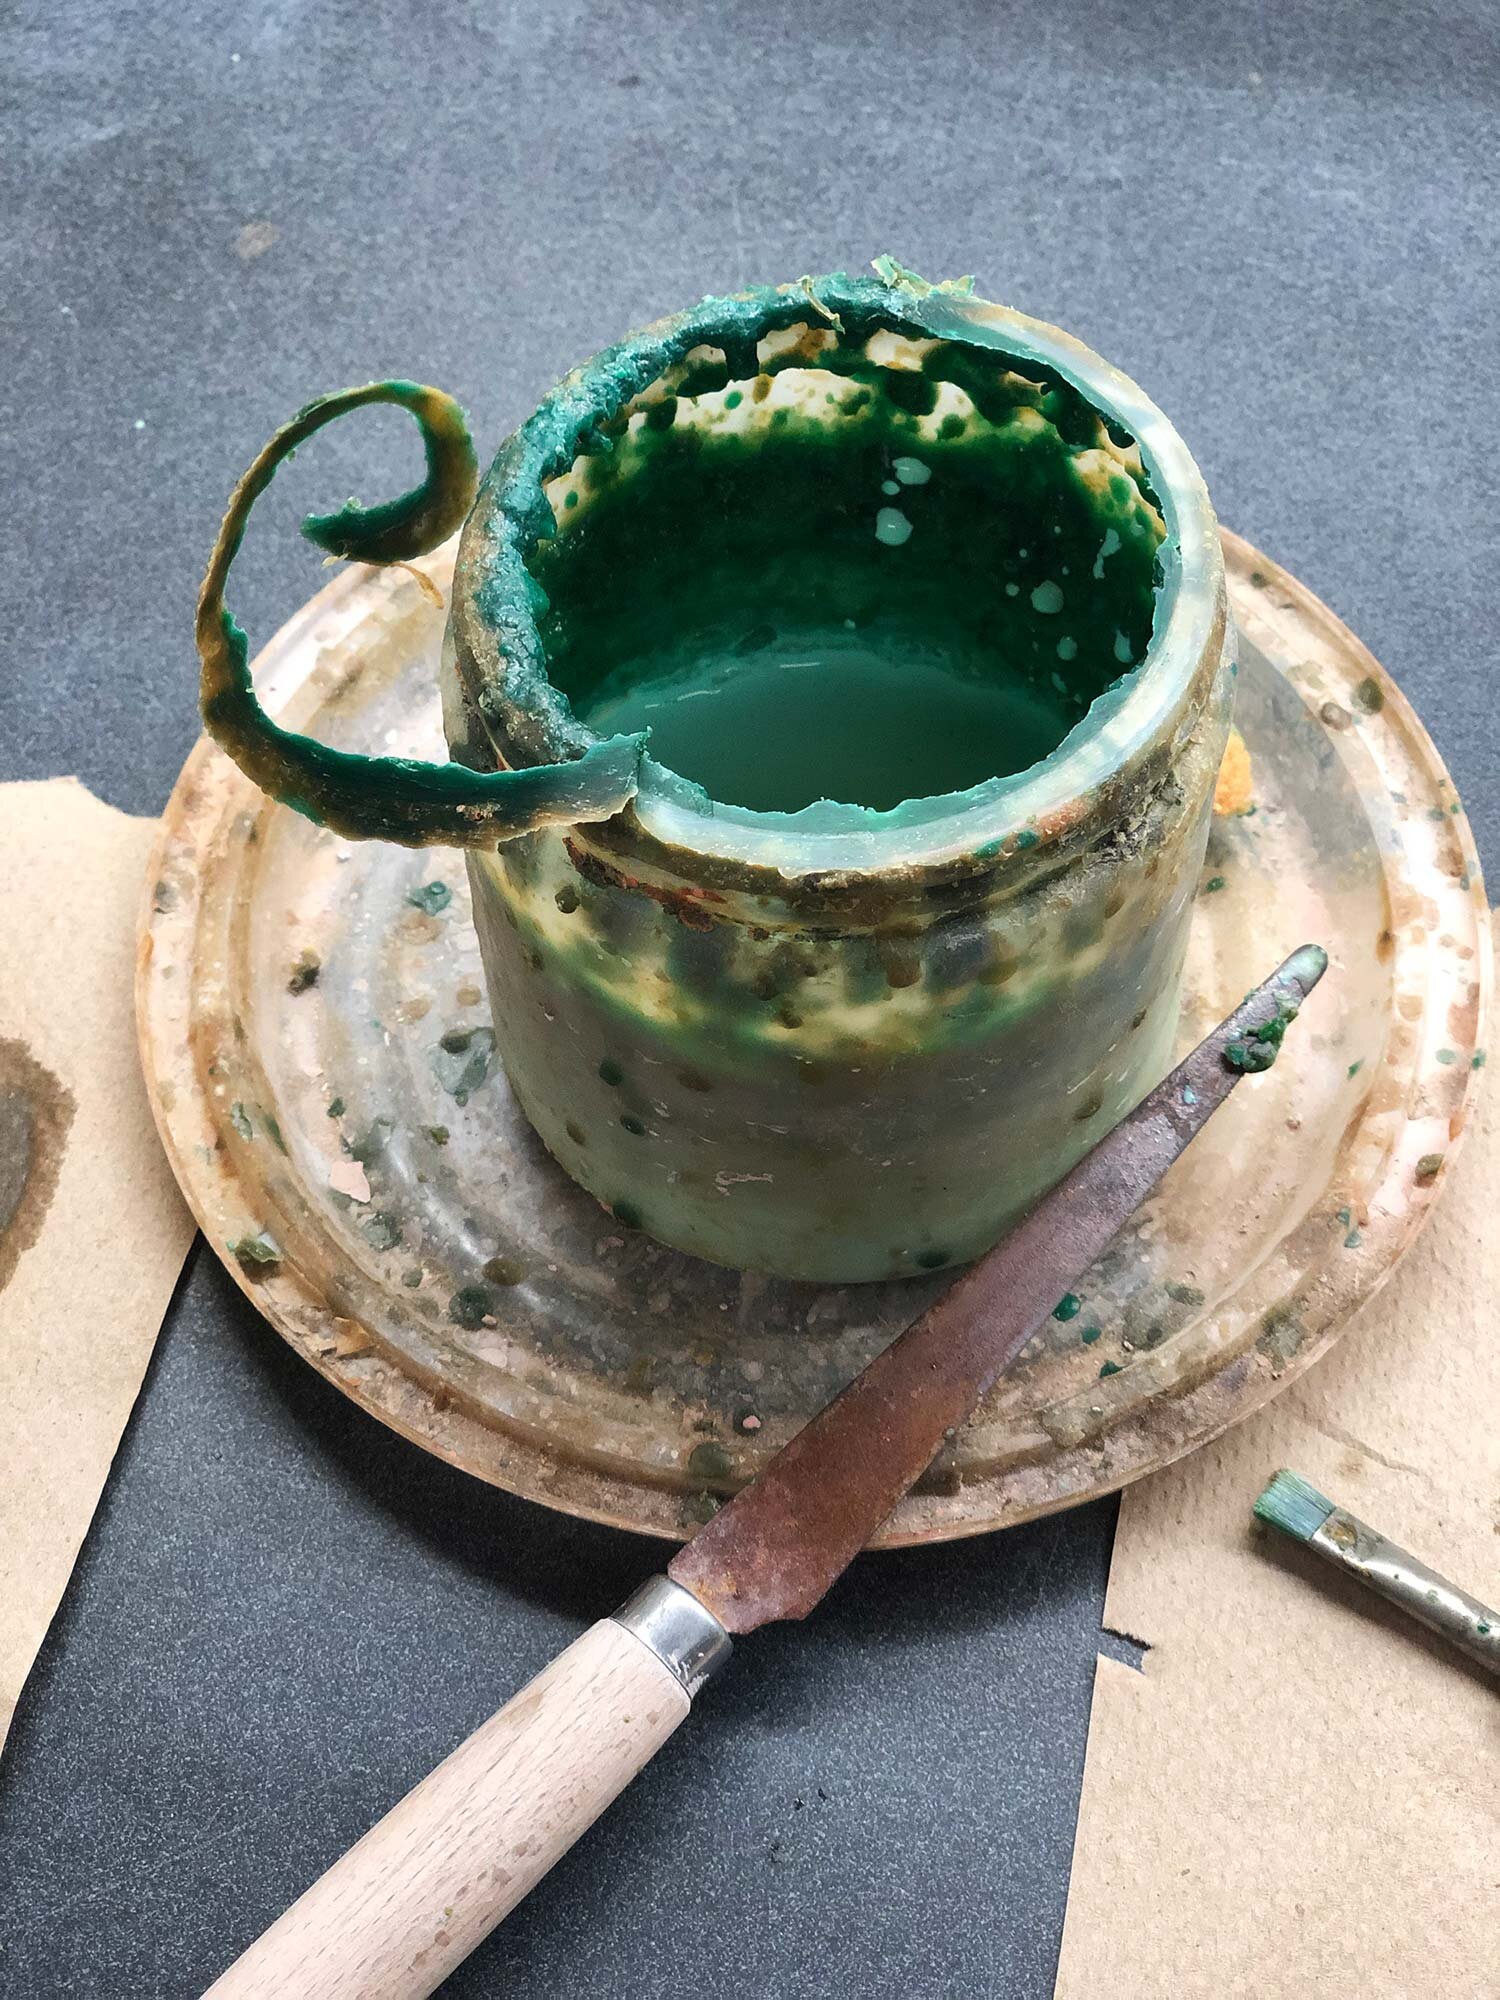
Removing built-up wax resist

Removing built-up wax resist

Next, it’s time to clean the cup. Using a fettling knife, cut off built-up wax from the rim and inside of the cup. If needed, pour out any wax into a reserve container, and use boiling water to clean the entire cup or jar.

Another option, if you have heavy build up, is to switch to a new container. The wide-mouth underglaze jars from Spectrum underglazes are great for a wax container.


Step 5

wax6.jpg

After cleaning the brushes and jar, refill the cup and you’re ready to go. Pictured here are a fresh glaze cup and lid. Depending on how often you clean, you might need a new wax cup about once a year or you could completely clean it and keep it going longer than that.

To conclude: Cleaning wax resist with boiling water is quick, easy, and effective.


Our Favorite Electric Water Kettle

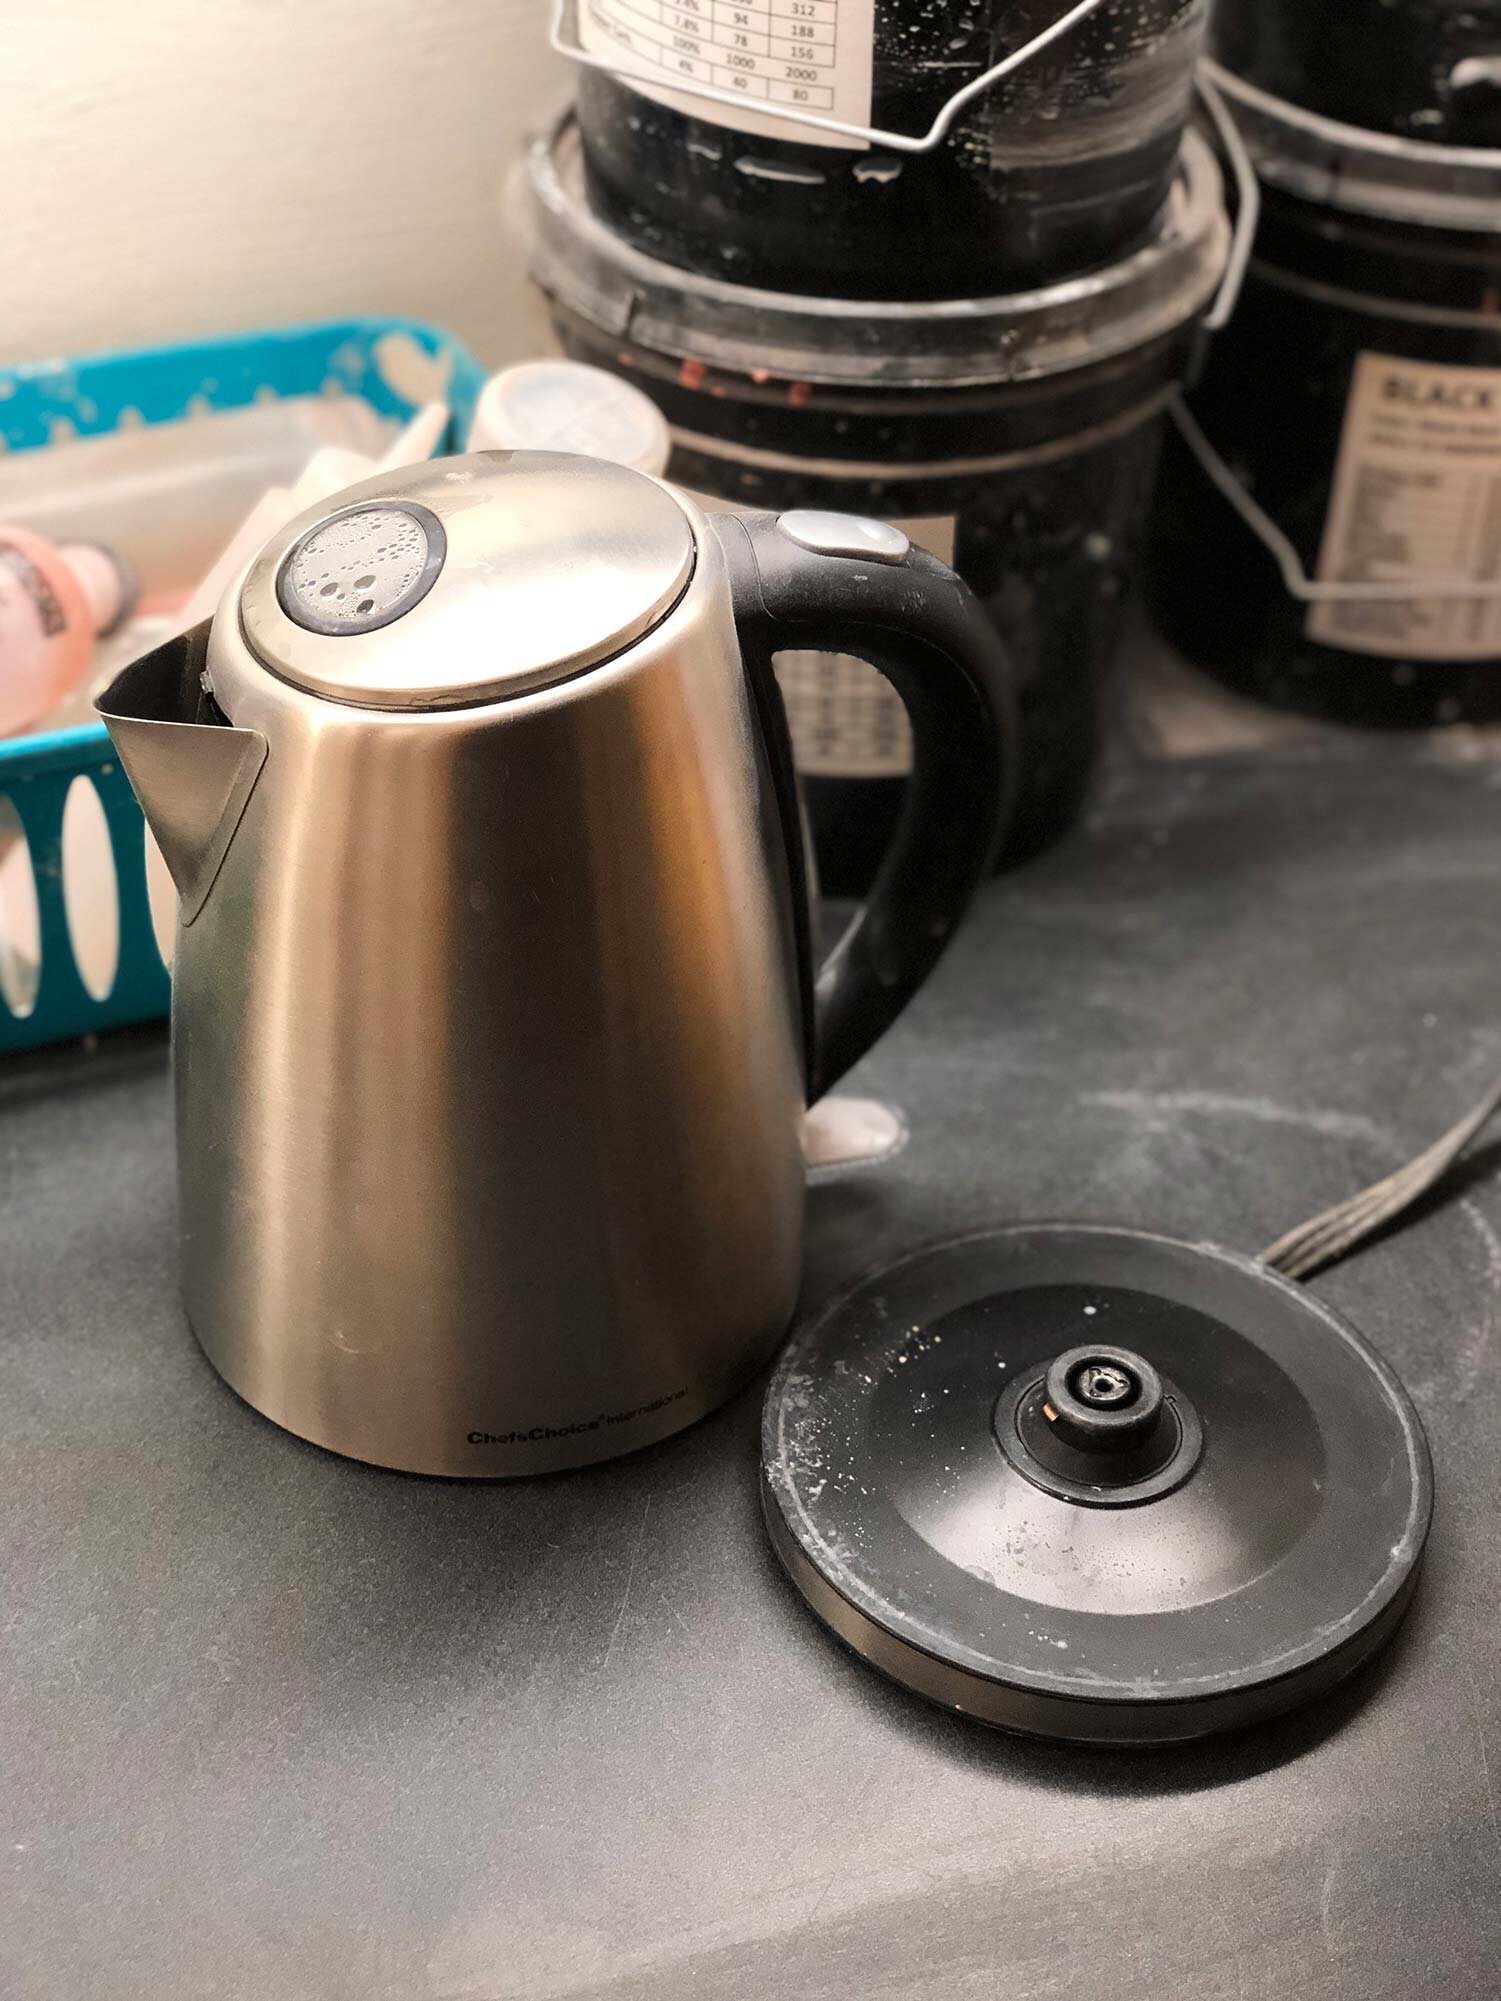
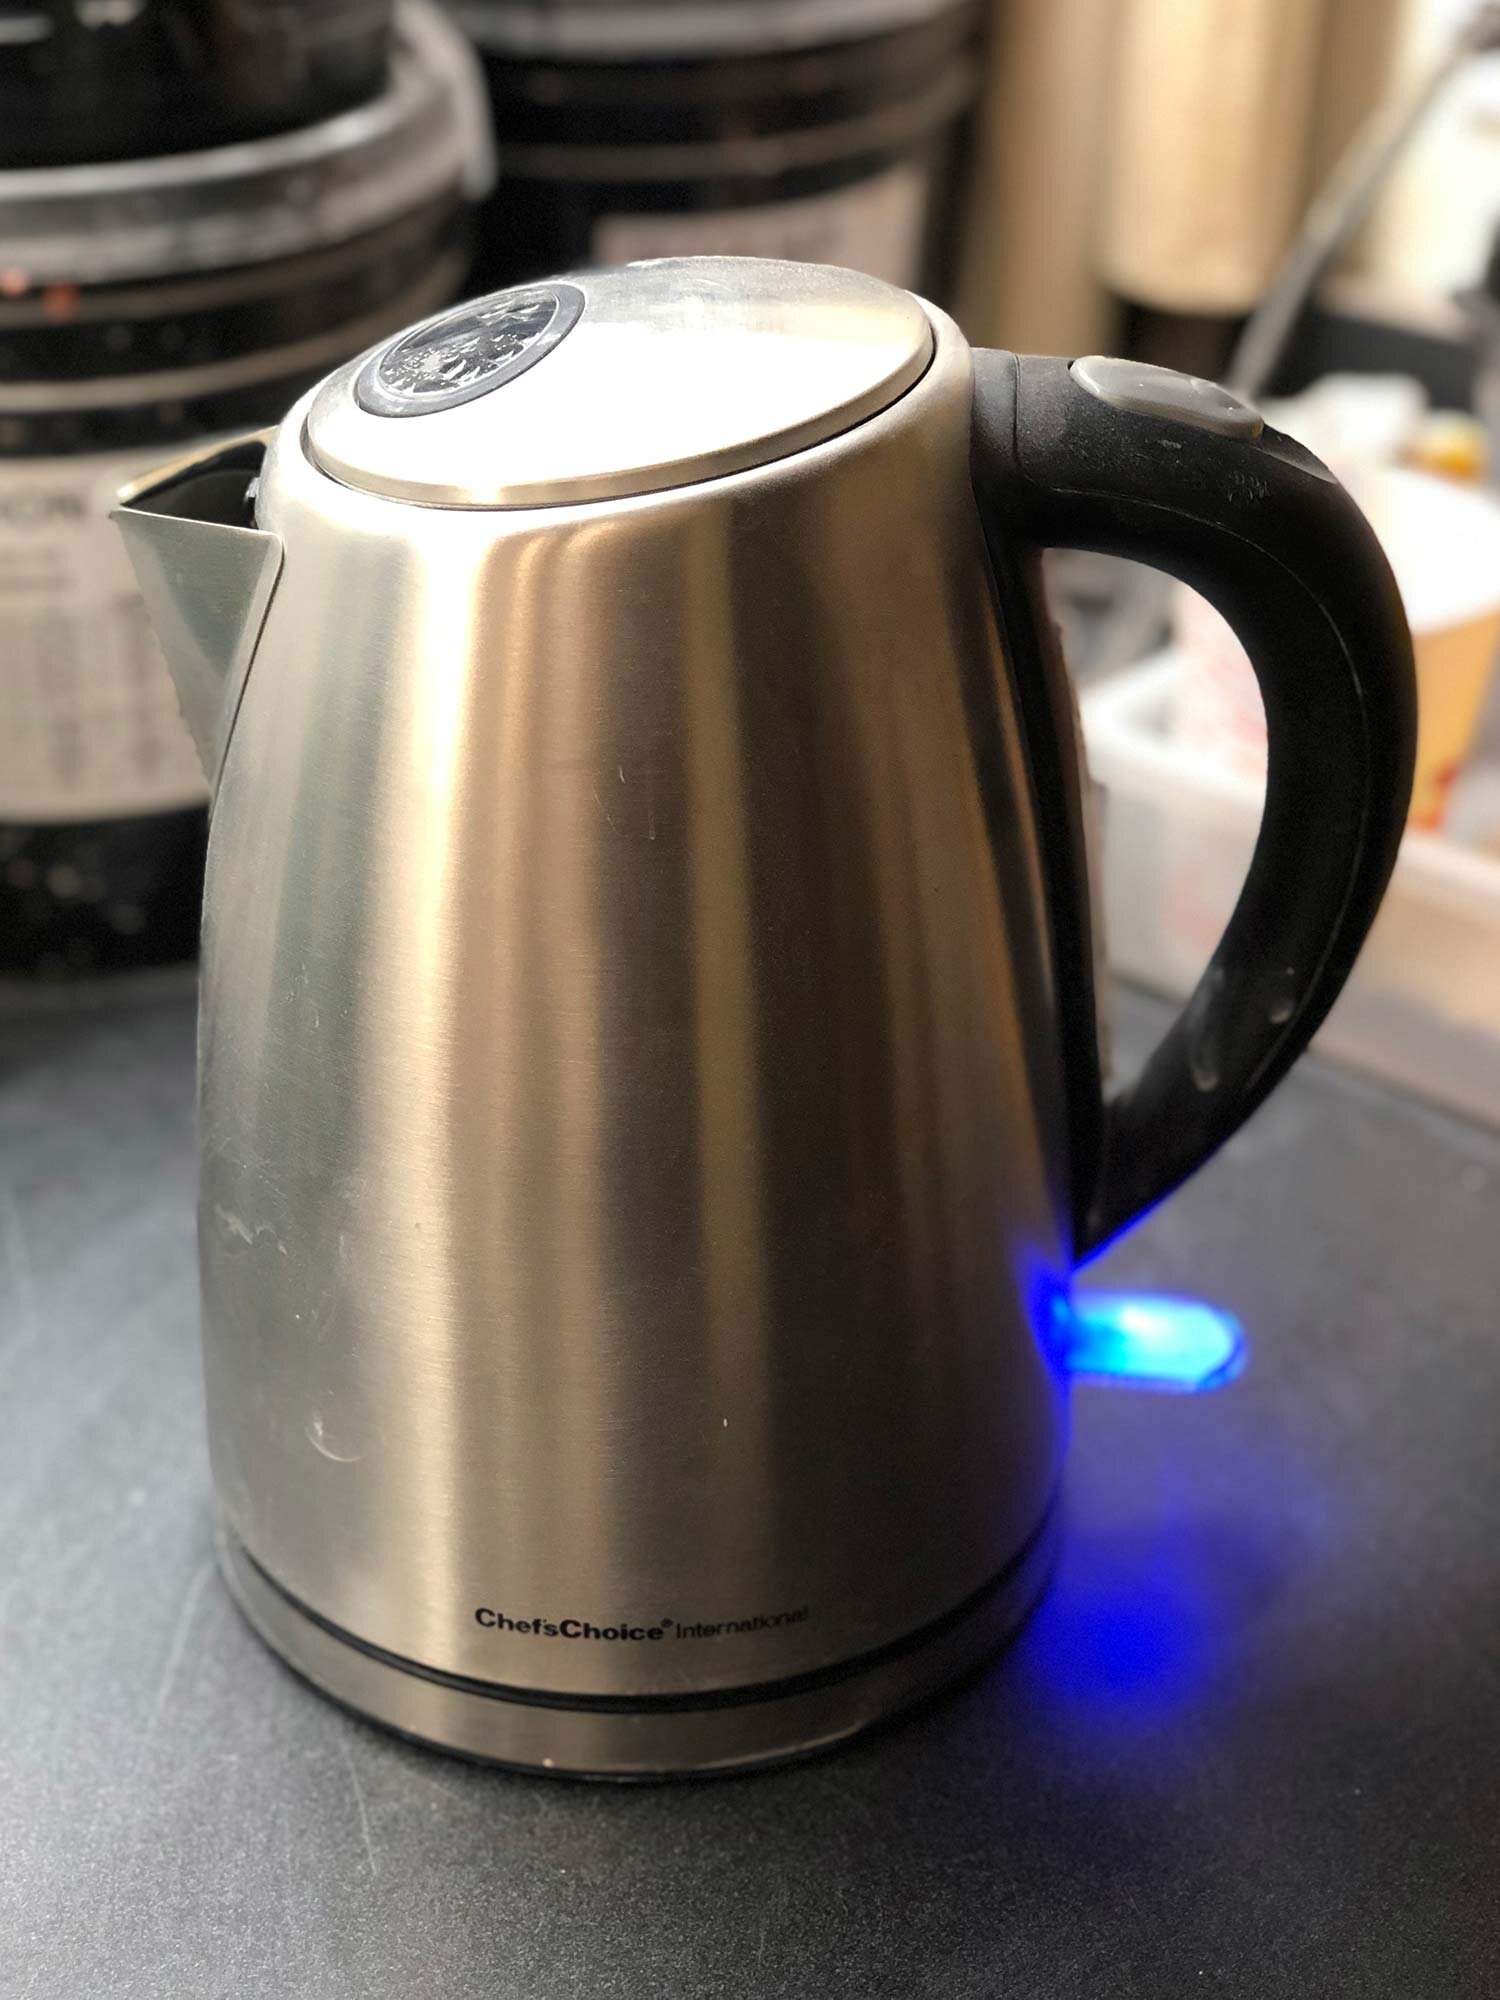
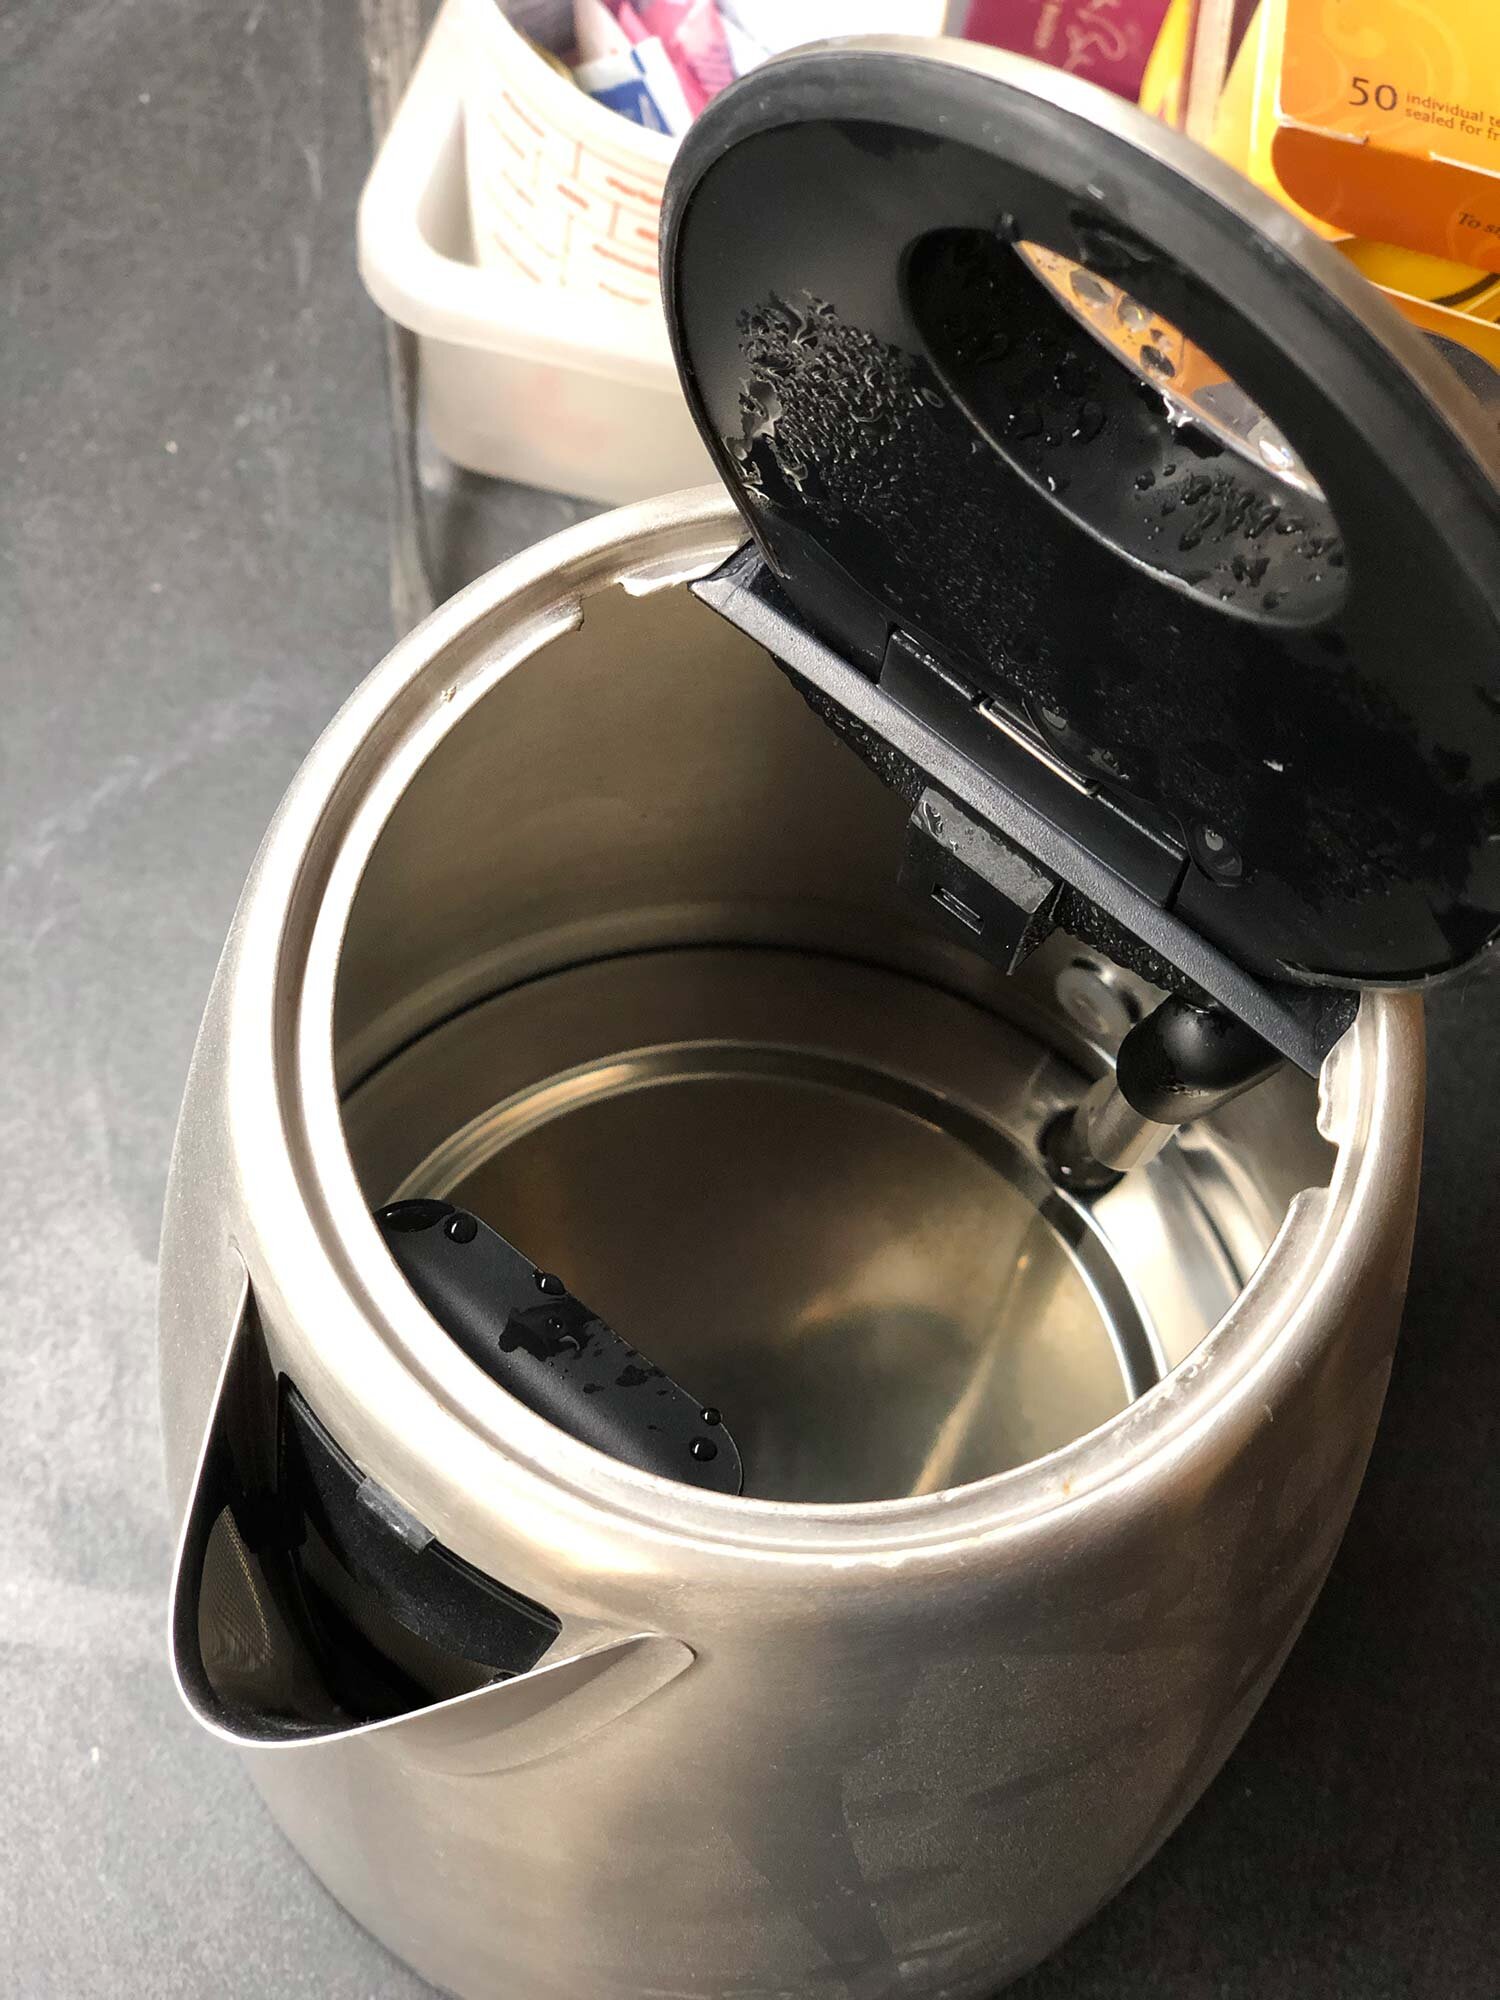
To clean wax resist, you’ll need boiling water and an excellent kettle is the Chef’s Choice Cordless Electric Kettle. This is not a comprehensive review of kettles, but this kettle is great. In community studio I manage, it’s been in heavy use for almost 18 months and has had no problems.

Here’s what I love about it:

  • Sturdy construction and design. Simple on / off switch with light

  • Kettle is cordless

  • Base has storage area for excess cord.

  • Easy to clean

  • Inside is all metal

  • Boils water quickly

This is a great kettle that does exactly what you need it to do. If you don’t have a water kettle in your studio, it’s a simple addition that is great for making tea or instant soups. Adding the option of hot tea can really augment and improve the culture of your studio.


Wrap-Up: Wax Resist Use and Clean Up in a Ceramic Studio

Wax resist is a great tool for a ceramics studio. It takes some clean up, should be used only as needed, and my recommendation is to use a premium wax resist such as the Amaco green wax resist. To apply, try using chip brushes or other simple, cheap brushes.

It’s easiest to clean up with boiling water and this tutorial provides some tips, tricks, and ideas of how to do that.

What do you use wax resist for? Do you have a favorite brand? Please share in the comments.


The Best Heavy Duty Bucket Dolly

 
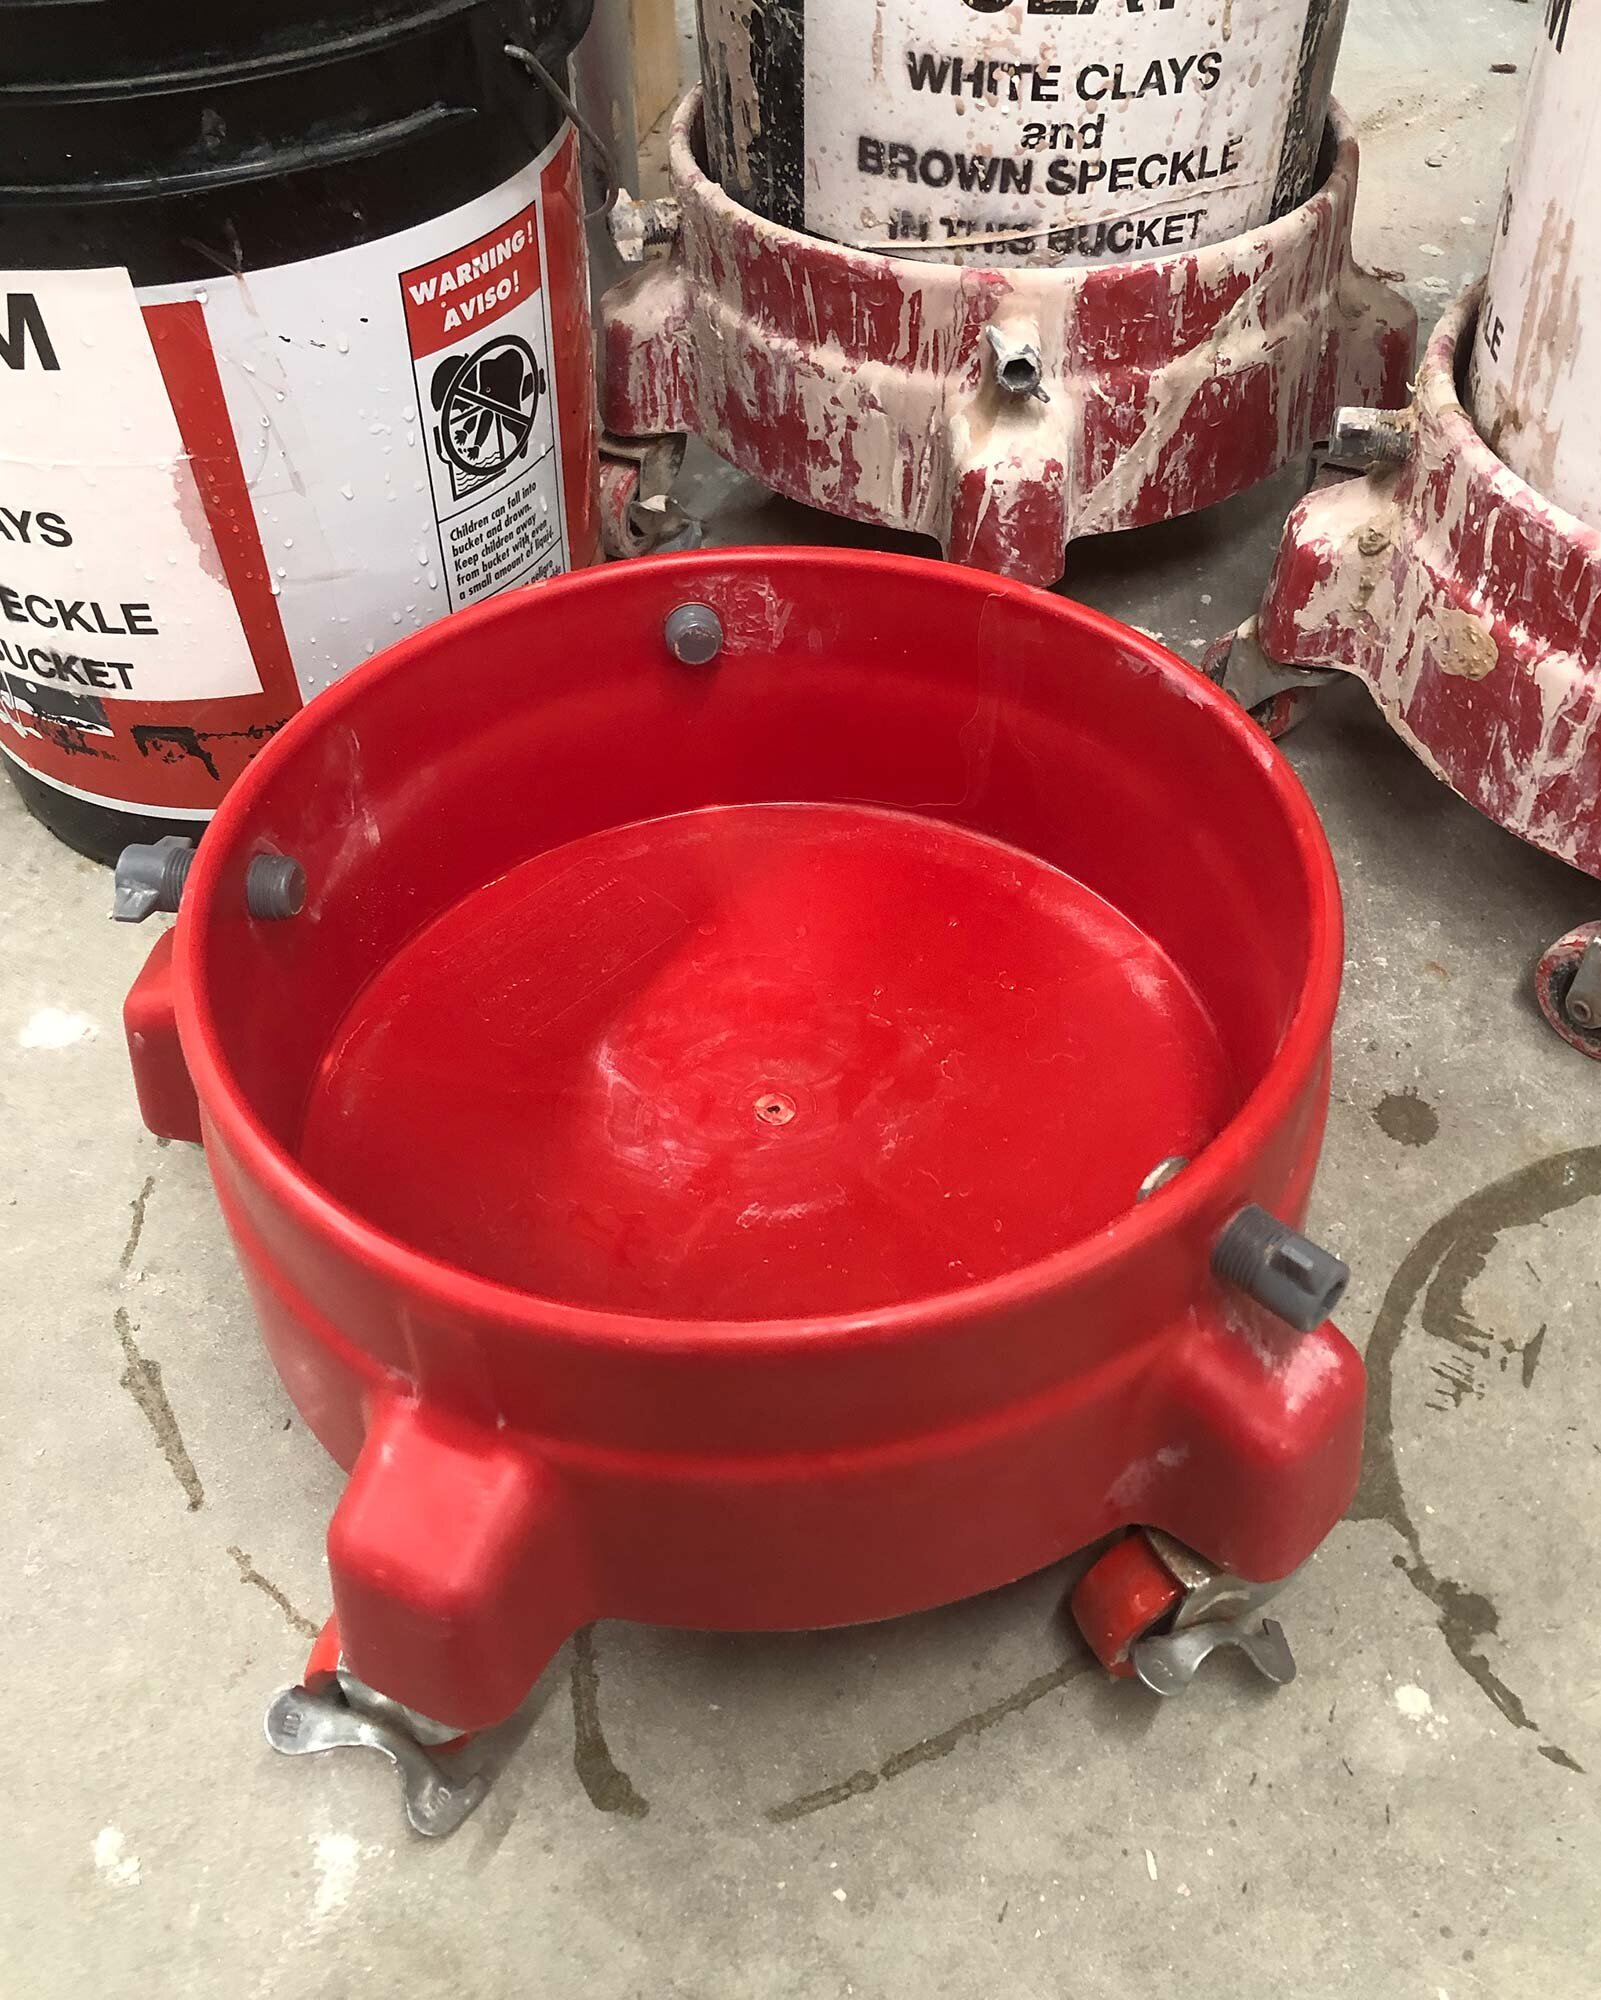
A Chemical Guys Professional bucket dolly after a cleaning. A clean dolly is a beautiful thing!

A Chemical Guys Professional bucket dolly after a cleaning. A clean dolly is a beautiful thing!


A bucket dolly is a great addition to your studio or workshop. Dollies are great for anything heavy, and also maximize studio space by allowing you to move and reorganize for any task. In my studio, we use them for glazes and clay slop and they really save time, energy and reduce possible back strain.

In this post, I’ll review a different bucket dollies, show how to make your own, and share a few tips and tricks.

The best bucket dolly I’ve found is the Chemical Guys Professional Bucket Dolly. I’ve had a few in use for 5 years in a busy academic ceramic studio, and these dollies are still going strong. They are worth every penny. I have also used homemade dollies and other options, but the quality of the casters, ease of clean-up, and large plastic tightening screws make the Chemical Guys Dolly a superior product.

Keep scrolling for the full review with pictures and more info.


Table of Contents

  • Top Pick for Bucket Dollys

  • Advantages of the Chemical Guys Professional Bucket Dolly

  • Other Bucket Dolly Options

  • How to Make Your Own Bucket Dolly

  • Other wheeled options for the studio

  • Wrap-Up: The Best Bucket Dolly


Top Pick for a Heavy Duty Bucket Dolly

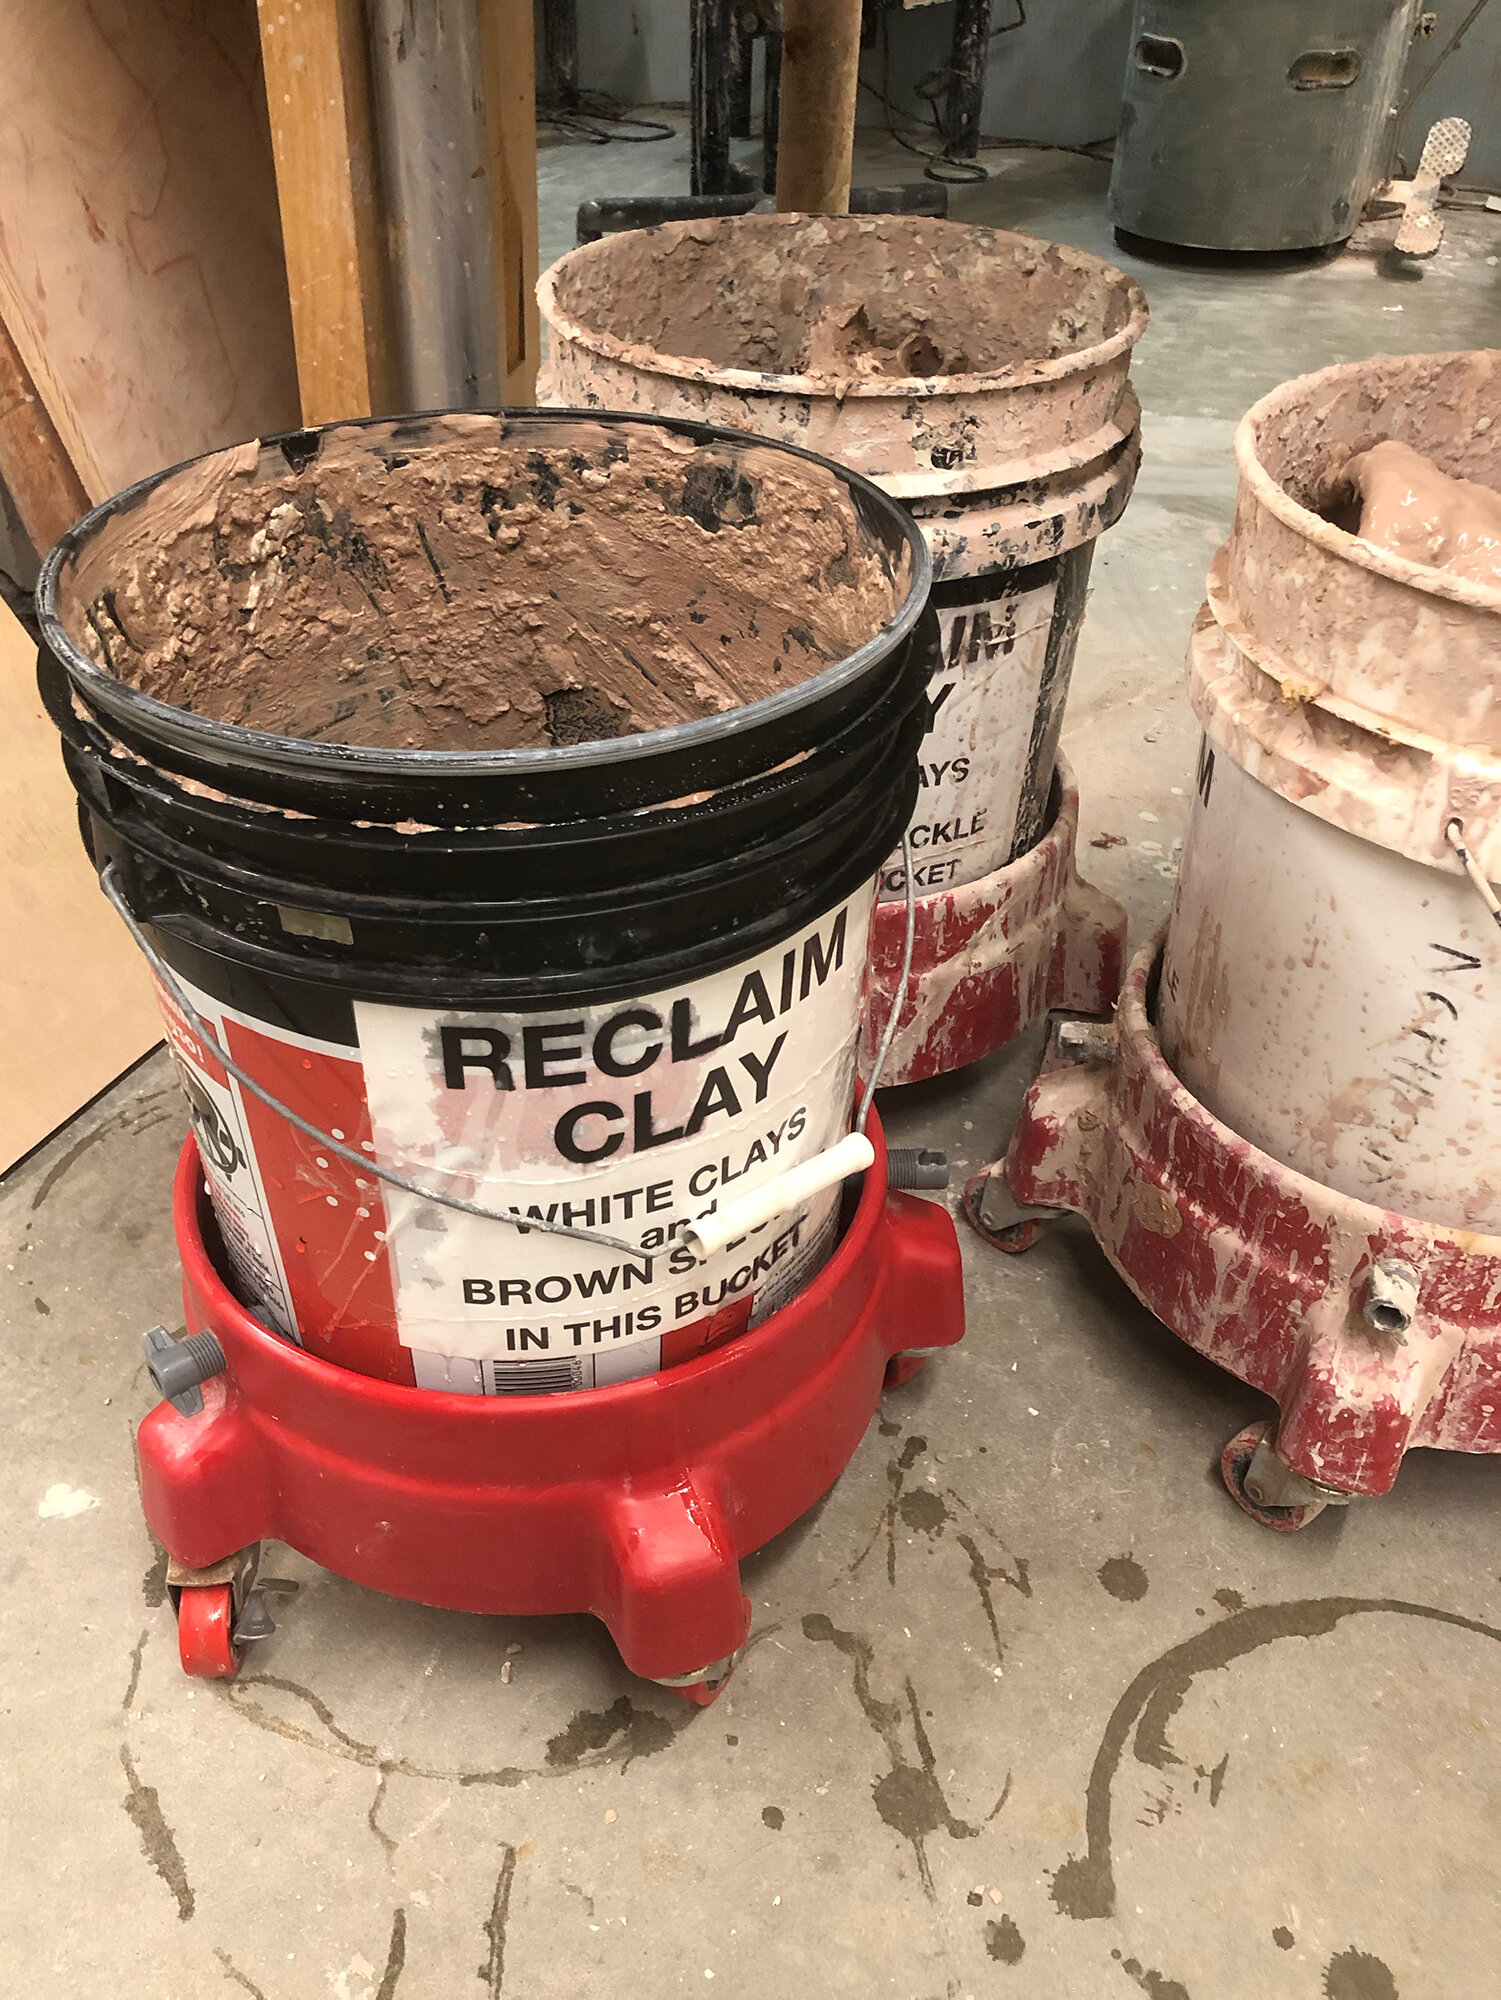
The Chemical Guys Professional Bucket Dolly after a few months of heavy use for reclaim / slop storage.

The Chemical Guys Professional Bucket Dolly after a few months of heavy use for reclaim / slop storage.

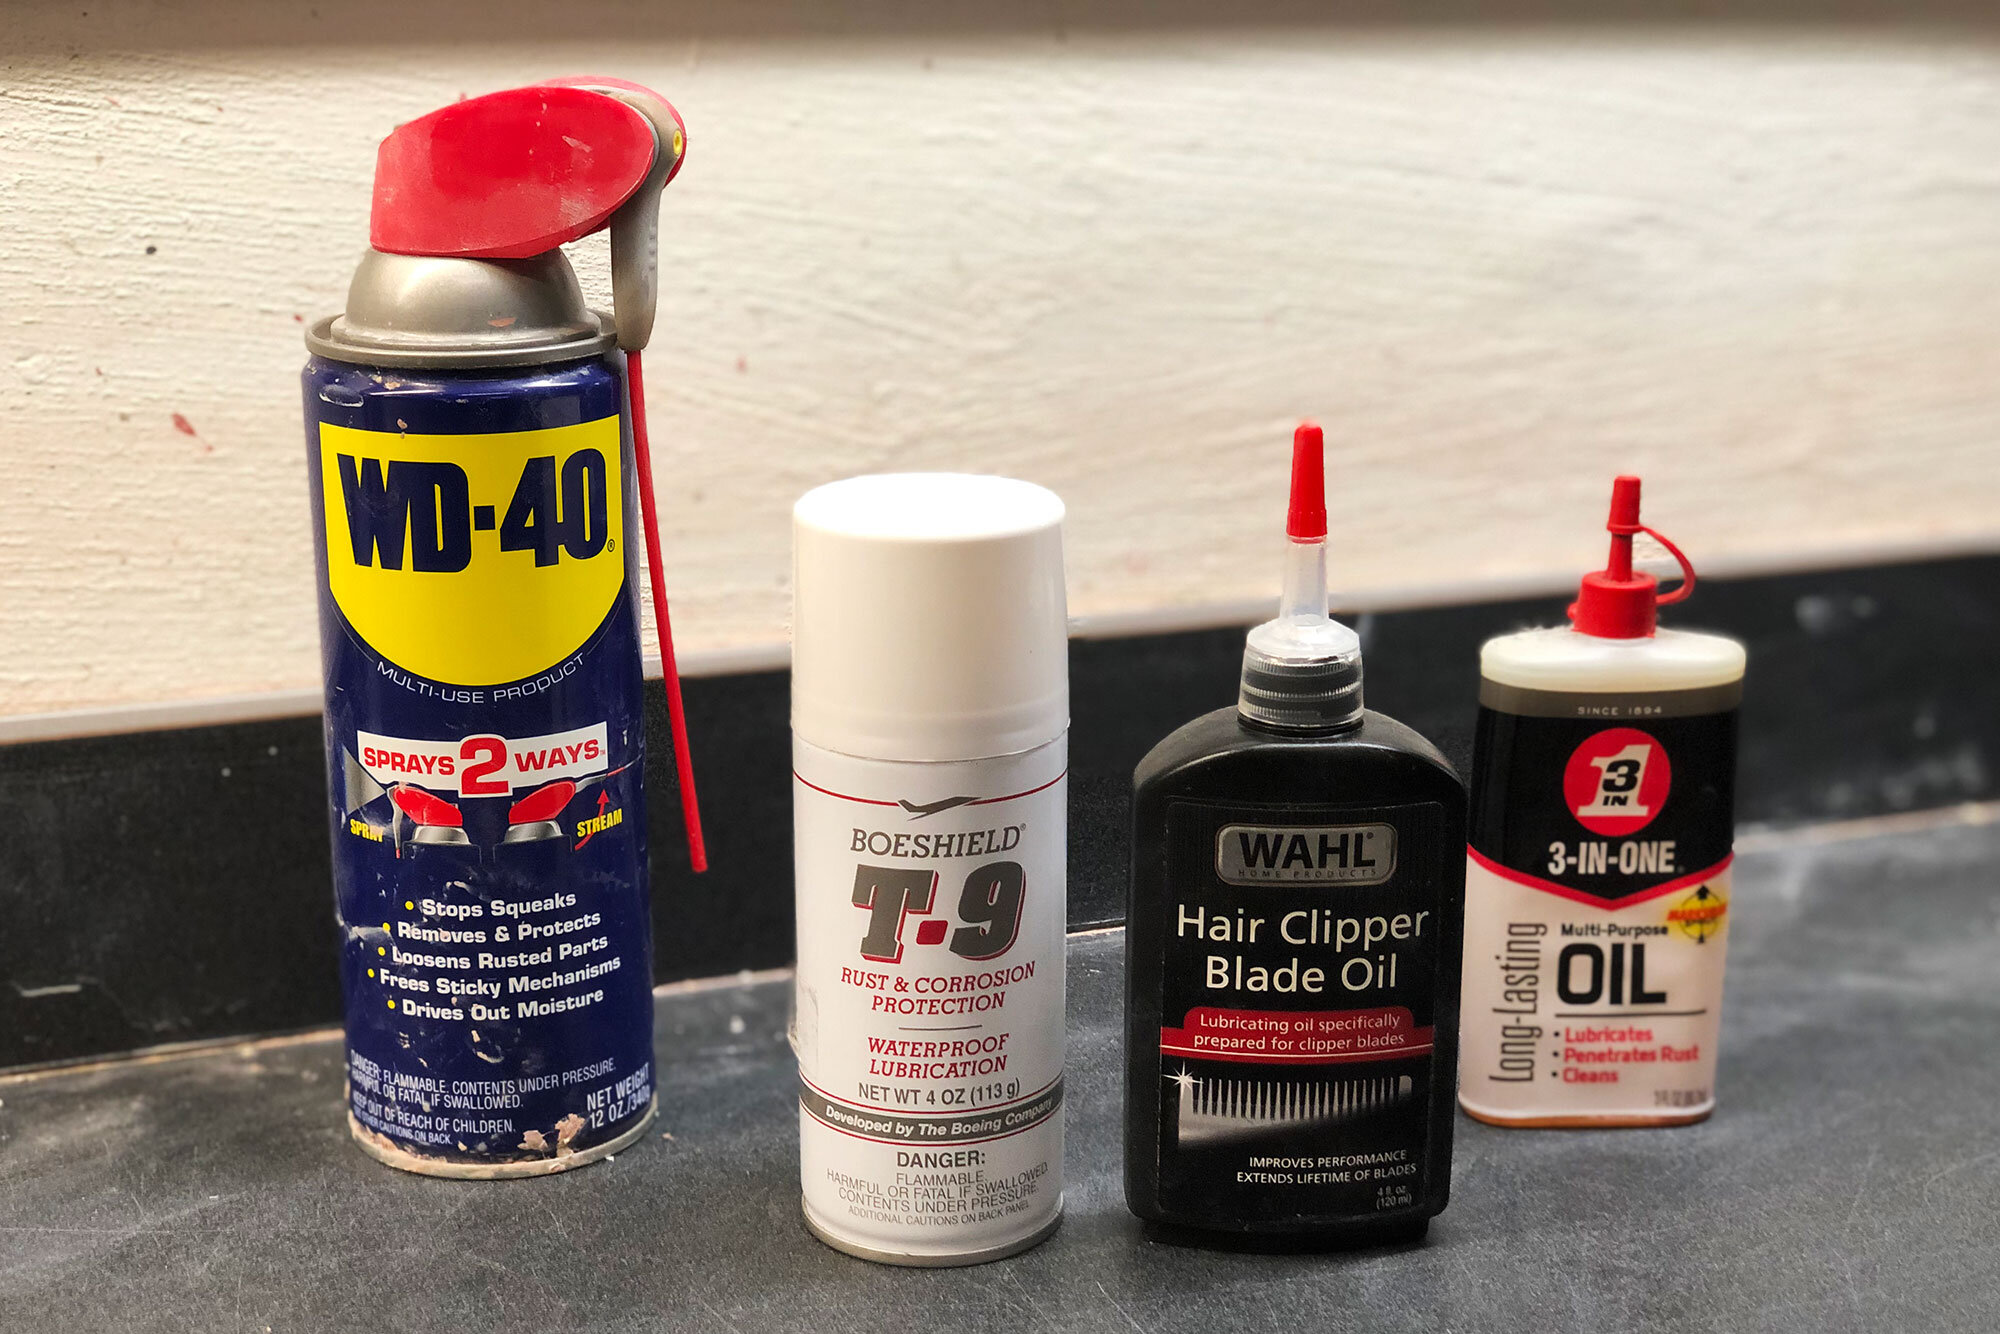
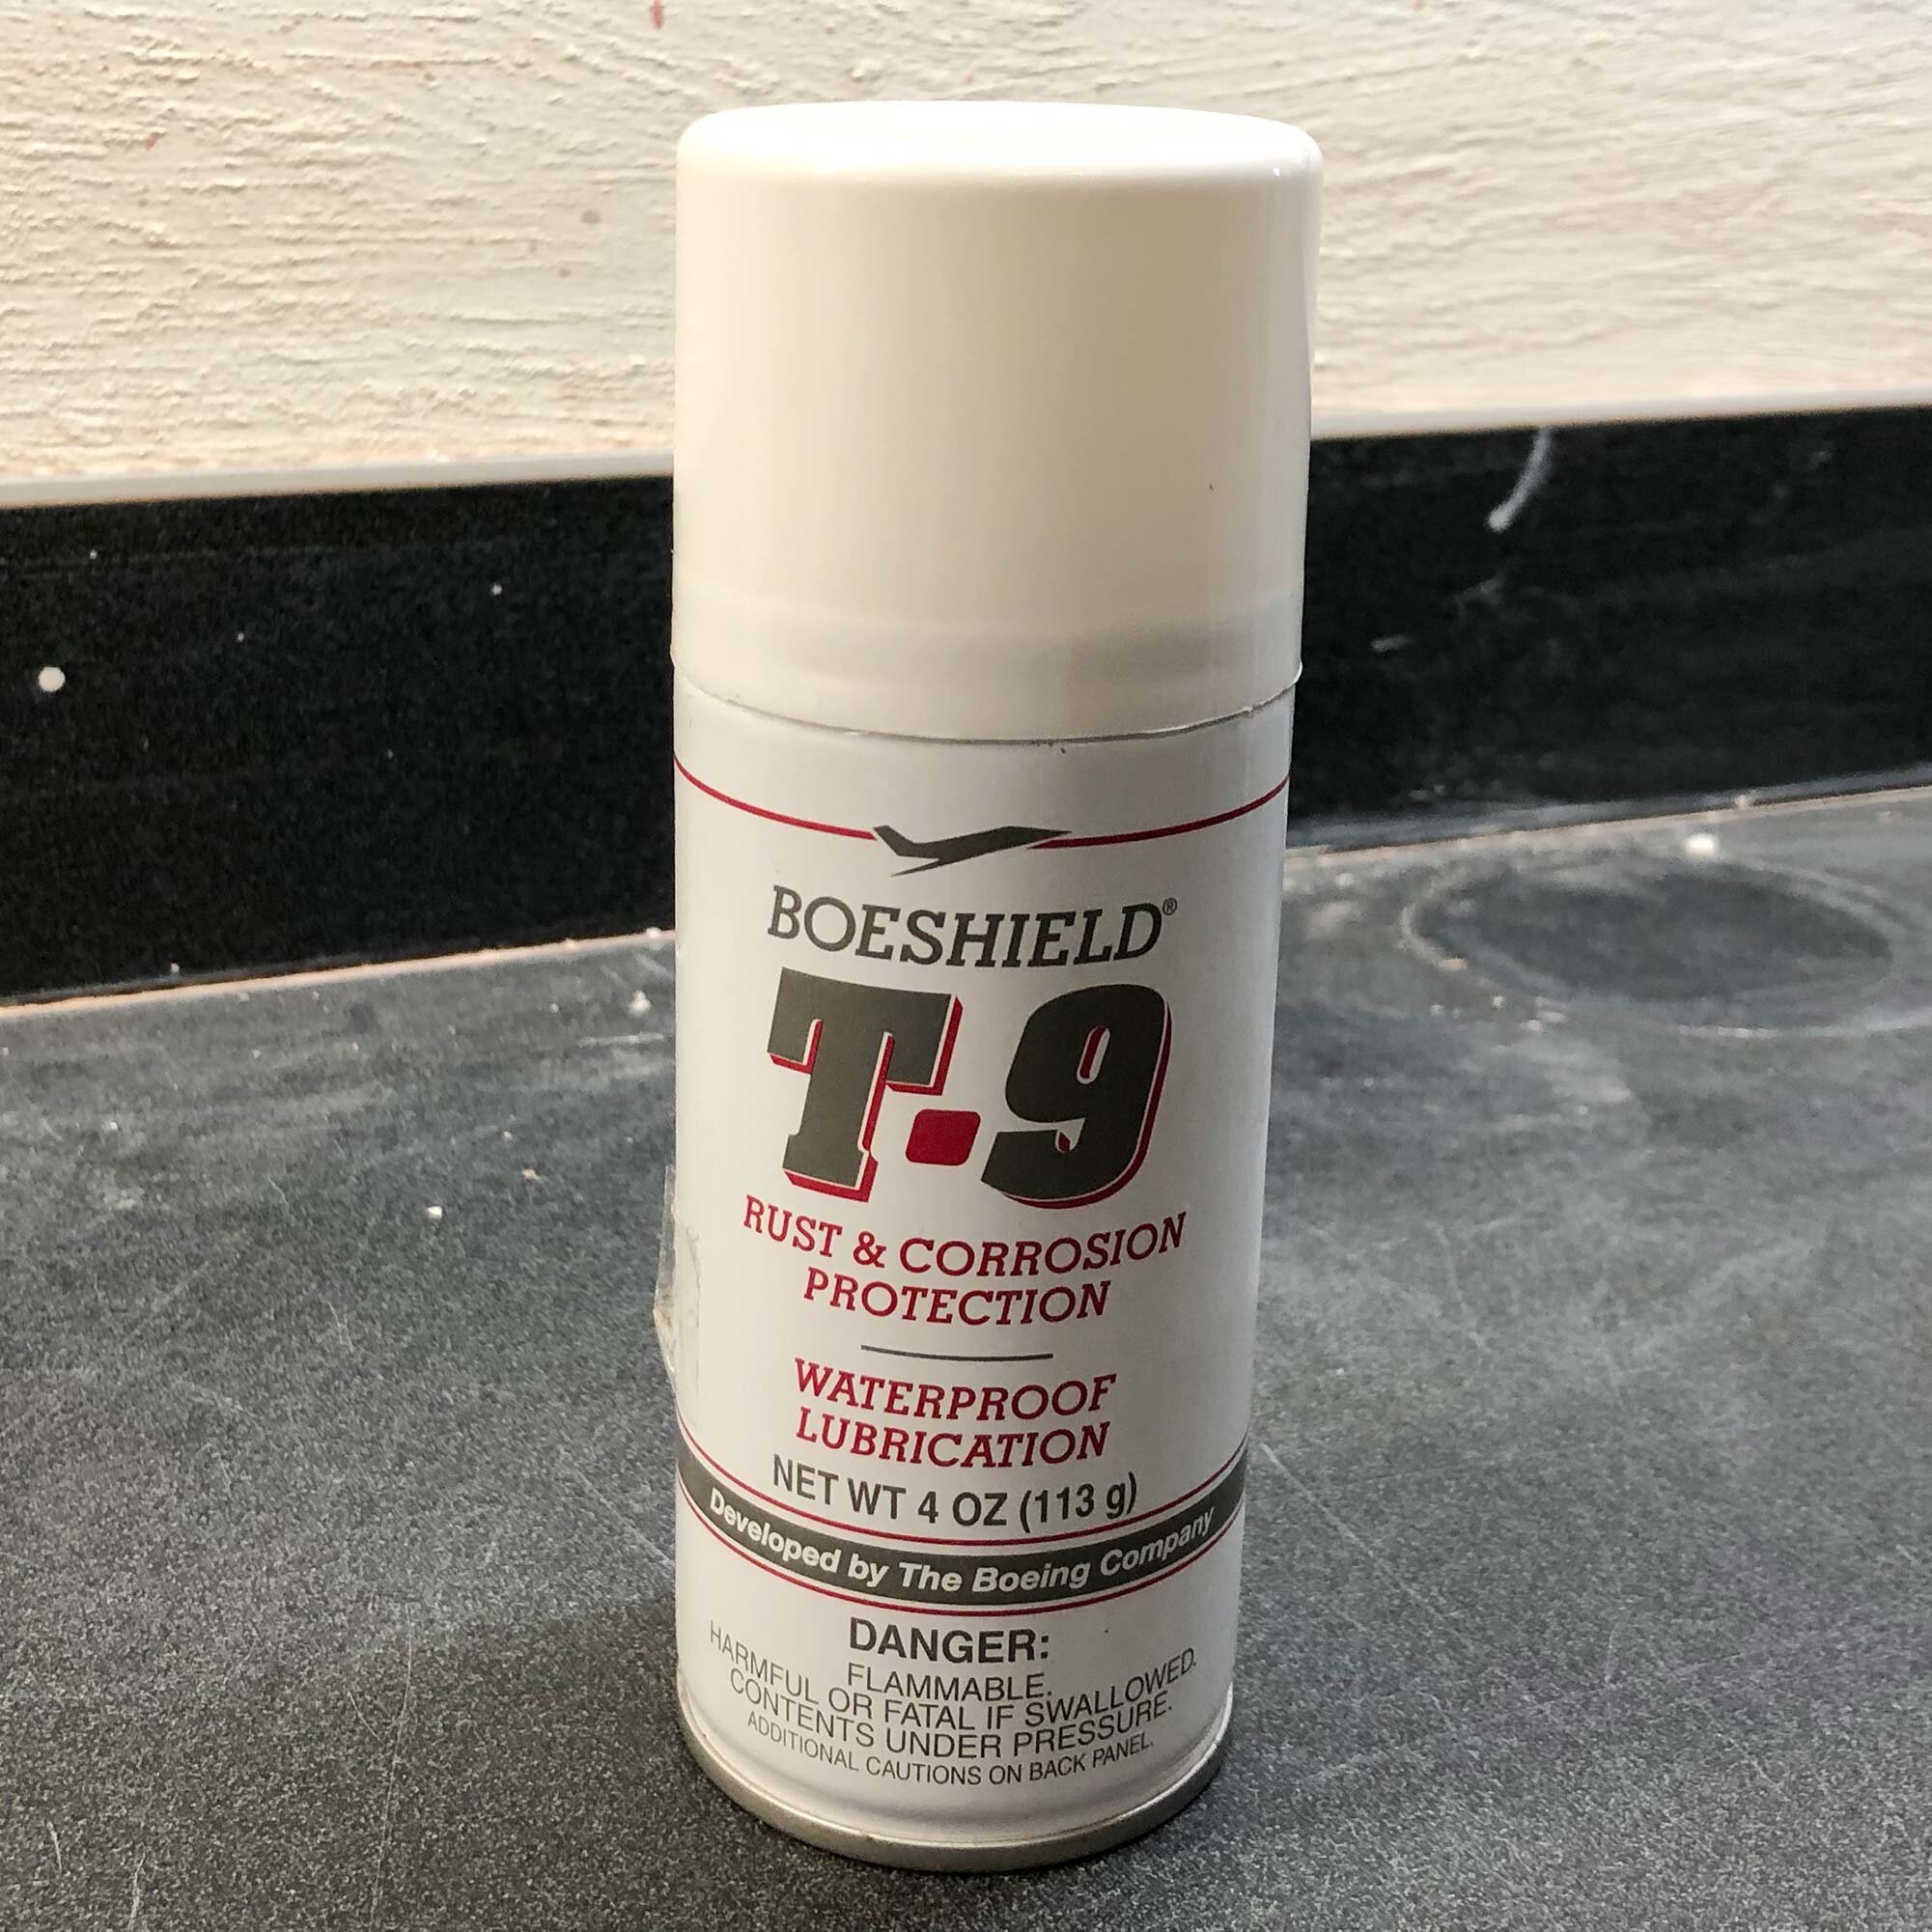
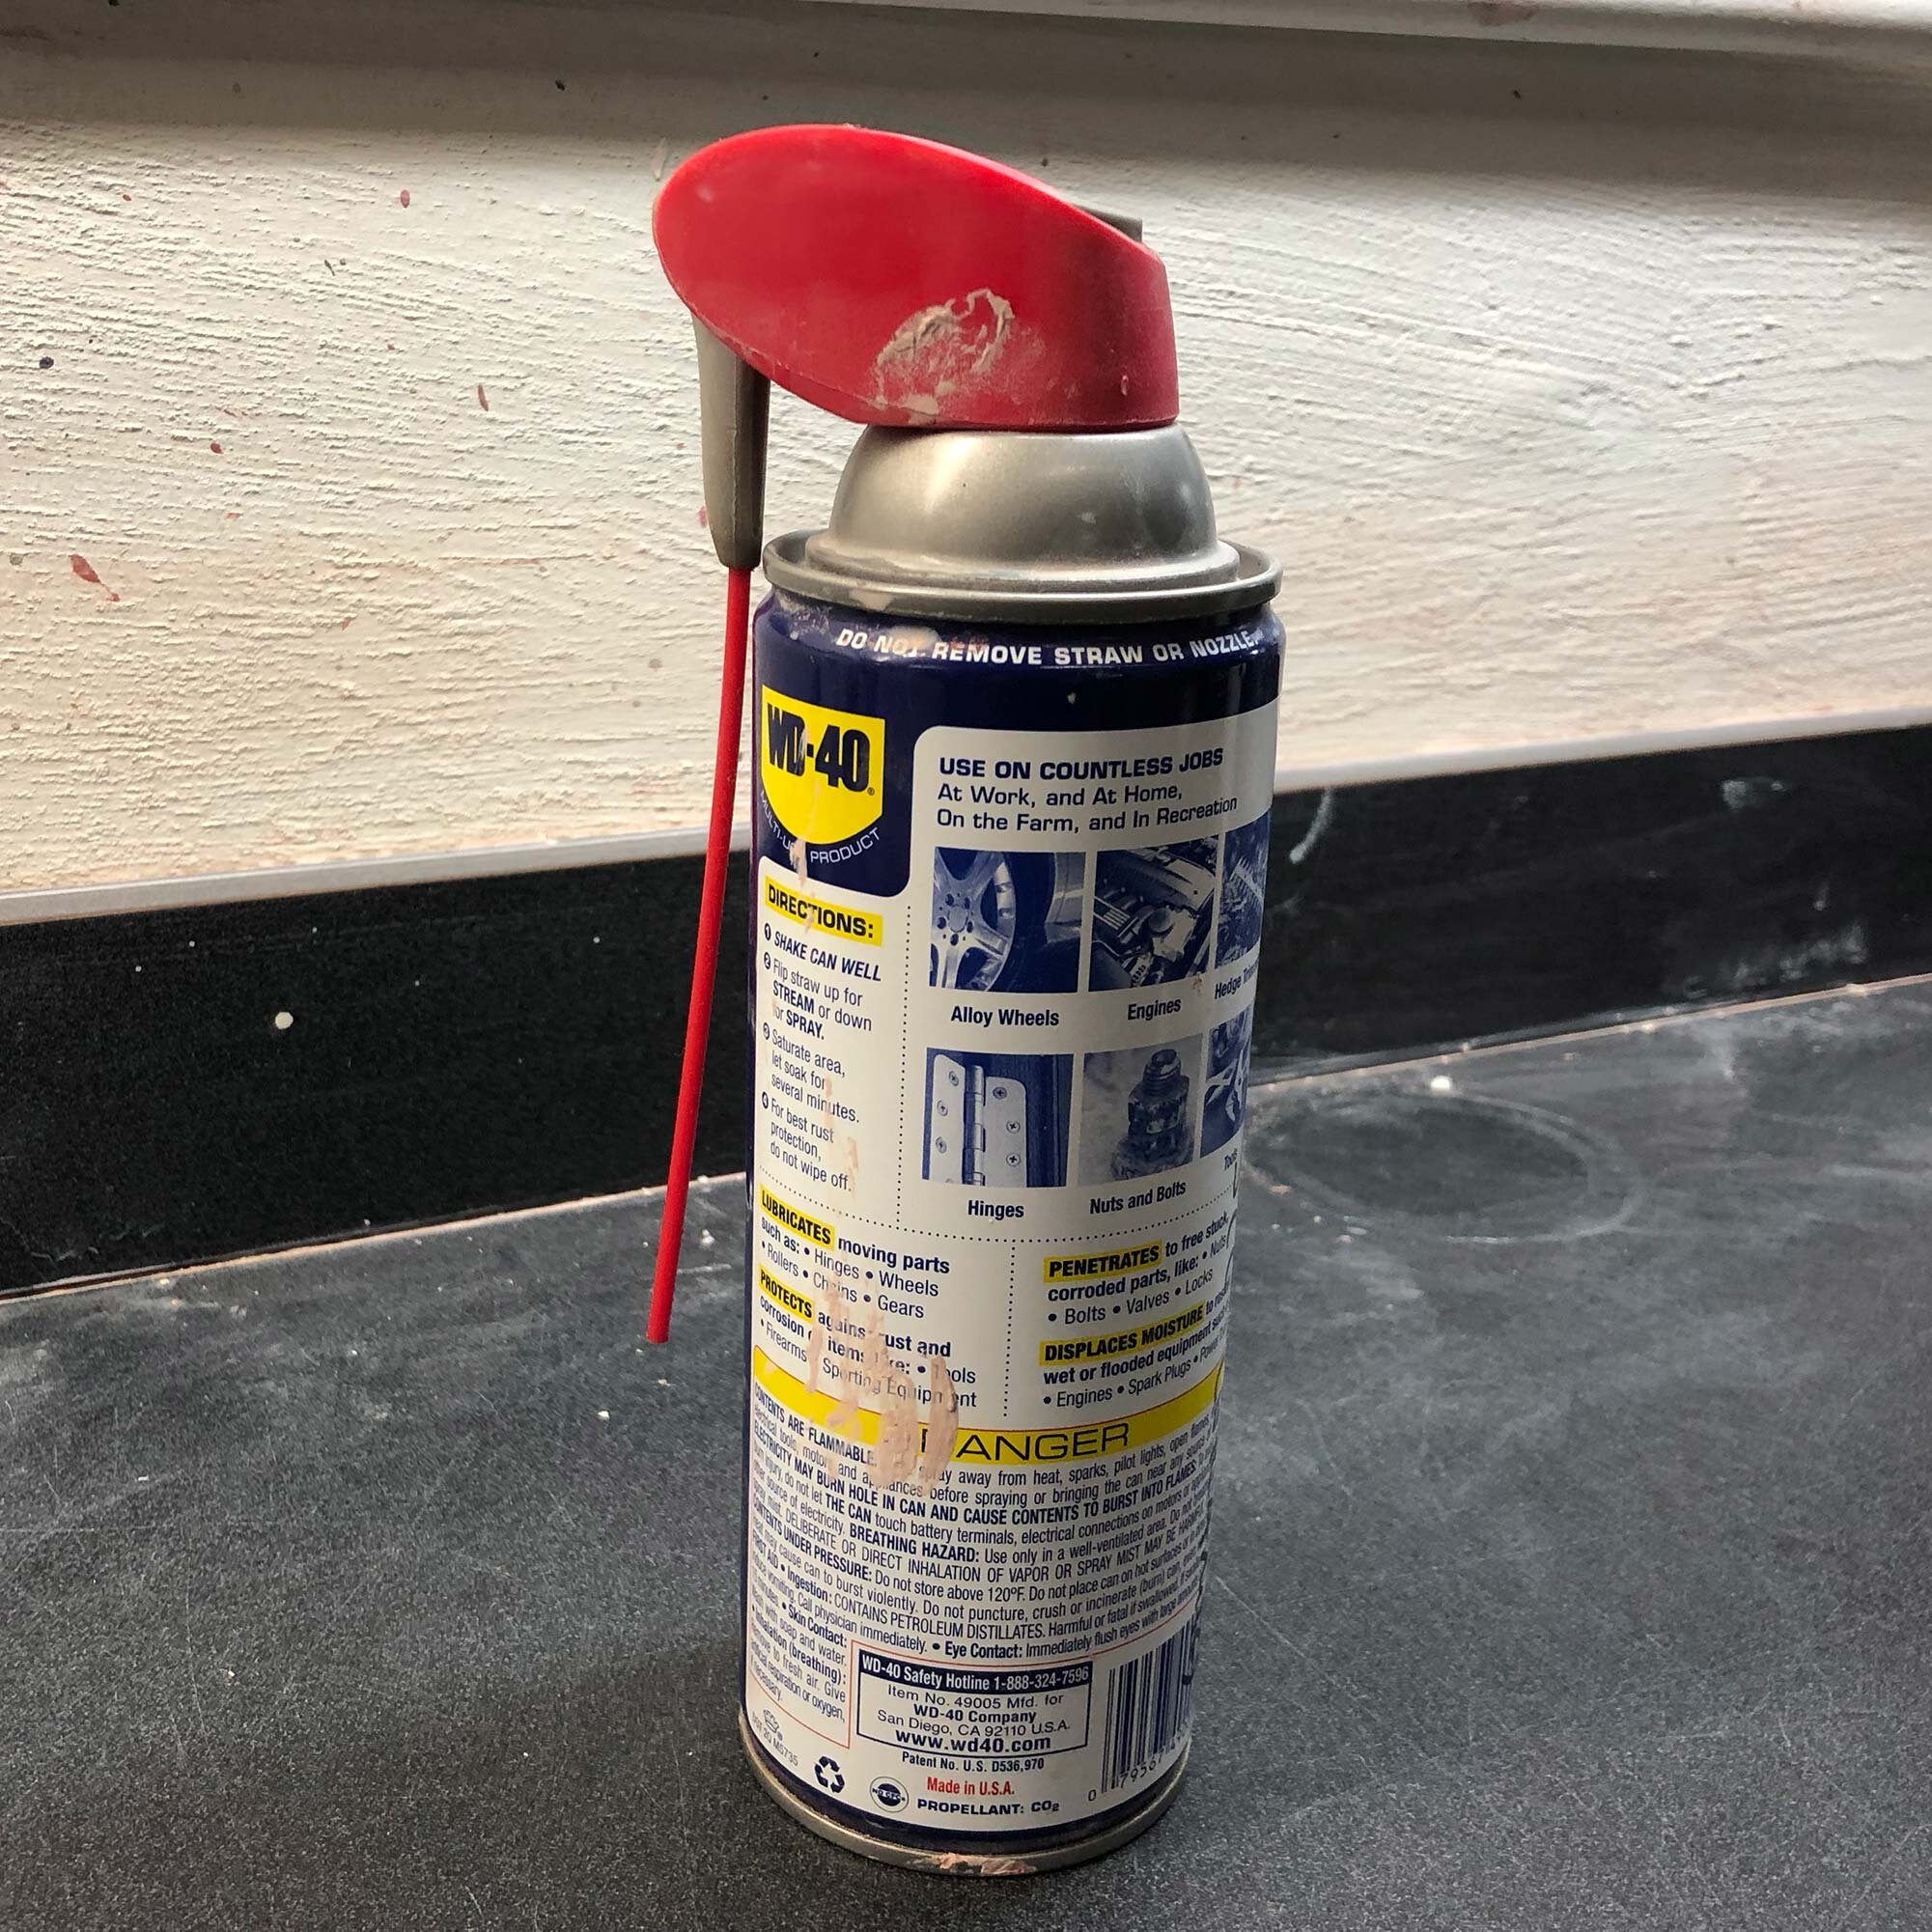
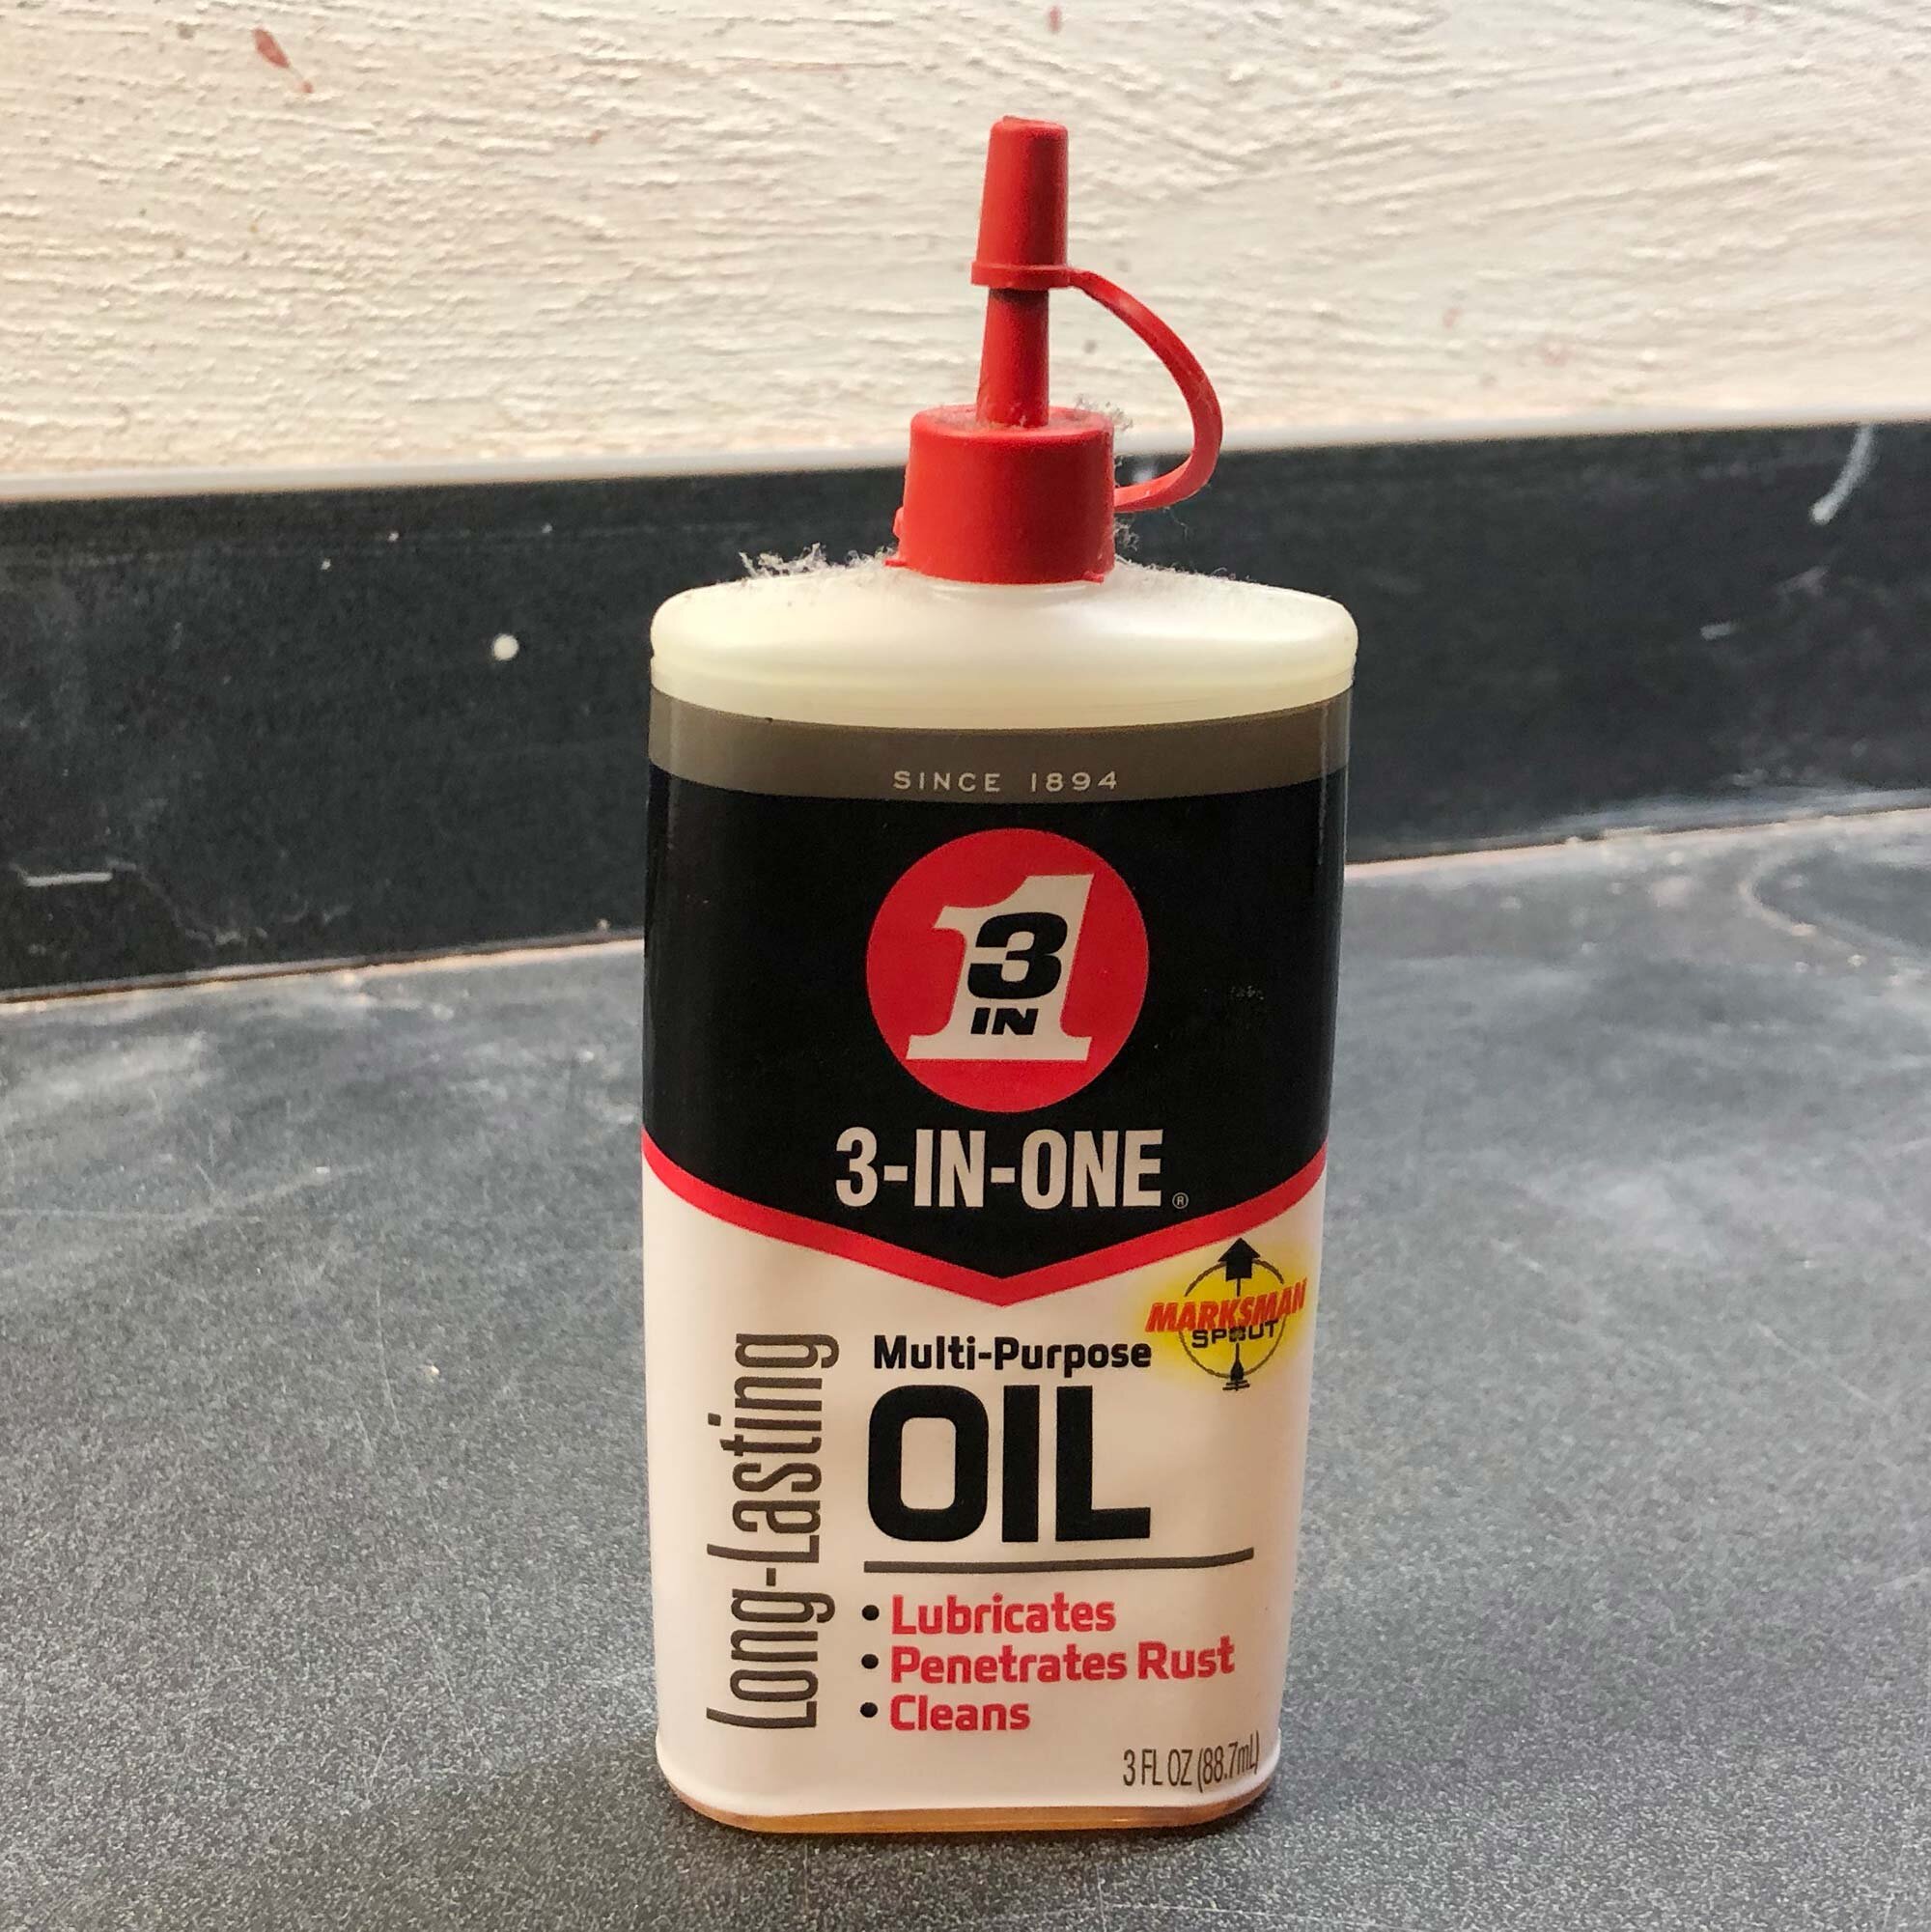
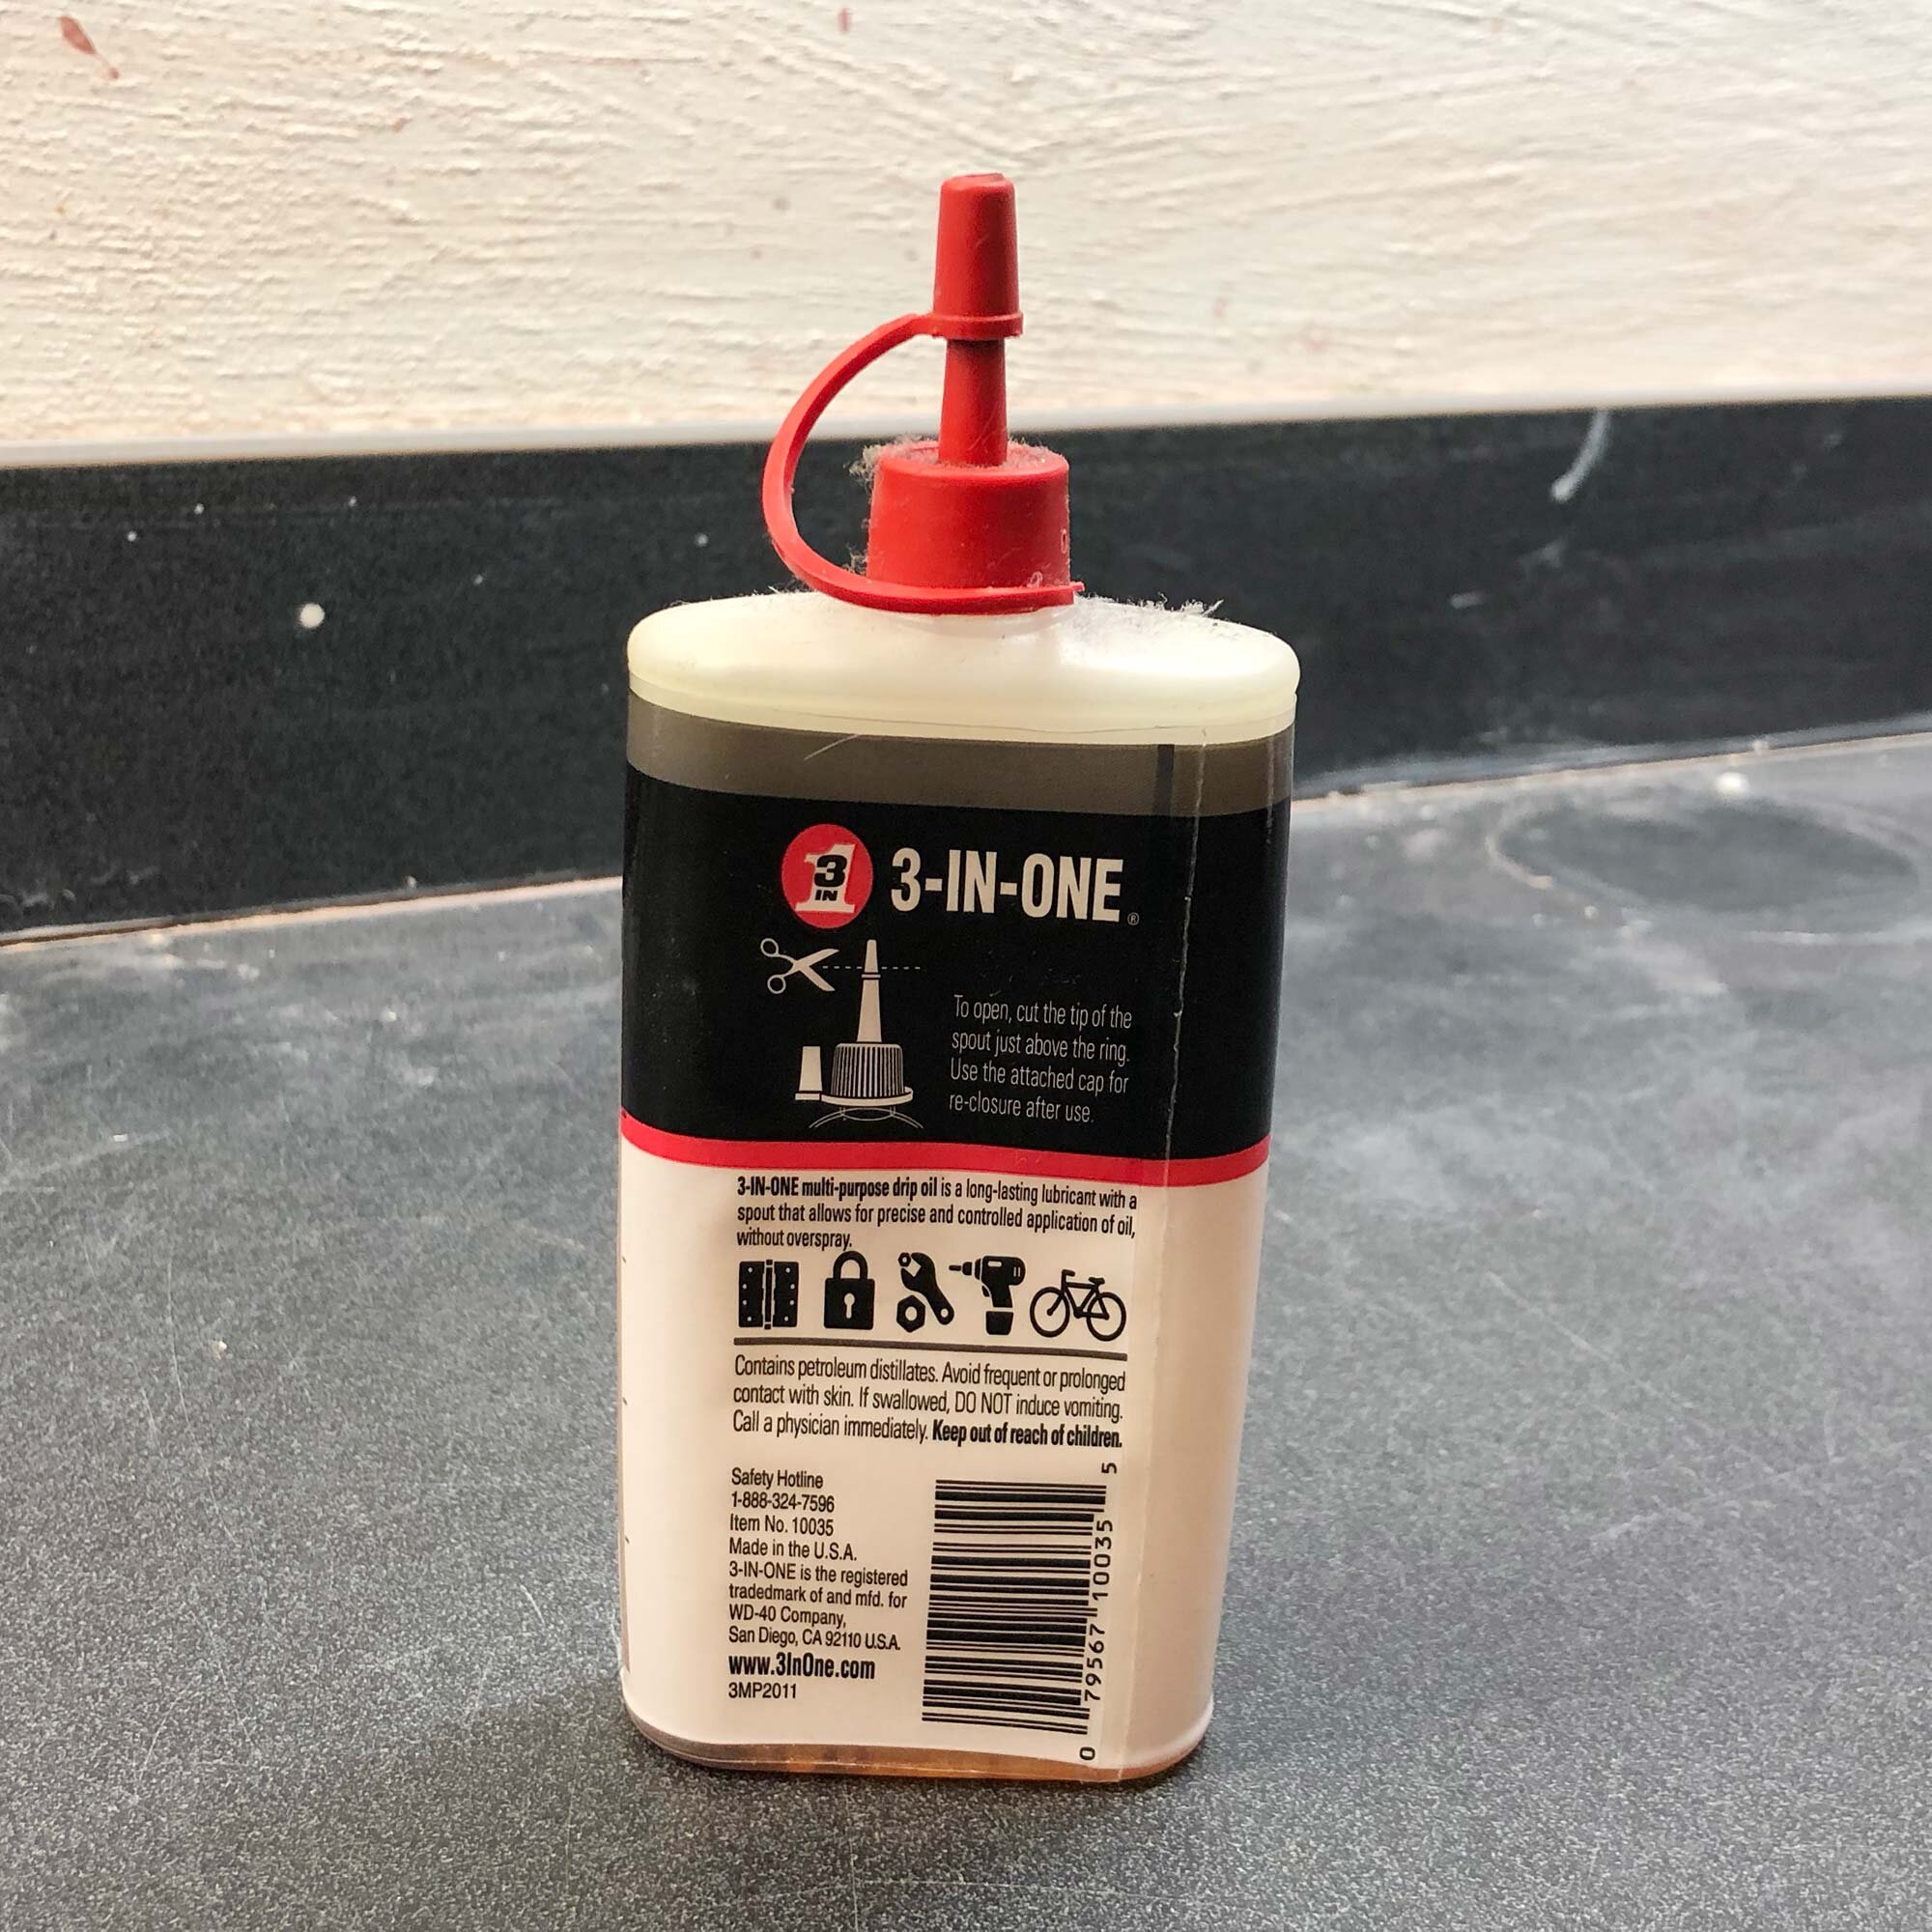
The Chemical Guys Professional Bucket Dolly is the top pick for the best 5 gallon bucket dolly on the market. It’s made of thick, easy-to-clean plastic, has 5 high-quality, full swivel casters, 2 of these casters have locking levers, and 3 large plastic screws to lock in your bucket. I have used these buckets at two different studios and even after years of hard use, they just keep working. I usually clean the dollies a few times a year and at that time, hit the bearings with a bit of grease such as Boeshield T-9 or 3-in-1 Oil. As of this writing, these bucket dollies cost about $40 each.

Advantages of the Chemical Guys Professional Bucket Dolly

These dollies just work and keep working. They do exactly what you want, the roll easily, and they are well built and long lasting. If you don’t have your buckets on wheels, you’ll experience an immediate quality-of-life improvement with these. Your back will thank you! This is just one of those simple but effective products that really help in a studio.


What you can do with a 5 Gallon Bucket Dolly

The Bucket dolly after cleaning

The Bucket dolly after cleaning

  • Glaze storage

  • Clay reclaim and slop storage

  • Store a mixing drill with a long drill shaft

  • Move for clean-up or glaze pouring

  • Dry material storage

  • Store bricks or kiln posts

  • Anything you would put in a 5 gallon bucket

  • At home, great for garage storage

  • Also useful for cleaning your car or truck


More Pics of the Chemical Guys Professional Bucket Dolly

These images are of a Chemical Guys Professional Bucket Dolly before and after cleaning. It’s been in use for approximately two years in a busy community studio.

A bucket dolly after a few months of use with a bucket for slop storage.

A bucket dolly after a few months of use with a bucket for slop storage.

Detail pic of the large plastic screw and wheel lock mechanism.

Detail pic of the large plastic screw and wheel lock mechanism.

Check out those red casters! It’s very easy to clean.

Check out those red casters! It’s very easy to clean.


Other Bucket Dolly Options

Bucket Wheelies

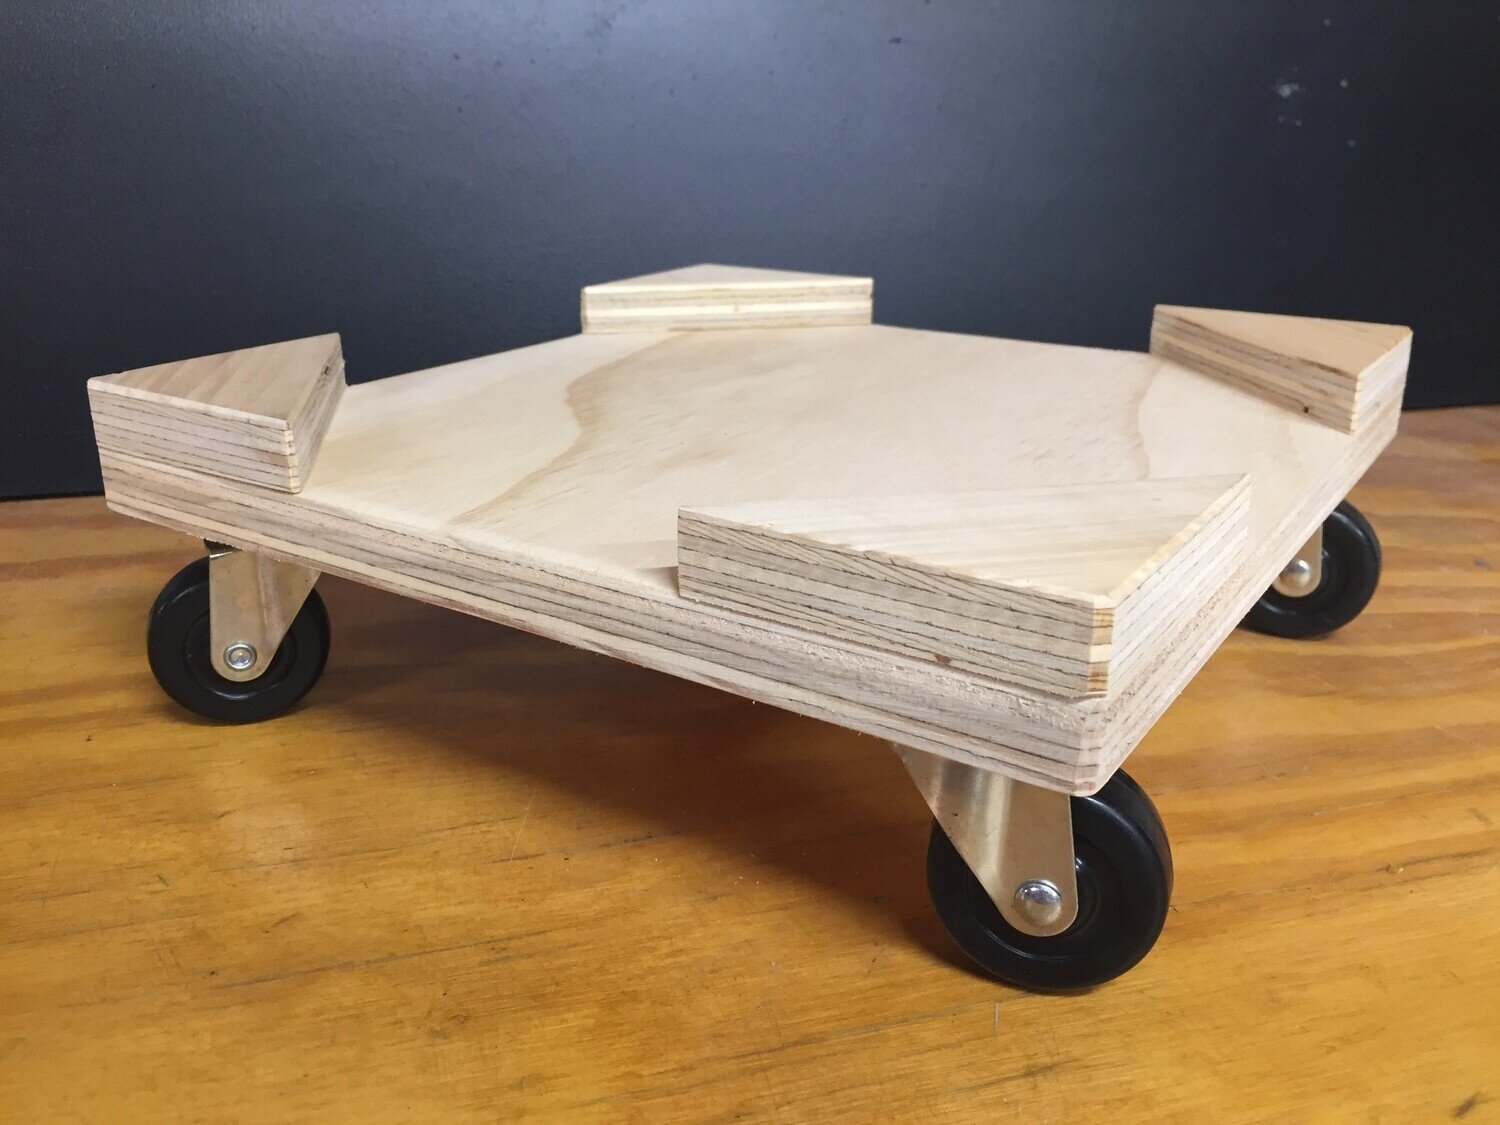
Bucket Wheelies from Bill van Gilder

Bucket Wheelies from Bill van Gilder

A great budget option comes from potter and tool maker Bill van Gilder. His plywood Bucket Wheelies are are functional and economical at $24 each. If you coat these with a water-based sealant, especially the exposed plywood sides, you should have a long-lasting and easy to clean wooden dolly.


Other Plastic Dolly Options

If you want a plastic dolly, the Original Bucket Dolly is another option. It is usually listed at a higher price than the Chemical Guys Bucket, around $50, and the screws are metal with a plastic cap. If you are working with clay, it’s best to avoid metal when possible as the wet clay can lead to rusting and other problems.

There are a few other plastic bucket dolly options we’ve seen, but none that we’d recommend. One option, the TCD Parts 5 Gallon Bucket Dolly, looks a lot like office chair feet / casters, and just doesn’t seem useful for a studio.

Here are some product links to the various bucket dollies, to compare prices.


How To Make Your Own Bucket Dolly

This can be a great way to make your own dollies of any size, especially if you are making a bunch for all the glazes in your studio. If you just need one or two, it’s probably easiest to order one of the dollies mentioned above.

Here’s what you need:

  • Plywood cut into squares or circles. Use plywood that is a minimum of 5/8 inch thick. This can be ordered online but probably cheapest to go to your local hardware / plywood supplier.

  • 2 inch swivel casters with or without brake (This 4 pack is $14.99)

  • wood screws

  • Drill

Steps to making your dolly

  1. Cut and sand plywood. Make sure it’s a bit larger than the bucket you need

  2. For a bonus, screw or glue on raised corners such as in the van Gilder Bucket Wheelie pictured above

  3. If desired, treat plywood with 1-3 coats of a water-based sealant, such as an outdoor deck sealant. This will make cleanup easier and extend the life of your dolly.

  4. Turn board upside down and arrange casters evenly. Trace holes with pencil

  5. Pre-drill holes with a small drill bit

  6. Screw casters to board

  7. Ready to use!

Here’s a video from YouTube on how to make a 5 Gallon Bucket Dolly.


Other Wheeled Options for the Studio

Moving Dolly

An 18x30 inch moving dolly is a great addition to the studio. Put a piece of plywood on top and you’ve got a perfect way to store up to 800-1000 lbs of clay. This can be useful if you need to move clay around, or want to move clay for cleanup. This two pack of moving dollies is just $40.

Rubbermaid Ingredient Bin

The wheeled Rubbermaid Commercial Ingredient Bin is a wonderful addition to a studio where you are mixing glazes from scratch. It can hold well over a 50-pound bag of dry materials. We use them to store dry materials such as plaster, feldspars, sand, silica, etc. They are sturdy, tough, keep things dry, easy to scoop, and access, and best of all, they are on wheels. Wheels just make everything easier in a studio.


Wrap-Up: The Best Heavy Duty Bucket Dolly

Through years of experience and research, I’ve found the Chemical Guys Professional Bucket Dolly to be the best 5 gallon bucket dolly on the market. It’s exactly what we use in our own studio, and what we’ve purchased for studios we have managed or consulted with. It’s durable, functional and at $40, worth every penny. Buy one and you’ve made a lifetime investment.

In addition to Bucket Dollies, other wheeled devices such as moving dollies and Rubbermaid Commercial storage containers will make your life easier in the studio..

What wheeled storage containers to you use? Have you made your own dollies? Leave a comment with your experience below.


The Best Tools for Getting Started in a Pottery or Ceramics Studio

There’s a huge variety of tools for working with clay, but you don’t need everything out there, especially if you are just starting out. There are a few basics that will do 95% or more of studio tasks, and these are the same tools that you’ll use over and over again as you continue to work with clay.

In general, it’s best to pay a bit more for quality, well-built tools that will stand the test of time. But lower-cost options can be fine too, especially if you are just trying pottery for the first time or are on a budget.

This post will cover a tool kit, 3 additional tools, one apron, and one tool bin recommended for beginners. Here’s a quick overview of the recommendations:


Table of Contents

  • Basic Pottery Tool Kit

  • Fettling Knives

  • Clay Shredders / Rasps

  • Scoring tools

  • Aprons

  • Tool Boxes and Bags


Kemper Pottery Tool Kit

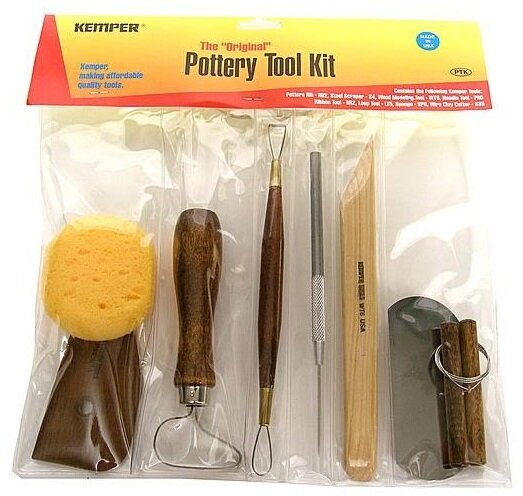
kemper.jpg

The Kemper "Original" 8-piece Pottery Tool Kit includes the most-used tools for wheel throwing and hand building. All these tools are must haves.

The kit includes:

  • Wooden Rib

  • Sponge

  • Loop tool

  • Ribbon tool

  • Needle tool

  • Wooden knife or modeling tool

  • Metal Rib

  • Wire tool

At $15-20, that’s a great deal! This Kemper Original Tool Kit does cost a bit more than other kits, but that’s because it is made out of higher quality wood and metal. That means the loop tools will stay sharper longer, the wooden knife won’t warp, and the wooden rib will hold up for years of use. It’s worth the extra few bucks. Look for the dark brown wood aka hardwood, and you’ll know that you will soon be working with quality Kemper tools.

Budget Tool Kits

If you are just starting out, there are options to get a tool kit for less than $10. The metal uses is thinner and the wood is “soft” on these kits, so it just doesn’t hold up under the wet, heavy use on a pottery wheel. So these tools won’t last as long, but they’ll definitely last long enough to get you started. And then as they wear out, you can replace them with higher quality tools if you want to get serious.

Here’s a few links to generic tool kits and to the Kemper kit, so that you can compare prices.

A final note on these tool kits: Students ask me about sharpening the loop tools. Yes, you can sharpen these tools with a whetstone or bench grinder. But the metal, even on the Kemper kits, is not designed for sharpening over and over. Expect to be able to sharpen a loop tool 2 or maybe 3 times before the metal gets so thin that it’s unusable. At that point, it’s time to buy a new loop tool. A sharp, relatively new loop tool will result in faster and more even trimming.


Fettling Knife

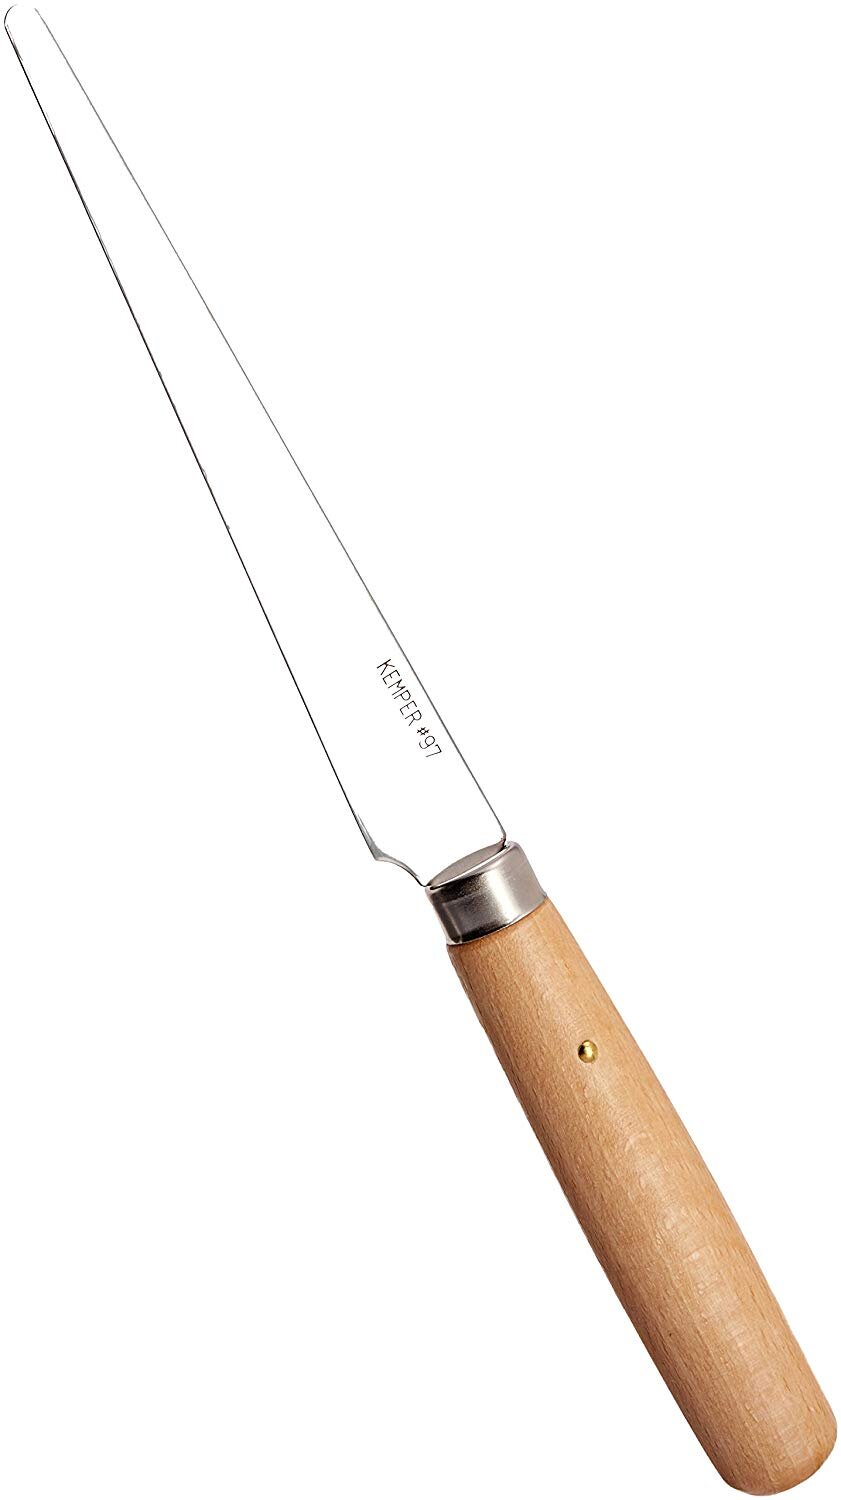
Kemper Fettling Knife

Kemper Fettling Knife

A fettling knife is something I use every day in the studio. It’s a basic steel knife that is not too sharp, but not exactly dull either. The name comes from the word fettle, which means to clean up rough ends of cast metal or clay.

A fettling knife can be used to cut clay evenly and cleanly, and is a superior option to other knives when working with clay. Some people use box knives or X-acto knives, but those dull quickly and are prone to rusting. You might use an old kitchen knife but usually these are either too thick and dull.

Like the tool kit, it pays to get a higher quality knife. The Kemper knives recommended here have better quality steel that isn’t likely to warp or bend under normal use, a better handle, and most importantly, better glue that will keep these two pieces attached. Trust me, I once ordered cheap knives for an academic studio and after a few months half the knives were bent or the blade had fallen out of the handle. They just weren’t worth it.

My favorite fettling option is the Kemper F97 “hard” fettling knife. It has a 4.5” steel blade, a 3.5” handle, and it is a workhorse. The harder steel knife is less likely to bend while cutting, and it makes a great straight edge for smoothing and finishing work.

The Kemper F96 “soft” fettling knife has the same size and shape as the F97, but is more likely to bend under normal use. Sometimes there is a need to bend your blade a bit, such as for a hard to reach area of a sculpture, so this knife can come in handy.

An interesting option is the Xiem Tools Pottery Knife. A bit smaller than a fettling knife, the Xiem knife is 6” long and has the feel of a small kitchen paring knife.

There are cheaper fettling knife options out there with wooden handles, but I can’t recommend a non-Kemper fettling knife. In my experience these knives are made with inferior metal and are prone to falling apart.


Clay Shredder or Rasp

The Mudtools Clay Shredder

The Mudtools Clay Shredder

A clay shredder or rasp is an awesome tool. Once you have one, you’ll find a bunch of uses for it, including trimming, evening out slab work, cleaning up edges, or adding a bevel. I remember one of my early instructor’s calling these tools “the sculptor’s friend.” They work great on pots too.

There are a variety of options, but our favorite is the Mudtools Shredder. It’s got a comfortable, curved handle that doesn’t take up a lot of room in your toolbox, and the shredder blade is easily removed when you need to replace it. It’s also the easiest style of shaver to clean. If it’s easy to clean, you’ll reach for it first.

For a few bucks less, you can get a similar shredder from Creative Hobbies. The only drawback is that it has a larger handle and the blade is a bit enclosed, making it harder to clean. Otherwise, it’s a great option.

If you want to expand beyond the small curved shredder blade, your best bet is the Surform planer from Stanley. They’ve got a small shaver, similar to the Mudtools, two sizes of flat planes, and a round shaver. I’ve used them all, and they are all great. But, you probably don’t need those bigger shavers until you have bigger projects or are working with plaster molds.

If you do get the Mudtools rasp, or a similar style with the small curved blade, you can get replacement blades such as a 6 pack of replacement curved blades from Stanley. The shredder blade will wear out after use, but it really depends on what type of clay you are using and how clean and relatively rust free you keep your shredder. Just test the blade from time to time and get replacements as needed.


Scoring Tool

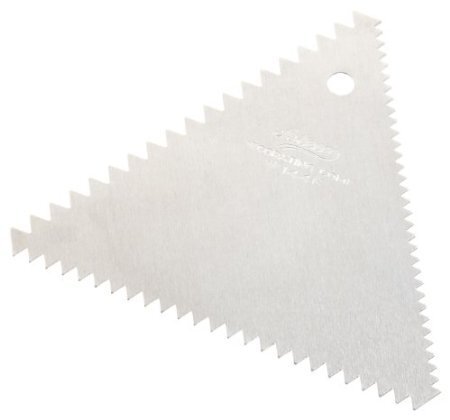
The Ateco Decorating Comb. Good for frosting and ceramics.

The Ateco Decorating Comb. Good for frosting and ceramics.

These tools go by a variety of names including serrated rib or scraper, and scoring tool. If you want to go budget, find an old metal fork and it will do the job in a rough kind of way. But it can be nice to have a dedicated tool for this job and I use the serrated ribs over and over until they are dull, and then I buy a new one.

The best option is the Kemper serrated rib, which is available for about $3 at Dick Blick and other sites. It has a small, compact seration that works great for joining clay with the score and slip method. The curve edges allow you to maneuver the tool any way you want to go, allowing you to quickly and effectively add scoring marks to your projects.

Another great option is the Ateco triangular decorating comb. It has bigger grooves, which can be great for adding design texture, or scoring the back of tiles.


A final option is the Xiem retractable scoring tool. It’s super compact, has an innovative design, but it’s not my favorite. The Xiem tool is a bit more work to get open and started. I always reach for the serrated rib first, and so that’s what I’d recommend for beginners too.


Apron

Split-leg cotton apron from Black Stallion

Split-leg cotton apron from Black Stallion

To stay clean in the studio, you can cover up with an extra-large t-shirt or an old button down, but an apron is usually the easiest and most functional option. For functionality at an affordable price, you can’t beat this cotton split-leg green apron by Black Stallion.

Although intended for welding, this split-leg apron is also very functional for wheel throwing. The main advantage is it has an adjustable clip buckle at the neck, and two buckles behind each leg. The split leg has a reinforced joint, but it doesn’t have the doubled-up fabric often found in pottery aprons.

This apron is available in three lengths: 36 inches, 42 inches, and 49 inches. The 36 or 42 will suit most people (A standard kitchen apron is often 30 to 33 inches long.

Cross-back barber style apron from Under NY Sky

Cross-back barber style apron from Under NY Sky

Another interesting apron option that is great for handbuilding is the Nylon Cross-Back Barber Apron from Under NY Sky. It costs a bit more but won’t break the bank and it’s got a great look with lots of function. The nylon is appealing for ease of clean up, and it’s also got a clip at the neck and a short split leg. The apron is available in four colors. It’s not as long as a pottery apron, but if you just need coverage on your torso, it’s great.

For more, visit our full review of pottery and ceramic aprons.


Tool Box

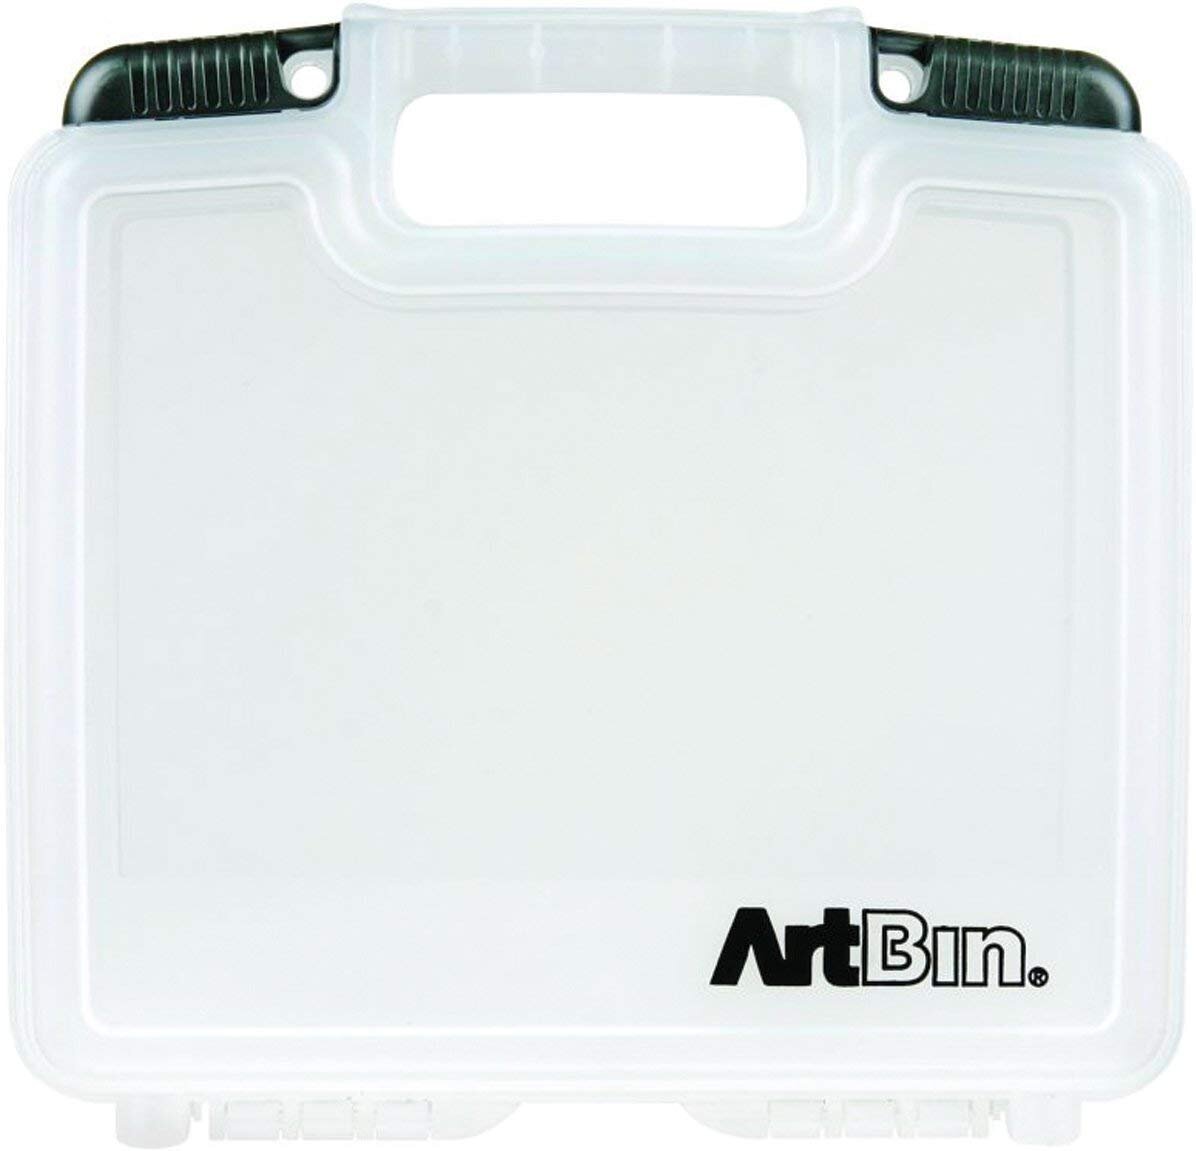
artbinsmall.jpg

Once you have a variety of tools, a box or bin will help keep things organized. A large yogurt container or small bag with air and drainage holes can work, but my favorite option is a 10.5” Translucent Art Bin.

This bin is big enough to hold a basic kit of tools, but not so big that it’s hard to store. When closed it can be stored horizontally or vertically and if it gets dirty, the whole thing can be cleaned and rinsed. There’s also a variety of sizes, so you can pick the one that works best for you. If you’d like, you can also easily drill holes in this plastic for a bit of air circulation if you have to put your tools away wet.


If you prefer an upright canvas tote option, the JJring Nylon Artist Tote bag is a great option that comes in 4 different colors. For $14, it’s got a lot of features including 16 external pockets for small tools and a larger inner chamber. Or if you want a neutral / natural fabric color option, go with the Harbor Freight Canvas Riggers bag.

Whichever box or bag option you decide on, keep in mind that open storage will allow your tools to dry and stay rust free.

What tools are your absolute essentials in the studio? Let us know in the comments.


The Best Heavy Duty Clean Up Sponges

 
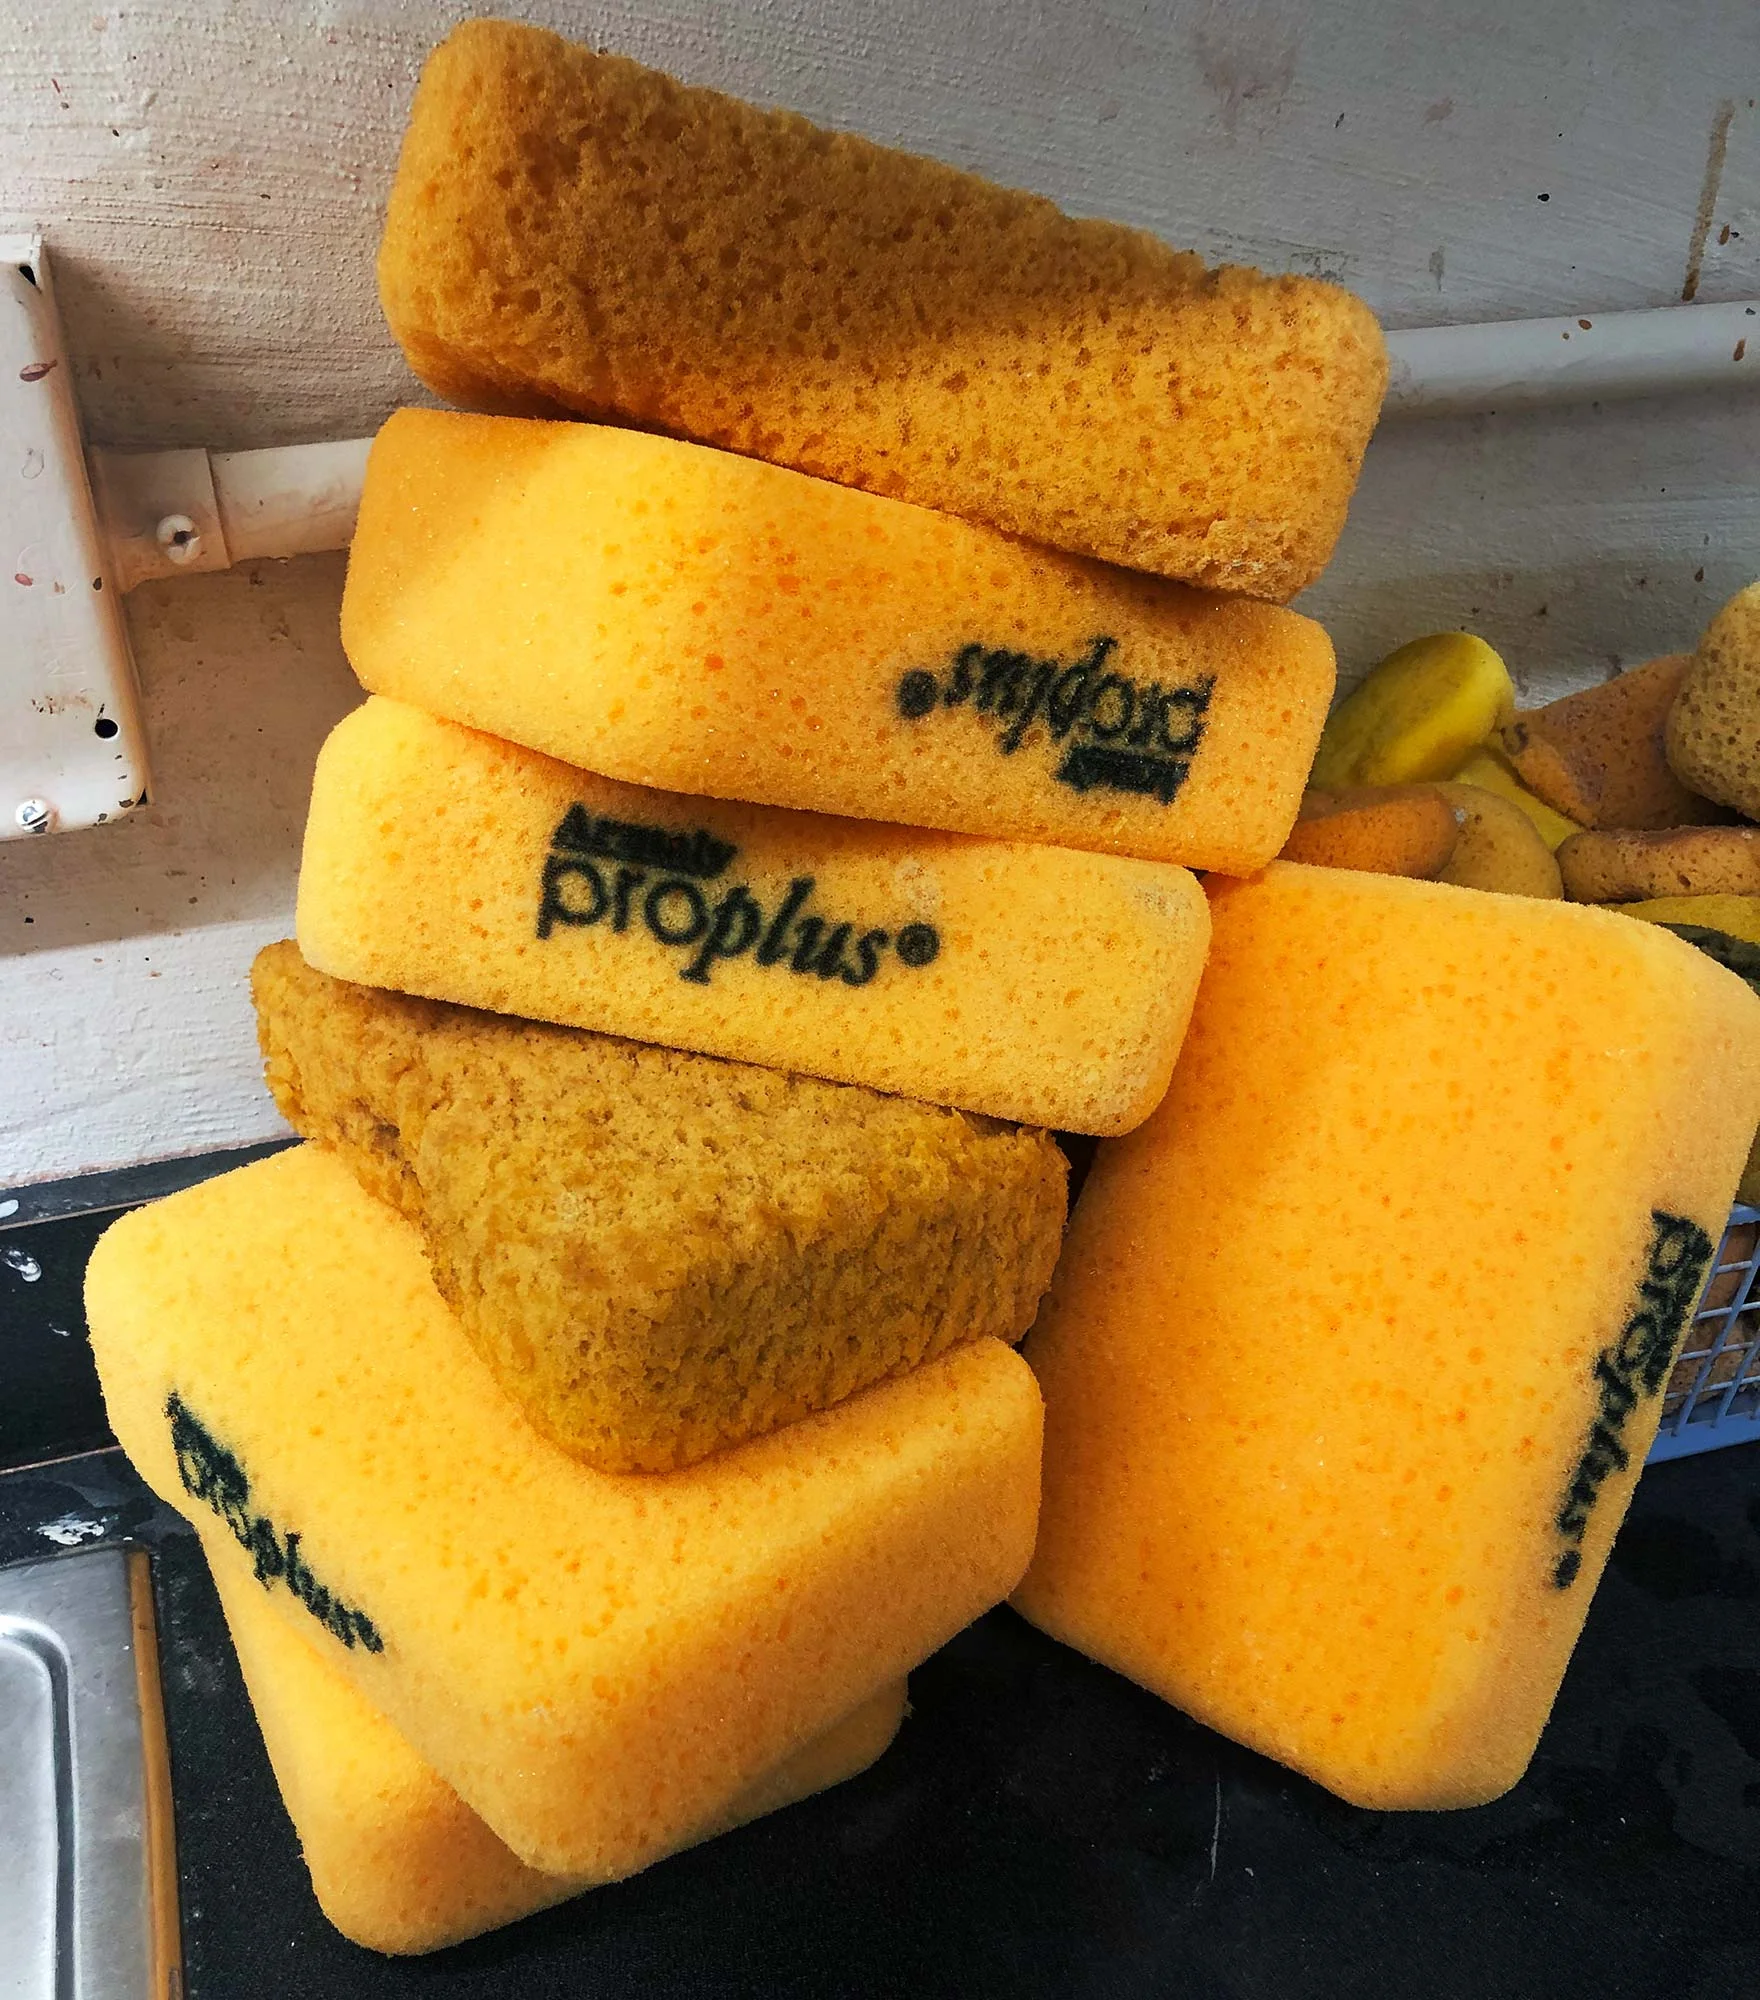
A stack of large yellow sponges. Bright yellow are new sponges, the darker sponges are about six months old.

A stack of large yellow sponges. Bright yellow are new sponges, the darker sponges are about six months old.
 

Every art studio needs cleaning, and large yellow sponges are one of the most effective cleanup tools. They can wipe, mop up liquid, and be used over and over again. If you are working with clay, this is a must have tool in the studio. Small sponges, rags, or towels will simply not compete with the large surface area, long life, flexibility, and reusability of these sponges.

The only problem is that most large yellow sponges for sale online are low-quality generics that can disintegrate and fall apart, sometimes within weeks.

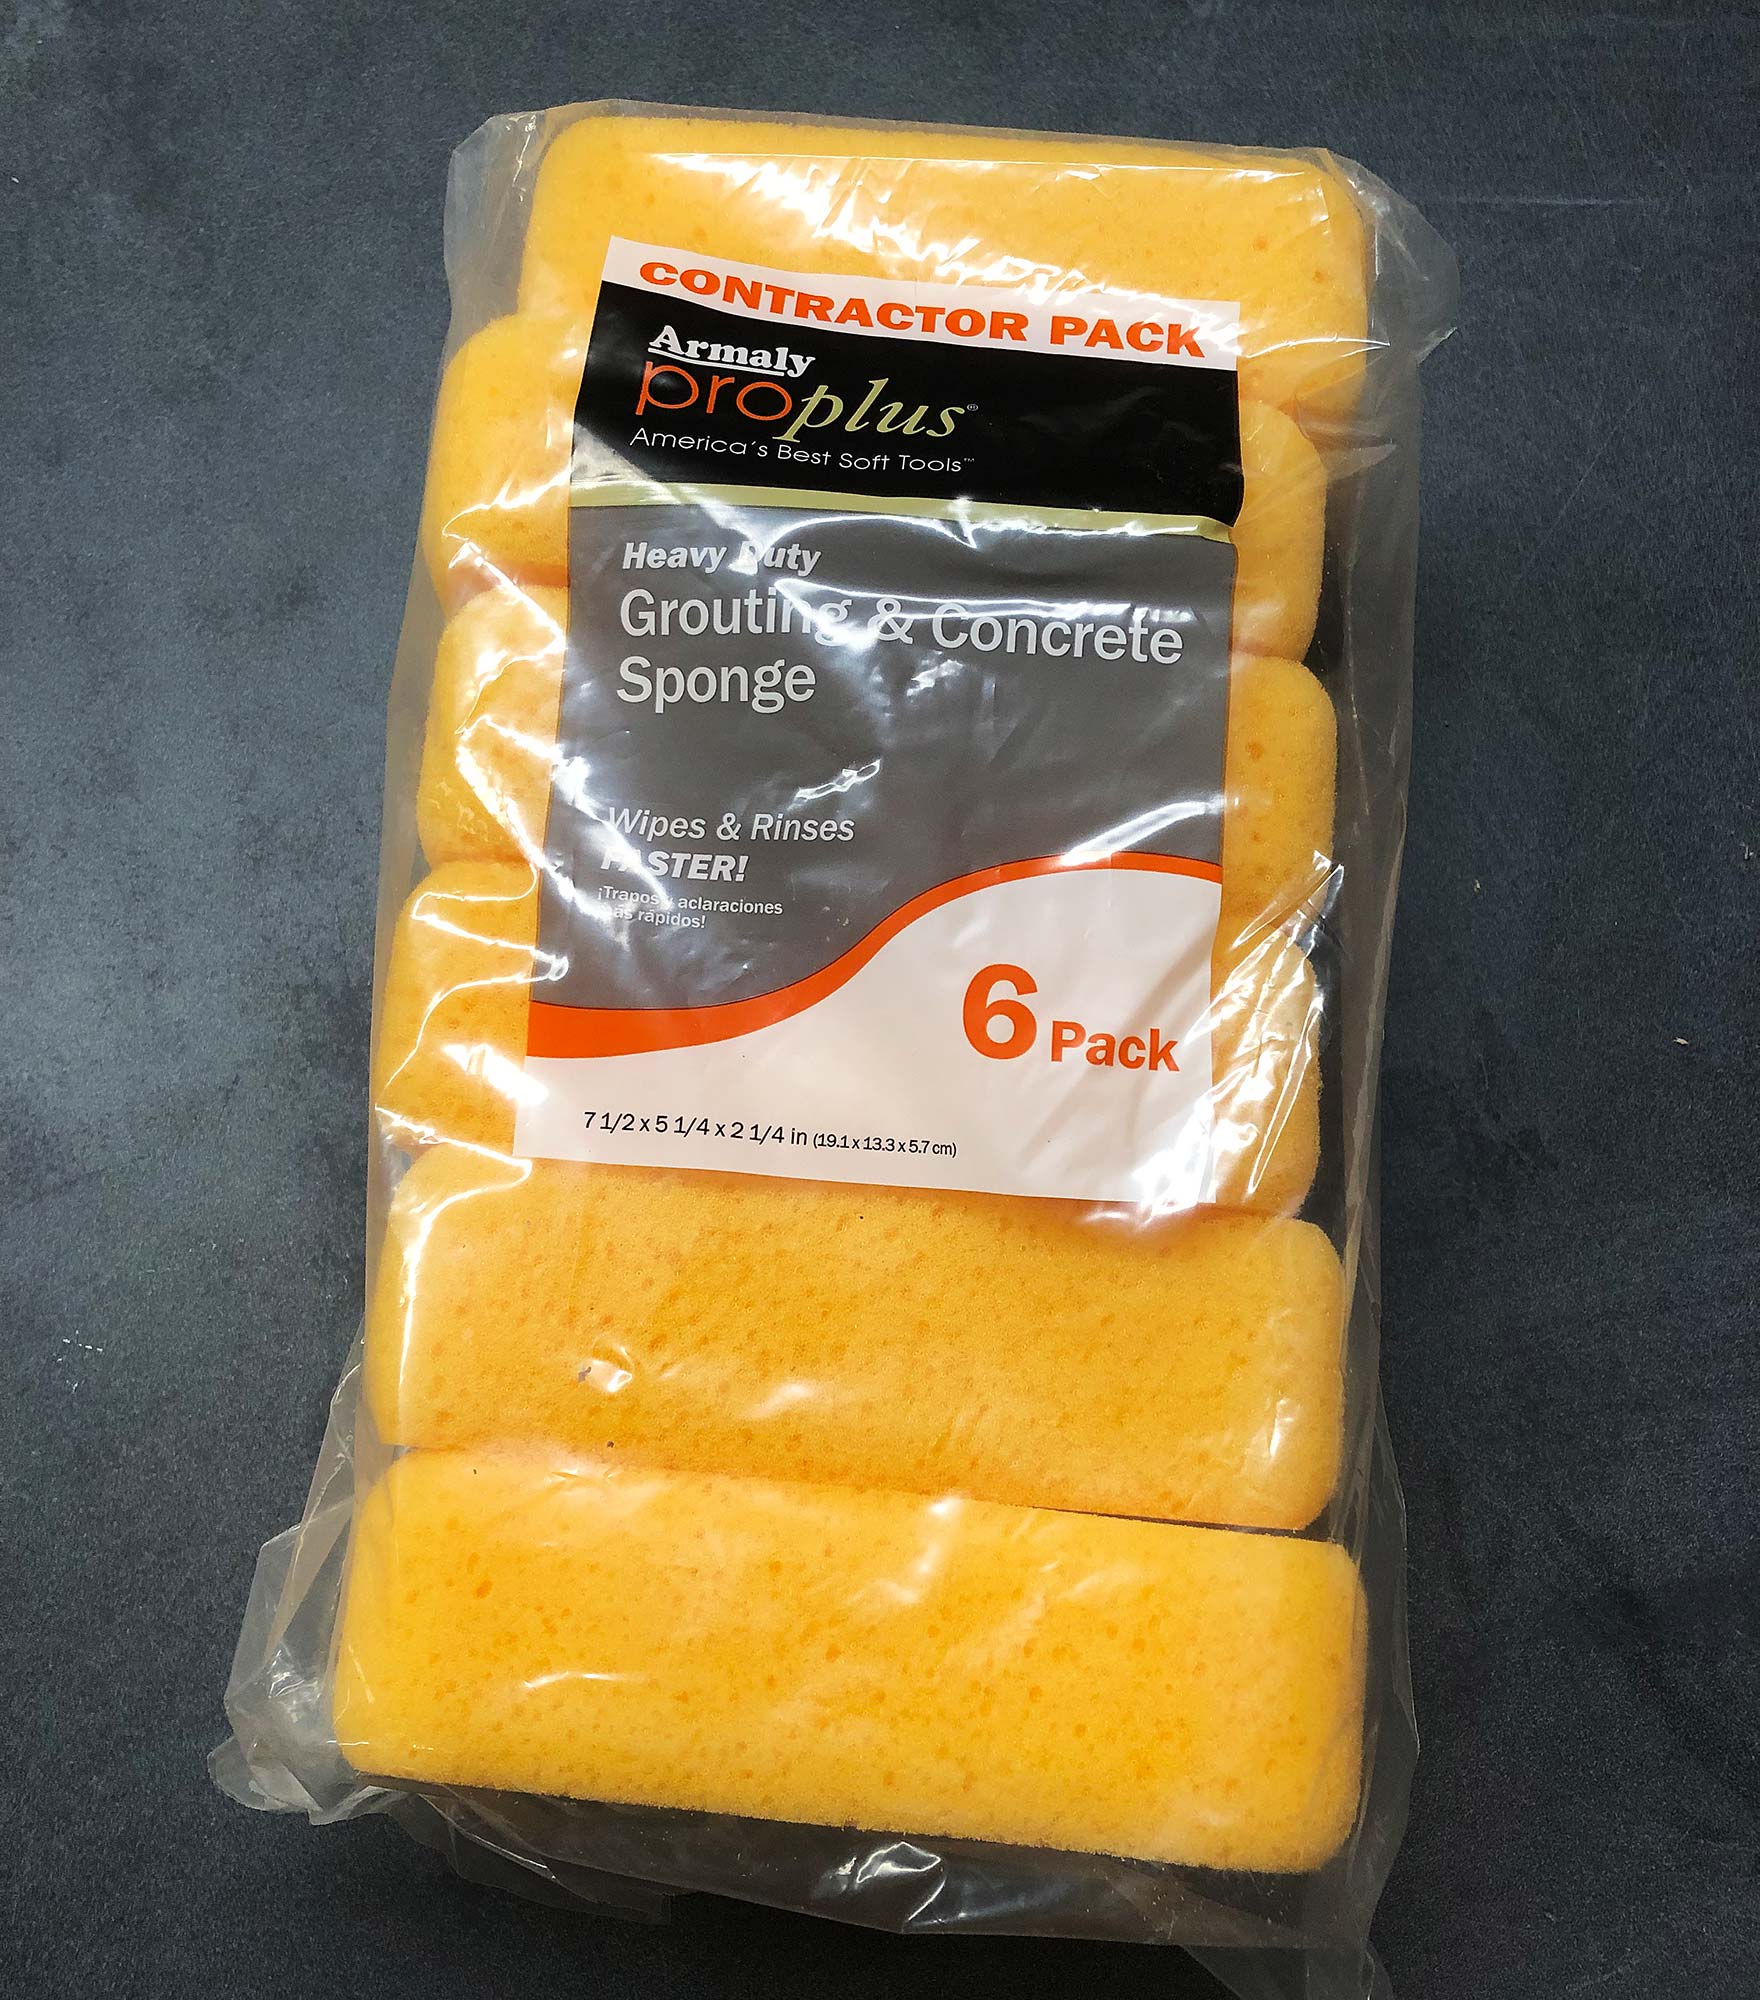
The best large sponge I’ve found is the Armaly ProPlus Heavy Duty Grouting and Concrete Sponge. For the past several years, I’ve been using these sponges in a busy community ceramics studio and the sponges will hold up under heavy use for six months or more. There is simply not a comparable sponge on the market and I believe these sponges are worth the slightly extra price, especially when they are being used day after day and don’t need to be replaced as often. I’ve been using sponges like this for throwing on the pottery wheel for almost 20 years and the Armaly sponges are the best I’ve ever used.

Shopping tip: Lowes generally has the best prices for these sponges


Table of Contents

  • Top Pick for Heavy Duty Large Sponges

  • Advantages of Armaly ProPlus Heavy Duty Grout Sponges

  • What you can do with large yellow sponges

  • Other options

  • Wrap-up: The best Heavy Duty Large Yellow Sponges


Top Pick for Heavy Duty Large Sponges

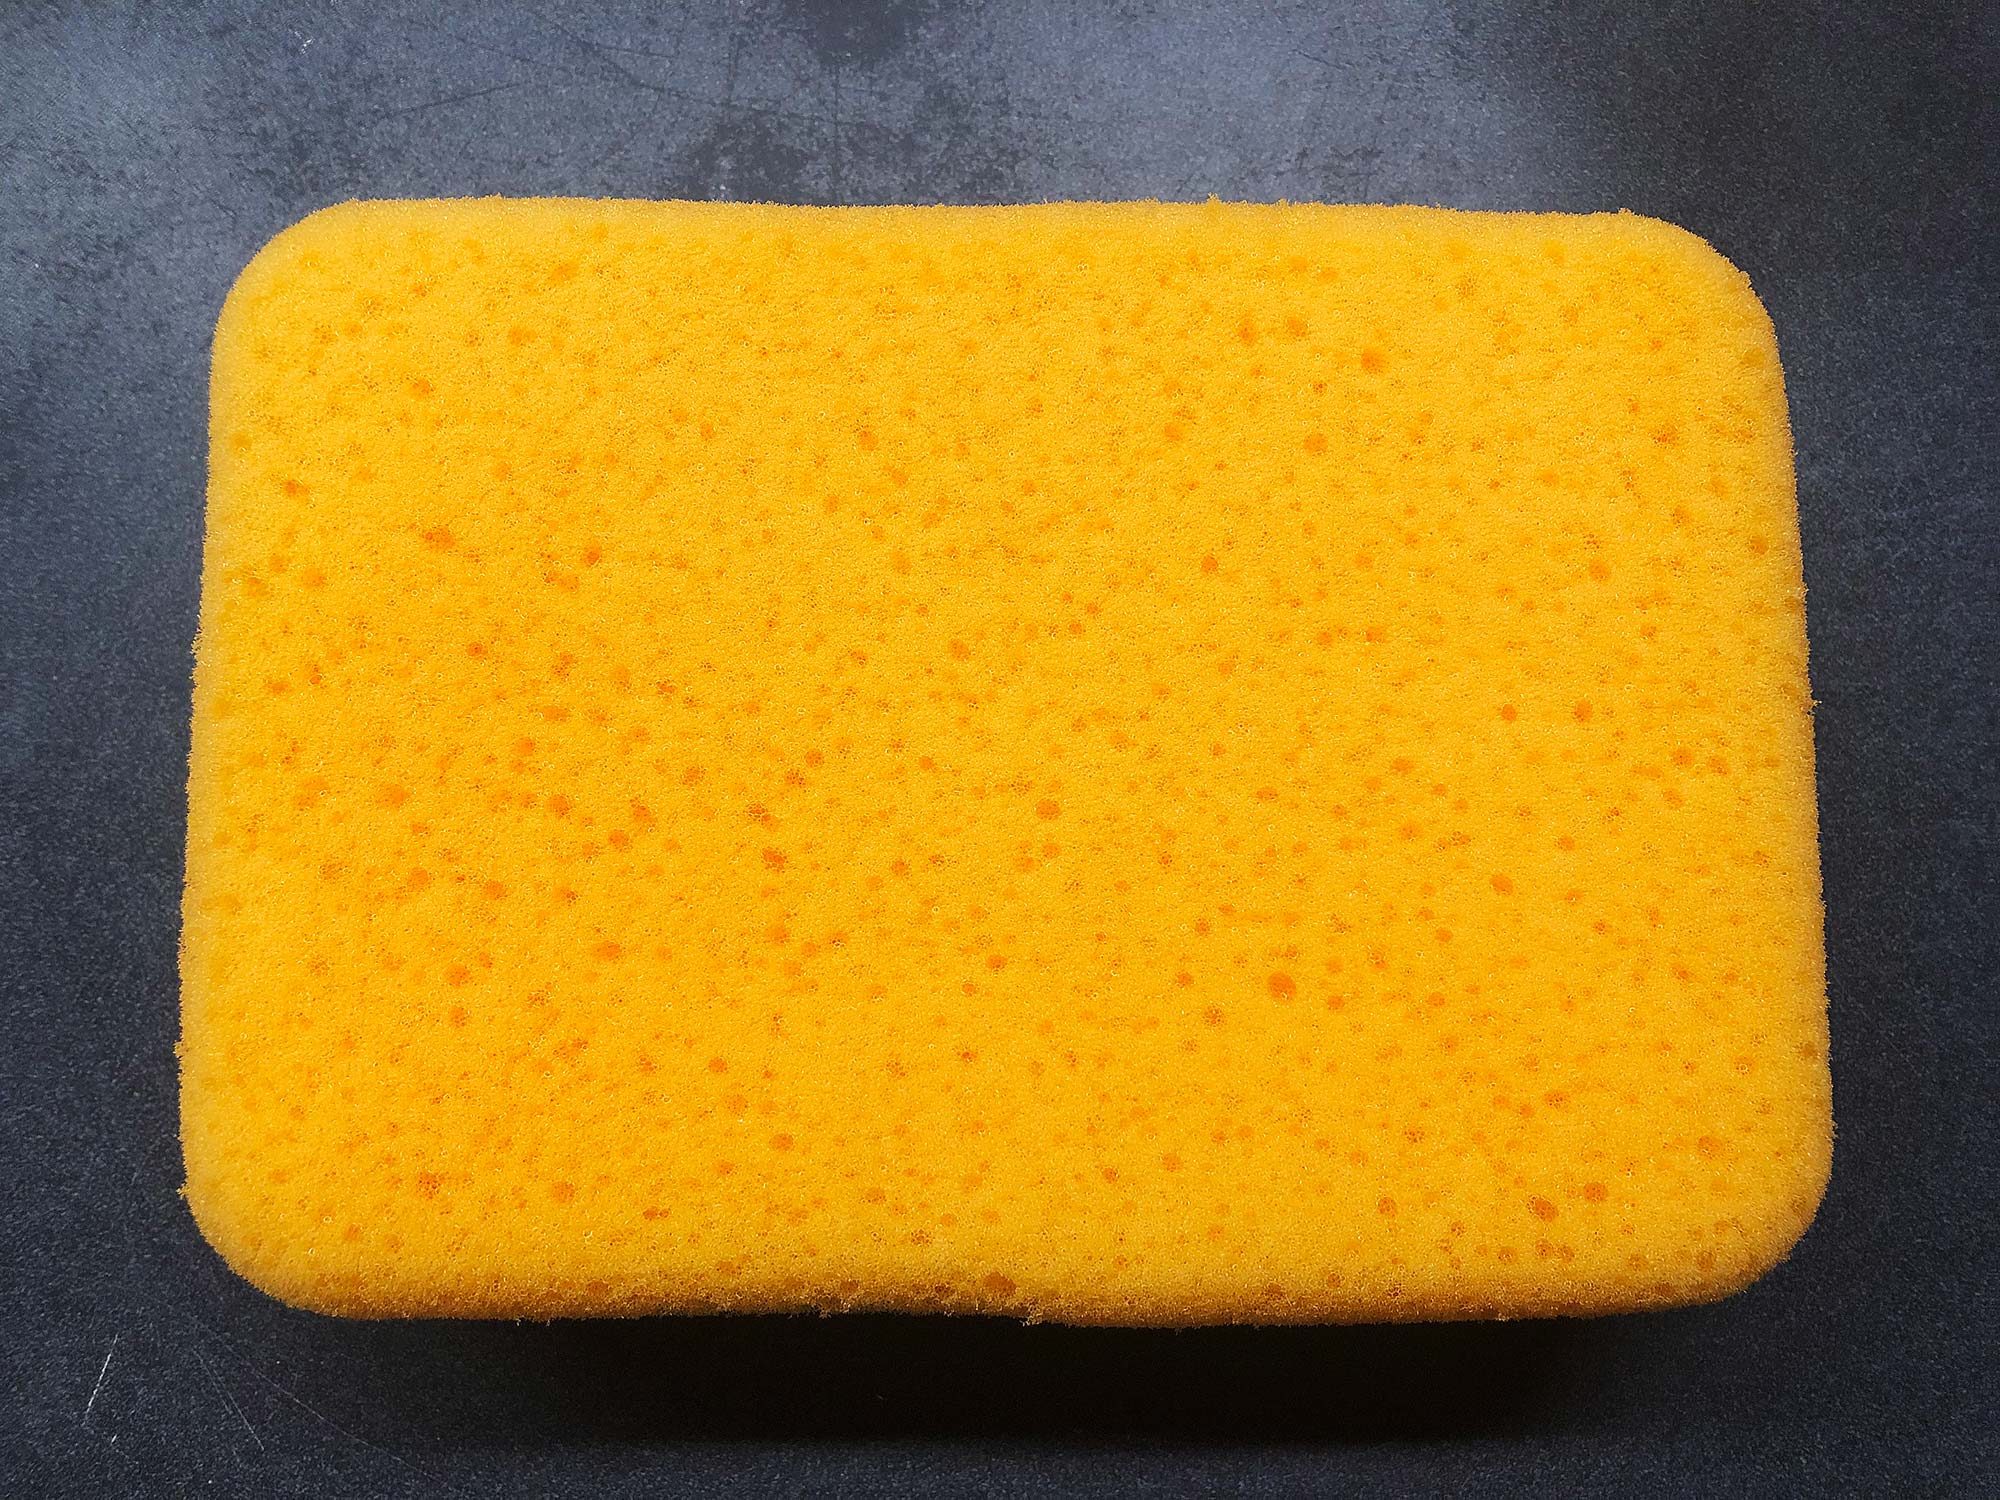
Detail of the pore structure on a new Armaly ProPlus Heavy Duty sponge.

Detail of the pore structure on a new Armaly ProPlus Heavy Duty sponge.

The Armaly ProPlus Heavy Duty Grouting and Concrete Sponge is the top pick for the best large yellow sponge. As of this writing, they typically cost around $15–$22 for a 6 pack of sponges, or they can be purchased individually as well. They cost a bit more than other options, but the exceptional life span of these sponges makes them a solid investment for your studio. Large yellow sponges are typically 7.5 x 5.5 x 2 inches.


The Advantages of Armaly ProPlus Heavy Duty Sponges

These sponges just last and do the job you expect them to do in an art studio, such as clean up, light mopping, or removing glaze. If you were using these sponges for grouting or plaster work, you might think of them as semi-disposable. But in a studio, you want a tool that will last and be useful, and these are a versatile option.

One of the best features of these high-quality polyester sponges is their ability to pick up and then easily squeeze out a large volume of water. These heavy duty sponges hold up for any job and can last six months or longer, even in a shared studio such as a busy ceramics studio. In an individual studio, these sponges might even last a year or two or longer with light usage.

To research large sponges, I’ve bought just about every type of large sponge and put them to use in academic and community studios used by one hundred or more students every week. In this environment, sponges receive almost constant use throughout the day. Some of the supposedly “heavy duty” sponges started to break down in a few weeks—these were typically sponges from generic multipacks. The Armaly ProPlus Sponges are the longest-lasting cleanup sponge.


What You Can Do With Large Yellow Sponges

  • Clean up

  • Pottery wheel and throwing clean up

  • Light mopping

  • Glaze clean up on bisqueware

  • Wetting watercolor paper

  • Plaster work

  • Grouting

  • Concrete

  • Tile installation

  • Household cleanup

  • Car and boat washing


Other Options

QEP Grouting Sponge

The QEP Grouting, Cleaning and Washing Sponge is another great option for large sponges, and at $10 for a 6 pack, offers an exceptional value. I’ve used these and they do work, they’re just not as good as the Armaly ProPlus. Amazon reviewers also praise the QEP sponges for toughness but quite a few found it to be too tough and didn’t wring out as well. I take a tough but not as absorbent sponge over one that breaks down, so if you are looking to save a few bucks, definitely give the QEP sponges a try.

Creative Hobbies Large Sponges

Another option is the Creative Hobbies Value Pack of 4 Sponges, currently around $9 on Amazon. These cost a bit more per sponge than the QEP, but also offer an exceptional value and should do the job.

These are the three best options for use in a pottery studio. I’ve also ordered every sort of generic bulk pack on Amazon and found those to be a waste of money, especially if they are going to be used intensively for wheel throwing or in a busy studio. Stick to one of these three option and you won’t be disappointed.

Wrap Up: The Best Heavy Duty Large Yellow Sponge

In our research, we’ve found the Armaly ProPlus Heavy Duty Grouting and Concrete Sponge to be the best large yellow sponge on the market. It combines exceptional durability with a relatively soft sponge that will pick up large amounts of water. In short, it will do what you need a big sponge to do and work over and over, lasting six months or more. Sure, it costs a bit more but the long life is worth it.

The QEP Grouting and Creative Hobbies Large Yellow Sponges are also good options that are more affordable. All three work great, we just expect the Armaly ProPlus to have a significantly longer life in the studio.

Click on the links below to shop for multipacks or single sponges.

A Few More Detail Images of the Armaly ProPlus Sponges

What sponges do you use in the studio? Let us know in the comments.