Updated and edited March 30, 2023
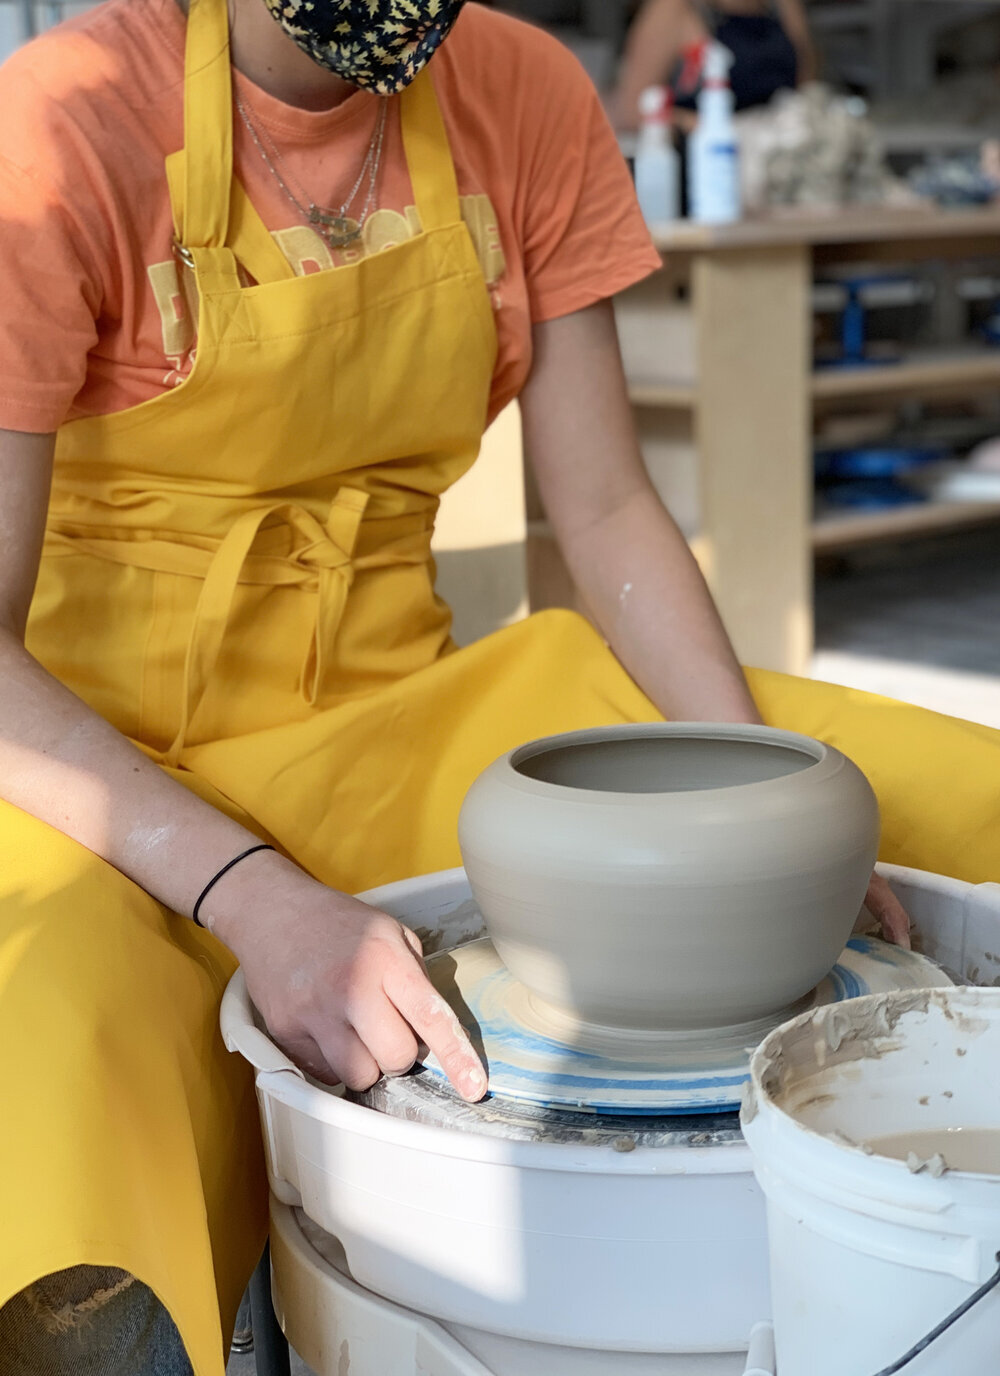
A functional, comfortable, and good-looking apron can really elevate your studio. It doesn’t have to be super fancy or expensive, just something to get the job done. You might find that an old T-shirt or button down will do. I’ve tried old shirts, but I prefer to keep my arms free and in my opinion, a traditional apron just works best. And if you are sitting at a pottery wheel, a split-leg apron can make a big difference.
Posted here are some studio favorites that have worked for me, friends, and students. A few are specific to wheel-thrown pottery with a split leg, but others will work for just about any studio situation.
Top Pick: The Claypron
The Claypron is the original, full-coverage pottery apron and was developed by the Echo Ceramics studio in Los Angeles, so it has been tried and tested by many potters. The apron has a loose, easy-to-put-on style with a neck loop, a tie at the waist, and two large overlapping leg panels. It is made from 100% cotton, has two pockets, and is 48” long.
This is the favorite of many potters, and the overlapping leg fabric provides ample coverage to protect your pants and legs from clay drips and splashes.
The only drawbacks with this apron is the neck loop is not adjustable and at 48” inches long, it may be too long for some.
The Claypron typically retails for $39.99 and is available in three colors.
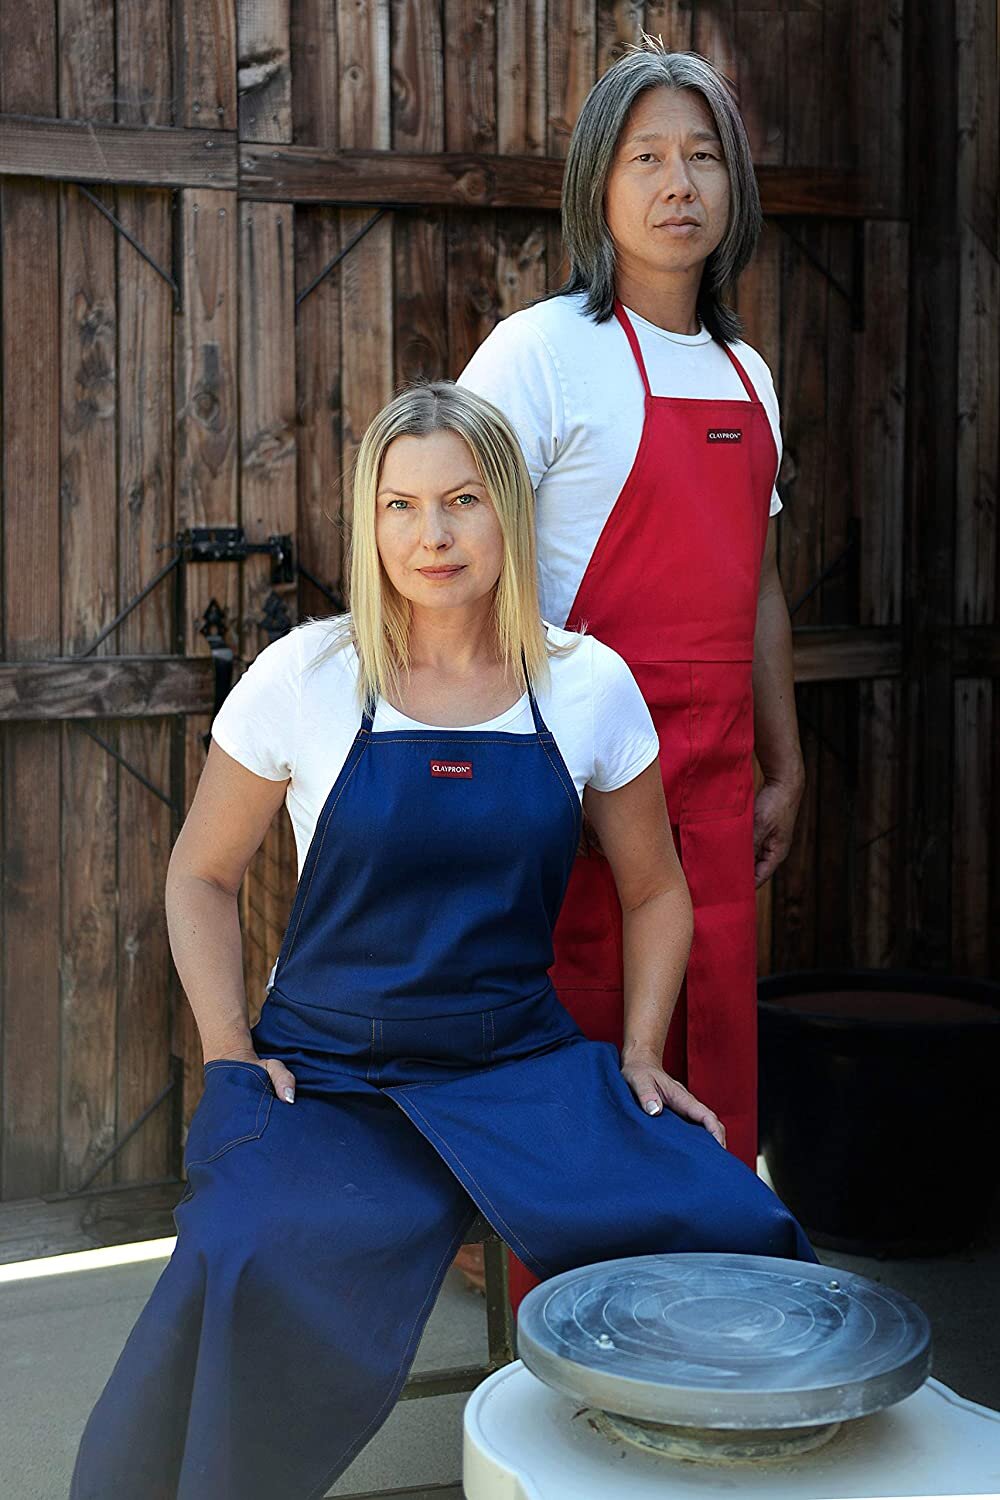
The Claypron in blue or red. It is also available in olive. Shop this apron at Blick.
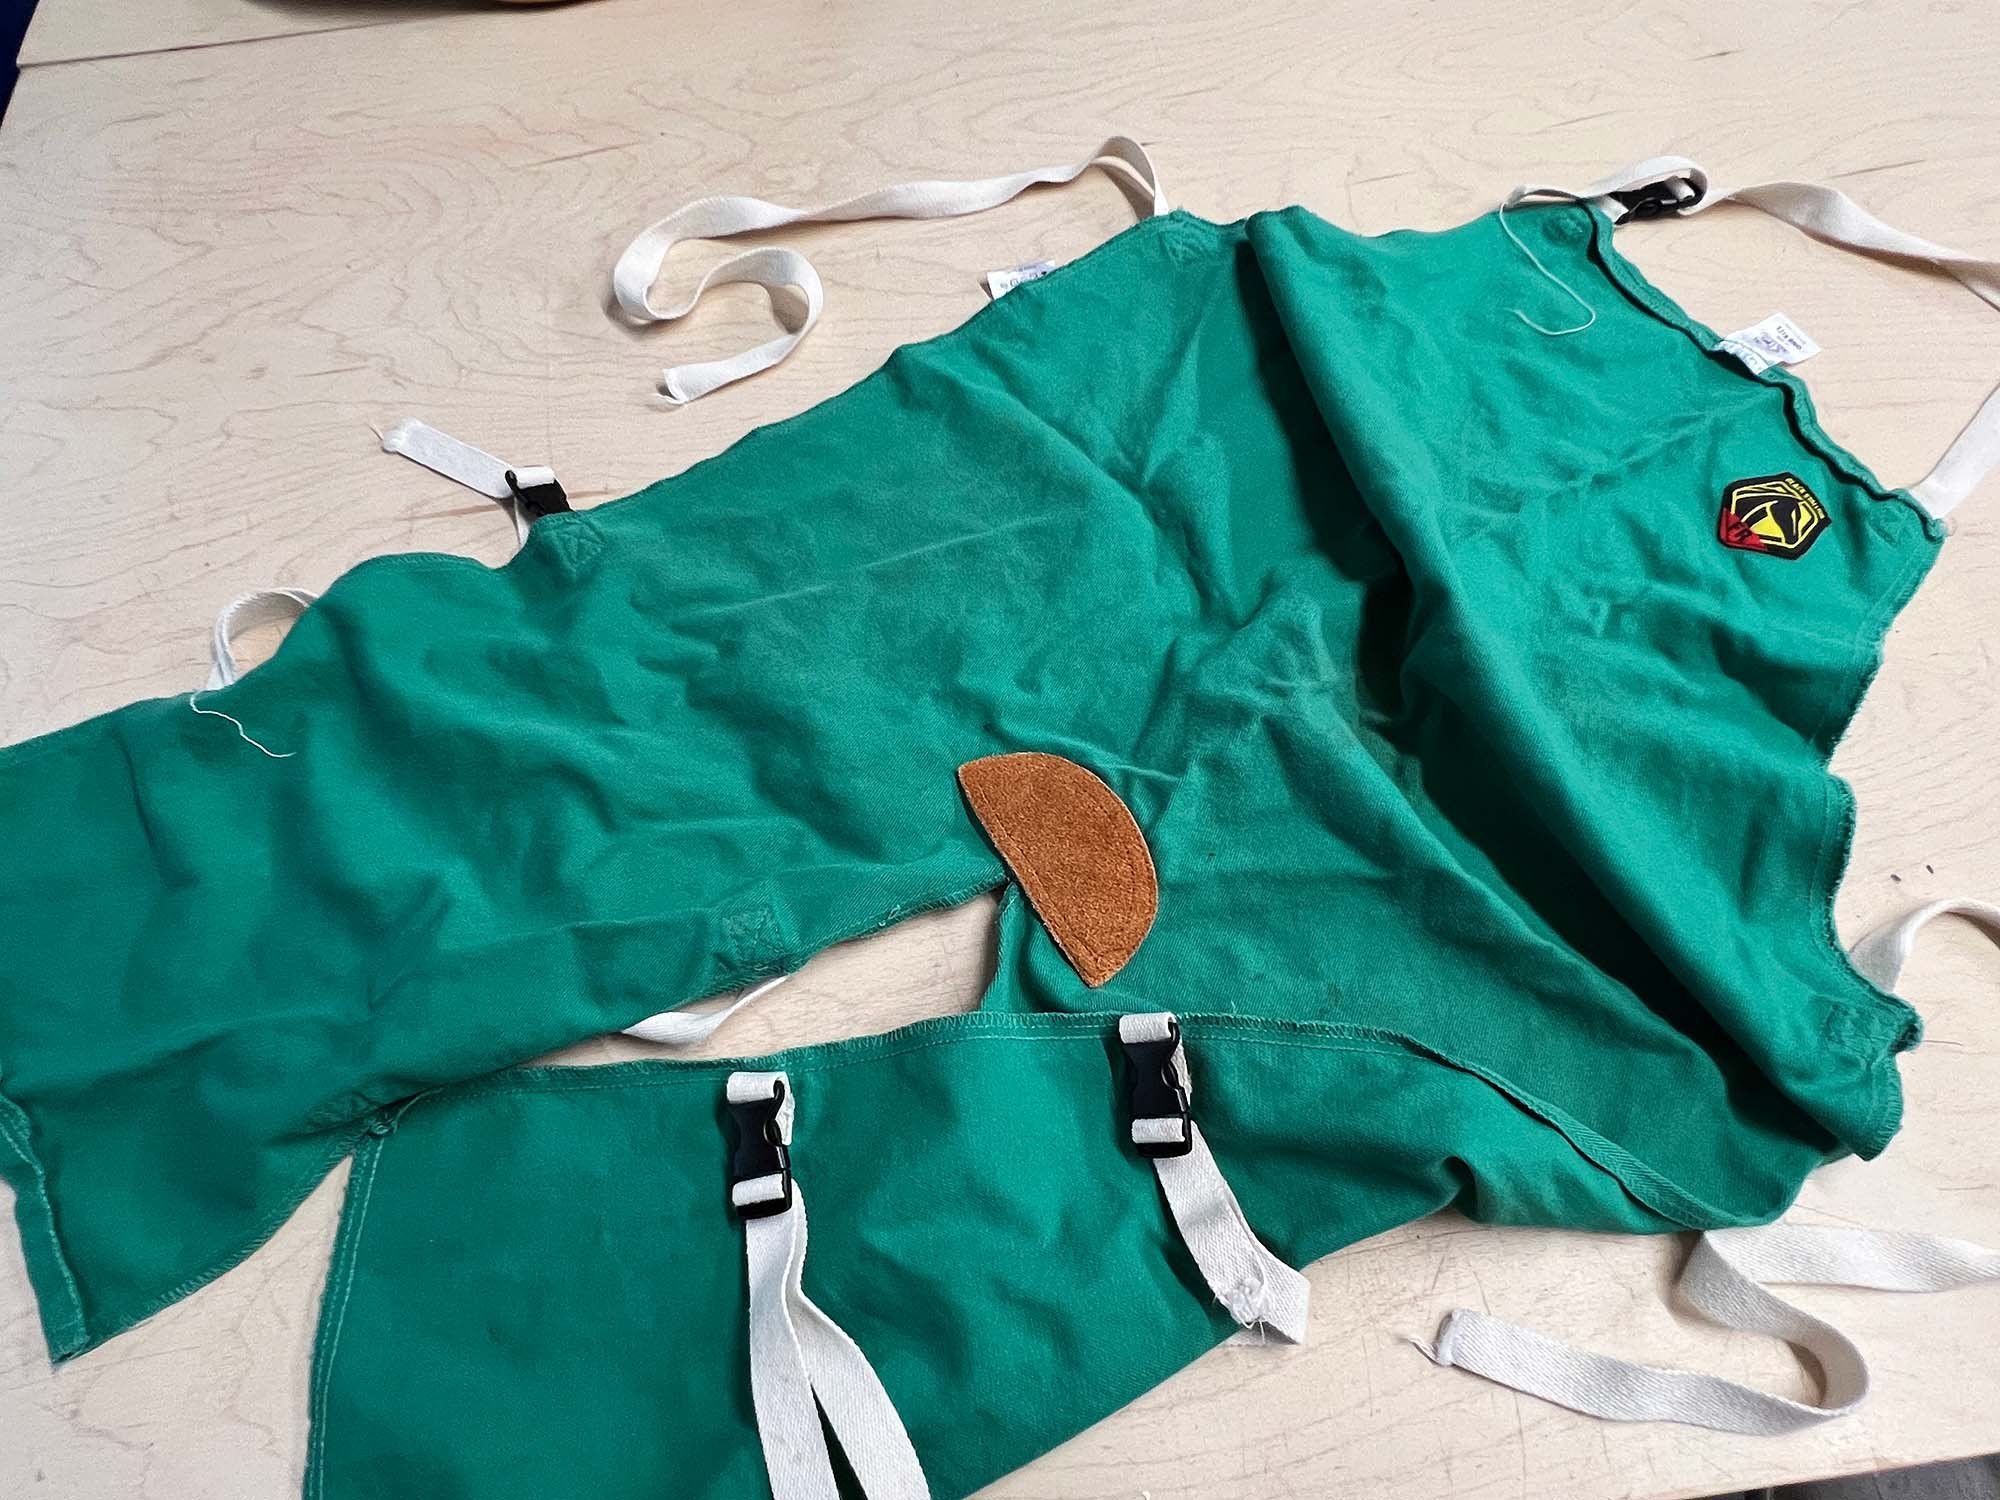
Budget Pick: Revco / Black Stallion Split-Leg Apron
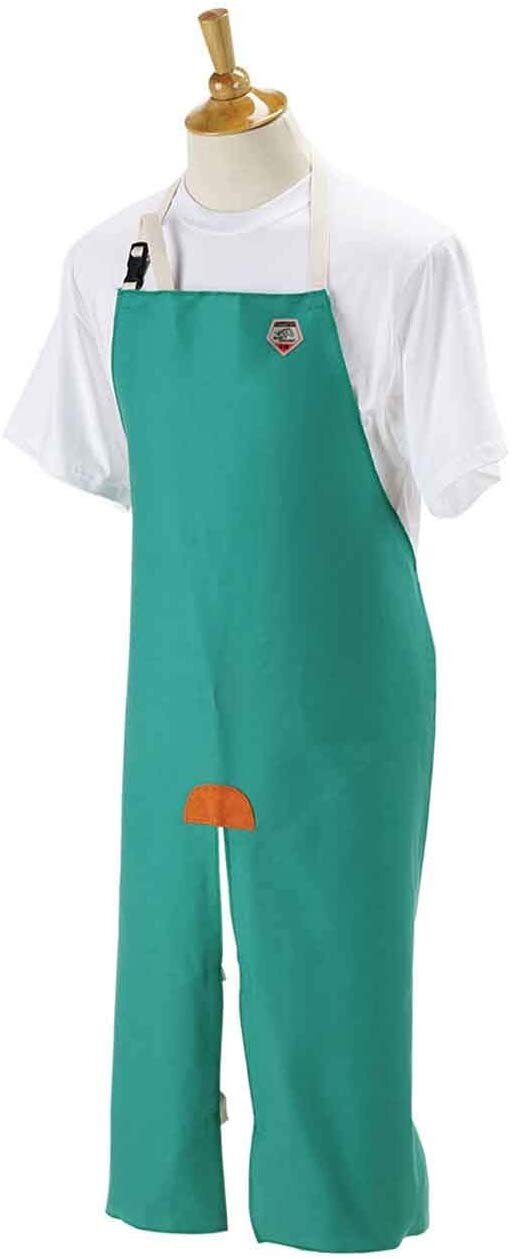
The Revco apron has an adjustable neck and quick-release leg clips.
This affordable, cotton, split-leg apron is a studio favorite that comes in 36”, 42”, and 48” lengths. Although it has thinner fabric than the Claypron, the Revco-Black Stallion apron has the added bonus of an adjustable, quick release neck loop along with two quick-release leg loops per leg, keeping the apron in place as you move. It’s an ok pottery wheel apron but a great option for general duty handbuilding / glazing / everything apron.
Sold as a welding apron, this split-leg apron is also a decent option for working on the potters wheel. The cotton fabric covers your thighs and a bit of your knees, and you can choose a longer or shorter apron if desired. The reinforced leather leg joint adds strength and durability. But unlike aprons designed specifically for pottery such as the Claypron, the split leg is not double layered, it is simply hemmed down the middle. The apron is machine or hand washable.
Overall this is a great apron, although the 42” and 48” often have a shipping time of about 3 weeks. The apron typically retails for around $18 to $22. The 36” length will work for most, while the 42” will work for those around 6 feet in height. Select the 48” length if you are taller or prefer full coverage.
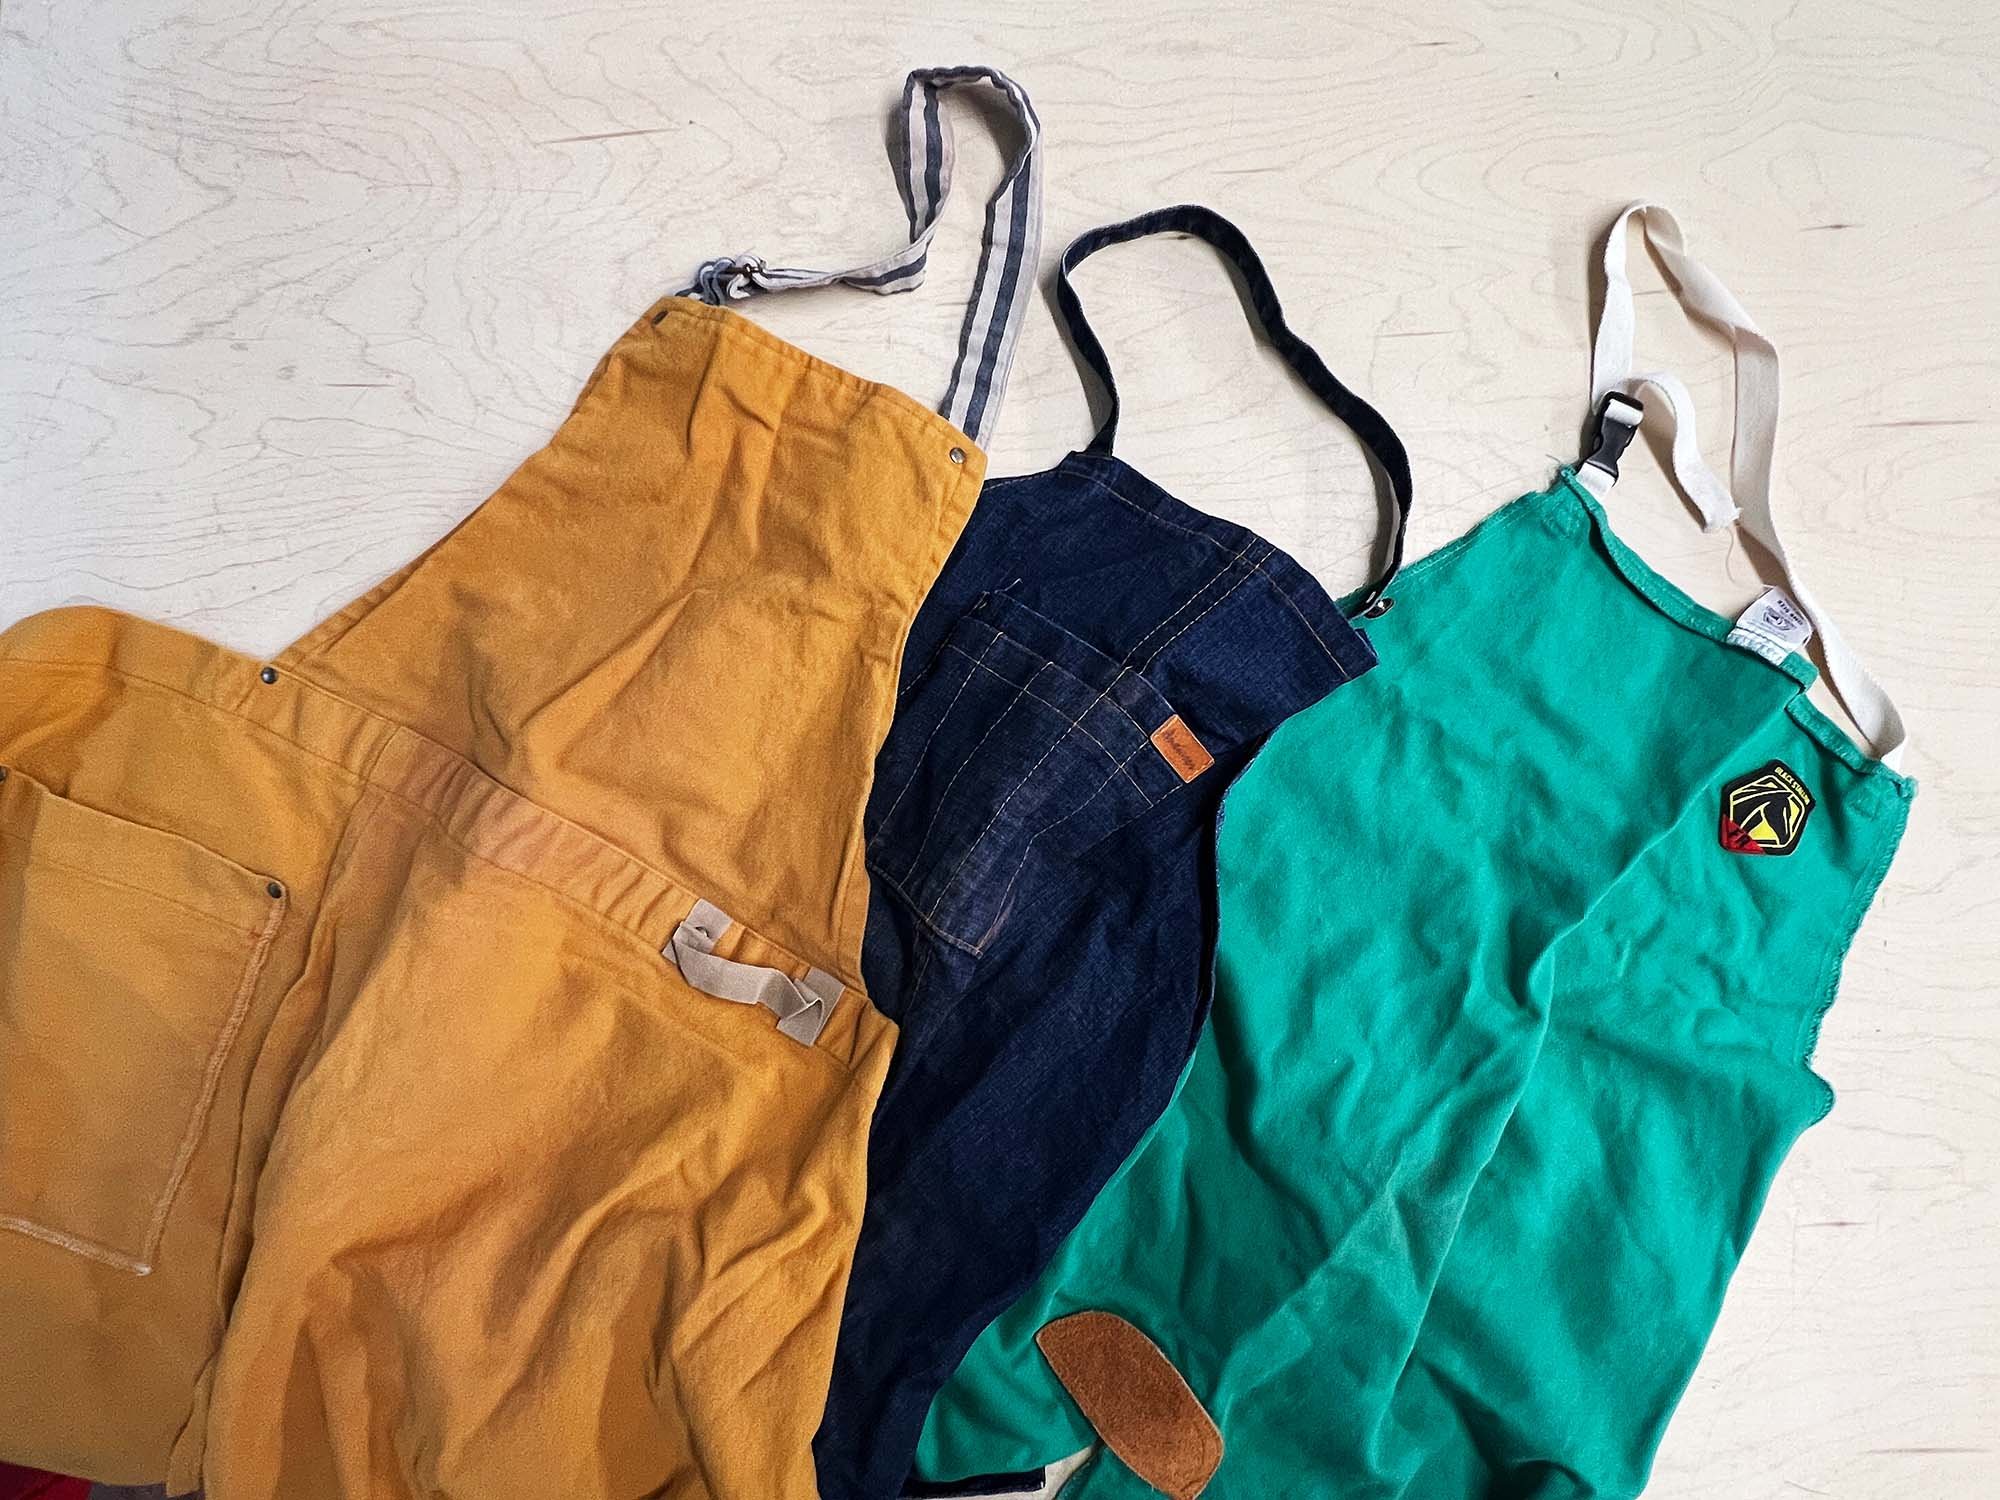
Deluxe Pick: ScheveningsePracht Potters Apron
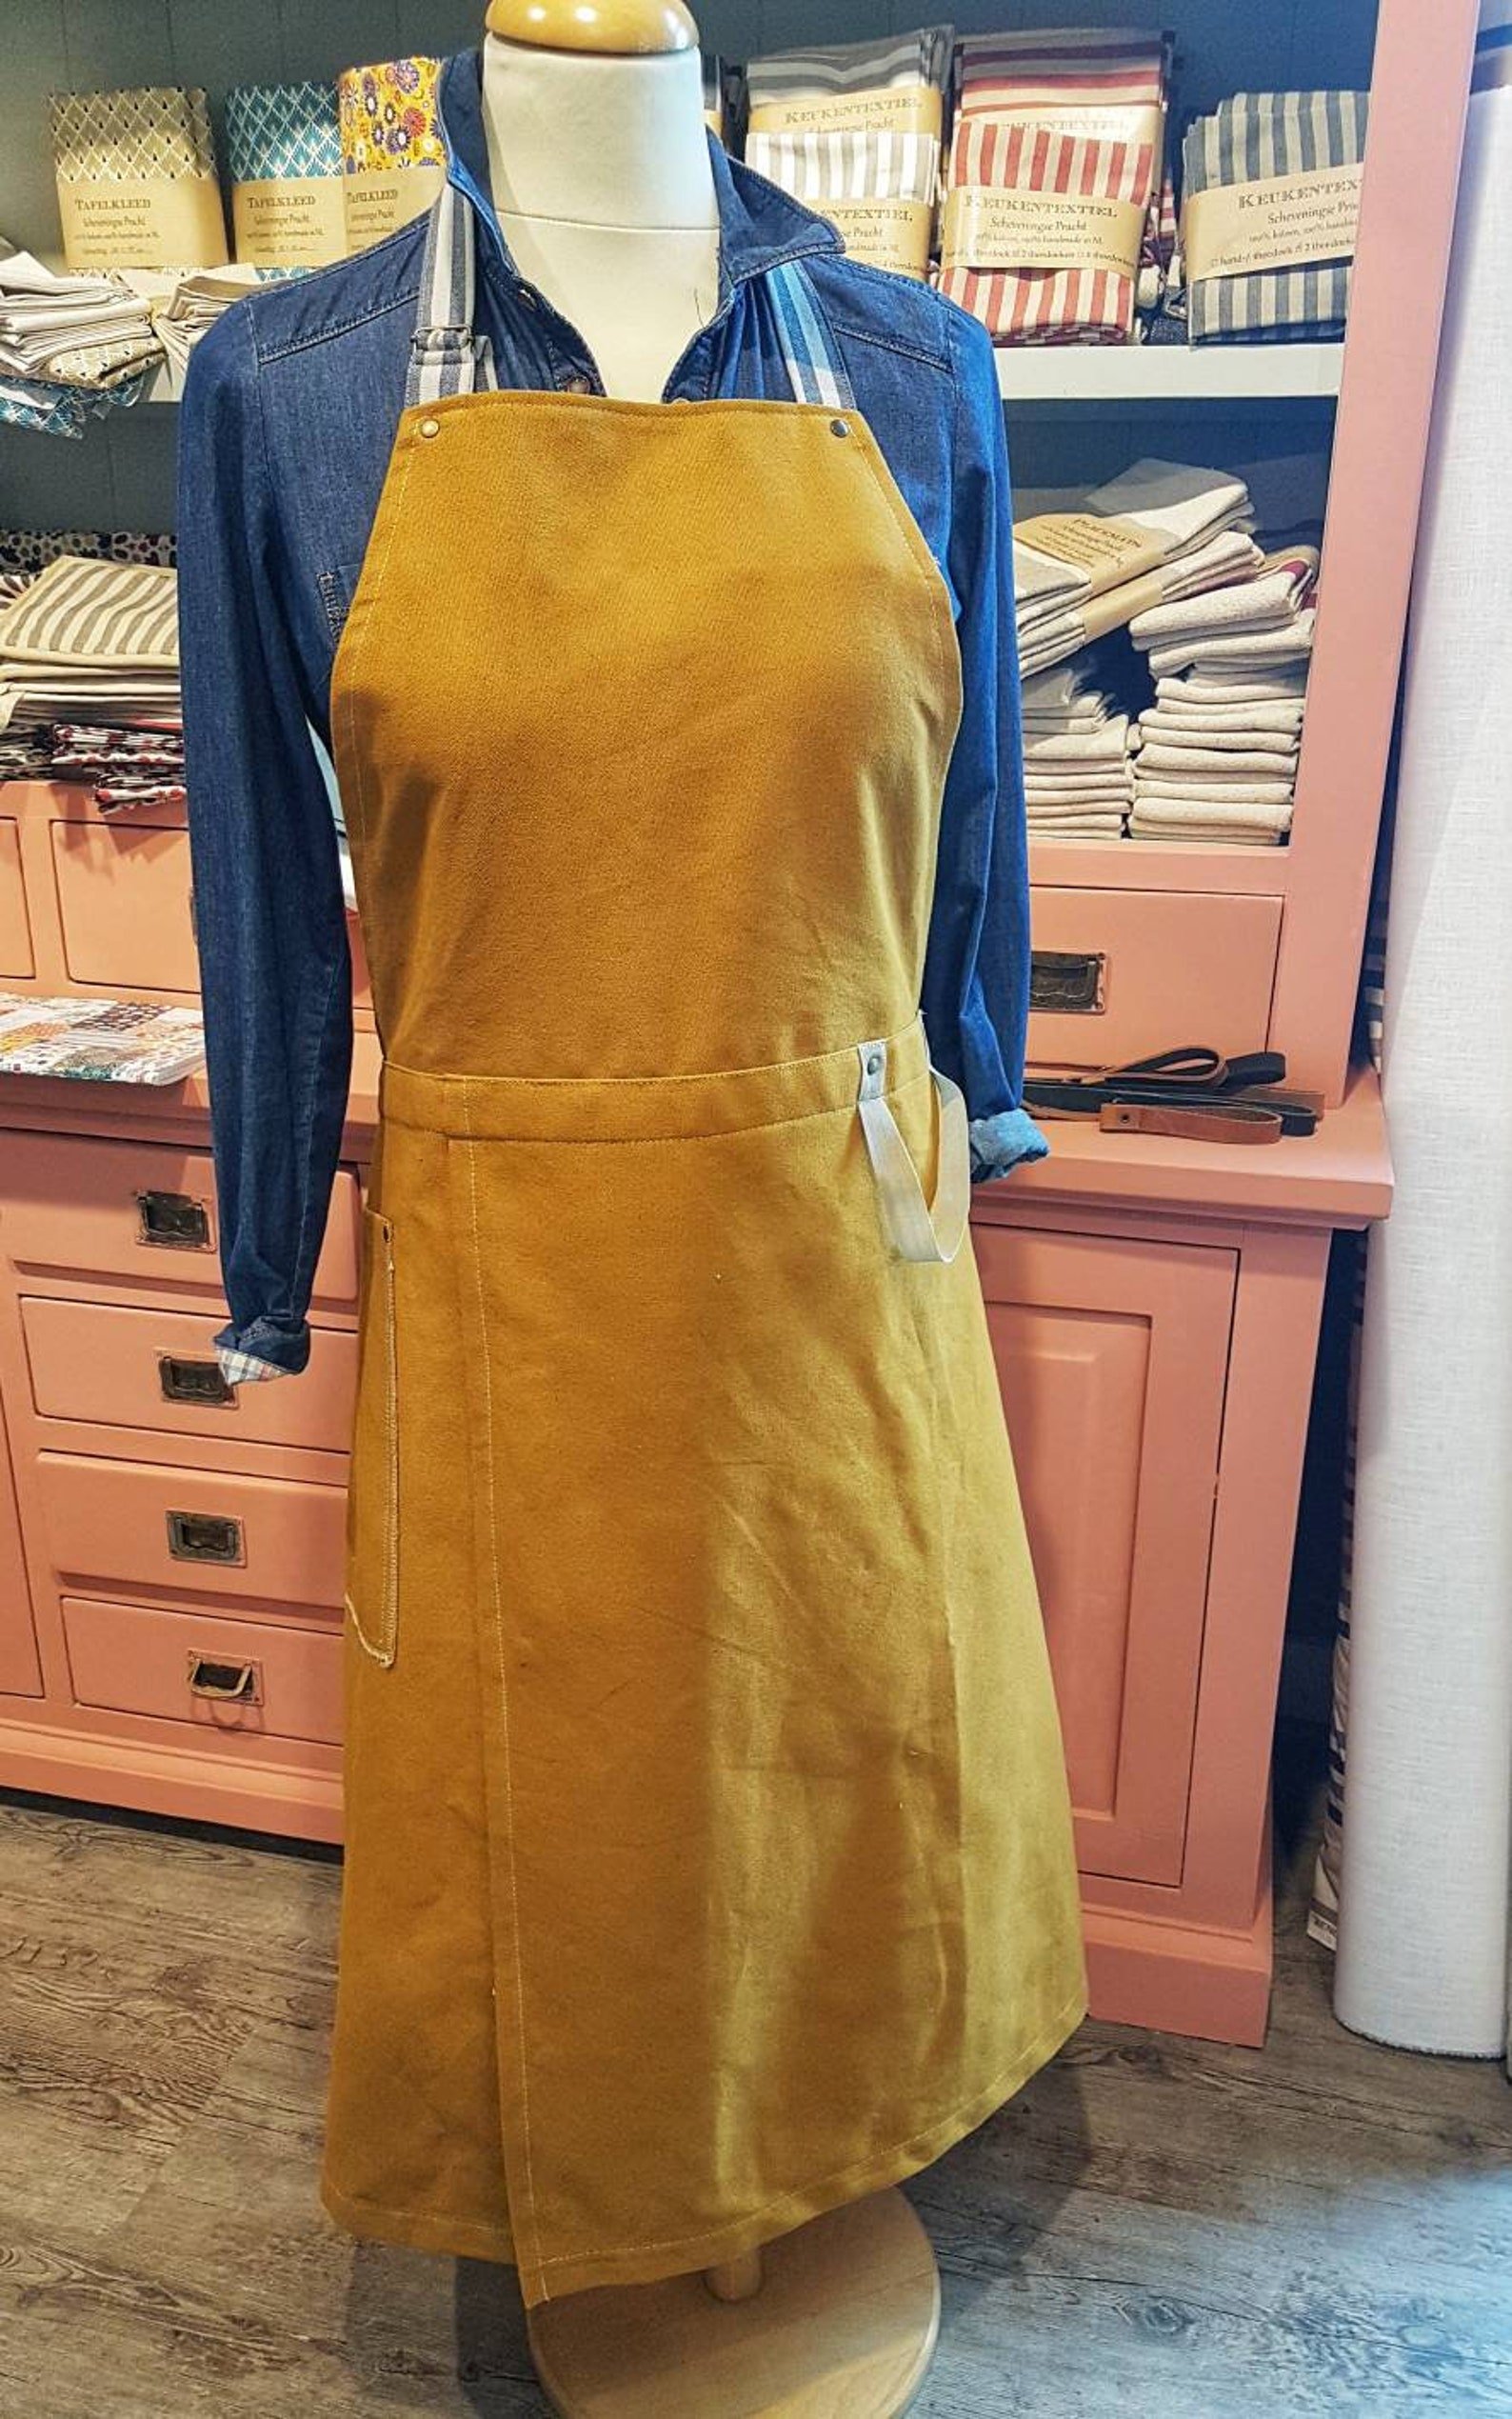
The ScheveningsePracht Potters Apron, pictured here in Ochre. Note the towel loop!
This is a well-thought out, heavy-duty canvas apron made and shipped from the Netherlands. It has a doubled-over, split-leg design along with an adjustable neck loop, long tie straps, and a loop for holding a towel. It’s available in five colors in normal and also “petit” or shorter sizes. You can also communicate with the Etsy seller and request custom lengths or different fabrics.
This is a great potters apron. Go for this one if the Claypron is too long or if you prefer thicker fabric. This is an apron that will last forever. It has great fabric, styling, and features. The only drawback would be it might be too thick if you are working in hot or humid climates.
This apron is available via Etsy and typically retails for around $54 plus shipping.
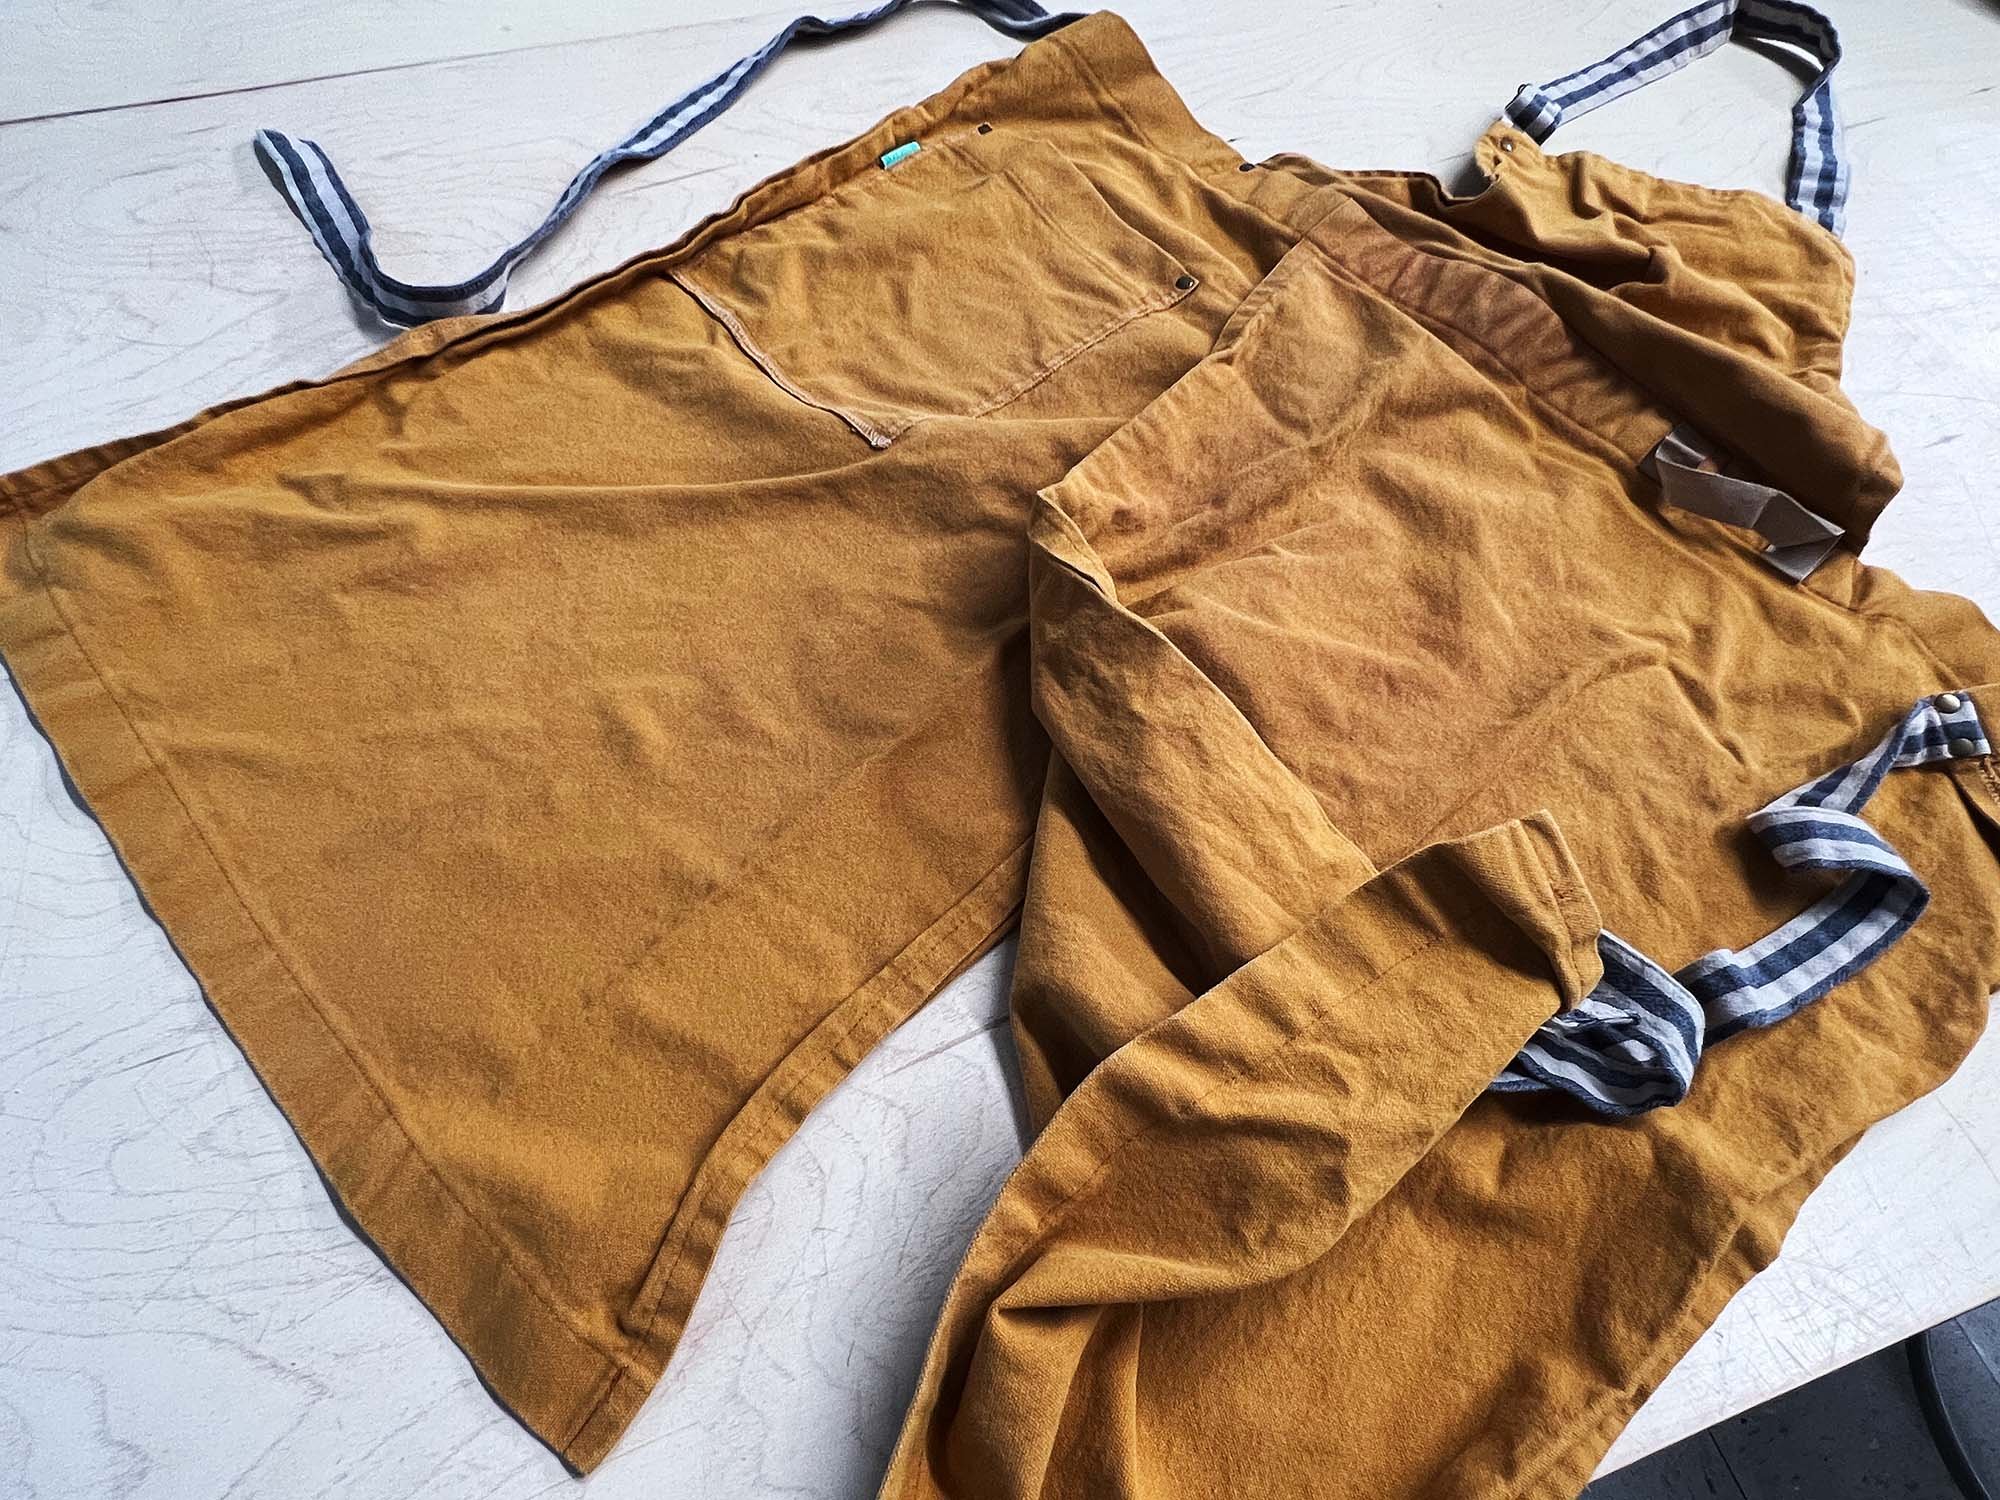
This deluxe potter’s apron features thick, doubled-up cotton with nice details on the neck loop and ties.

A detail shot of the adjustable neck loop, which is riveted to the apron fabric.
More Aprons:
Under NY Sky Cross-Back Barber Apron

Under NY Sky Cross-Back Barber Apron.
This split-leg nylon apron is long-lasting and super tough and is best for sculpture, painting, or ceramic handbuilding. It’s a stylish option, especially if you want a water-resistant material. The apron is 35” long, so it will cover your torso and upper thighs. The split leg makes it comfortable for sitting down, but you’ll need to grab some extra towels if you are using this on the pottery wheel as it won’t cover your knees.
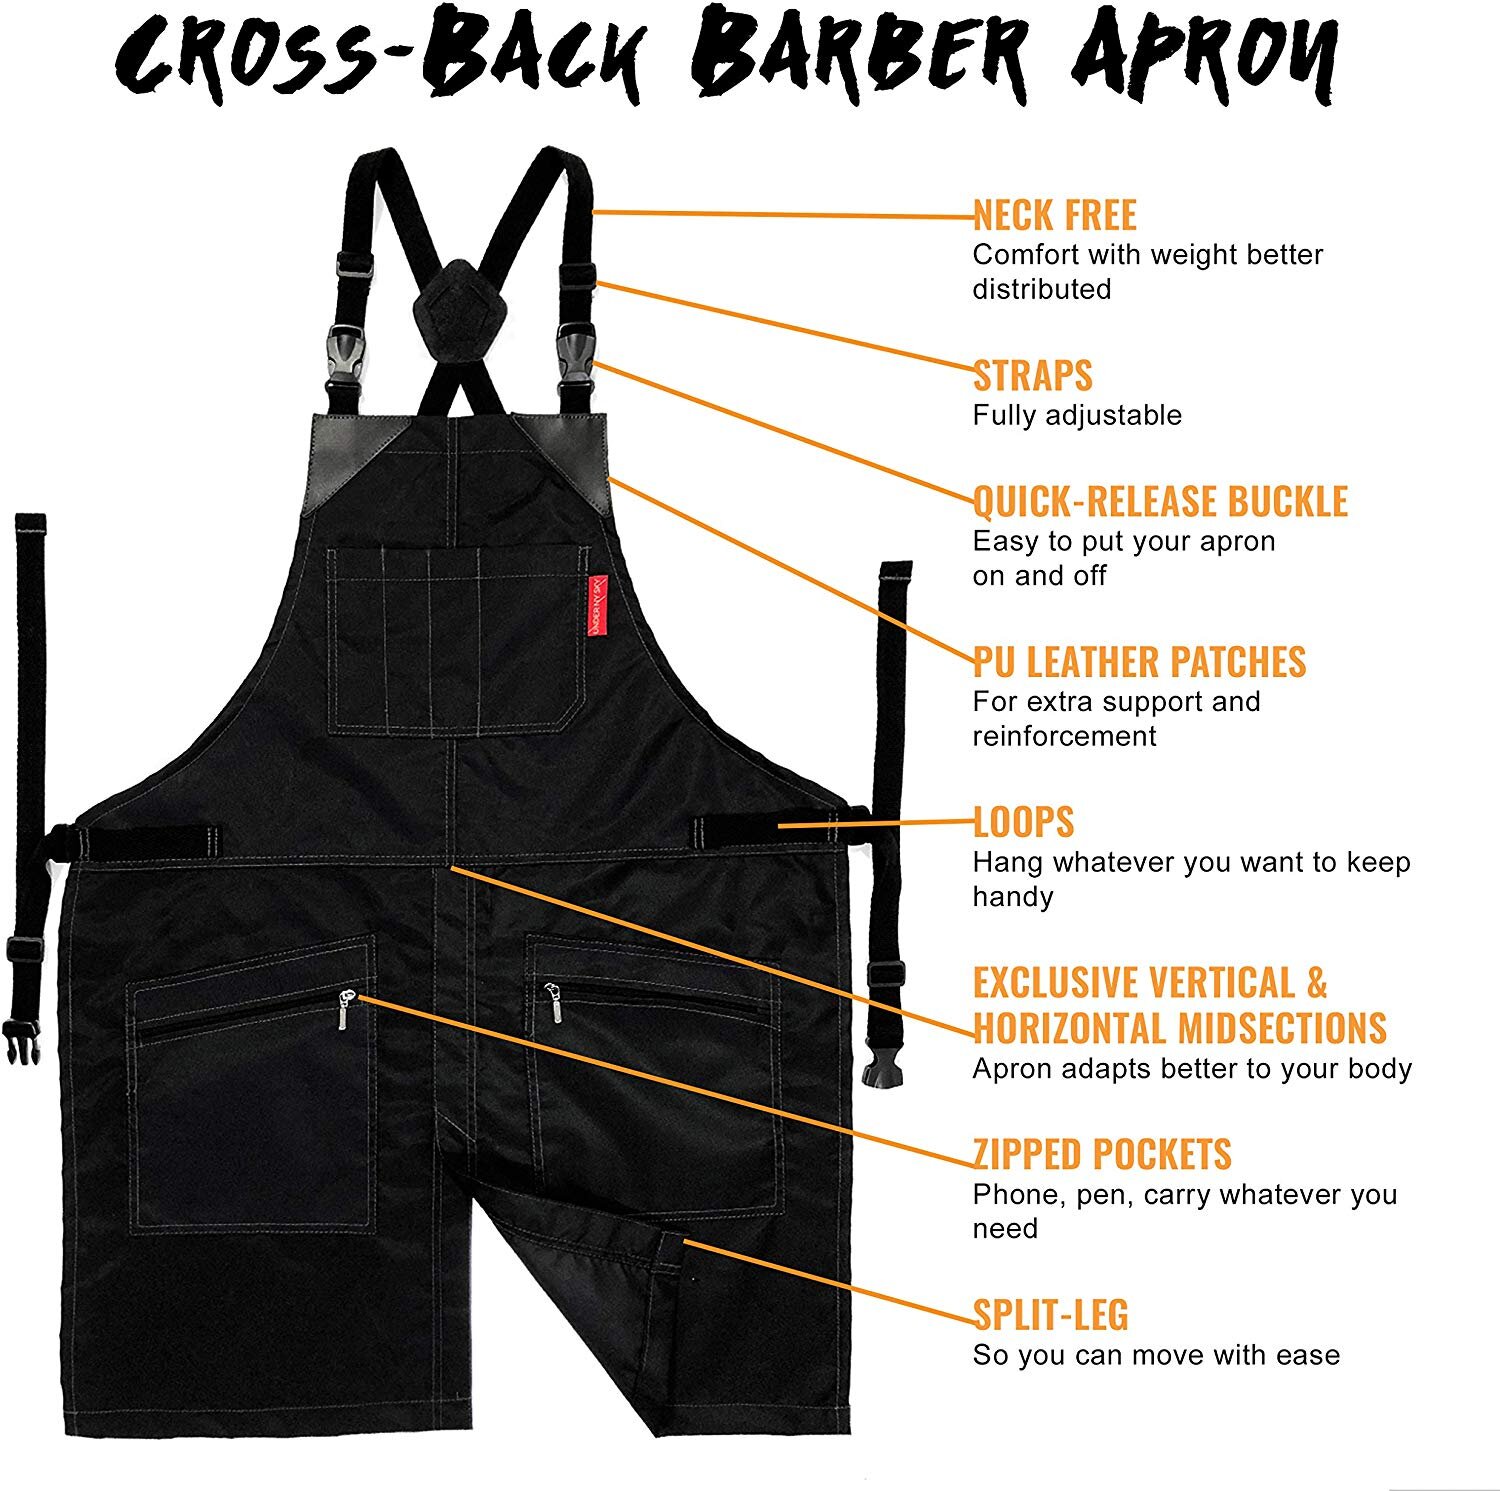
This apron attaches with quick-release buckles at the neck and waist. It has reinforced corners, a variety of open and zippered pockets, and loops for hanging a hammer or other tools. It’s a well thought out, functional apron.
The only drawback is that it’s not very long (this may be a plus for some) and the thicker nylon fabric may not move as easily with your body. But it’s a super tough apron that will last for many years.
Another plus: This apron is available in black, gray, green, or red. This apron typically retails for around $25.
Hedley & Bennett Aprons
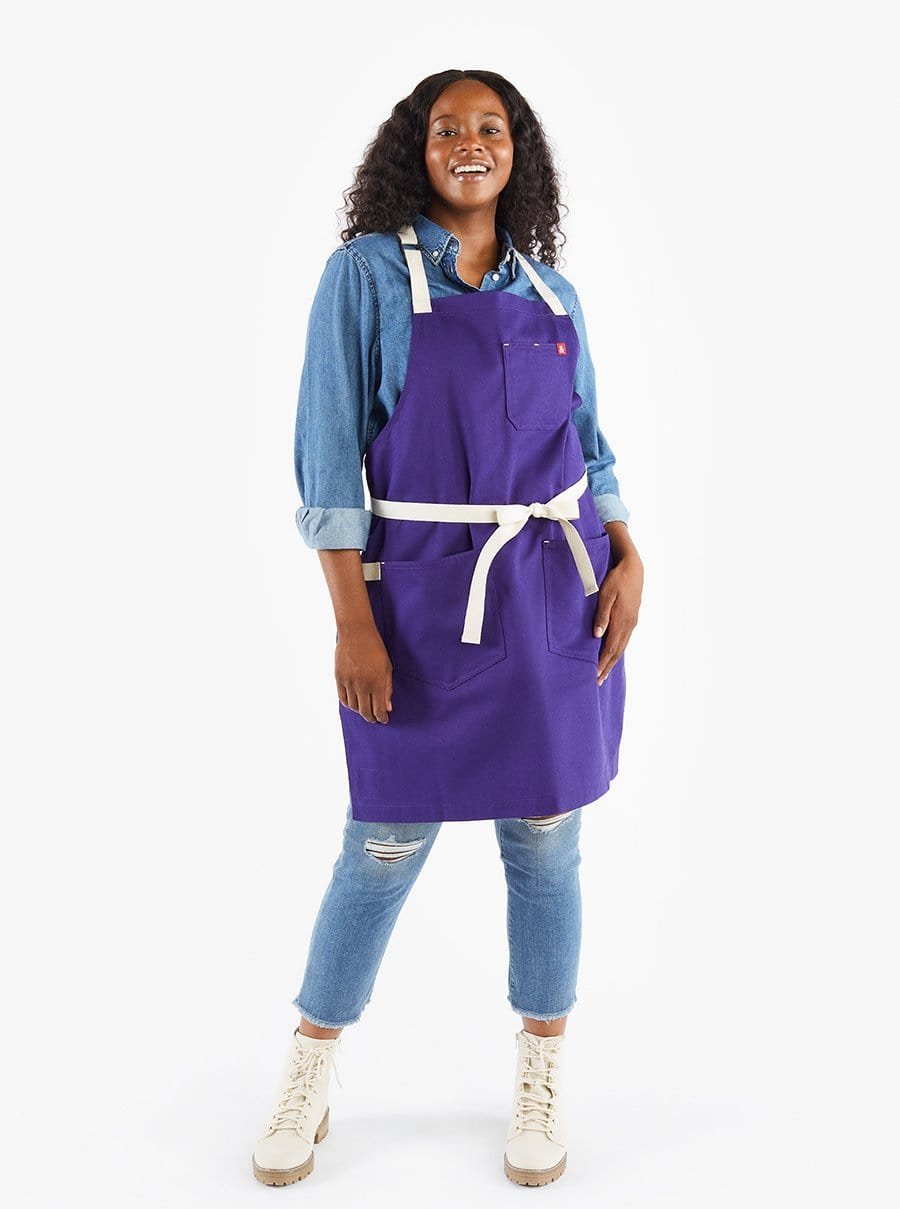
The Hedley & Bennett Essential Apron in purple.
Beloved in kitchens, the Hedley & Bennett Aprons are equally at home in studios. Available in variety of prints and styles, the basic Essential apron typically retails for around $85 and features high quality fabric, an adjustable neck loop, tie straps, and a length of around 33 inches. These stylish aprons are great for handbuilding, but plan to add a towel for your knees and thighs if you are on the wheel.
These aprons really hold up—personally I’ve had one for kitchen use at home (and occasional studio use) and it is weathered but going strong after almost a decade.
ClaynGlaze Pottery Apron
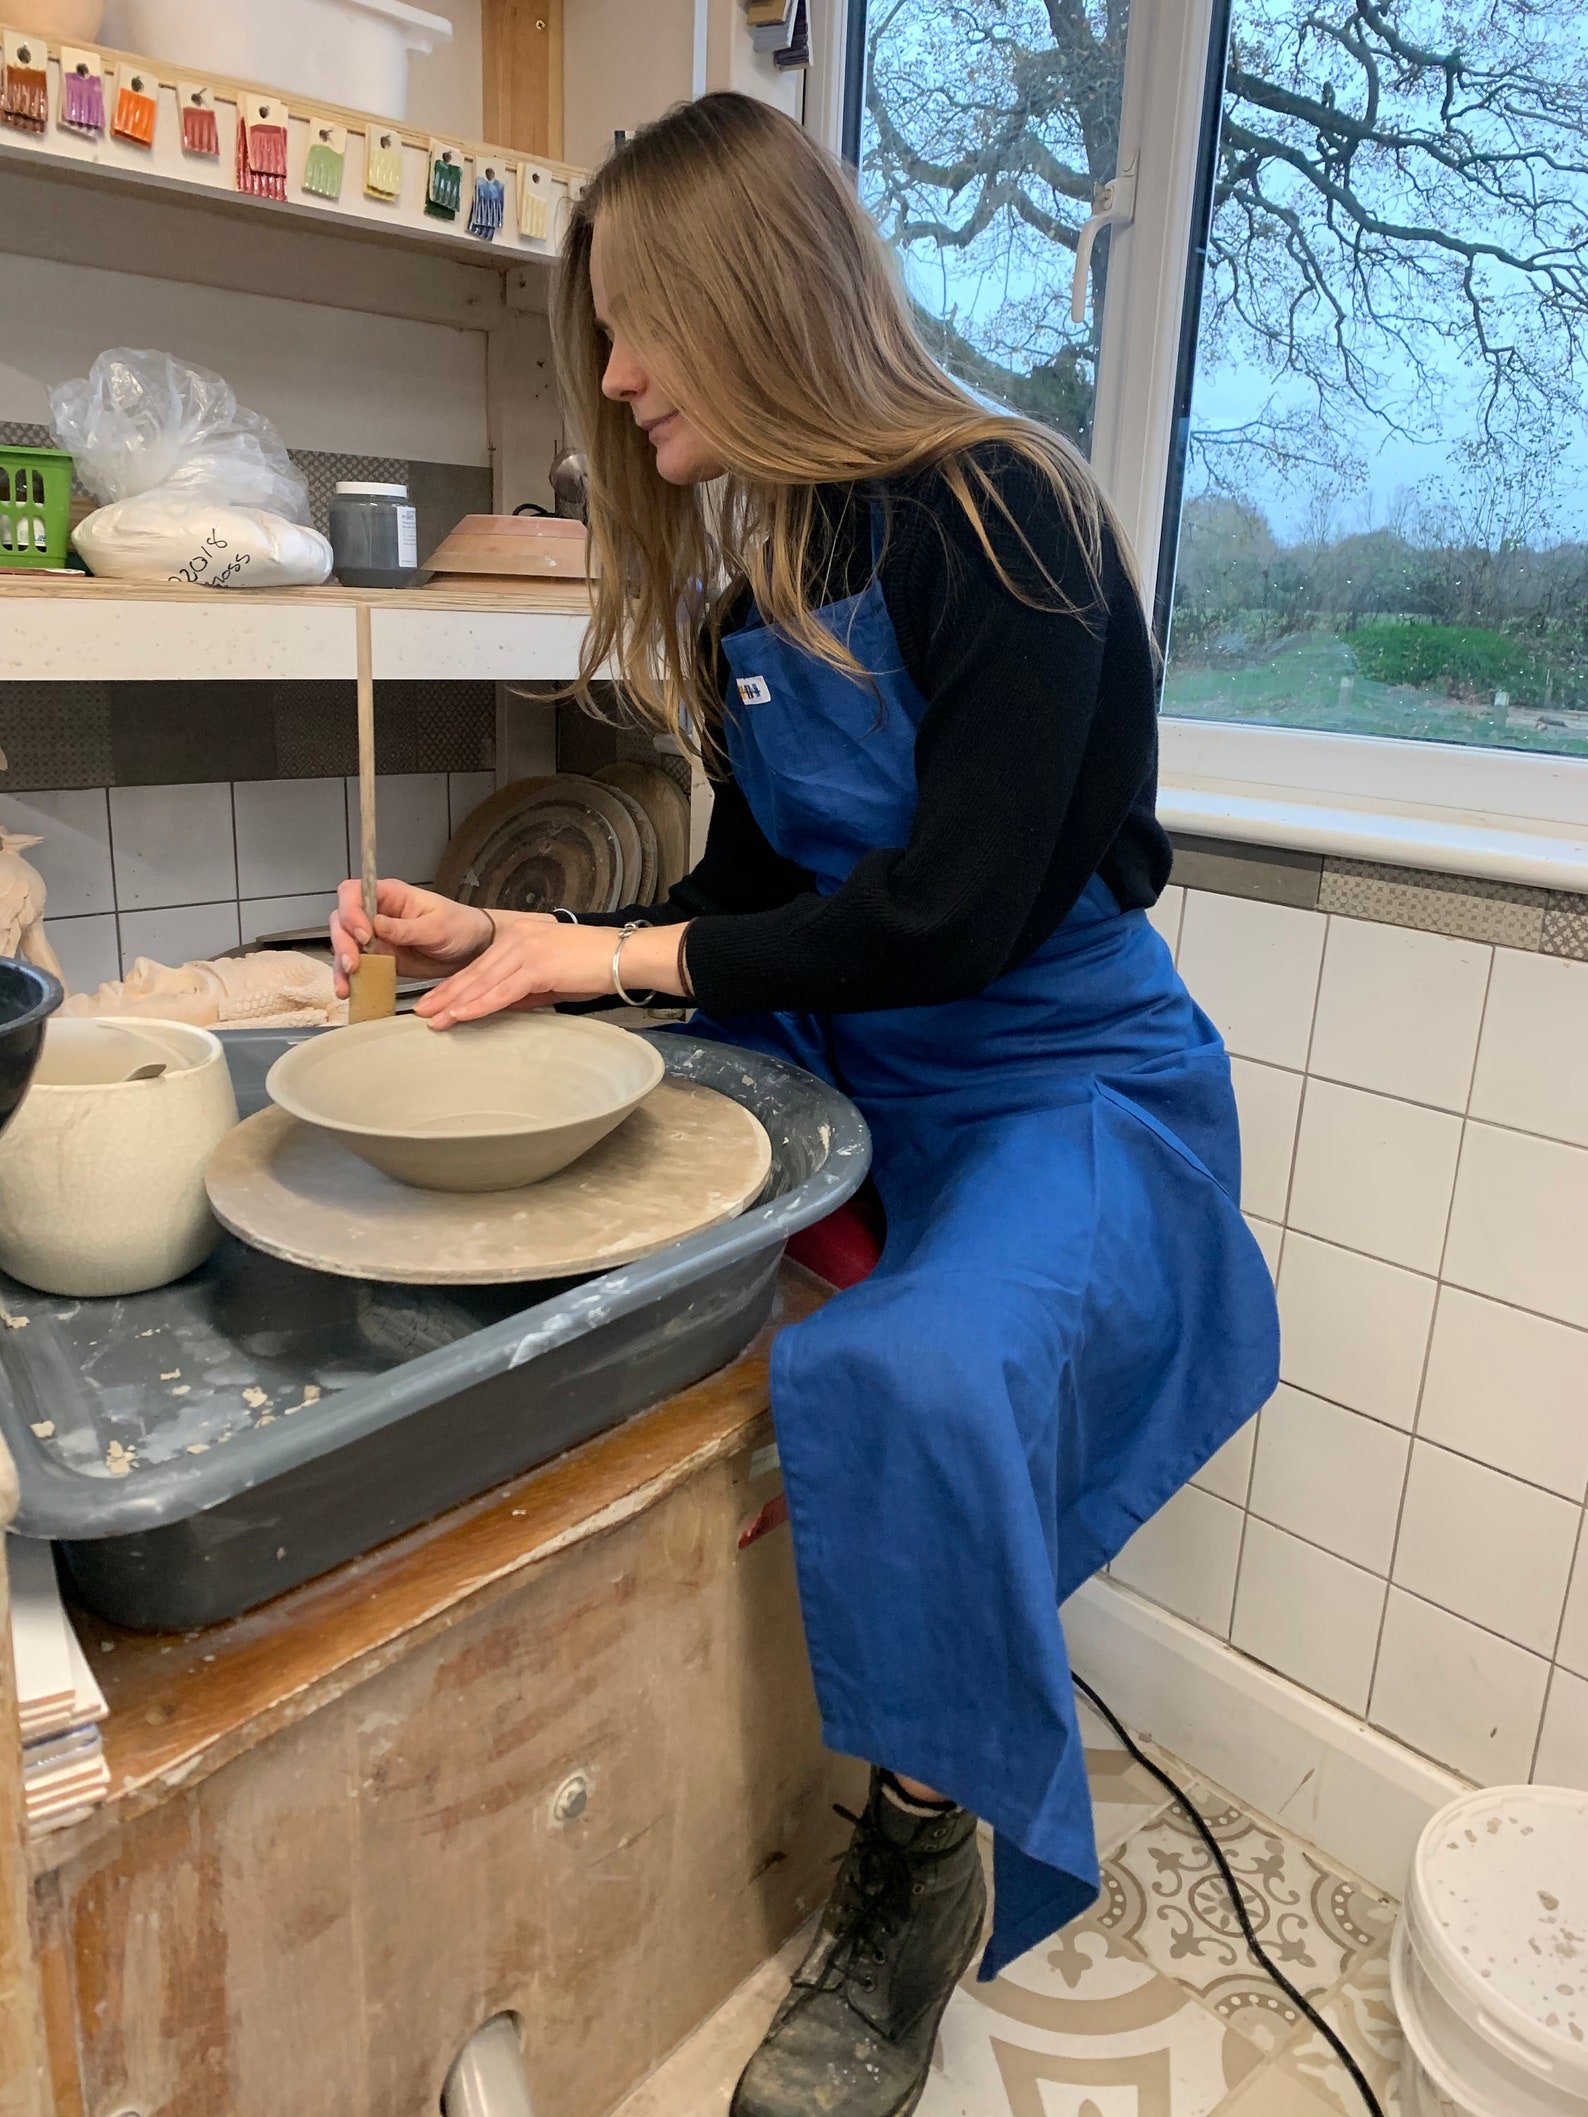
The ClaynGlaze Pottery Apron is a full coverage, blue apron.
The ClaynGlaze Pottery Apron features blue cotton, a split leg, along with straps that tie at the neck and at the waist. It has full leg coverage and two hip pockets. It’s a great, full-coverage option for throwing on the wheel.
The ClaynGlaze apron typically retails for around $45 and is available on etsy.com.
Under NY Sky Pottery Apron
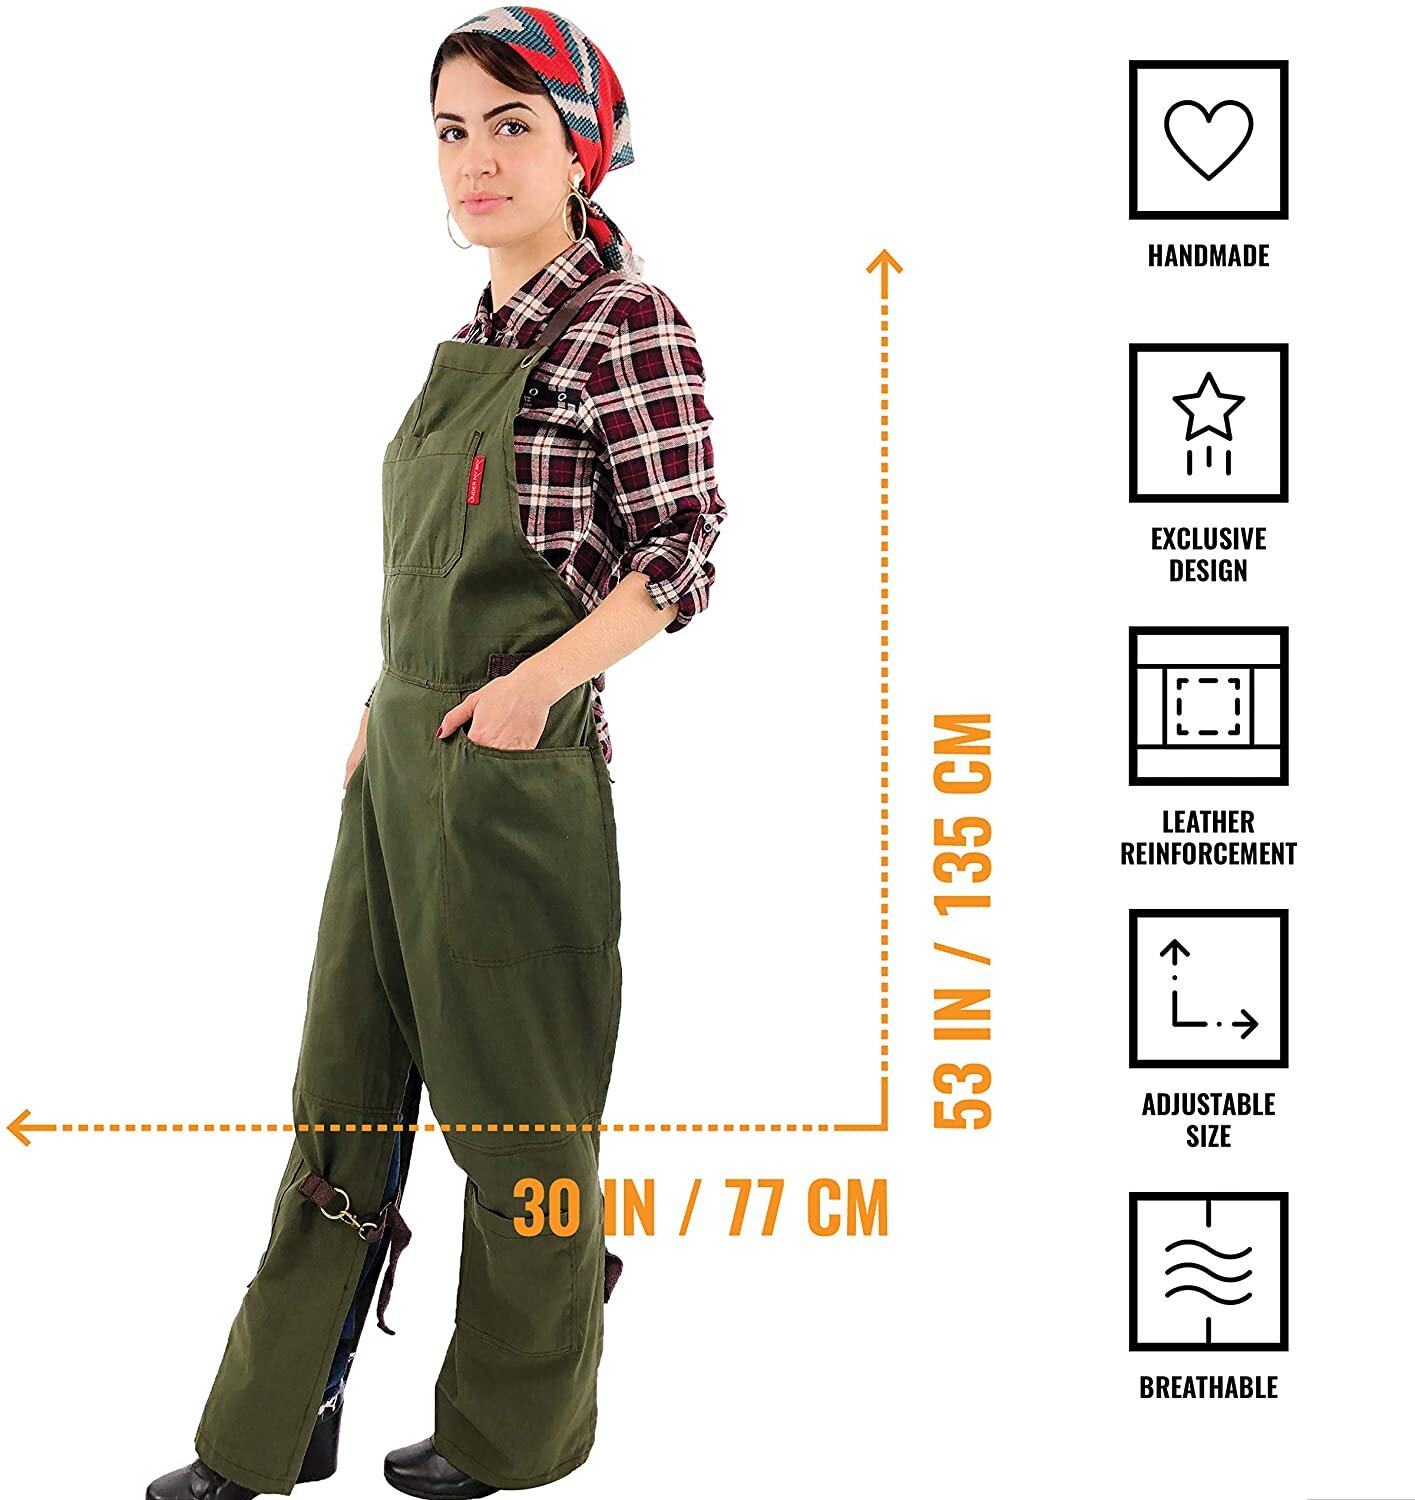
The Under NY Sky Pottery Apron is made from a poly / cotton twill, is 53” long, and has a variety of pockets and loops. It also has an overlapping, split leg design that makes it comfortable and functional for sitting at the potter’s wheel.
Where it differs from the Claypron is a tighter fitting, but more complicated, attachments. After placing each strap over your shoulder, they are looped through rings at the waist, and then tied in the back. The leg flaps have an optional strap that hooks on. Once it is on, it’s a great apron with high-quality fabric and excellent build quality, but I have observed people having a bit of a struggle putting this on. An upgrade would be if this apron was made with quick-release snaps.
On the upside, the apron is available in 5 colors: light gray, dark gray, light blue, moss green, and beige. It typically retails for $35.
BKLYN CLAY-PRON
The BKLYN CLAY-PRON
Designed with Leslie King, the BKLYN CLAY-PRON is a 43” long, 100% cotton split leg apron. Made of a thicker but still comfortable fabric, it’s available in 5 colors and would look just as good in the kitchen as the studio. It has an adjustable D-ring on the neck, side pocket, and ties in the back. It has a thicker fabric than the Claypron, but it weathers and wears into a comfortable and stylish studio favorite.
Made in Brooklyn, New York, the apron costs $80 and is available directly from BKLYN CLAY.
Mocohana Kids and Adults Pottery Aprons
These aprons are a great option if you are looking for simple but durable split-leg pottery aprons that also happens to be very short. These aprons are most suitable to those who are 5’ 6” or shorter as the neck strap is not adjustable except for two buttons about 1.5 inches apart. The apron is made from a thin denim with a tie at the waist. There are also optional back leg ties (I cut them off) and small pockets for pottery tools, including sideways pockets for when you are sitting.
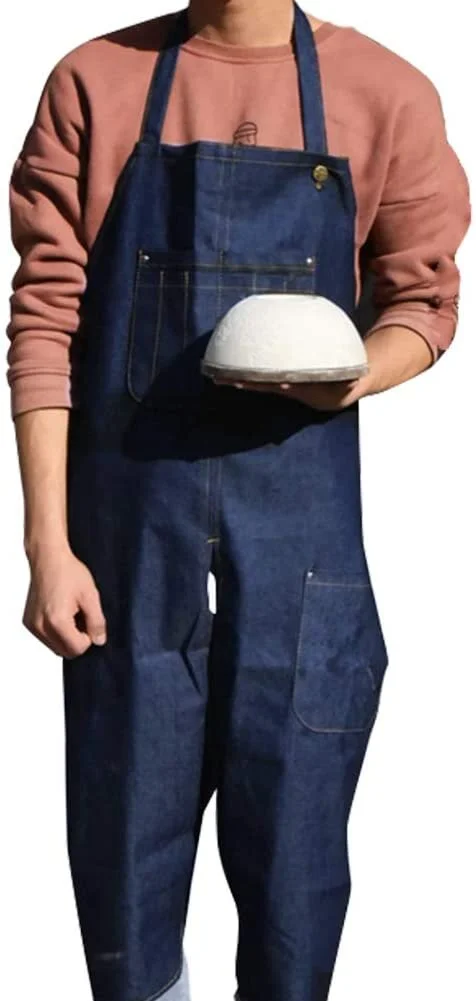
The Mocohana adult apron.

Note the very high seam and short torso on the Mocohana apron. It’s best for people 5’ 6” or shorter.
The adult aprons are 35” inches long from the top of the chest fabric to the bottom, and the kids aprons are 26 inches long. They are a bit cheaper than other options because of the simpler design and thinner denim, typically retailing for $18. But they do hold up under heavy use and denim always ages well.
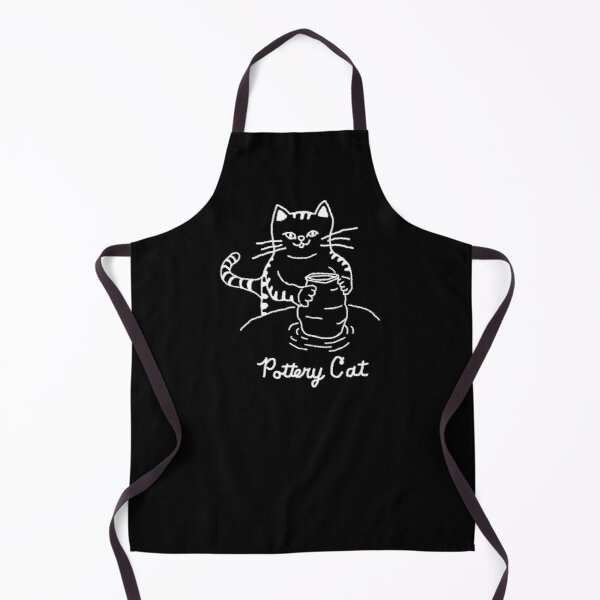
Aprons with Fun Designs

Bad Pottery Cat apron. Find it at Redbubble.
Print-on-demand powerhouse Redbubble has aprons as one of their options, and there are a lot of interesting and funny aprons available with pottery themes. Generally they retail for $23 each plus shipping. Here are a few of our favorites, but you can also search the site and find dozens of examples.

ClayBoss pottery apron. Find it at Redbubble.
Pottery Cat on the wheel apron. Find it at Redbubble.

Ceramica Kiln ‘Em All pottery apron. Find it at Redbubble.

Pottery apron. Find it at Redbubble.
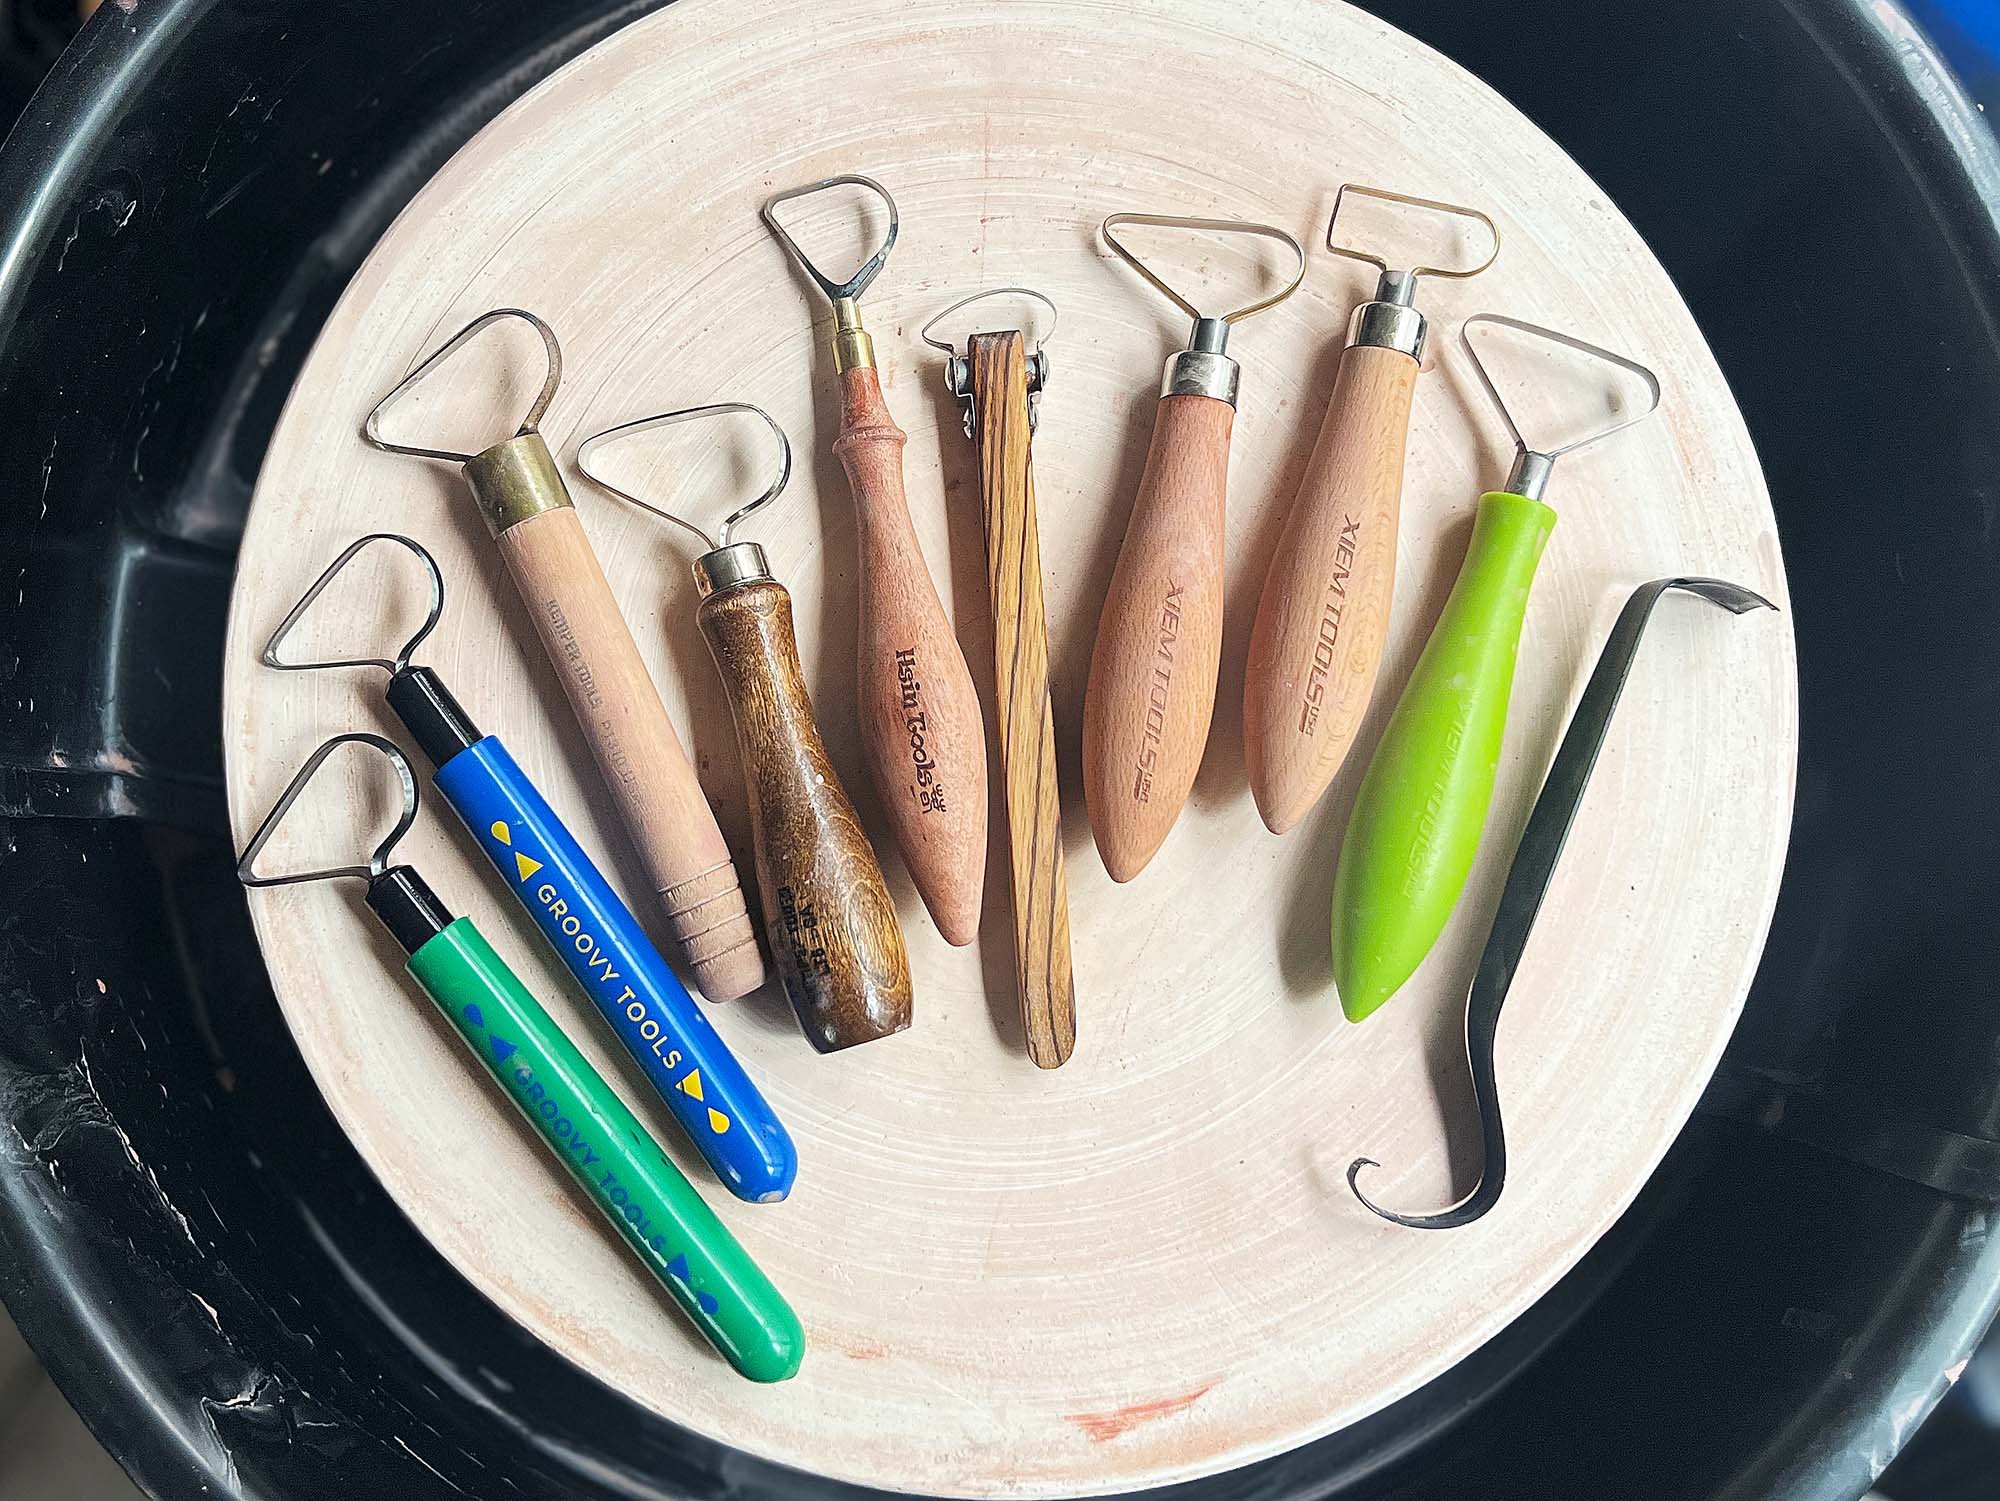
Looking for more info? Click here to read our recommendations on the best tools for pottery beginners.
Or check out our Gift Guide for Potters and Ceramic Artists.
What kind of apron do you use in the studio? Let us know in the comments.