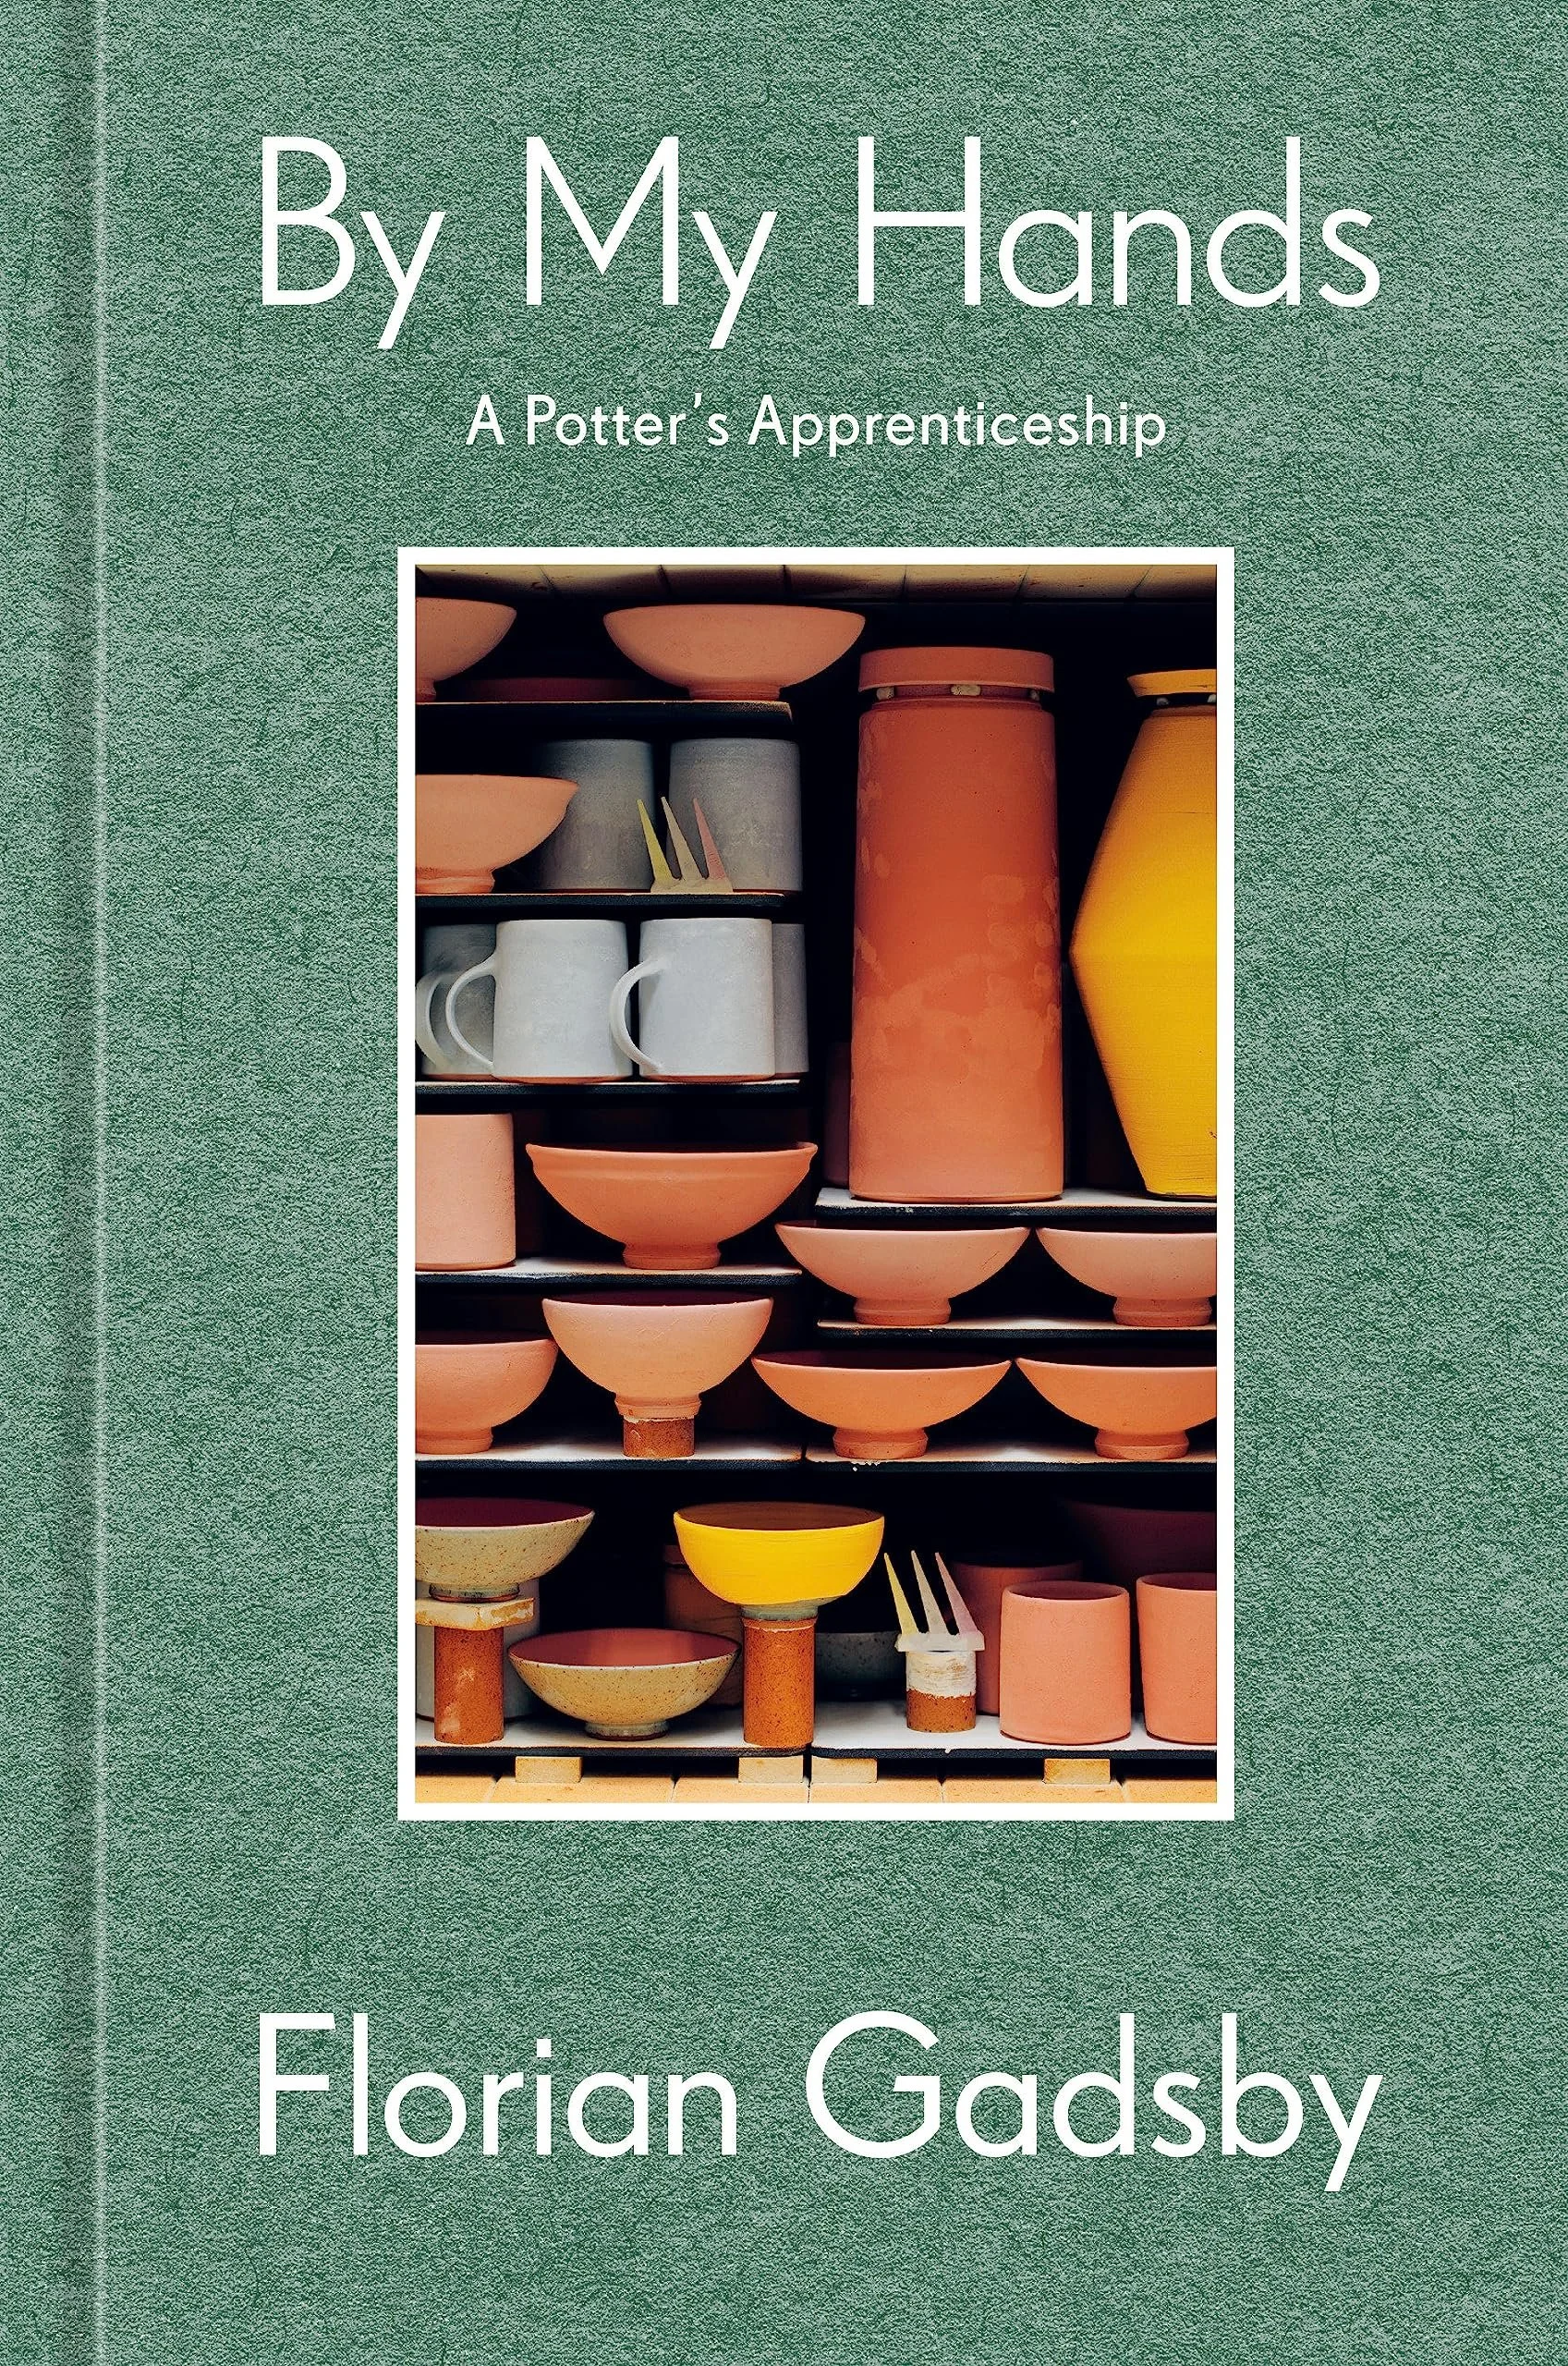
The 14 Best New Pottery and Ceramics Technique Books of 2022

There’s a lot of info out there on how to grow and improve in ceramics and pottery, but sometimes the best resource for learning new techniques is a well put-together book.

Here’s a round up of some of the best books published in 2021 and 2022 (and a few favorites from 2020 as well).

Boy in a China Shop by Keith Brymer Jones will be published in fall 2022. (shop at Amazon)


Creative Pottery: Innovative Techniques and Experimental Designs in Thrown and Handbuilt Ceramics by Deb Schwartzkopf

Creative Pottery by Deb Schwartzkopf

Whether you are a handbuilder or work on the wheel, this book is a guide to taking your ceramics to the next level. Add complexity to your projects with simple changes, learn how to make bisque molds, or choose from other projects in this self guided book from potter Deb Schwartzkopf, founder of Rat City and Rain City studios in Seattle.

Hardcover, 192 pages, published June 2020 by Quarry Books, $30


Mastering Sculpture: The Figure in Clay: A Guide to Capturing the Human Form for Ceramic Artists by Christina Córdova

This richly illustrated guidebook will take you through the steps needed to sculpt a figure in clay starting with sketches, various techniques to build a hollow form that can make it through a firing, and then patterns and instructions to make larger forms. Written by acclaimed sculptor Christina Córdova.

Hardcover, 192 pages, published June 2022 by Quarry Books, $35


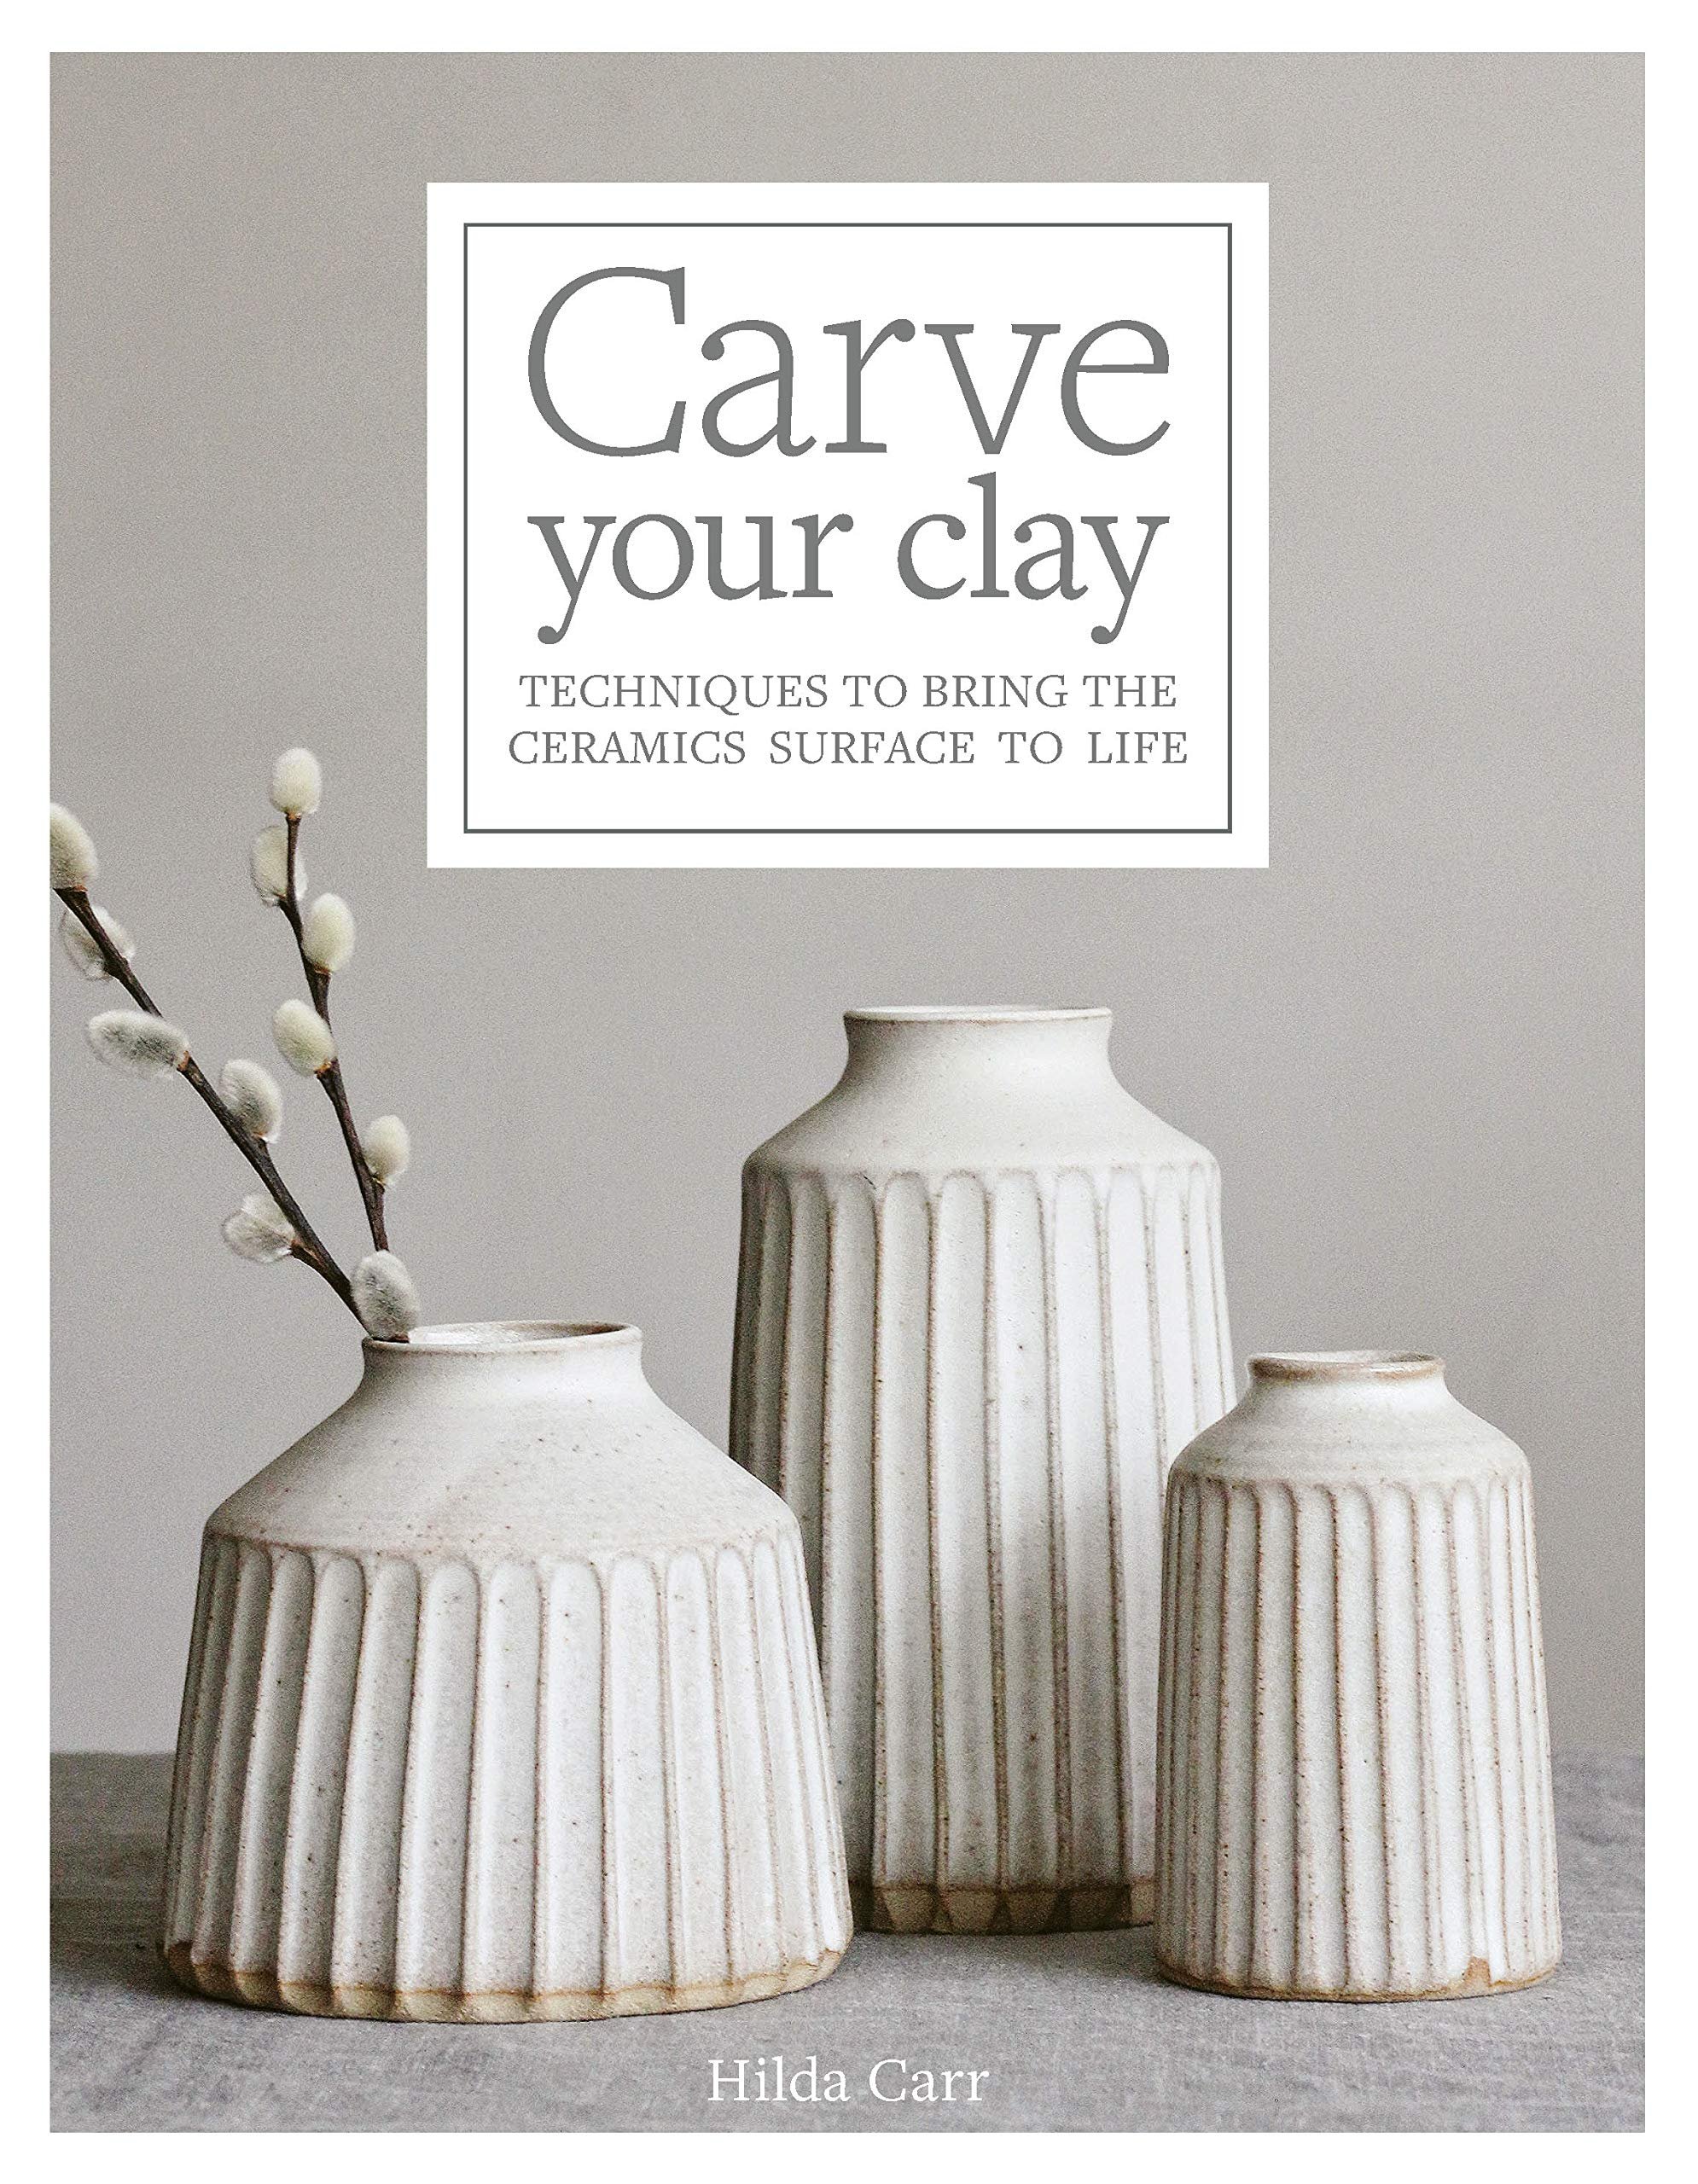
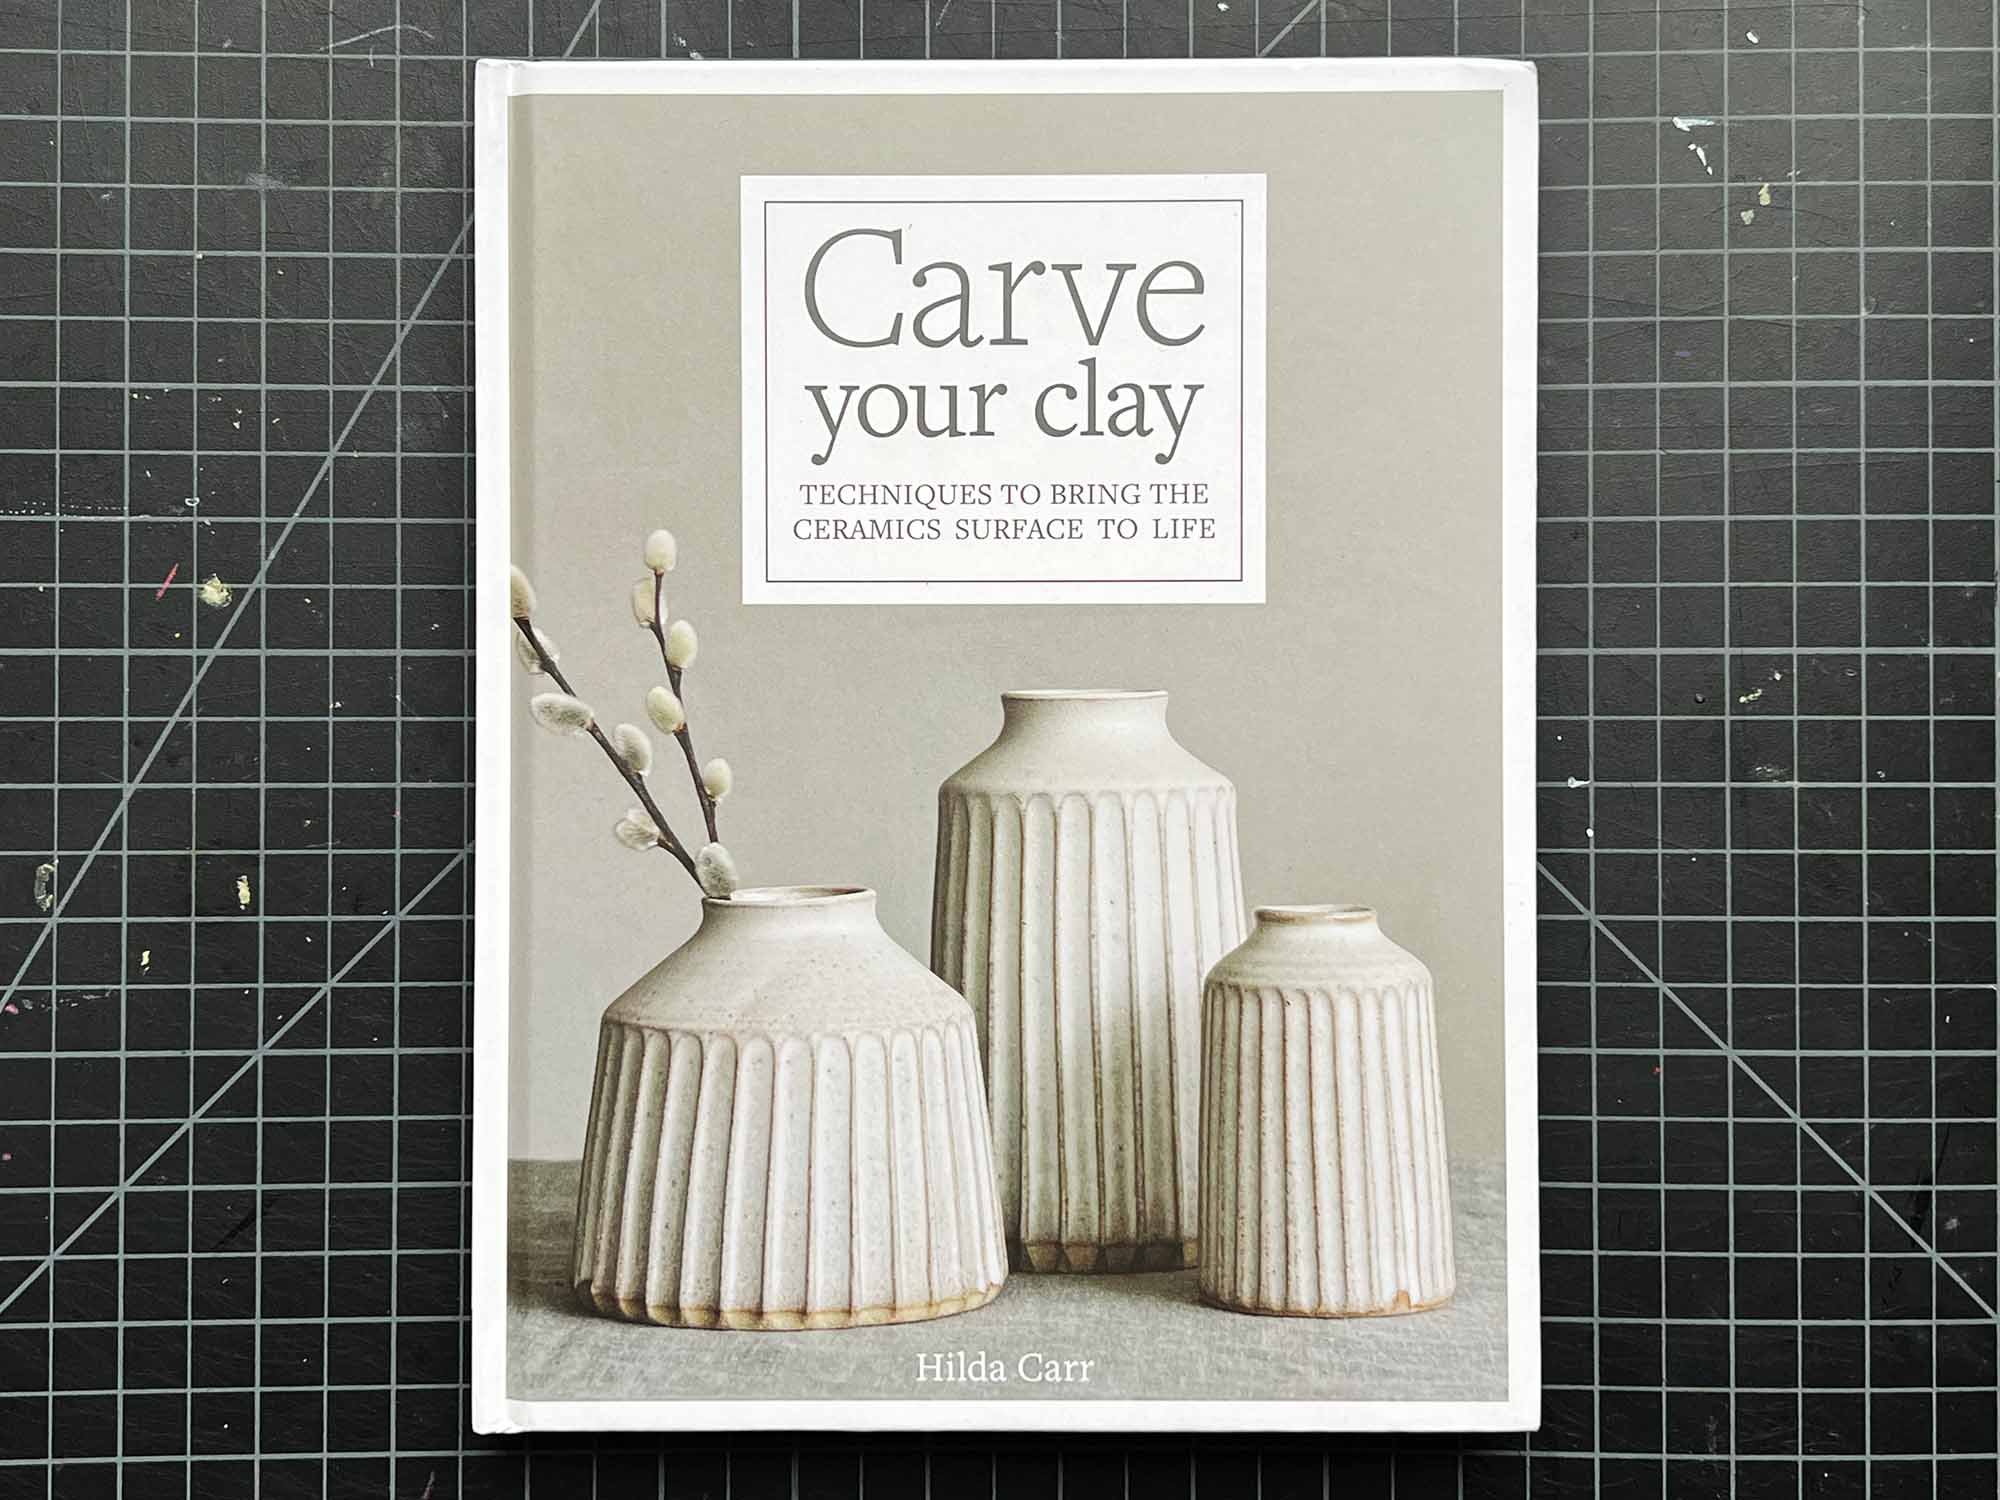
Carve Your Clay: Techniques to Bring the Ceramic Surface to Life by Hilda Carr

Carve Your Clay book cover by Hilda Carr with three fluted ceramic vessels

This popular book covers a variety of carving techniques including scraffito, etching, inlay, wire cutting, and more with more than 20 inspiring projects. With step-by-step instructions, this is a great technique book from the London-based studio potter, Hilda Carr.

Hardcover, 144 pages, published August 2020 by Quarry Books, $27


Pottery for Beginners: Projects for Beautiful Ceramic Bowls, Mugs, Vases, and More by Kara Leigh Ford

Pottery for Beginners book cover by Kara Leigh Ford

Aimed at beginners, this book covers handbuilding and wheel throwing, as well as how to set up a workspace. Filled with projects, tips, and ideas, this book is the perfect guide for anyone who wants to get started with clay.

Paperback, 192 pages, published October 2021 by Page Street Publishing, $23


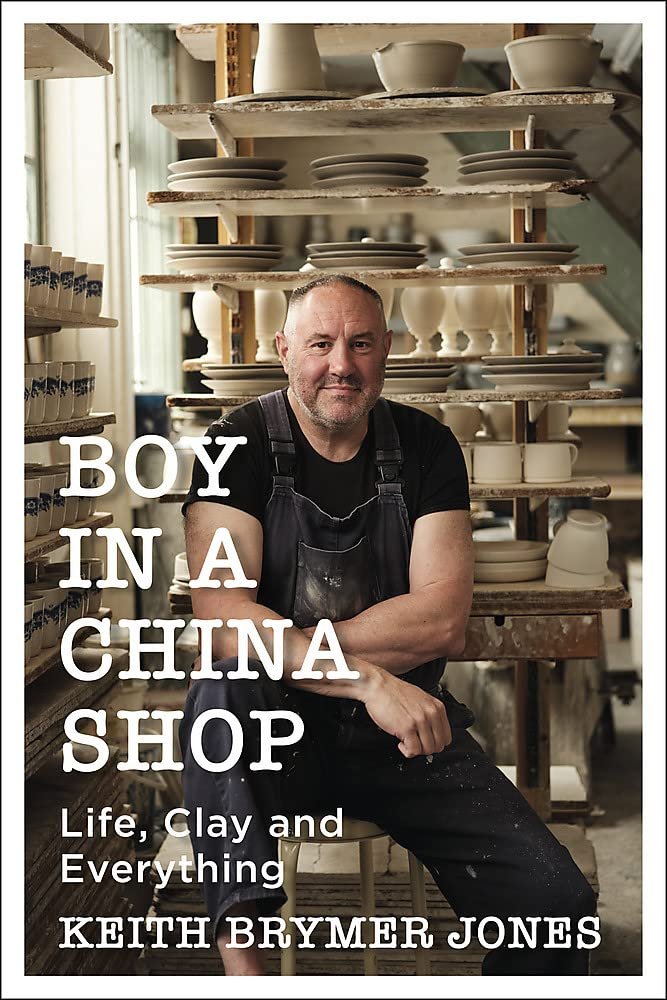
Boy in a China Shop: Life, Clay and Everything by Keith Brymer Jones

Boy in a China Shop cover with Keith Brymer Jones sitting in front of shelves of freshly made greenware clay pots

Fans of The Great Pottery Throwdown and potters will love this book by Brymer Jones, judge on the popular BBC series. In a series of chapters inspired by significant objects (usually pots), Brymer shares stories and insights from his life and work.

Hardcover, 352 pages, published October 2022 by Hodder & Stoughton, $29


Contemporary Raku by Stephen Murfitt

Contemporary Raku by Stephen Murfitt book cover with a flaming-hot vessel on the cover

This new publication is a complete guide to raku firings and techniques, as well as sources of inspiration. It’s got information on tools and equipment, health and safety measures, and more. The book is by Stephen Murfitt, a British studio potter who also wrote The Glaze Book, from 2002.

Paperback, 176 pages, published September 2022 by The Crowood Press, $43


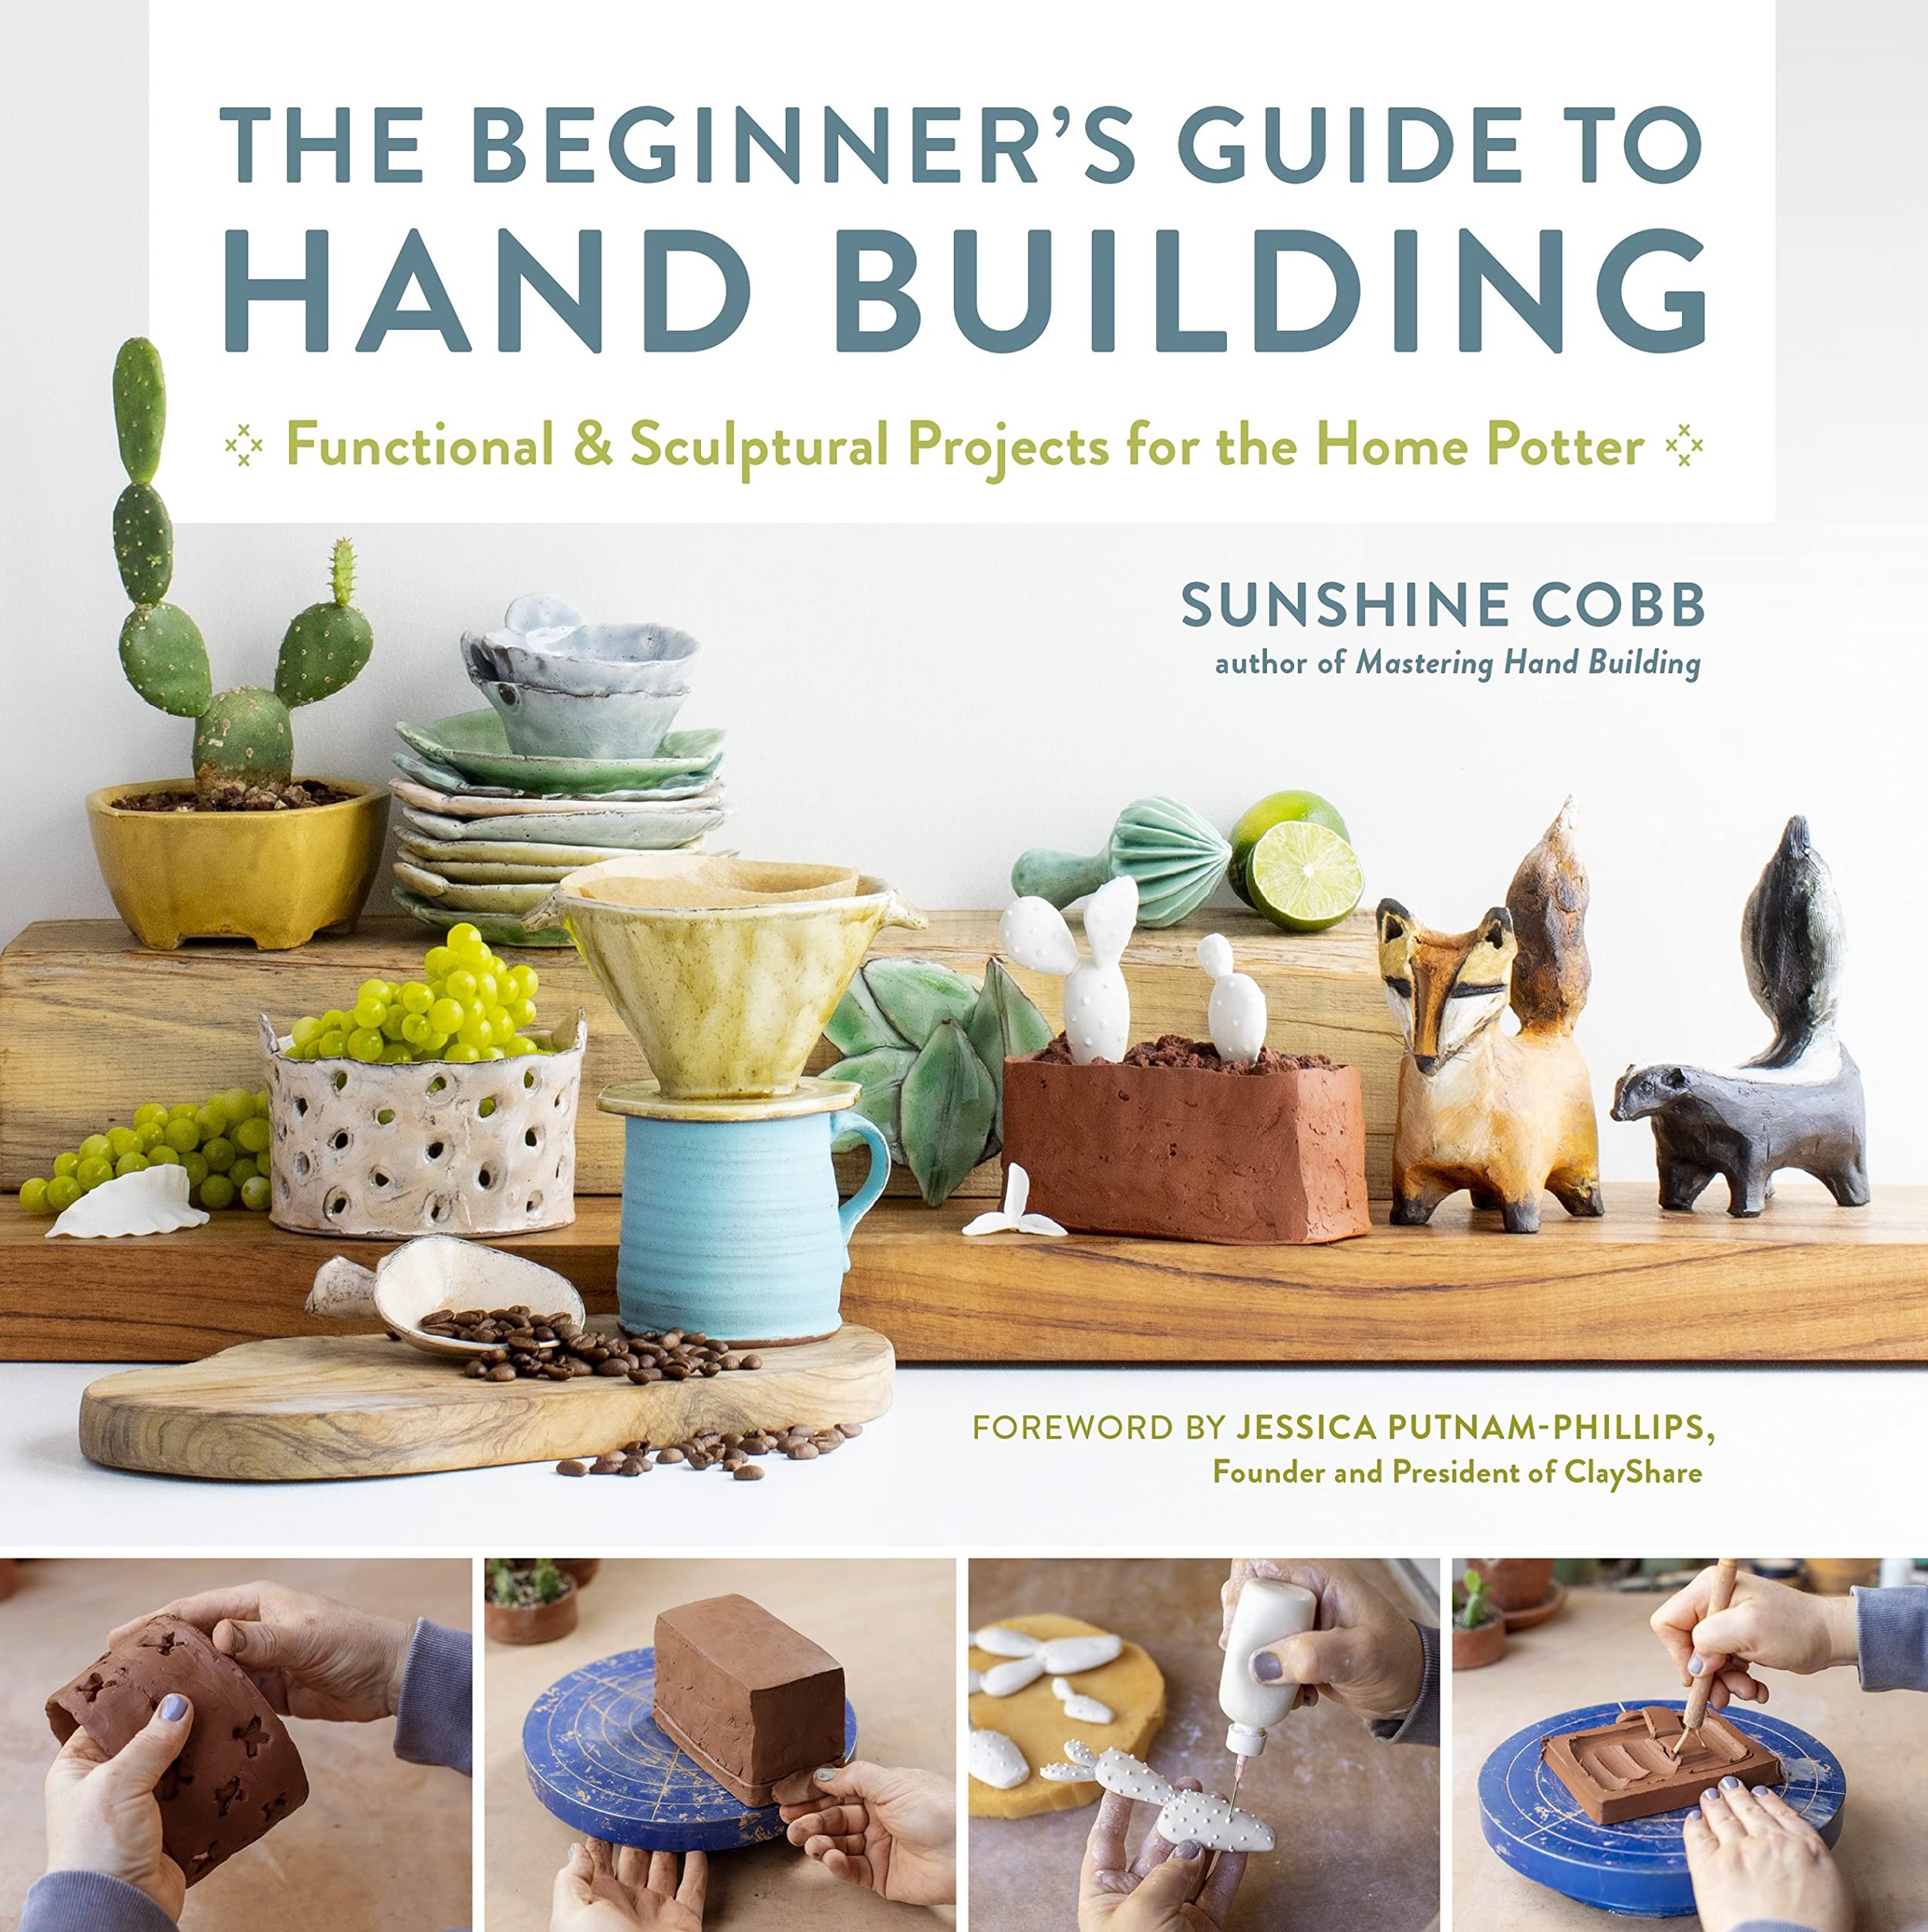
The Beginner's Guide to Hand Building: Functional and Sculptural Projects for the Home Potter by Sunshine Cobb

For those who might just have access to a table at home, this is the book for you. Written by Sunshine Cobb (who also wrote 2018’s Mastering Hand Building) this book is focused on projects that can be made just about anywhere, whether it’s a kitchen table or studio. With a focus on skill building, this book covers projects ranging from a scoop to a citrus juicer to small animals and sculptures.

Hardcover, 176 pages, published by Quarry Books, October 2022, $25.


Wild Clay: Creating Ceramics and Clazes from Natural and Found Resources by Matt Levy, Takuro Shibata, and Hitomi Shibata

Wild Clay book cover with natural elements arranged in a circle

Finding your own clay—especially for use as a glaze material or to augment a commercial clay body—is increasingly popular and this book is a guide to finding, testing, and using wild clay.

Hardcover, 176 pages, published October 2022 by Herbert Press, $40


Amazing Glaze: Recipes and Combinations: 200+ Surefire Finishes for Low-Fire, Mid-Range, and High-Fire Pottery by Gabriel Kline

Amazing Glaze Recipes and Combinations book cover by Gabriel Kline with a colorful blue and green bowl image

A follow-up / companion to Kline’s 2018 book Amazing Glaze, this volume delves into more glaze recipes, combinations, and modifiers with recipes and images for all firing temperatures and styles. A great addition to your glaze library, and based on Kline’s decades of experience as a potter and instructor.

Hardcover, 176 pages, published August 2021 by Quarry Books, $30


The Ceramics Bible Revised Edition by Louisa Taylor

First published in 2011, this revised edition of The Ceramics Bible includes new techniques, images, artist profiles, and more. This book has become a studio standard and the revised edition only makes it better. Written by Louisa Taylor, a British studio potter.

Hardcover, 176 pages, published by Chronicle Books, January 2022, $45


Ceramics Masterclass: Creative Techniques of 100 Great Artists by Louisa Taylor

Also by Louisa Taylor, author of The Ceramics Bible, this 2020 book explores 100 works of ceramic art and discusses techniques, methods, and concepts behind the works. Presented as a two-page spread per artwork, this is a great book for experienced makers who enjoy a deeper look at ceramics.

Hardcover or Flexbound, 288 pages, published August 2020 by Frances Lincoln, $30


Pinch Your Pottery: The Art & Craft of Making Pinch Pots by Jacqui Atkin

Pinch Your Pottery by Jacqui Atkin book cover with pastel colored pinch pots on the cover

A seemingly simple clay technique, pinching can be used to make just about any form. Starting with basics, this book has 35 project ideas for taking pinched clay to the next level. Written by Jacqui Atkin, a British potter who has written numerous books on ceramic techniques.

Hardcover, 176 pages, published June 2021 by Quarry Books, $25


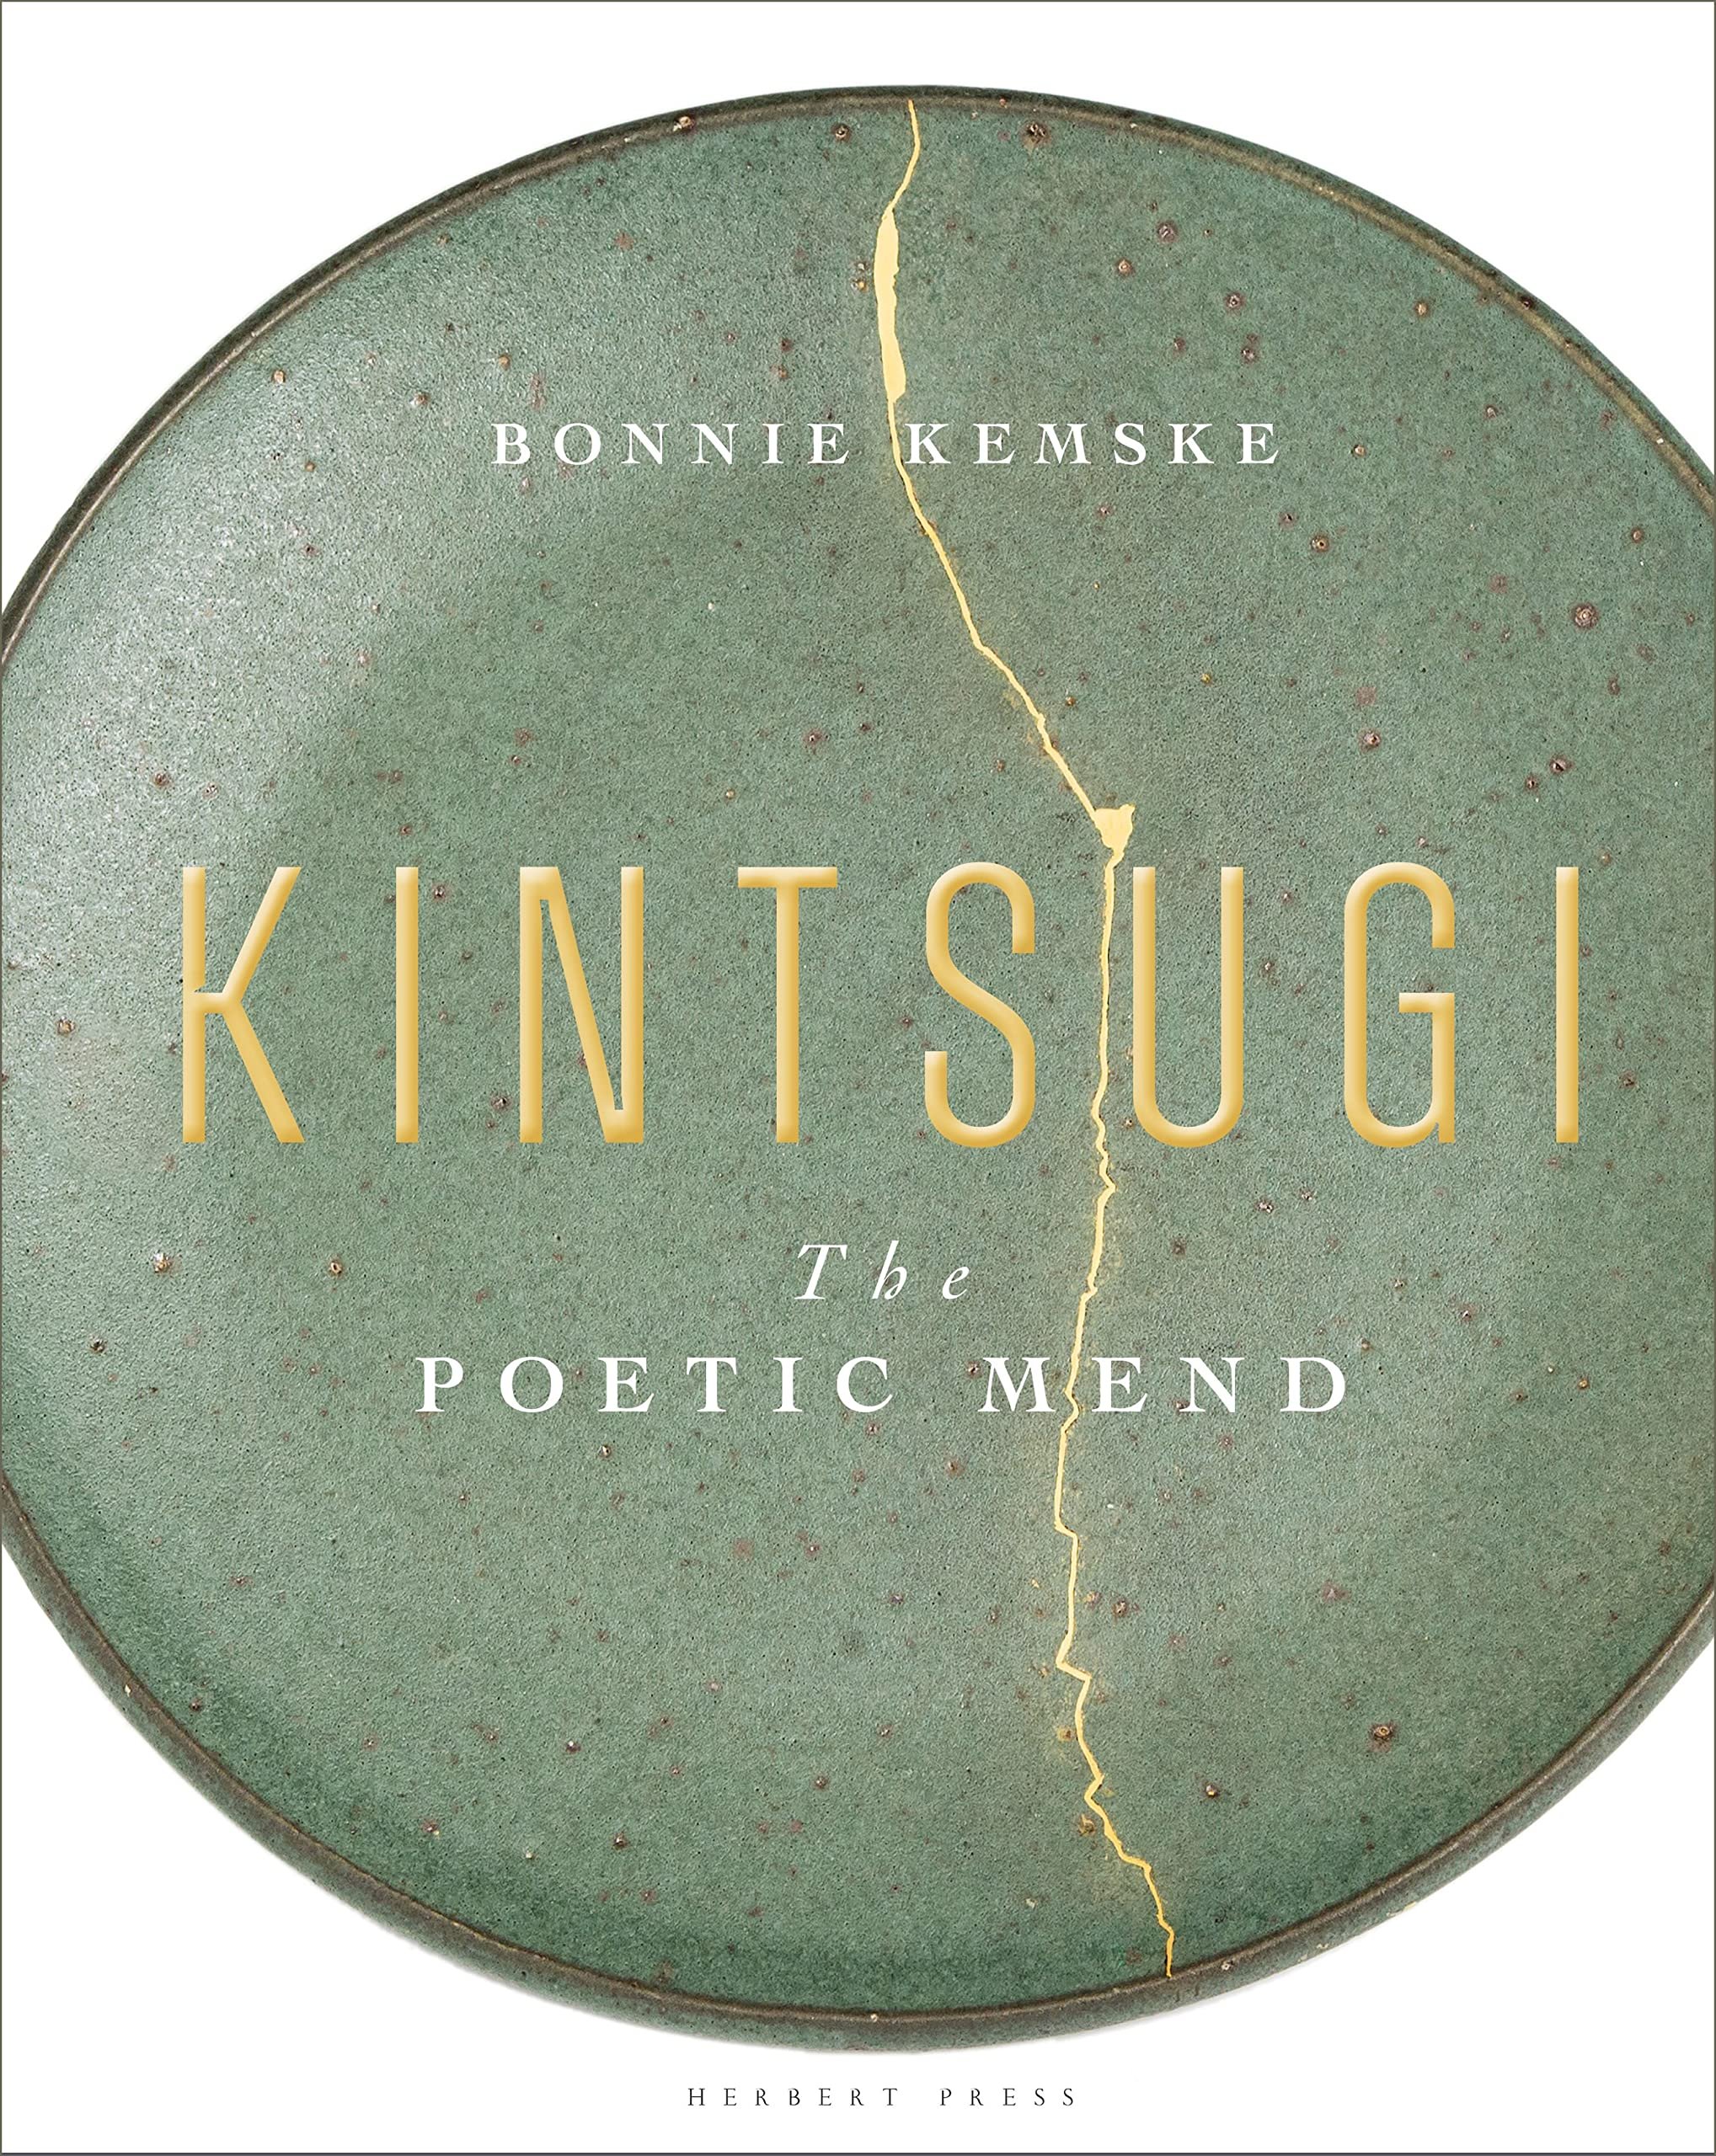
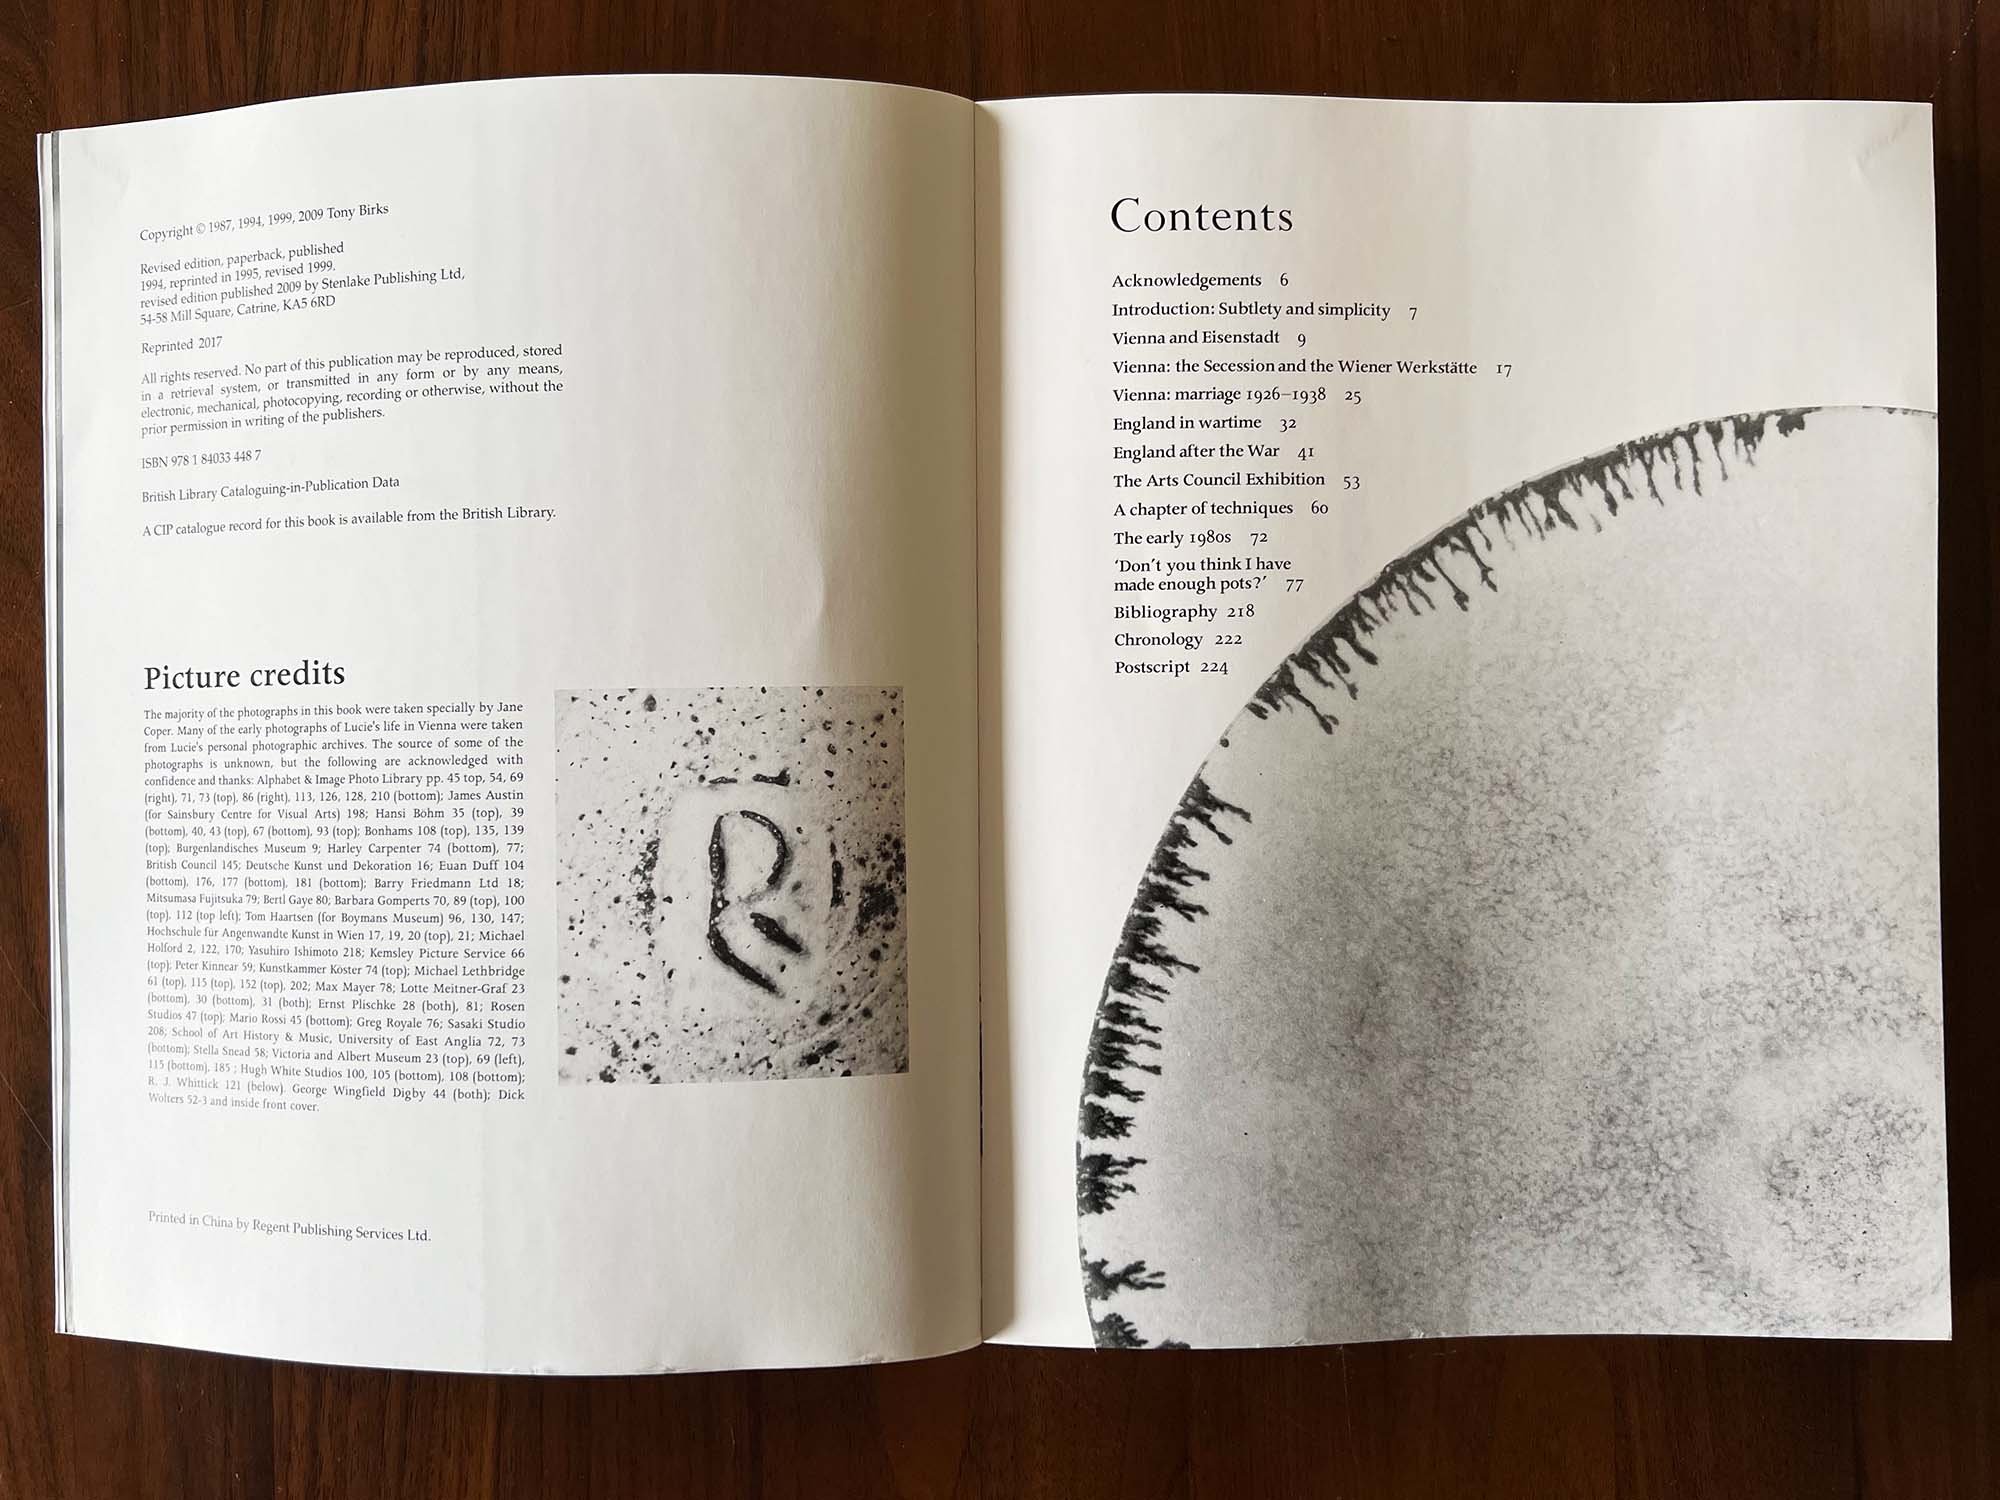
Kintsugi: The Poetic Mend by Bonnie Kemske

This is not exactly a technique book, but instead is history and meditation on the Japanese technique of repairing broken vessels and highlighting the repairs with gold. The book explains kintsugi, gives current and historical examples, and examines how the technique developed. Full of images and illustrations, this is a beautiful examination of kintsugi.

Hardcover, 176 pages, published April 2021 by Herbert Press, $38


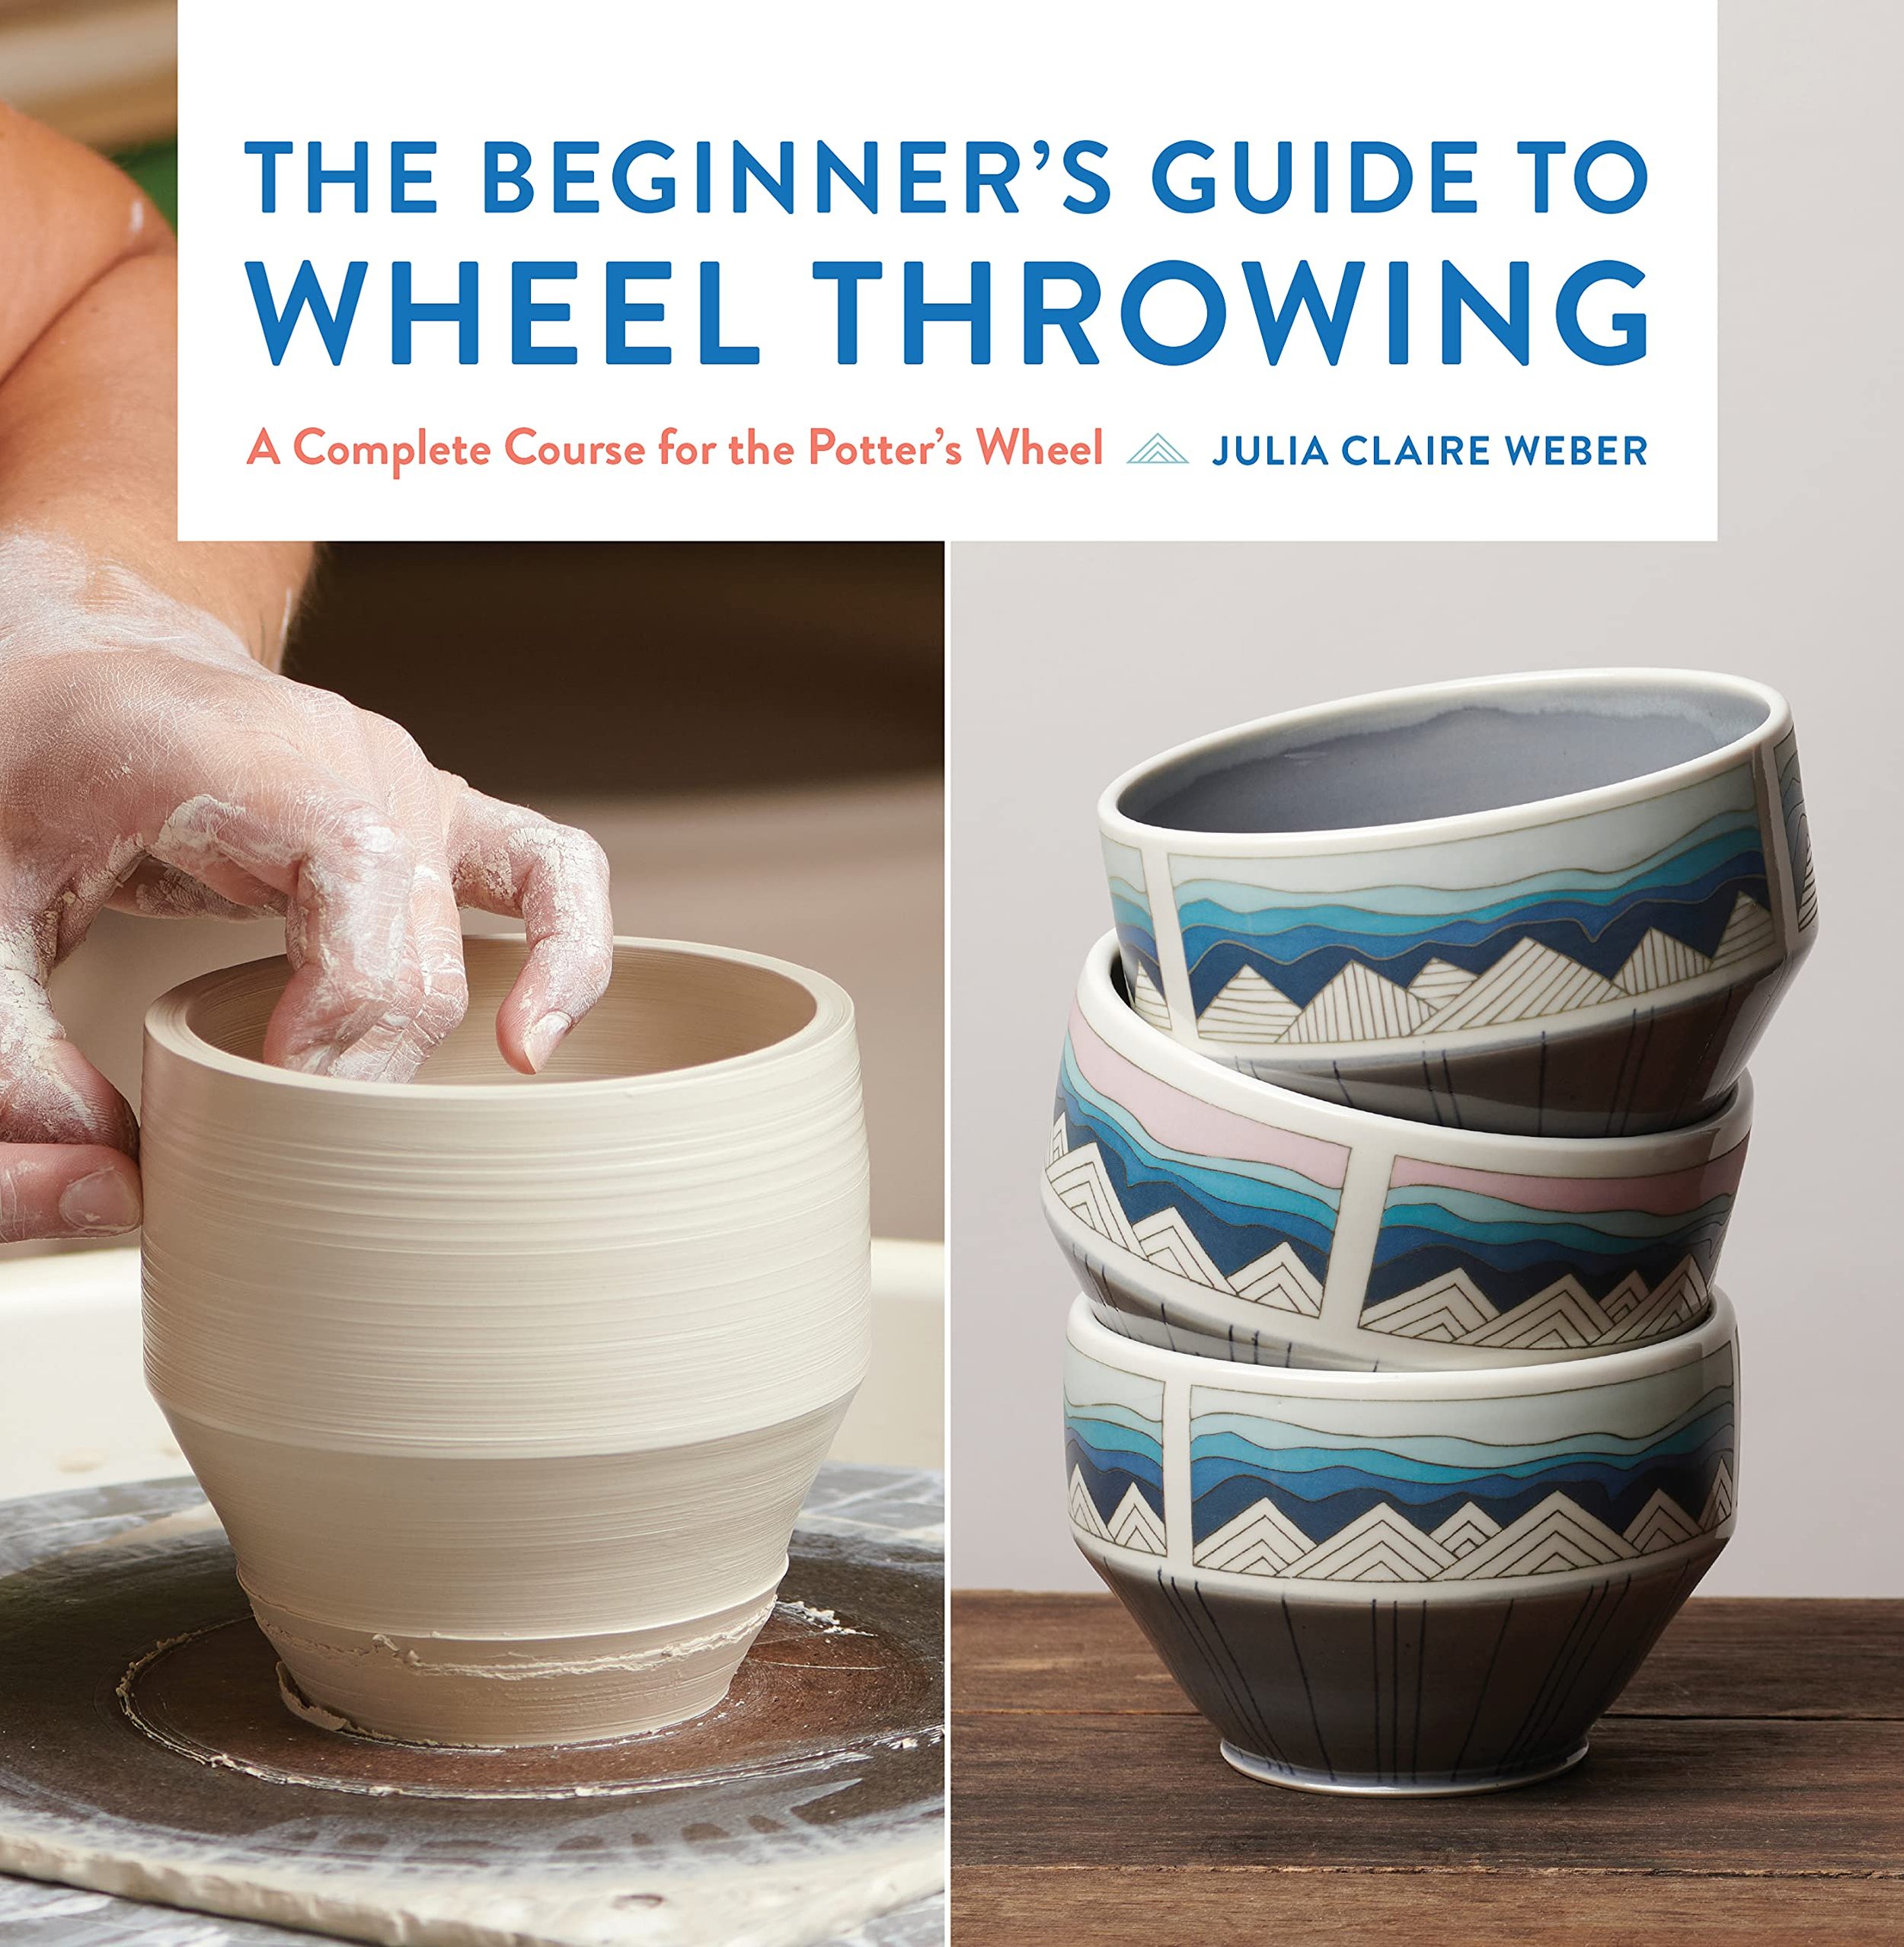
The Beginner's Guide to Wheel Throwing: A Complete Course for the Potter's Wheel by Julia Claire Weber

An introductory guide for those looking to start on the potter’s wheel, The Beginner’s Guide to Wheel Throwing covers bowls, cups, clay bodies, tools, and everything else needed to get started on the pottery wheel. Focused on skill building while introducing tips and tricks, the book also has a gallery of examples by contemporary potters. Written by Julia Claire Weber, a potter based in Asheville, North Carolina.

Hardcover, 144 pages, published December 2021 by Quarry Press, $27


Are there any recently published ceramic technique books that you use? Let us know in the comments.

How to Test Specific Gravity in a Ceramic Glaze and Why It's Important

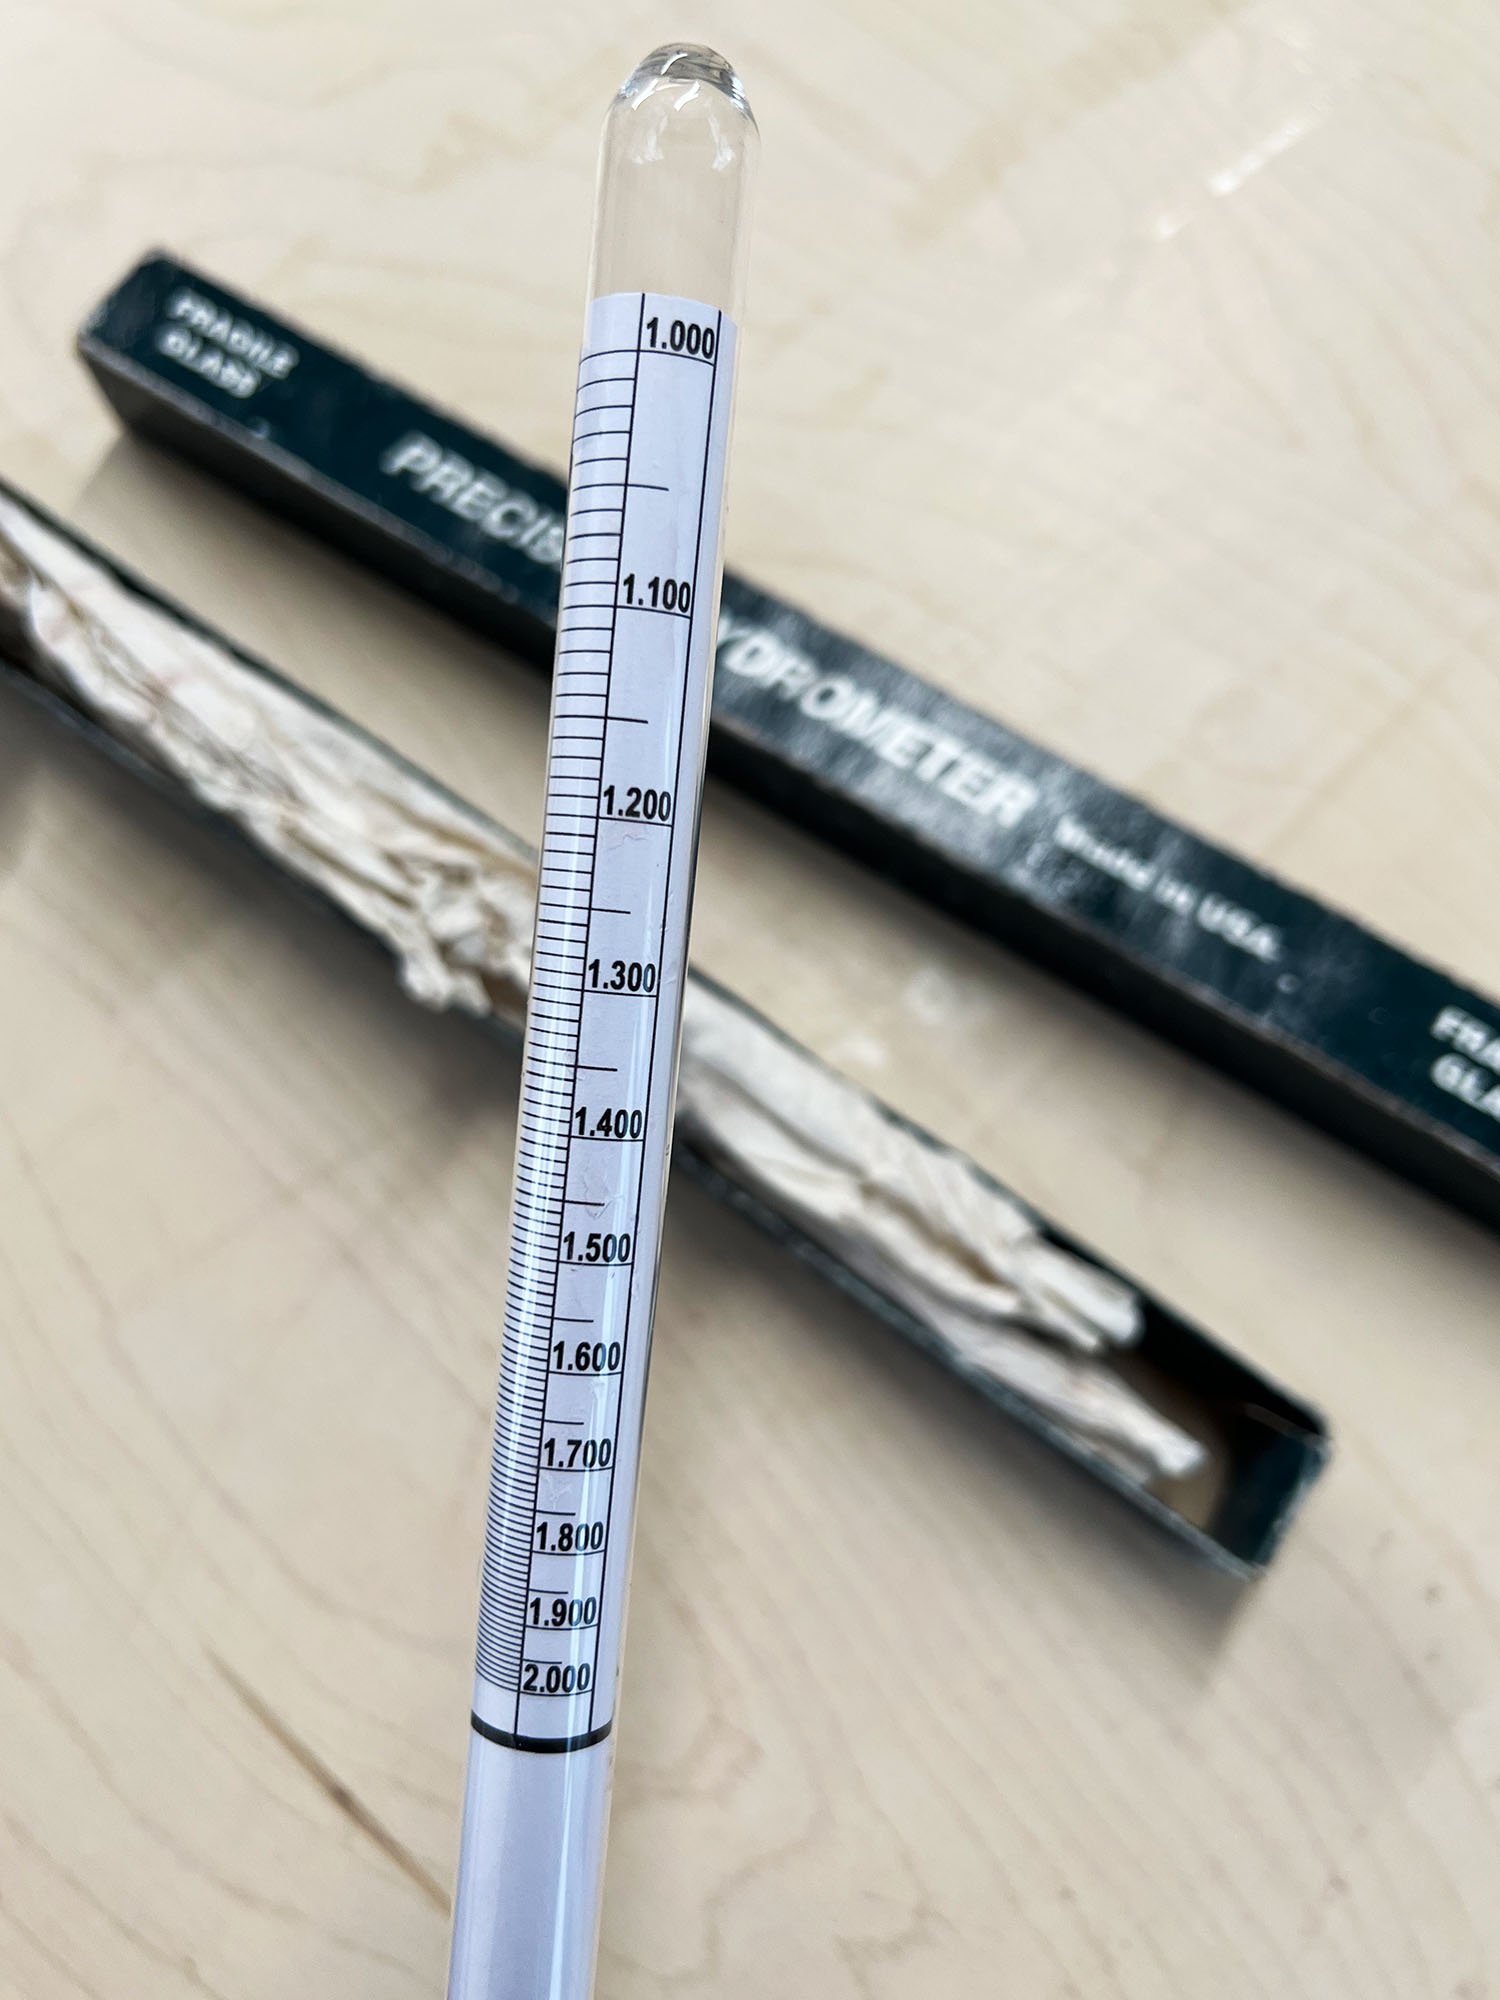
glass hydrometer used to measure specific gravity of a ceramic glaze

A hydrometer is one of measuring the specific gravity of a glaze. For ceramic glazes, use a hydrometer that measures between 1.00 and 2.00.

Testing the specific gravity of a ceramic glaze allows you to accurately measure the ratio of dry materials to water in a glaze, or basically how “thick” a glaze is. It also allows you to maintain a glaze over time, and remix more that will be exactly the same.

Keep in mind that there is not one specific gravity for glazes, instead, each glaze will vary slightly based on the materials in the glaze and the desired application. But in general, glazes range from 1.40 to 1.60.

There are also a few methods of measuring the specific gravity of a glaze. In this post, there will be three options covered:

  • using a hydrometer

  • measuring in a graduated cylinder

  • measuring in a cup


Table of Contents

  1. What is Specific Gravity?

  2. Measuring Specific Gravity with a Hydrometer

  3. Measuring Specific Gravity with a Graduated Cylinder

  4. Measuring Specific Gravity with a Small Cup

  5. Equipment Needed for Measuring Specific Gravity

  6. Summary


What is Specific Gravity in a Glaze?

Specific gravity measures the ratio of dry materials to water in a glaze.

As an example, if you had 150 grams of dry materials mixed with 100 grams of water, your glaze would have a specific gravity of 1.50 (150 / 100 = 1.50)

Water alone has a specific gravity of 1.00 — this will be important in our calculations.

Measuring Specific Gravity with a Hydrometer

Hydrometers are fragile glass tubes with a metal weight and scale.

A hydrometer is a glass tube with a leaded weight that is designed to float and measure specific gravity. They are quick and easy to use, provided that your glaze bucket is deep enough, but they are fragile—extremely fragile. Despite this, they are my favorite way to measure specific gravity. I’ve been using the same hydrometer for years, I just make sure to not drop it and carefully wrap it in paper towels and put it in its box when not in use.

When choosing a hydrometer, make sure to pick a “heavy liquid” or “heavier than water” hydrometer, as there are a variety of hydrometers for different applications. (Shop hydrometers at Amazon)

How to Use a Hydrometer

For glazes, you will need a “heavy liquid” hydrometer that measures between 1.00 and 2.00.

After mixing a glaze, simply place your hydrometer carefully into the glaze bucket and allow it to settle, and then take a reading.

Hydrometer measuring a ceramic glaze at 1.50

A hydrometer measuring a glaze at 1.50. In this instance, the glaze was placed in a graduated cylinder to create a tall enough column for the hydrometer to floate.

Alternately, if your glaze bucket is not tall enough, pour glaze into a graduated cylinder or smaller bucket, and then take a measurement (as pictured).

Hydrometer in a graduated cylinder to measure specific gravity of a ceramic glaze

After taking your reading, adjust your glaze as needed. In general, I like to add water slowly until I reach my desired specific gravity. You may also need to wait a day and then measure again, to make sure your glaze is just how you want it.

As you use your glaze, note the results you are getting out of the kiln and adjust your glaze if needed. Taking notes really helps!

For every glaze I mix, I note the specific gravity when initially mixed. Then, if it seems to be getting thick or changing in some way (water does evaporate over time!) you can measure and adjust.


Measuring Specific Gravity with a Graduated Cylinder

If you don’t have a hydrometer, you can measure a glaze with just a graduated cylinder. Use a cylinder that can measure at least 100 milliliters and a scale. You will need a scale that is accurate to 1 gram or even better, 0.1 grams.

For this method, place your graduated cylinder or cup on a scale and zero out the scale.

Then, fill your cylinder to 100 mL and note the weight. As our calculation is (glaze weight / water alone = specific gravity) the calculation is very simple. If the glaze weighs 145, you have a specific gravity of 1.45. If it weighs 150, your s.g. is 1.50, etc.

As before, adjust your glaze as necessary after measuring, and remeasure.

Measuring Specific Gravity with a Small Cup

If you have a scale but no graduated cylinder, you can still measure specific gravity with a small cup.

The best way to do this is to put the cup on your scale, zero the scale, then fill the cup completely full with water. Note the weight of the water and write this down. Even better: write it on the cup so that you have an easy reference.

Then, empty the cup and refill it completely full with glaze and weigh. You will have to do a quick calculation to determine your specific gravity. If the glaze in the cup weighs 375 grams and the water alone in the cup weighed 250 grams, your glaze has a specific gravity of 1.50 (375 g / 250 g = 1.50).


Shop the Equipment Needed for Measuring Specific Gravity

Heavy Liquid Hydrometer and case

This heavy liquid hydrometer is available at Amazon for $12.

Hydrometer

To measure the specific gravity of a ceramic glaze, you will need a “heavy liquid” hydrometer, or one that measures between 1.00 and 2.00. These are available at ceramic suppliers, or at Amazon.

Graduated Cylinder

plastic 250 ml graduated cylinder with octagonal base

Plastic 250 ml graduated cylinder.

A graduated cylinder is handy for glaze measuring, or for creating a taller column to use a hydrometer.

In my studio, I use a plastic 250 mL graduated cylinder. This is big enough that I can float my hydrometer, or use it to measure 100 mL of glaze.

Scale

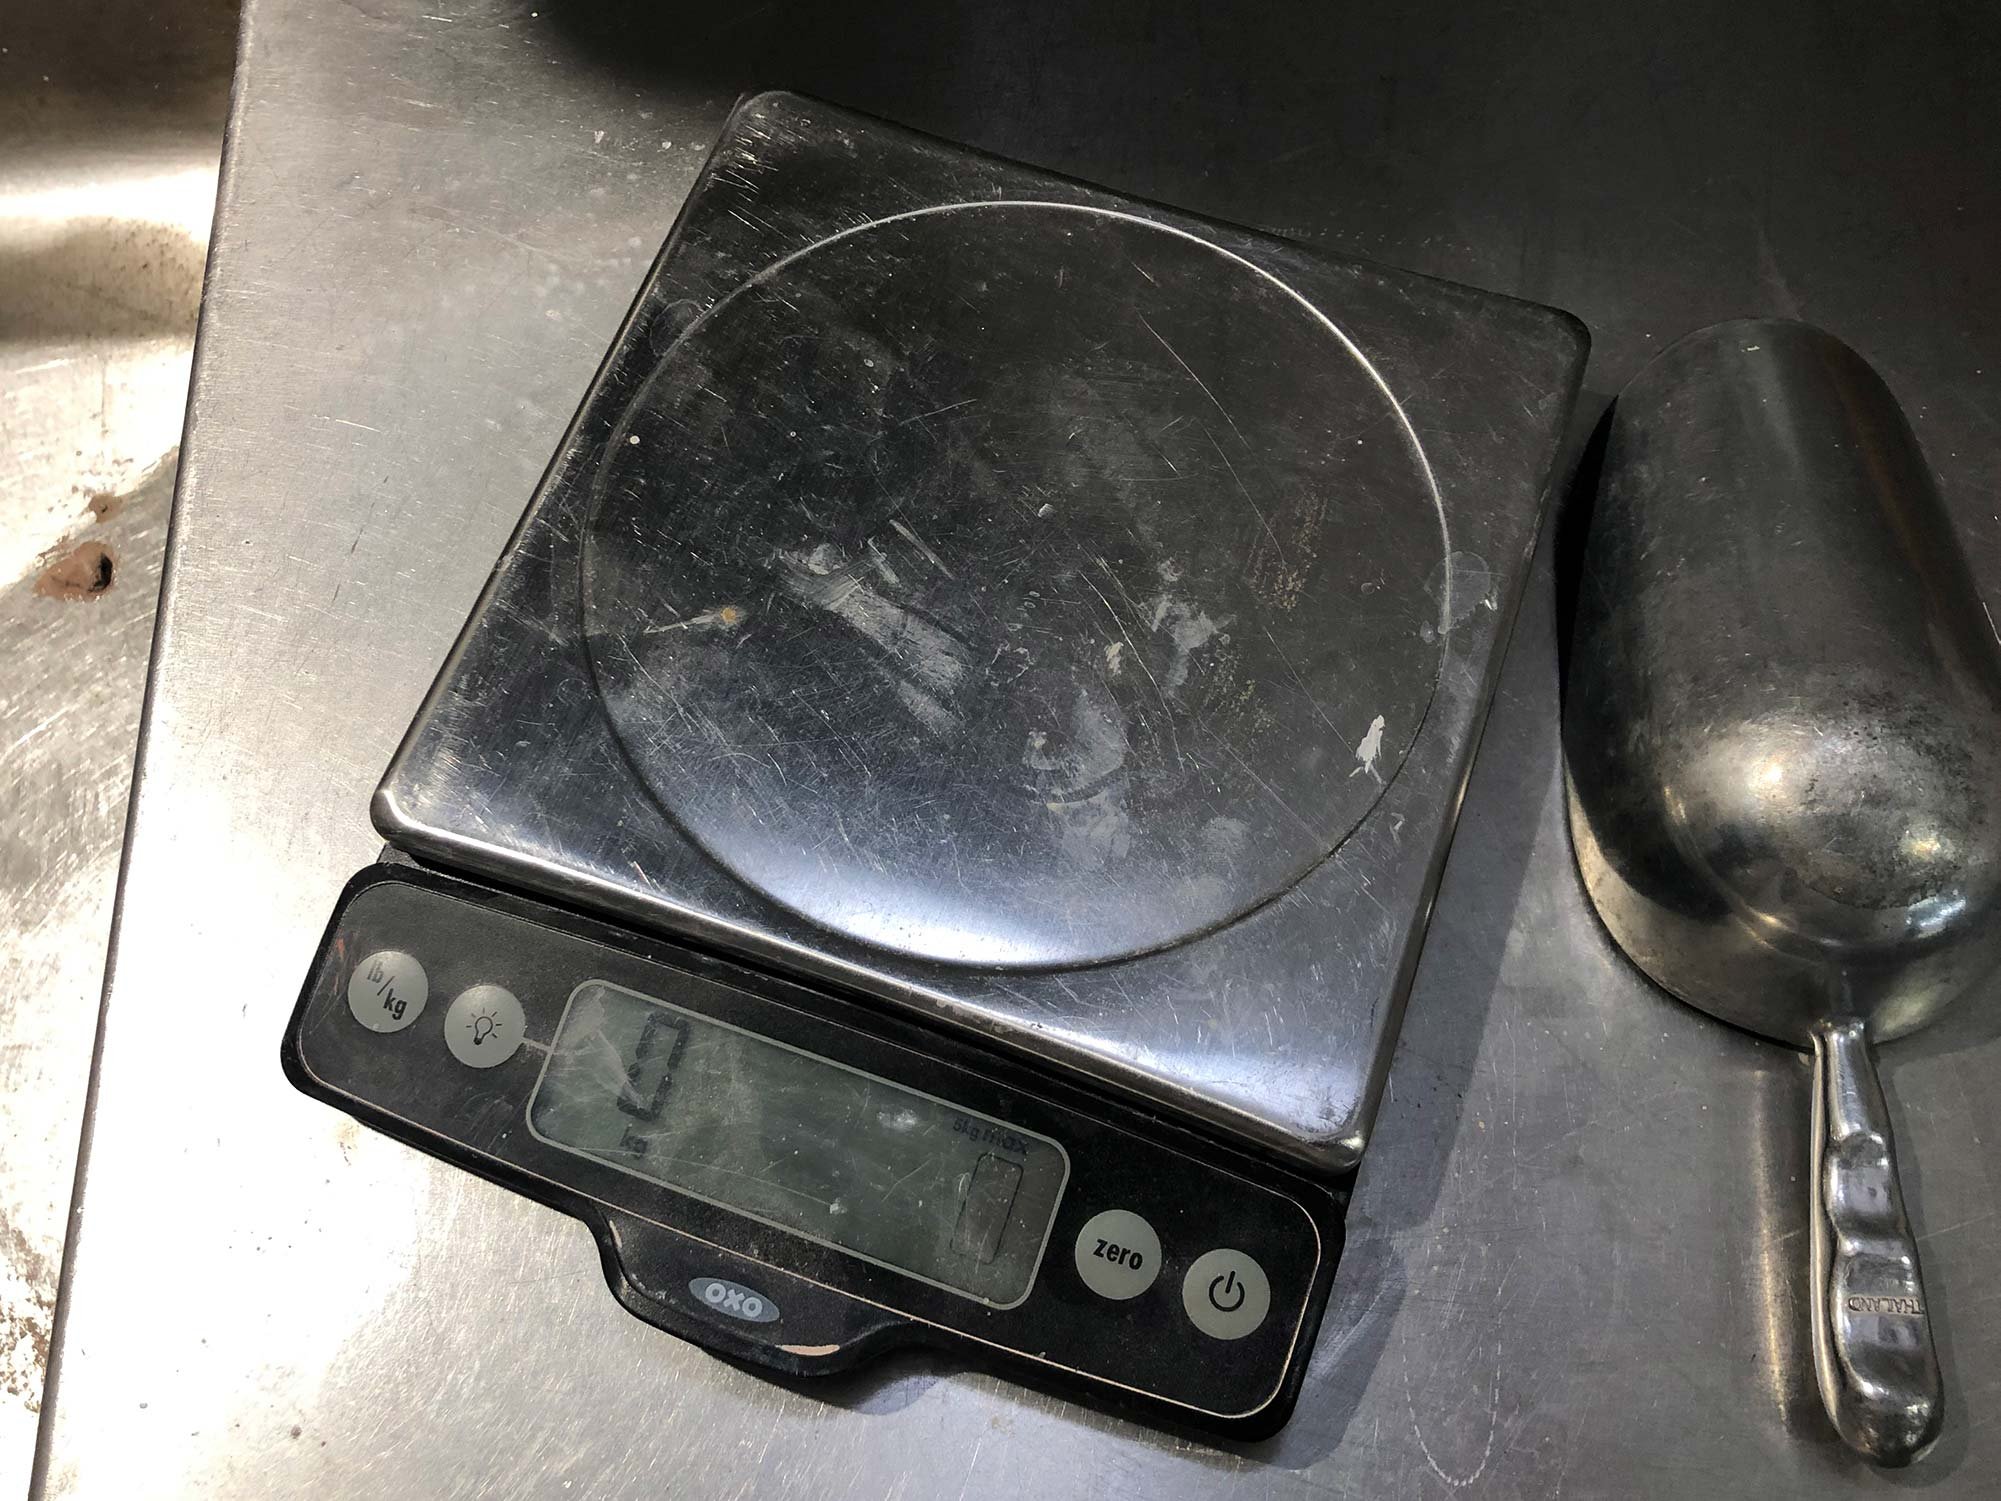
In my studio, I like to use the Oxo 11 lb kitchen scale. It’s durable, accurate to 1 gram, can weigh up to 11 lbs, is easy to clean, and costs around $55. It’s a great scale at a relatively modest price.

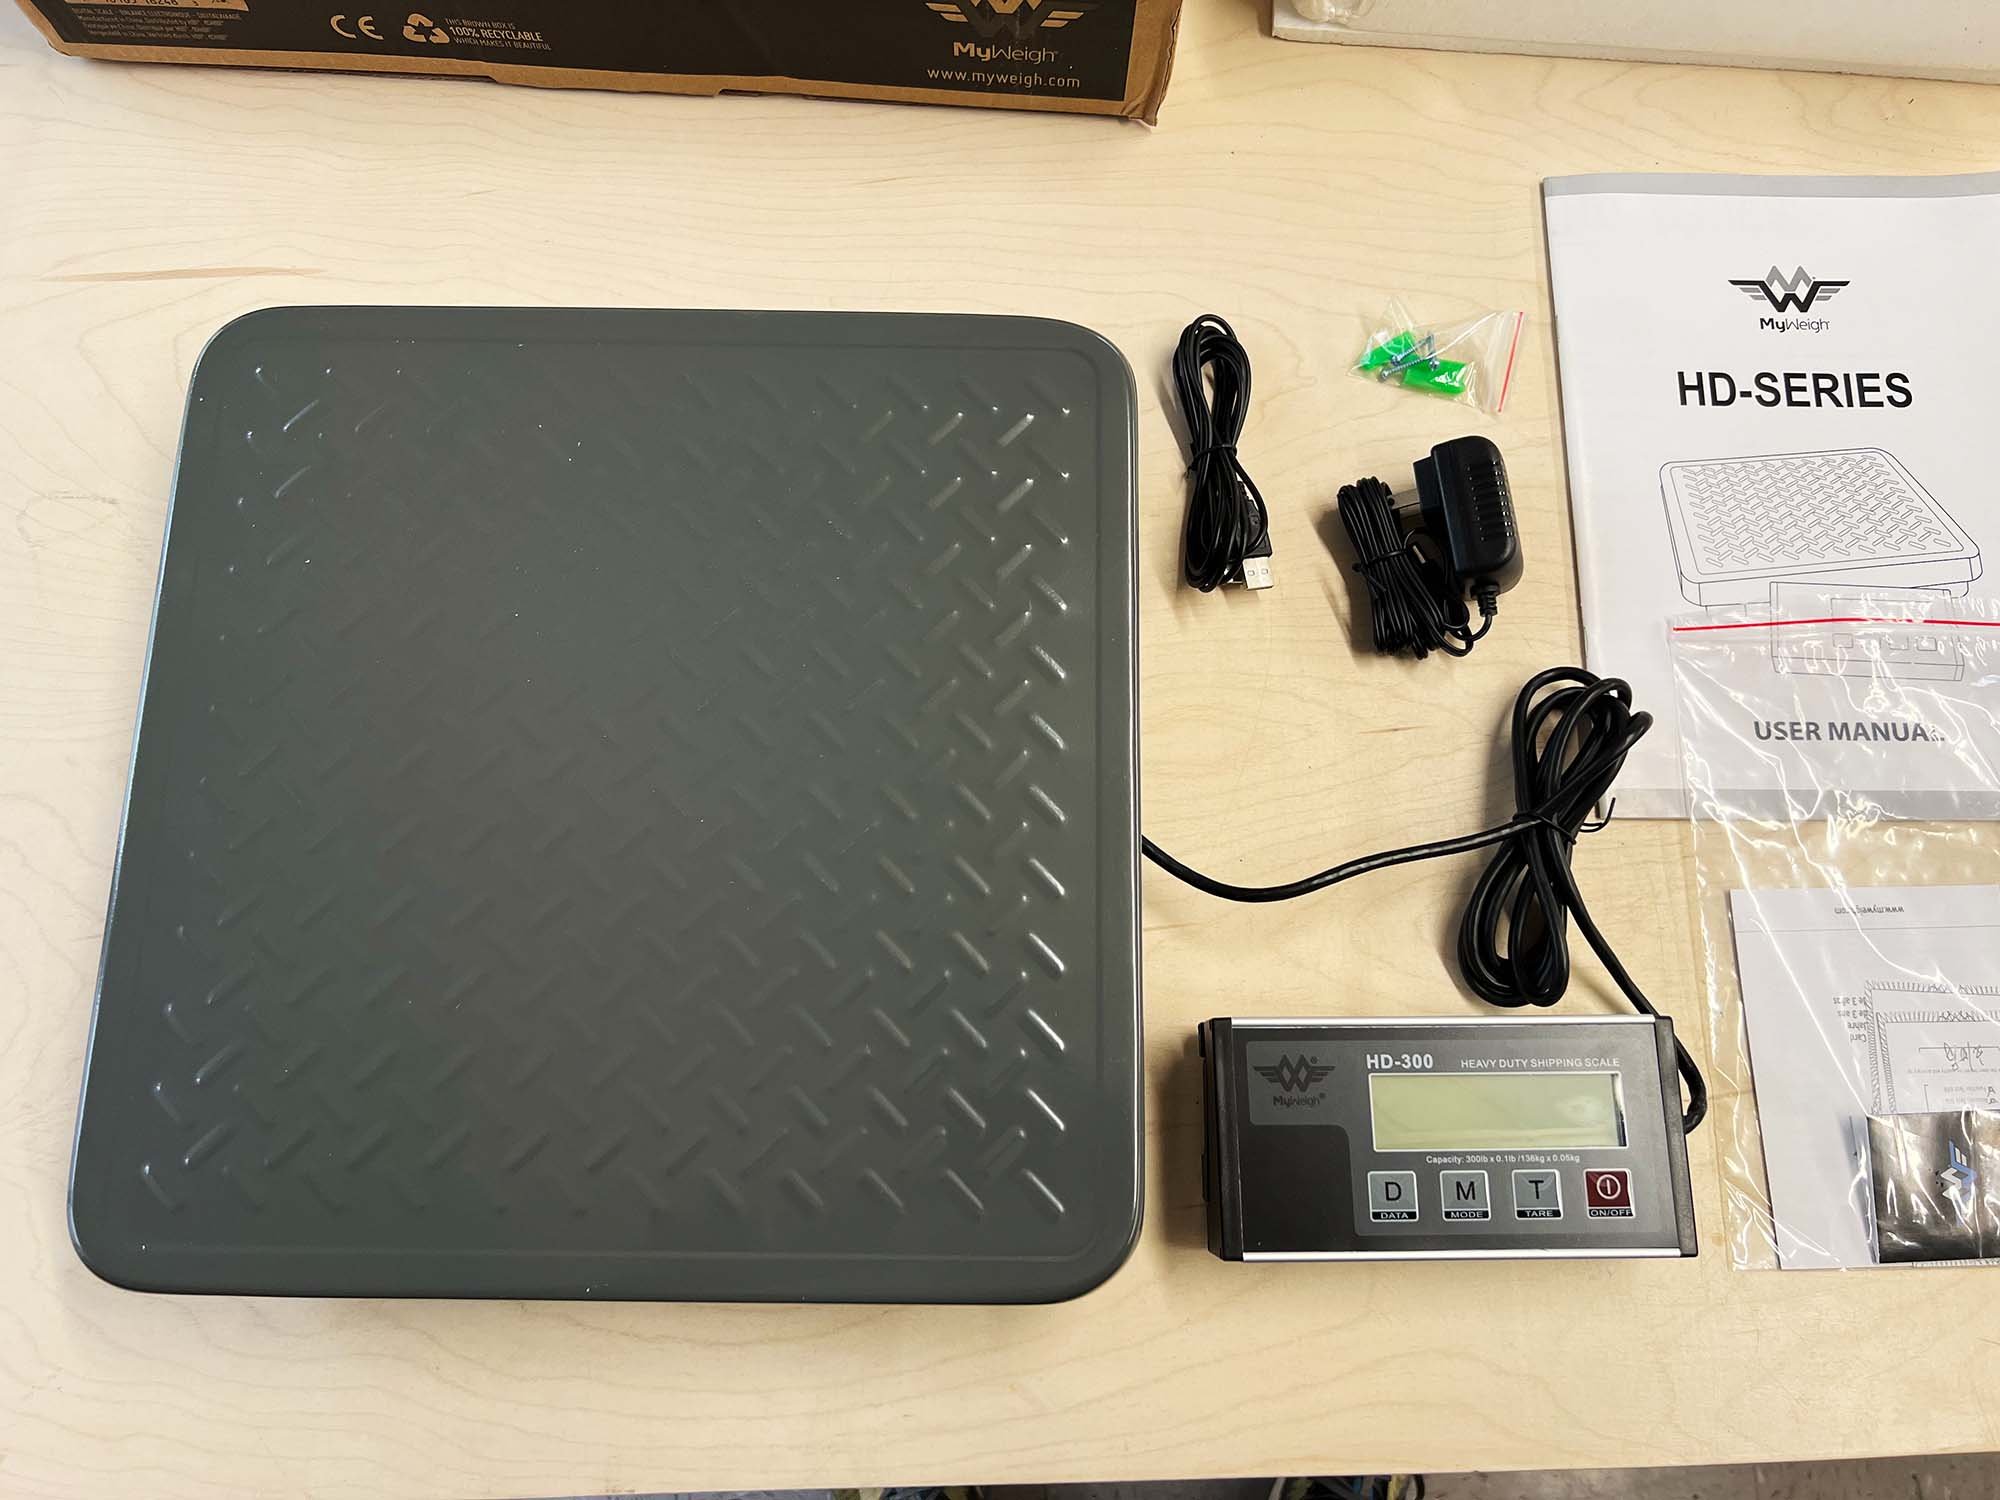
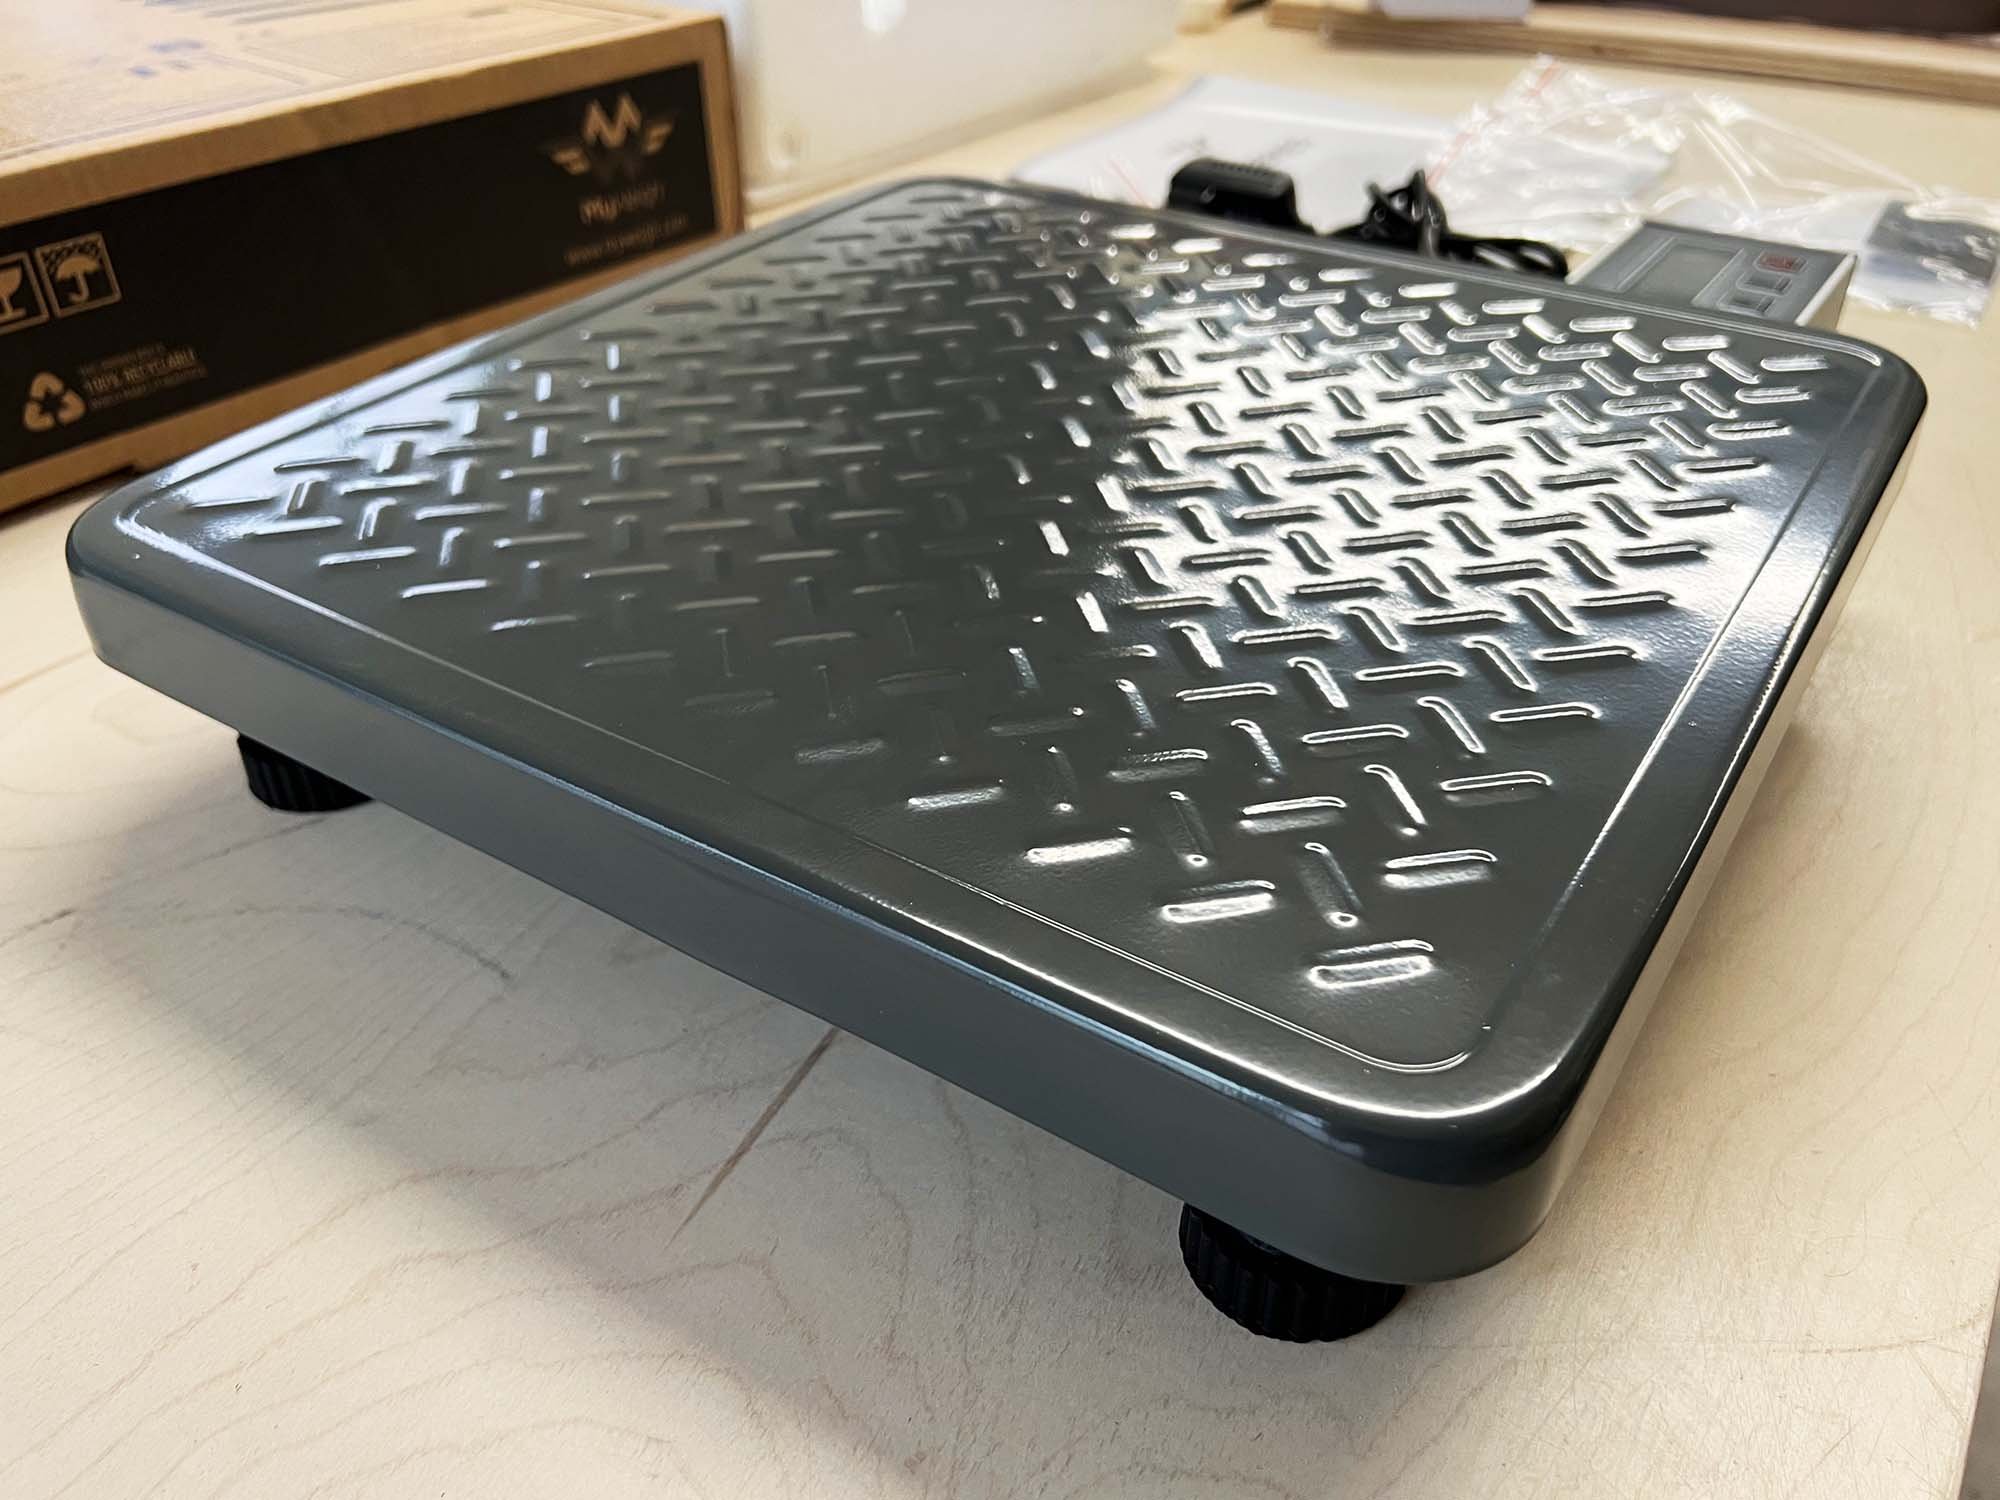
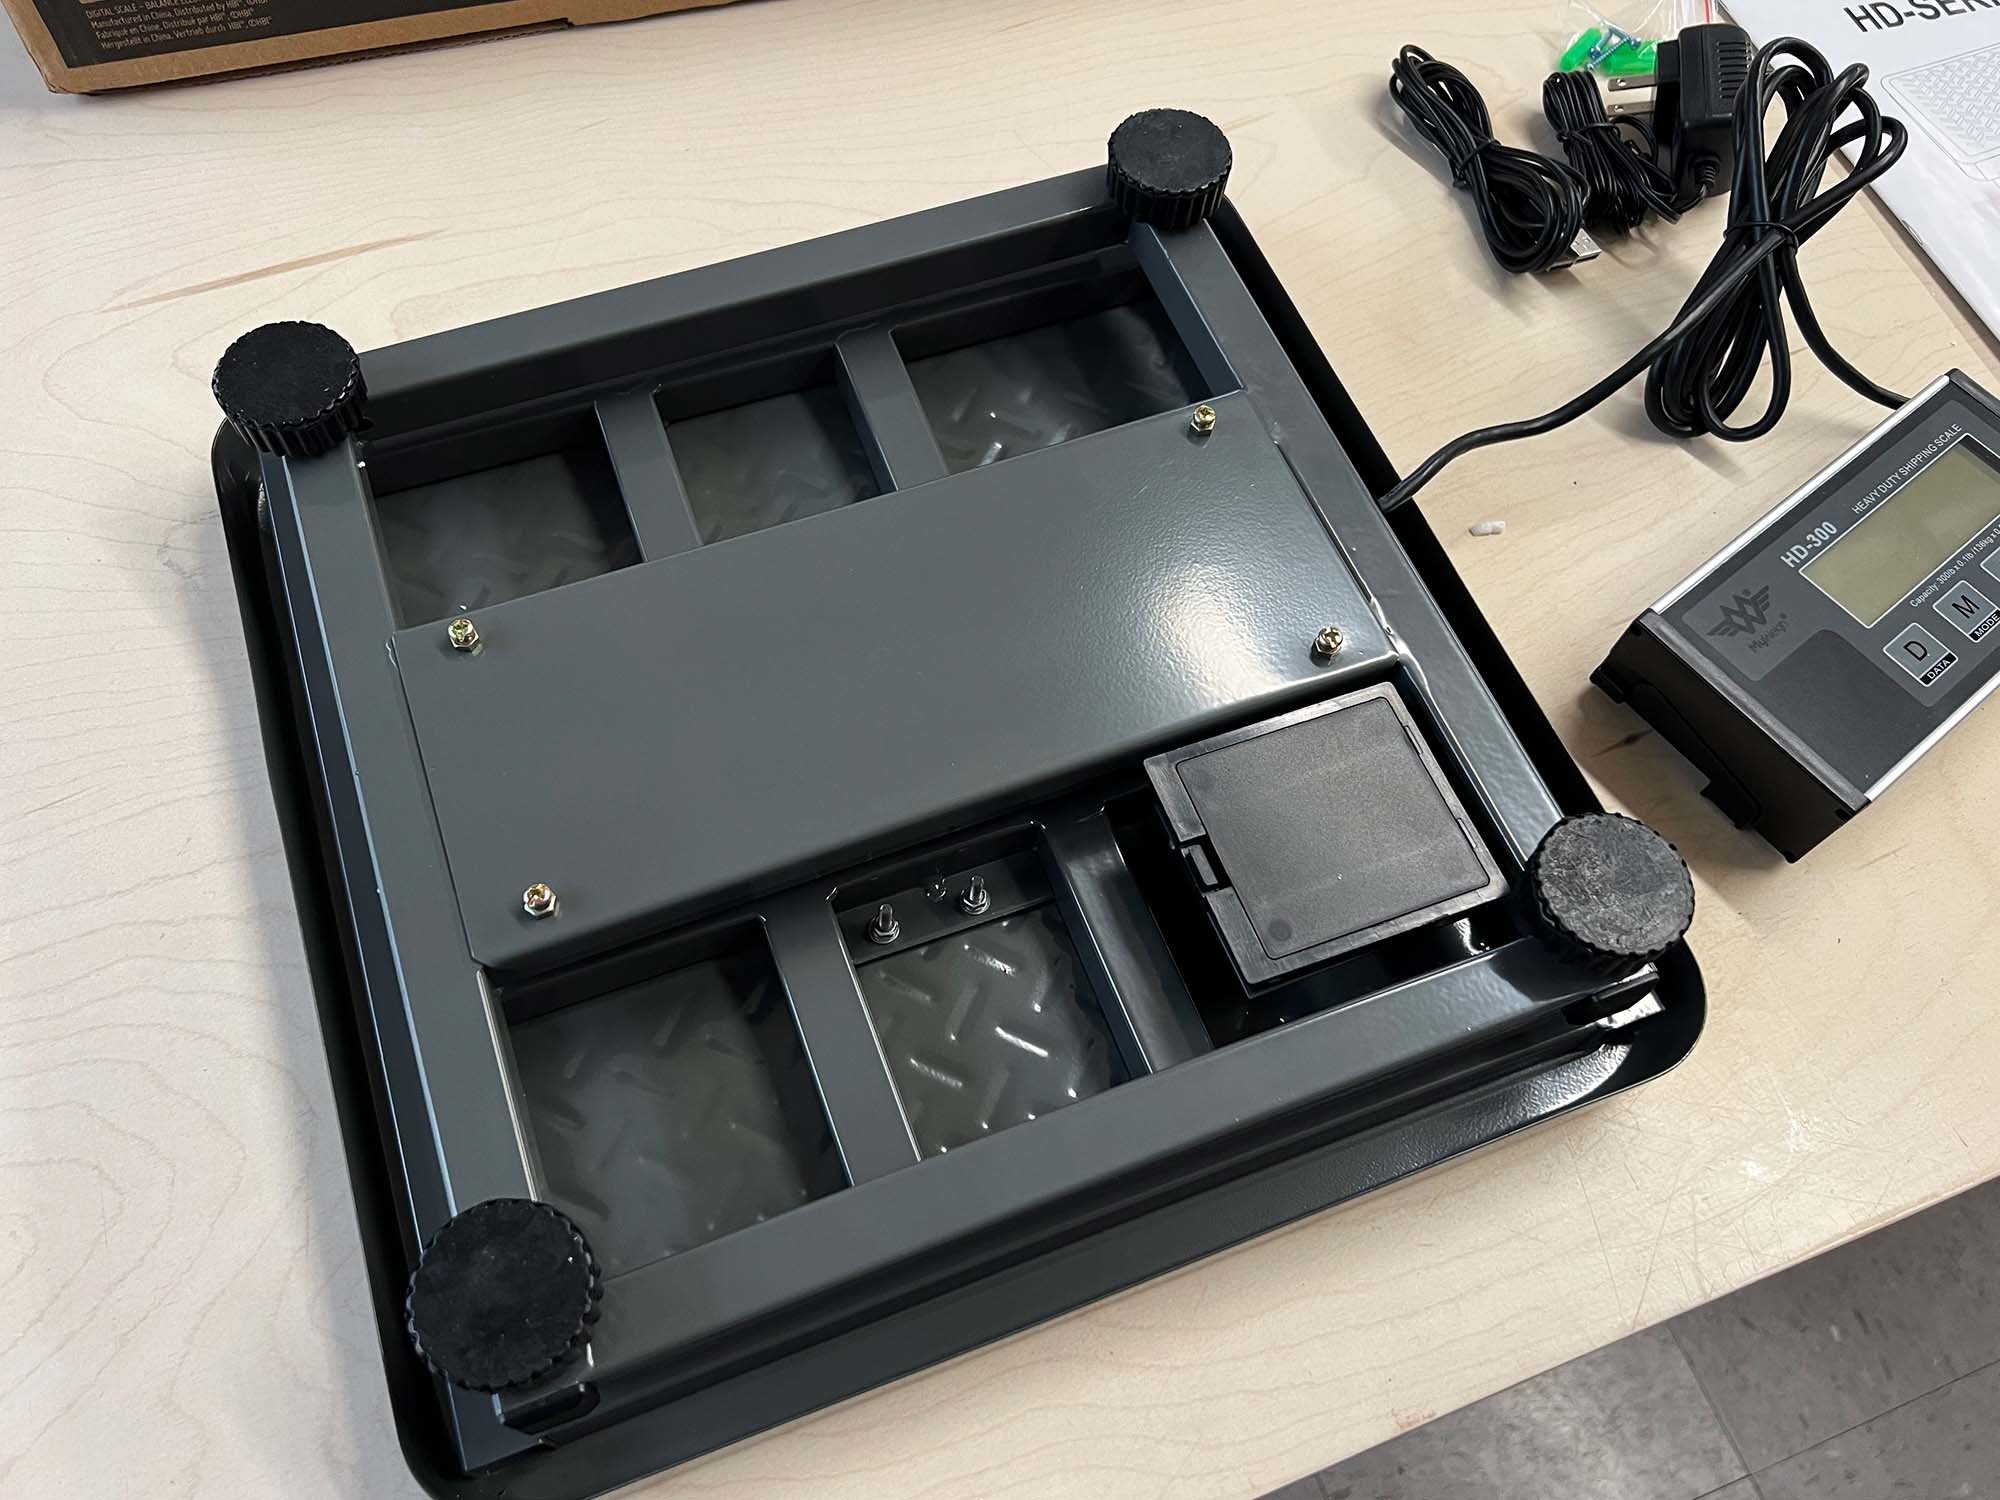
If you want something more accurate, a check out the MyWeigh iBalance 5500. It is accurate to 0.1 grams, can weigh up to 5500 grams (approx. 12 lbs), and costs about $250.

For a complete overview of scales for ceramic studios, click here.


Summary

This post has covered three different methods of testing specific gravity in ceramic glazes, and the equipment needed to measure specific gravity. Measuring specific gravity is important for keeping glazes consistent, so that you will get repeatable results from your firings.

How do you measure specific gravity? Let us know in the comments.

The Best Boomboxes with Bluetooth and FM/AM for Your Studio or Workspace

Portable bluetooth speakers are great, but sometimes it’s nice to have a small system that can play the radio, stream via Bluetooth, and maybe even do more, such as play tapes, CDs, or MP3s from a USB stick.

This post will cover the best options for small units that can do it all with these criteria:

  • Priced under $100

  • Bluetooth capability

  • Digital AM/FM tuner

  • Corded AC plug

Note that for under 100 bucks you are not getting audiophile quality. These units sound ok, maybe even above average, but the main goal was to find a small workshop / garage / studio boombox for playing the radio and streaming tunes from a device via Bluetooth.

Top Pick: Sony Portable Boombox with Bluetooth and Digital Tuner

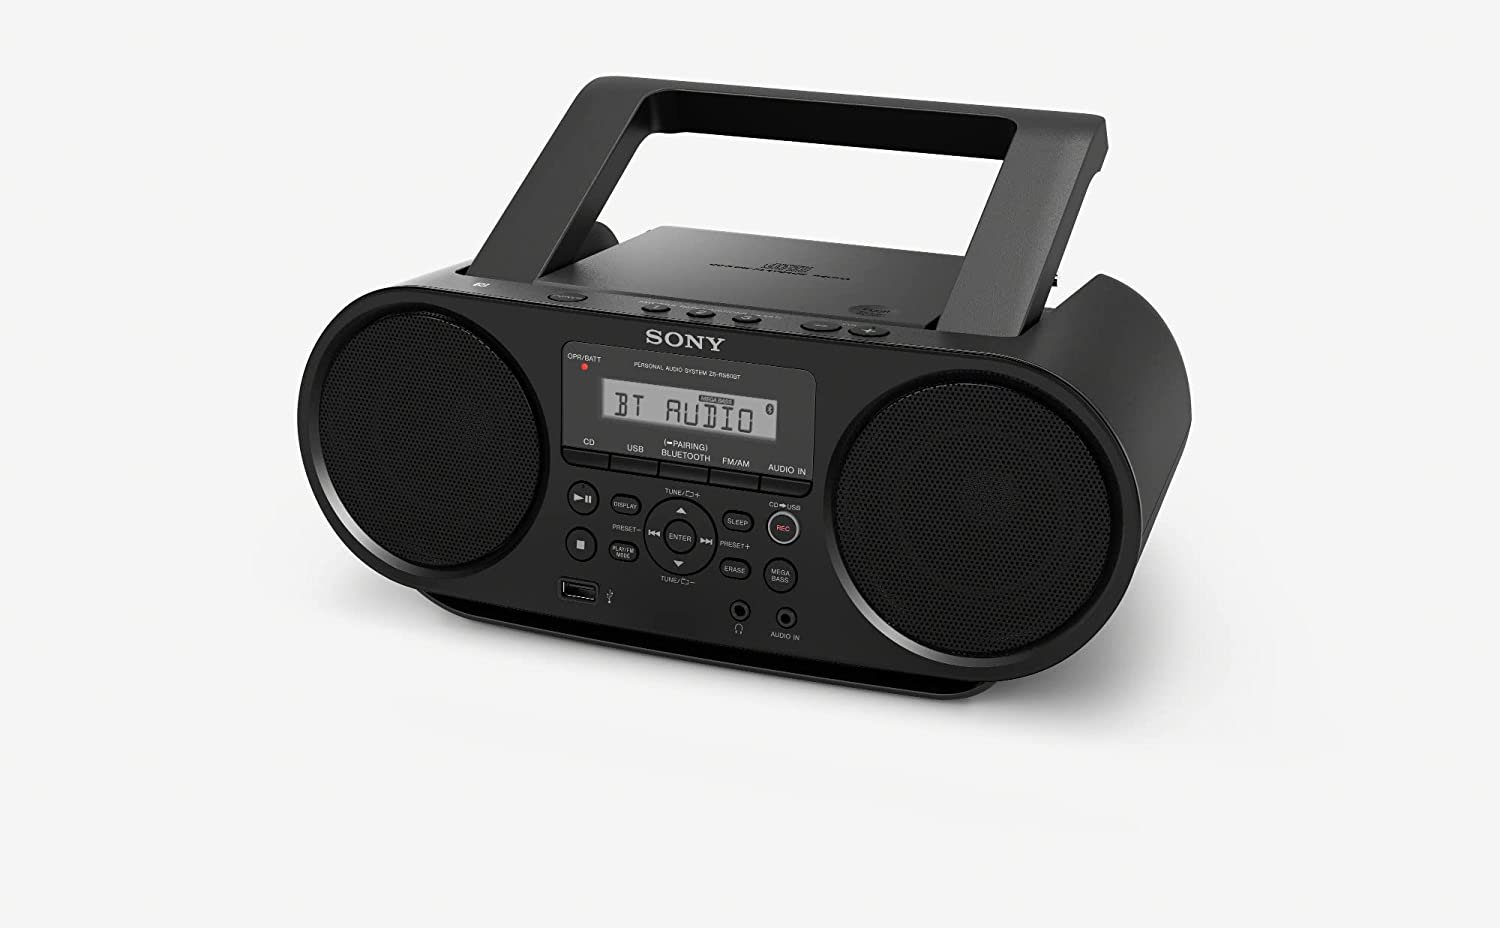
Sony Bluetooth boombox black

The Sony Bluetooth boombox has good sound and a digital FM/AM tuner with up to 30 presets.

This little Sony unit has everything: Bluetooth, digital AM/FM tuner, USB playback, along with features such as a CD player and “mega” bass. It also has a dedicated button for each mode (Bluetooth / FM / USB / etc) along with plenty of other buttons, making it very easy to use and operate. This is the boombox I use in my own studio.

It has great FM reception, pulling in every low-power station in my area along with all the big stations, easy Bluetooth pairing, and decent sound. As other reviewers have noted, it doesn’t get super loud and the “mega” bass leaves a bit to be desired. You may find Bluetooth speakers with better sound (such as JBL speakers) but I wanted a radio and Bluetooth and this delivered on that. It’s a great addition to my studio and it sounds way better and louder than streaming music through my phone speakers, plus I can tune into the radio stations I enjoy. This unit seems to be the market leader for small, plug-in Bluetooth boomboxes priced at $100 or less.

Sony Portable Bluetooth Boombox: $95-$99
Power: AC cord or 6 C batteries


Table of Contents

  • Top Pick: Sony Bluetooth Boombox with Digital FM/AM Tuner

  • Budget Pick: Megatek Bluetooth Boombox with Digital FM/AM Tuner

  • Alternate Pick: KLIM B4 Bluetooth Bombox

  • Throwback Pick: Ion Audio Street Rocker 1980s Style Bluetooth Boombox

  • Other options

  • Summary


BUDGET PICK: Megatek Bluetooth Boombox with Digital FM/AM Tuner

Megatek portable bluetooth boombox in black

The Megatek portable bluetooth boombox in black.

Coming in at about half the price of the Sony Boombox, the Megatek Boombox has many of the same features at a budget price, including bluetooth connectivity, digital AM/FM tuner with 30 presets, MP3 playback via USB, an auxiliary-in port and it’s available in black or red. It’s a decent option but some reviewers mention the sound isn’t quite as good as the Sony.

Other drawbacks are that there aren’t as many dedicated buttons, so you’ll be pressing the mode button to switch between functions. But at $45, it’s a price that can’t be beat.

Megatek Bluetooth Boombox: $45
Power: AC cord in or 4 C batteries


ALTERNATE PICK: KLIM B4 Boombox with Bluetooth, FM, and Internal Battery

KLIM bluetooth boombox in black

The KLIM B4 Boombox features a clean design along with a remote.

KLIM makes a variety of Bluetooth boomboxes but the most interesting option is the B4 model which has all the same features as the Sony but with an internal rechargeable battery and a remote. It also has more powerful 3 watt speakers as opposed to the 2 watt on the Sony. It’s a great package with clean design that is listed at $70 but can often be found on sale for less, and is available in white or black.

KLIM B4 Boombox: $70
Power: AC cord or with internal rechargeable battery with 6 hour run time.


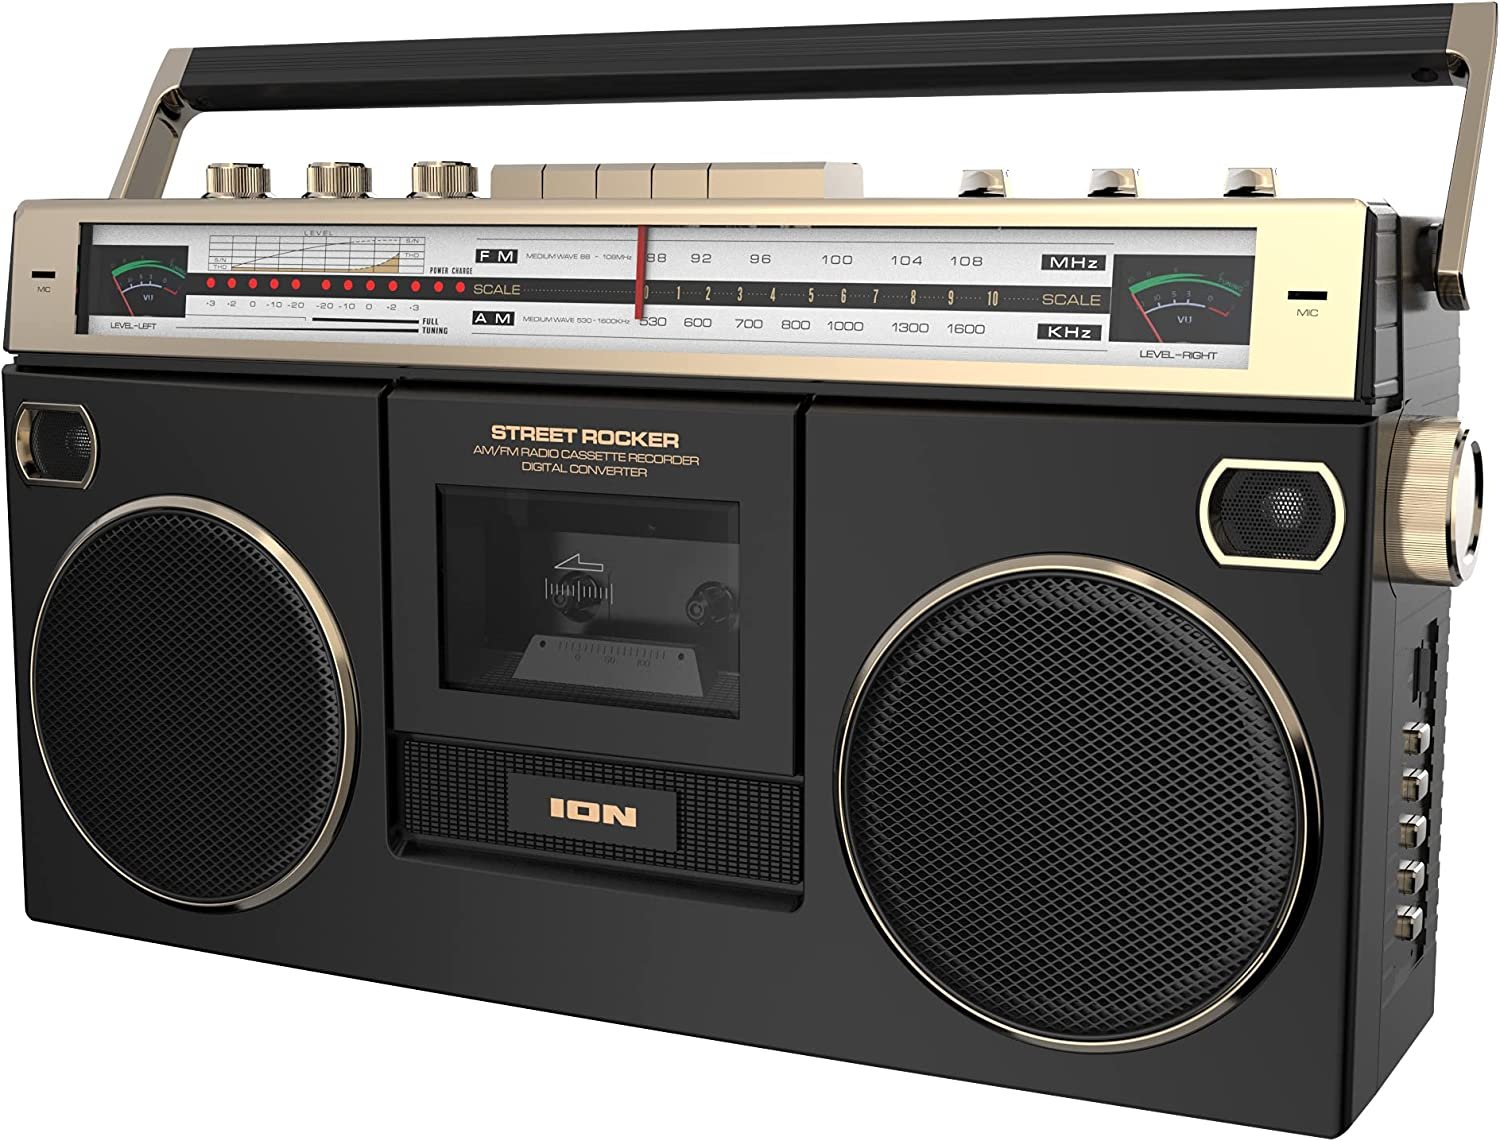
THROWBACK PICK: Ion Audio Street Rocker 1980s Style Bluetooth Boombox

Ion Audio 1980s Street Rocker boombox

The Ion Audio Street Rocker 1980s Style Boombox features a cassette deck, bluetooth, and lots of old-school charm.

If you are looking for an old-school boombox with new features, Ion Audio has you covered. This unit features a cassette deck, bluetooth, AM/FM tuner (not a digital tuner though). The boombox has a variety of switches and dials that give that old-school feeling.

In theory I love manually scrolling through radio stations but at this point, the lack of a digital tuner is a real drawback for me (I know, I know…I’m complaining about a throwback style). But that aside, this is a cool option that would look great in any workspace.

Ion Audio Street Rocker 1980s Style Boombox: $95
Power: AC cord or 6 D batteries


OTHER OPTIONS

There are quite a number of Bluetooth-enabled boomboxes in the under-$100 category. Most seem to be around the $50-$60 range and are similar to the Megatek option listed above. In general, they don’t have quite the functionality / ease of use as the Sony because they have fewer buttons.

Insignia Portable CD Boombox with Bluetooth

Insignia silver CD cassette boombox with Bluetooth

The Insignia boombox has Bluetooth, CD, and a cassette deck.

Insignia, the house brand of Best Buy, has a $60 boombox option that has Bluetooth, digital tuner, CD player and a cassette deck. If you still use CDs and cassettes, this is the boombox for you.


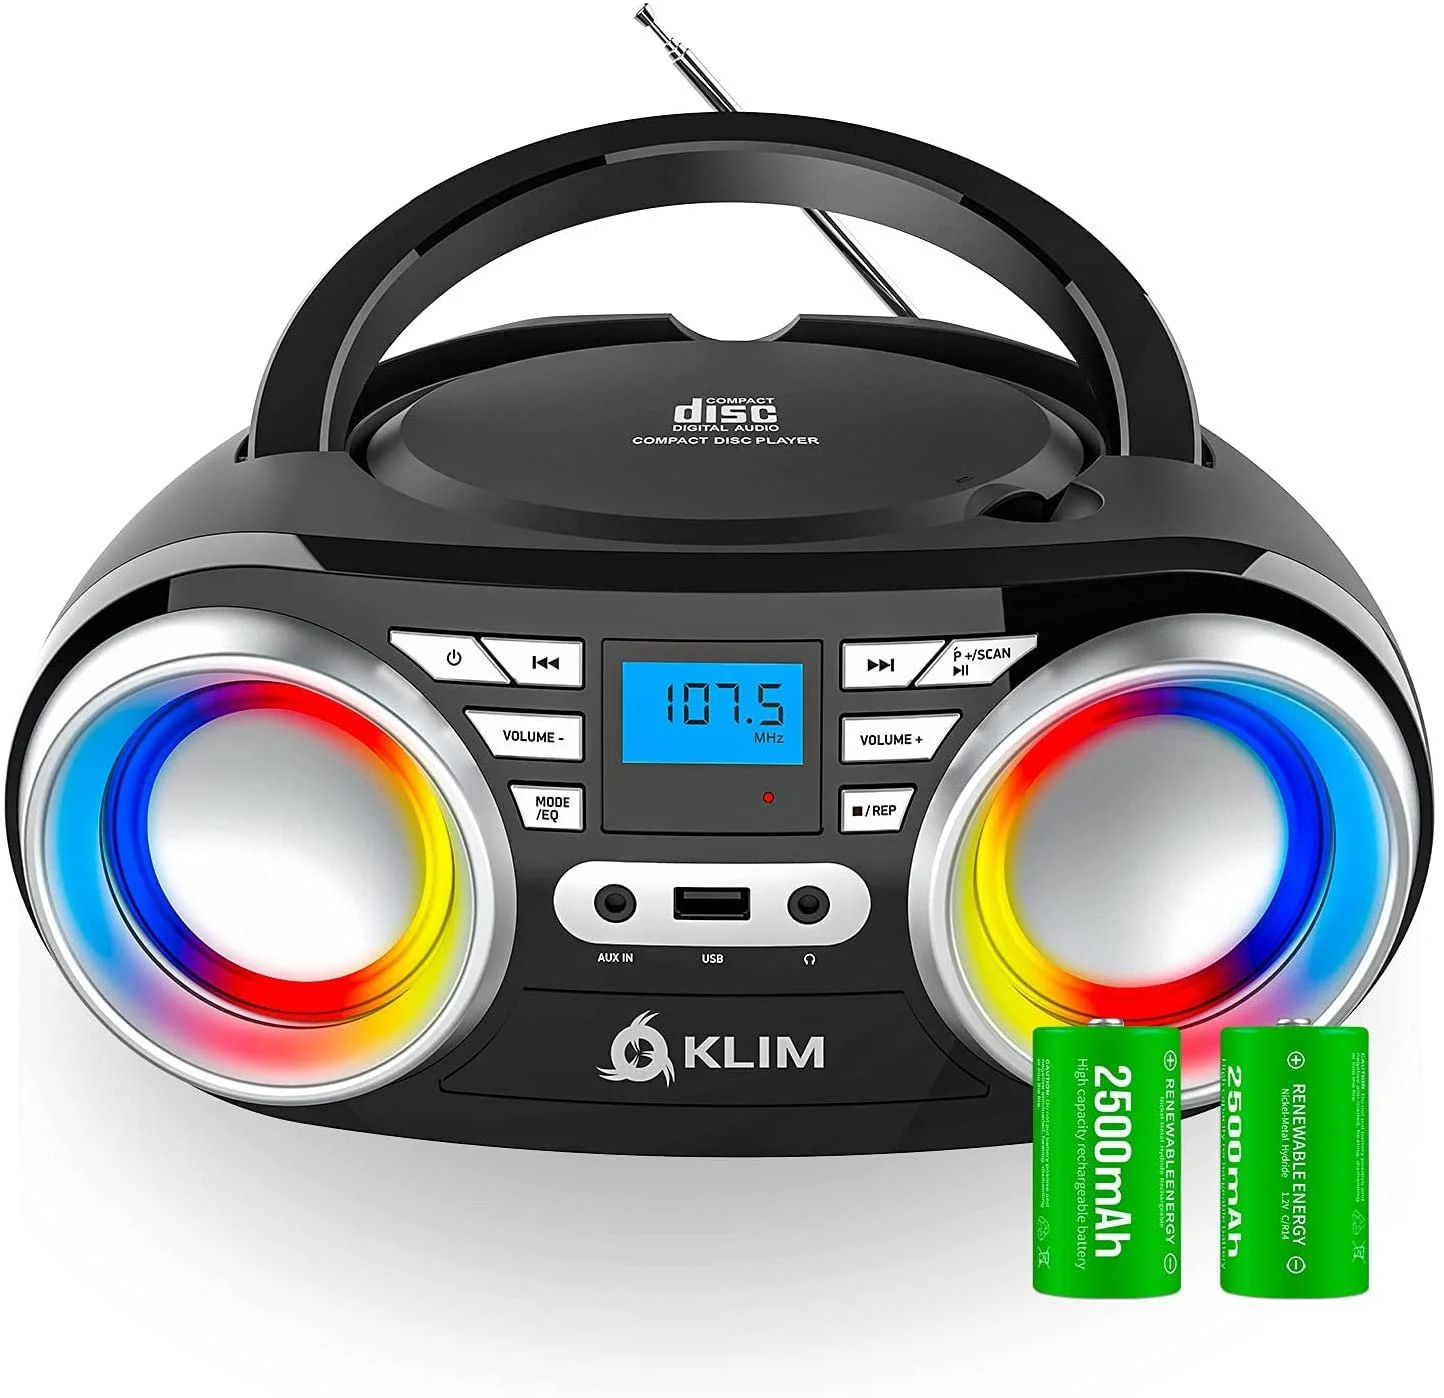
KLIM B3 Boombox

KLIM B3 boombox

The KLIM B3 Boombox has bluetooth, a CD player, and light-up speakers.

If you want more flare, the KLIM B3 Boombox has speakers that light up along with Bluetooth, digital tuner, CD, and USB playback. It also comes with rechargeable batteries, although it’s not a built-in battery. It’s a fun little unit that retails for around $60.


AUDIOFILE UPGRADE

If you are willing to spend more than $100, you can get a nice workshop system that will have great sound for around $500 and up by pairing a receiver with quality bookshelf speakers such as the ELAC Debut 2.0 B5 pair of speakers. There are plenty of affordable receivers that will work with these speakers, which are known for their combination of great sound and relatively low price.

If you’re the type of person who wants great sound but at a price that still makes sense for a studio / workshop / garage, this is the set up for you. One drawback of receivers is they often don’t have great AM/FM tuners—plan to install the long antenna cord but even then, it may not have great reception.

Sony STRDH190 stereo receiver with bluetooth

The Sony STRDH190 stereo home receiver with bluetooth is an entry level priced receiver that is great for a studio or workshop.

There are lots of receivers out there but one of the best cheap receivers at the moment is the Sony STRDH190. It’s listed at $200 but can often be found on sale for less.


ELAC Debut 2.0 B5 speakers

The ELAC Debut 2.0 B5 speakers are great bookshelf speakers with 5” bass drivers and 1” tweeters.

For entry level speakers, you can’t go wrong with the ELAC Debut series. Try the 5 inch 5.0 speakers or if you want more power, the slightly larger 6.0 speakers. These are corded speakers and they sound great. Expect to pay $285 to $315 for the pair.


Summary

This post has covered a variety of options for a small boombox that can stream via Bluetooth and play the radio. Focusing on the units for $100 or less, these are simple devices to add some audio to your studio or workshop at a budget price. The top pick is the Sony Bluetooth Boombox for it’s ease of use and functionality, but there are other options. If you are an audiophile, check out the upgrade ideas which will deliver great sound but at a price that still works for a workshop.

What is your favorite device that can stream via Bluetooth and play the radio? Let us know in the comments.

The Best Full-Size Slab Rollers for Ceramic Studios

 
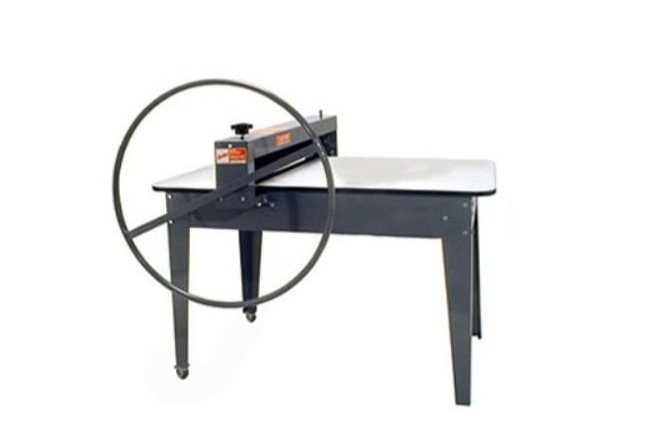
Bailey DRD / II ceramic slab roller machine

The Bailey DRD / II gear reduction slab roller pictured here with the shorter 51” table.


Slab rollers are great for slab-built pottery, tiles, and sculptures. While you might be able to get by with a rolling pin, if you use slabs regularly, a slab roller should be an integral part of your studio And while full-size slab rollers can take up a chunk of space, having the ability to easily make slabs is worth it.

This post covers all the full-size slab rollers on the market from five manufacturers: Bailey, Nidec Shimpo, North Star, Brent, and the Hi Roller. For a guide to smaller portable or table top slab rollers, click here.

Top Pick: Bailey DRD / II Gear Reduction models

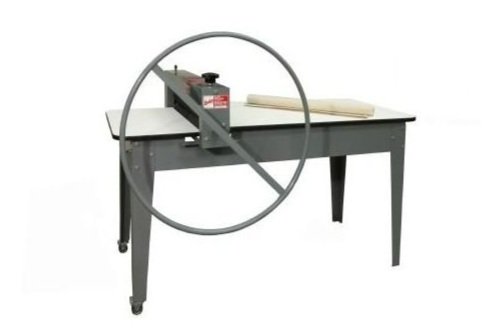
Bailey DRD / II slab roller with 69 inch table

The 24 inch wide Bailey DRD / II slab roller pictured here with the 69” table. Note the two wheels for ease of moving the table.

The Bailey DRD / II slab rollers with the gear reduction feature are the best slab rollers on the market. These slab rollers are a joy to use, can quickly take up to 2 inches of clay down to an even slab, and are extremely durable and long lasting, suitable for a professional, academic, or personal studio.

The machine features steel rollers, a large 34” wagon wheel handle for easy turning, and one adjustment knob that raises and lowers the top roller. The slab roller can be adjusted from an ultra-thin 1/16” up to 1 1/2” .

This machine feature a reverse-thread handle adapter to prevent damage to the machine, but be careful—what this means in practice is that you can unscrew the wagon wheel handle and it will fall off. (Make sure students are trained on this machine.) On the shorter 51” table, the 34” handle is quite large but it is easy to use and turn, even with large amounts of clay.

The only other (small) drawback is that if one is not careful, canvas can be pulled under the feed table and ends up wrapping around the bottom roller. But once one is accustomed to the roller, it becomes second nature to avoid this.

Bailey makes a few different rollers, but the DRD / II gear reduction models are what you want. The cost about $100 extra for the gear reduction but they are simply the best slab roller on the market.

The Bailey DRD / II gear reduction models are available in a 24” width as a machine only ($1,380), with a 51” table ($1,780), or a 69” table ($1,999). The 30” models have the same option and generally cost about $200 more.


Budget Pick: Nidec Shimpo SR-3050 Slab Roller

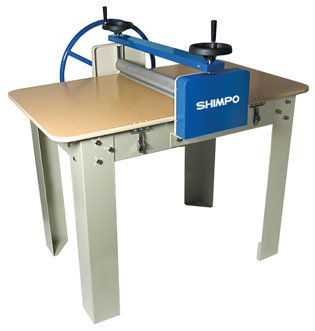
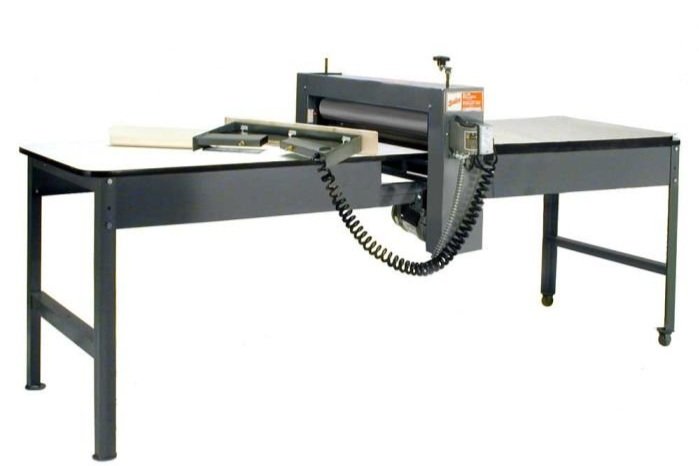
Nidec Shimpo ceramic slab roller machine

The Nidec-Shimpo Slab Roller

The Nidec-Shimpo SR-3050 slab roller is a studio workhorse that will turn out great slabs. It features a double roller that sits in the middle of a 30 x 50 inch table with a wagon-wheel handle. Slab thicknesses can range from an ultra-thin 0.1” up to 3 inches, and the top roller is adjusted by moving the two handles.

Adjusting the two rollers can be a bit annoying and the table is somewhat small, but all things considered, this is a great roller that is listed around $1,100 and often can be found for around $900. The short feed area can be fixed by adding a wing or placing the machine next to another table.

The Bailey DRD II and the Shimpo slab roller are just two of many full-sized slab rollers on the market. Keep reading for a complete guide, or click here to read about small and portable table top rollers.


Table of Contents

  1. Top Pick: Bailey DRD / II Gear Reduction Roller

  2. Budget Pick: Shimpo Slab Roller

  3. How to Shop For a Slab Roller

  4. North Star Slab Rollers

  5. The Hi Roller Vertical Slab Roller

  6. All Bailey Slab Rollers

  7. Brent Slab Rollers

  8. Slab Accessories

  9. Summary


How To Shop For A Slab Roller

It can be confusing to shop for a slab roller, as Bailey and North Star in particular make a variety of slab rollers that can be ordered with a variety of table sizes and features. Here’s a guide of how to shop and pick out rollers.

1. Start With Roller Width

Full size table top rollers range from 24 to 40 inches wide. In practice, your widest slab will probably be about 2 inches less than that. Even a 22 inch wide slab can be quite large! But if you are doing large tile projects, the 30 or 40 inch models will be needed. For an individual studio, a 24 inch roller might be quite large—maybe a table top roller is what you need.

2. Table Size

The important considerations here are the size of the table where you feed in the clay, the size of the “output” area, and the total size of the table. In addition to width, the table size will determine how long of a slab you can make. Once again, I’d suggest that a 22” wide slab by say 24” long is quite large! But if you have a larger table, you have more working area.

Shimpo, Brent, and the Hi Roller machines come in one size. But Bailey and North Star let you choose the table size. With Bailey it’s a 51” or 69” long table, and North Star options are 48” or 72” inches, and North Star also sells prop-up “wings” that extend the table. With Bailey and North Star, you can also buy the machine only and build your own table.

With any roller, measure the complete table and make sure it is suitable for your studio.

3. Rollers

Most high-quality rollers have a double roller. This will give your slab pressure from both sides, and results in a more even slab. Brent Rollers just have a roller on one side, which along with the heaviness of the table is why we don’t recommend Brent rollers.

4. Handle / Crank Mechanism

Most of these large rollers come with a wagon wheel handle, but some have a crank. A wagon wheel makes it easy to turn, but does take up more room. Consider the Bailey rollers with the short table: a 34” wide wagon wheel handle is paired with a 51” table. It’s a bit crowded. Smaller table top rollers generally have a crank rather than a wagon wheel.

5. Gear Reduction / Safety Mechanisms

Any slab roller should be treated with respect and they can be damaged if they are turned the wrong way or too much clay is forced through the rollers. Bailey makes a gear-reduction model that is even easier to turn, and also has a reverse-threaded wagon wheel so that you can’t turn the gears the “wrong” way and damage the machine.

6. Durability

All of the machines reviewed here are well built and will be long lasting if not abused. In my experience, the Bailey, Shimpo, and North Star machines hold up best under intense use in academic or community studios. The Hi Roller is fussy but can make nice albeit small slabs. The Brent rollers are extremely heavy and basically bomb proof welded steel, but if the shims get wet they can warp and the wires can snap if used improperly. So many academic studios have Brent rollers but the other four manufacturers make machines that are simpler, lighter, and easier to maintain.


North Star Slab Rollers

The North Star 30 inch wide Super Roller with table.

North Star makes two styles of slab rollers: the “standard” line has crank-driven 2 1/2” double rollers available in 18”, 24”, and 30” width as machine only, table-top portarollers, or in 48” long tables. (Our top pick for a portable roller is the 18” Portaroller from the North Star standard series.) The two larger rollers in the standard line can also be ordered with wagon wheel handles.

The “super” series features wagon-wheel driven 4” wide double rollers with a gear reduction in 24”, 30”, or 36” width in 72” long tables. If you are a production shop or a busy academic studio, the Super series is what you want, whereas the standard line is great for individual studios.

North Star also makes a variety of accessories, such as fold-out wings to extend the length of tables, and extra shelves for the roller table.

These are great rollers. The only drawback compared to the Bailey DRD / II models is that North Star has two height adjustment knobs, rather than one that moves the entire top roller. North Star mentions that this makes “tapered slabs” possible, but truth be told, that’s a concept I’ve only heard mentioned in their marketing copy.

North Star Standard rollers range from around $1100 to $1200 for a roller and table.
Super series rollers start at around $1500 for the 24” roller and table, and go up to $2355 for the 36” roller and table. All the models are available for less as machine only, if you want to build your own table.


The Hi Roller Vertical Slab Roller

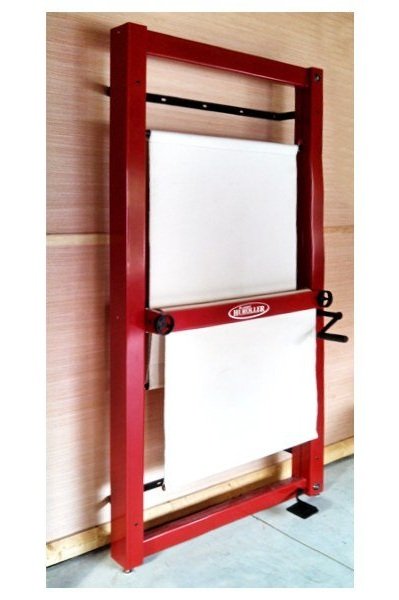
The Hi Roller vertical clay slab roller machine

The Hi Roller Vertical Slab roller is a space-saving machine that is easy to crank.

The Hi Roller is an interesting entry for the full size slab roller because it can be wall mounted or stand on its own, taking up very little space while providing great (if somewhat small) slabs. The rollers can be adjusted easily with a dial, clay is placed near the rollers, and a small crank easily moves the clay down between two pieces of canvas. Then, the clay is cranked back up, often sticking just enough to the canvas until you remove it.

This all sounds great, but in practice, this is a fussy machine. Sometimes the clay drops below the rollers and won’t come back up, and it’s hard to make large slabs. So there is some trade off but if floor space is a premium in your studio, this is the roller for you.

The Hi Roller is generally available for around $1,450-$1,500.


Bailey Slab Rollers

Bailey makes a somewhat confusing array of slab rollers so hopefully this outline of their product line will help.

The Bailey 40” DB Drive Board roller with electric motor.

The DRD / II slab roller from Bailey is the top pick for a slab roller (see top of post) and is available in a 24” or 30” model in either direct drive or gear reduction models. It’s worth the extra $100 for the gear reduction—why not make it easier to crank out slabs? The DRD / II models have 2 1/2 inch diameter rollers.

The original DRD model is still in production, and is available in 30” or 40” width. The DRD features 4” diameter rollers, designed for professional studios or heavy use by academic studios. These are amazing, big rollers. They are also available with electric motors.

Finally, Bailey also makes the DB or Drive Board rollers in 30” or 40” widths. These machines have a single roller on top and a drive board that travels with the slab, allowing for more even compression and protecting the slab from bunching or bogging down in the machine. These are best for tile and architectural tile work.


Brent Slab Rollers

Brent SR-30 Slab Roller

The Brent SR-30 Slab Roller

Brent makes three slab rollers with a wagon wheel (the SR-14, SR-20, and SR-30) and one model (the SRC) with a crank handle. All are rather overbuilt with heavy steel bases, and single wheels that move over the top of the slabs, and have wires underneath the roller table covered in sticky grease. The slab thickness is adjusted by adding or removing canvas-covered shims.

These slab rollers are quite common but I would avoid them whether new or used. Here’s why:

> Adding or taking out shims is a pain. Also, this process generally results in a lot of dust being created.

> Single roller, only pressure from the top rather than a double roller.

> Heavy. So heavy. You’ll need a forklift or about 6 people to move these. They are unnecessarily heavy.

> Hard to maintain. Have fun repairing the guide/crank wire when it snaps! (Misuse by students can easily break this wire)

> Warped shims: I once used a Brent roller that had water damage and all the shims were warped, resulting in uneven slabs.

And finally, expensive. All that metal costs money. These rollers ranged from $2,000 up to $3,700. Sure, if properly maintained and used you will get fine slabs, especially if you never change the slab thickness. But any other machine will be better.


Slab Accessories

A few things that will make working with slabs easier:

Slab Mats

Slab mat

Slab mats are available in a variety of sizes and are great for rolling slabs or handbuilding.

Slab Mats are a plastic fabric with one side smooth and the “working” side has a bit of a fuzz. They are less flexible than canvas, but are also great for putting through rollers, moving slabs around, or just as a working surface to protect your table tops. Most normal clay uses (fettling knives, craft knives, needle tools, etc) won’t cut through these. Small sizes can also be used as small bats for handbuilding, or get a larger piece to run through your roller.

Canvas

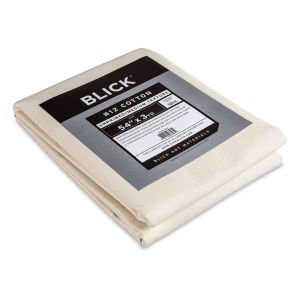
Unprimed, raw canvas is a great working surface that can be laundered.

For slabs, unprimed canvas is also great for rolling and moving around the studio. With a canvas blanket, you can cut to your desired shape and either hem or leave the edges unhemmed. Canvas can be washed over and over again by hand or in the washing machine. Frequent washing will help keep the dust down, and does soften the material over time. #12 / 12 oz canvas is a great place to start, or go slightly thicker with #10 / 15oz canvas.

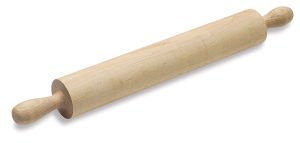
Rolling Pin

Solid maple rolling pin

A solid maple rolling pin is a useful studio tool that is easy to clean.

A solid maple rolling pin is a must-have for any ceramic studio, even if you have a slab roller. For small things, it’s usually easier to roll by hand. Pair this with a few wooden slats or yard sticks, and you’ve got an adjustable slab rolling system.

A solid rolling pin is better than a rolling pin with bearings or moving parts, because there is nothing to break and it is easy to clean the entire rolling pin with water. Rolling pins come in a variety of sizes but a 24” wide rolling pin is still easy to maneuver but large enough to make really big slabs. At around $30, this is an affordable studio tool that will last forever.


Summary

This post has covered every large or full-size slab roller on the market, including models from Bailey, North Star, Nidec-Shimpo, Hi Roller, and Brent.

The top pick is the DRD/II gear reduction slab roller from Bailey, but there are lots of options for a wide variety of budgets. All of these rollers, if properly used, will make great slabs but there are some superior options (Bailey, Shimpo, North Star) based on price, weight, and quality of features.

What slab roller do you use in your studio? Let us know in the comments.


How to Rip Sandpaper

Sandpaper ripped into eight pieces.

Sandpaper is a great studio tool but you usually don’t need to use a whole sheet at once. This tutorial will cover how to easily rip sandpaper into eight even pieces that are useful for small jobs such as sanding pottery ware, cleaning up rough wood, or any job. It’s a simple technique that results in even, rectangular pieces.

If you are doing any studio task that create dusts, wear a good dust mask or respirator. (Read our guide here) Or if you can, sand wet so that no dust is created.

For a guide to sandpaper and abrasives, click here.

This tutorial uses 3M Pro Grade Sandpaper. It’s plastic backed, making it longer-lasting and suitable for wet sanding. It’s the best for ceramics and just about any other art studio use. Look for the “no-slip grip” sandpaper.

For sandpaper grits, I like to stock 60 and/or 80, 120, 200, and 400 grit.


How to Rip Sandpaper Into Smaller Pieces

Here’s how to rip a sheet of sandpaper into eight even pieces.

Step 1

Starting with a full sheet of sandpaper, fold it in half vertically (the long side) and crease.

Full sheet of sandpaper

Full sheet of sandpaper

Fold in half


Step 2

Ripping a creased sheet of sandpaper

Rip along the crease

Then, rip the sheet in half along the crease. You may rip a bit unevenly at first, but with practice you will get an even rip.


Ad


Step 3

Then on the long side of the smaller pieces you have just made: fold, crease, and rip.

Fold, crease, and rip again

Square pieces might be useful, but we’ll keep going.


Step 4

Continue to fold pieces in half, crease, and rip. I find that ripping a sheet into eight sheet results in a useful size.


ad


Step 5

Sandpaper ripped into eight pieces.

When you are at eight rectangular pieces, you are set. Now, find a small cup or box to store them in.


Summary

What sandpaper do you use in your studio? How do you rip and store it? Let us know in the comments.

You might enjoy:

Complete Guide to Sanding and Abrasives for Ceramics and Pottery

Best Wet Polishers

Best HEPA Vacuum for ceramics and woodshops

How to Make an Interchangeable Grinding Disc for Your Pottery Wheel

Shopping links: